Walkthrough Part 8: Mersea to Mermaid's Sanctuary
★ Interactive Map and Locations
┗ Secret Spots | Sparkly Spots | Mini Medals
☆ 100% Walkthrough Guide
┗Post Game Guide
☆ Trophy Guide: How to Get Platinum
★ Playing the first game? DQ1 Wiki here!
This is a walkthrough guide from Mersea to the Mermaid's Sanctuary for the Main Story of Dragon Quest 2 HD-2D Remake (DQ2). See the objectives for Mersea to the Mermaid's Sanctuary and follow a step-by-step walkthrough in this guide.
| ◀ Previous Guide | Next Guide ▶ |
|---|---|
| Rain Shrine to Faerie Palace | Den of Iniquity to Thief's Hideout |
List of Contents
 Attention! Attention! |
This page contains major spoliers for Dragon Quest 2 HD-2D Remake! Continue reading on at your own risk. |
|---|
Mersea to Mermaid's Sanctuary Walkthrough Guide
| Jump to an Area Walkthrough! | |||
|---|---|---|---|
| 1 | Mersea | 2 | Mermaid’s Sanctuary |
Mersea
| 1 |  After defeating Belial, you’ll receive Lorelei’s Harp from the Dream-Whisperer. This item allows you to explore the open sea from below, so head to Gaggle Rock and talk to the mermaids about it. |
|---|---|
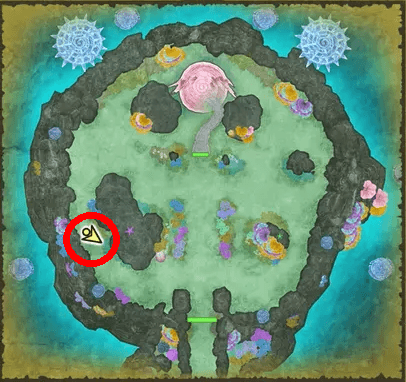
| 2 | 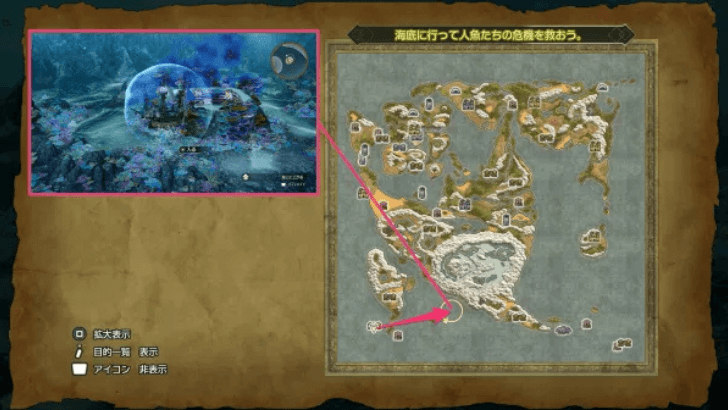 After talking to the mermaids in Mersea, dive at the location indicated on the map to find the Mermaid’s Sanctuary. |
Mermaid’s Sanctuary
| 1 | 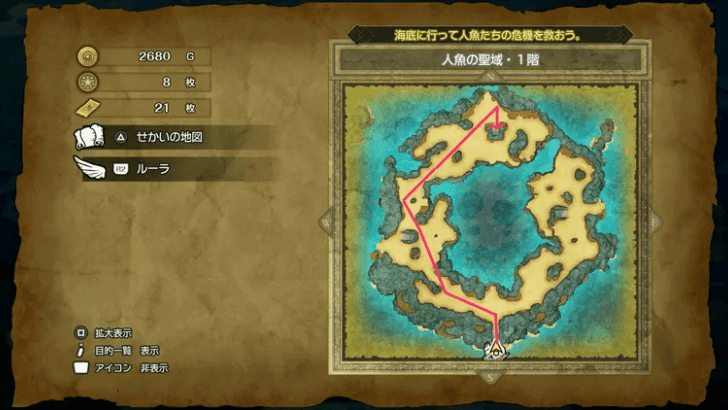 Enter the Mermaid’s Sanctuary and head north. Keep in mind that your starting point changes depending on where you enter, but always aim north, since you’ll find the stairs there. |
|---|---|
| 2 | 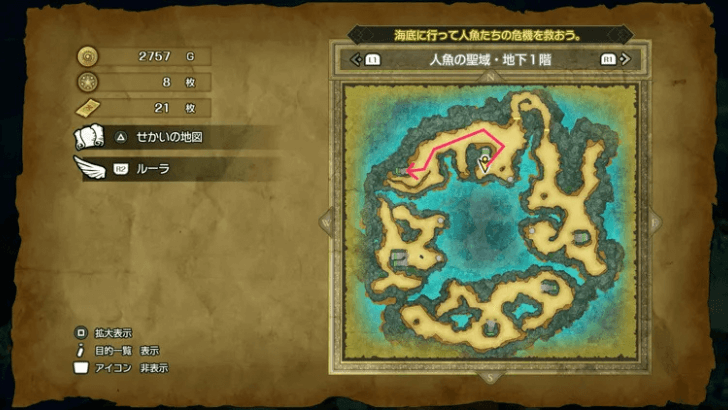 On the next basement floor, head north, then go right toward the next set of stairs. |
| 3 | 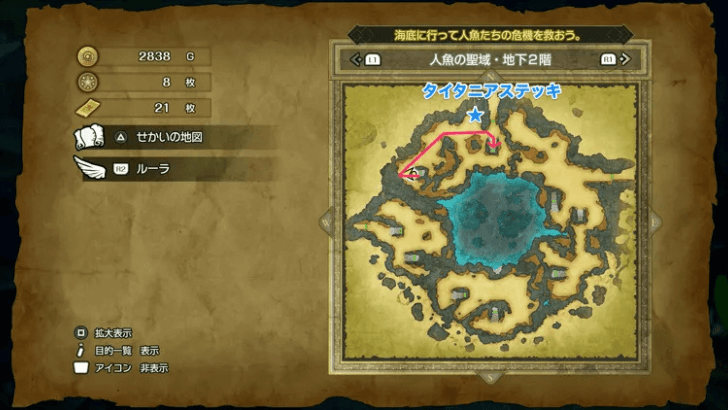 Once you reach the third floor, head east to climb back up to the second floor. |
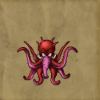
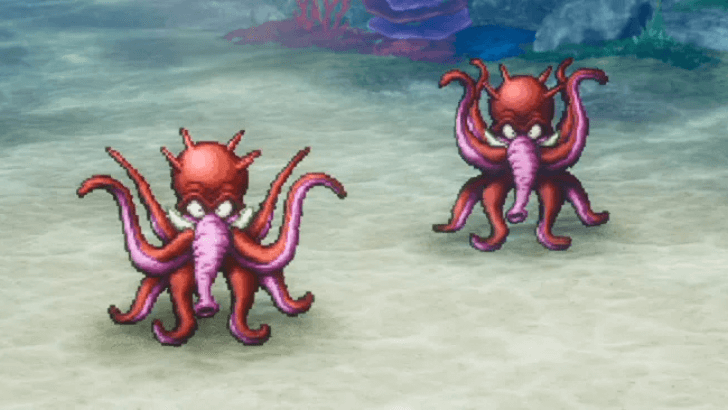
| 4 | 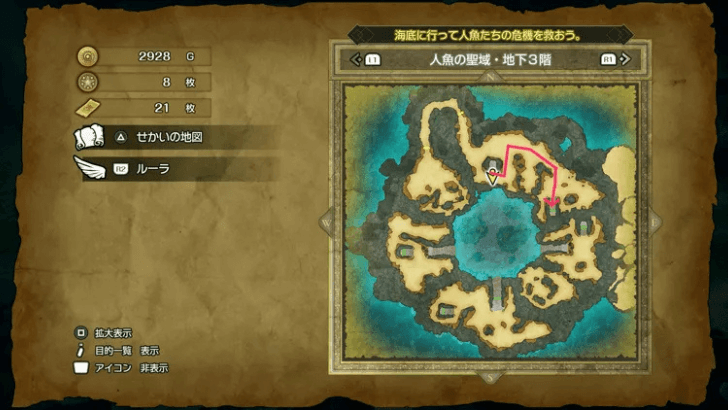 Defeat the two Octopests up ahead. You can use attacks such as Zap to deal heavy damage, as they’re weak to it. |
| 5 | After the battle, head down and take the stairs back up to the first basement floor. |
| 6 | 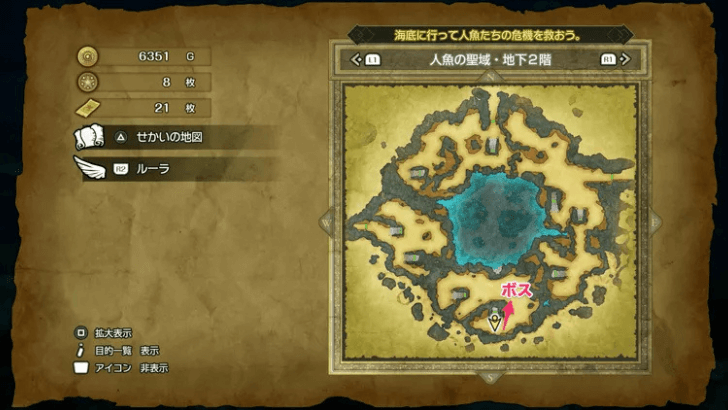 Take the nearest stairs down south to return to the second basement floor. |
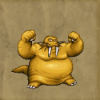
| 7 |  Defeat the three Yellowfinks up ahead. You can use spells like Swoosh to target their weakness. |
| 8 | 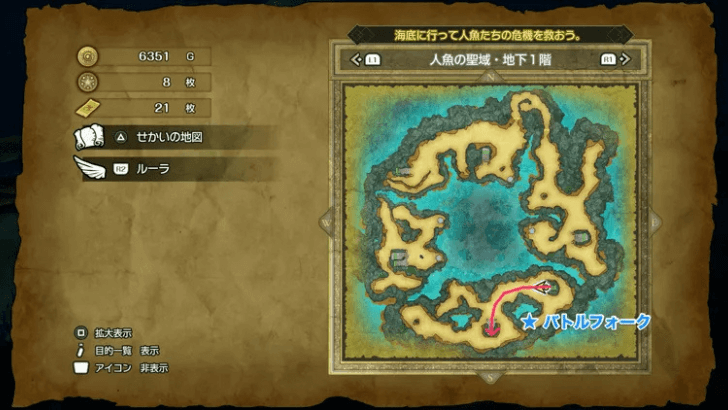 Head west after the battle and take the stairs down to the third basement floor. |
| 9 | 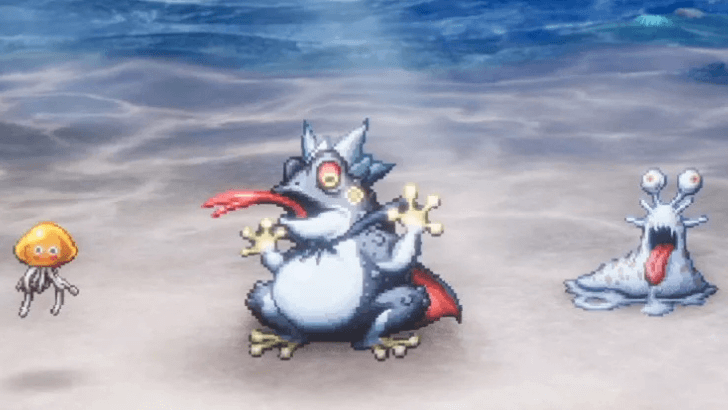 Descend further to the fourth floor. There’s no complicated stair maze here, so just proceed to the boss battle against the Toadalitarian, Venomollusks, and Women O’War. |
| 10 | 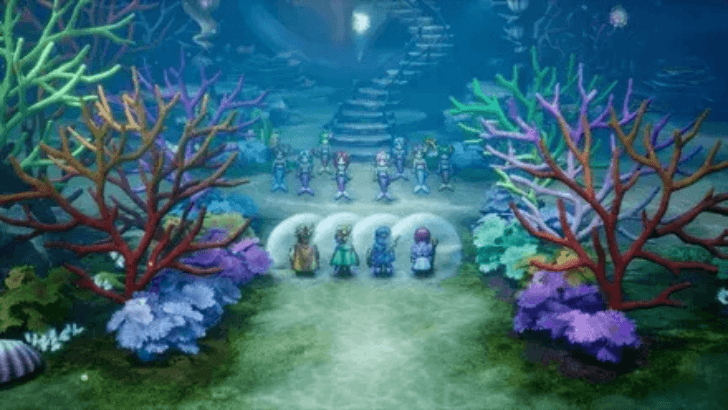 After the battle, you’ll be taken back to Mersea. Finish the cutscene to get the Magic Key. |
| 11 | 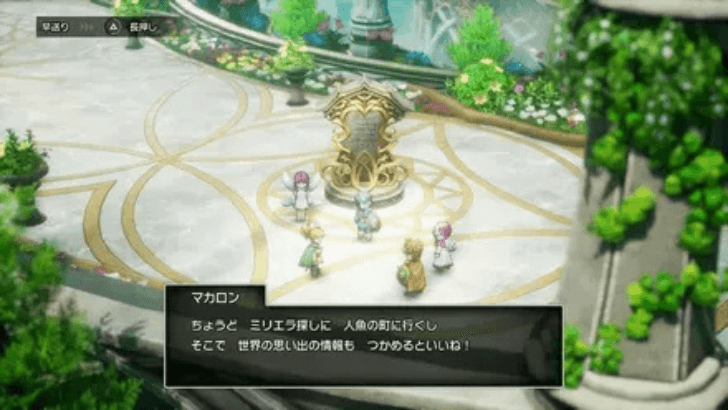 Leave the Faerie Castle afterwards and continue searching for the last set of sigils. |
Encounterable Enemies and Bosses
All Enemies
 Cauldrone |
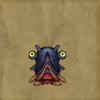 Neanderdrohl |
 Jawtoise |
 Tuskateer |
 Octavian Pirate |
 Octopest |
 Yellowfink |
 Toadalitarian |
 Woman O' War |
 Venomollusc |
Here are all the enemies you'll encounter in this part of your adventure!
List of All Monsters and Enemies
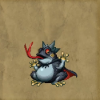
Octopests
 |
| Recommended Level |
|---|
| Level 31 |
Octopests are weak to electric-based attacks, so spells like Zap can help you take them down easily. Consider using the Princess of Moonbrooke as your main source of damage, as she can deal heavy spell damage thanks to her high stats.
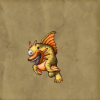
Yellowfinks
|
| Recommended Level |
|---|
| Level 31 |
Yellowfinks share the same weakness, so you can continue using the strategy you used against the Octopests. Deal as much damage as you can with spells to clear them out quickly and efficiently.
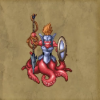
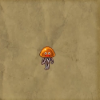
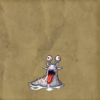
Toadalitarian, Venomollusks, and Women O’War
|
| Recommended Level |
|---|
| Level 31 |
For this combat, prioritize defeating the smaller creatures, such as the Venomollusks and the Women O’ War. Make the Prince of Cannock the healer for this battle. Go on the offensive with the two princesses and use their spells to damage the entire group.
All Sparkly Spot Locations
| We’re still gathering all sparkly spot locations for this part of the story. Please check back later! |
All Secret Spot Locations
| There are no secret spots for this part of the adventure! |
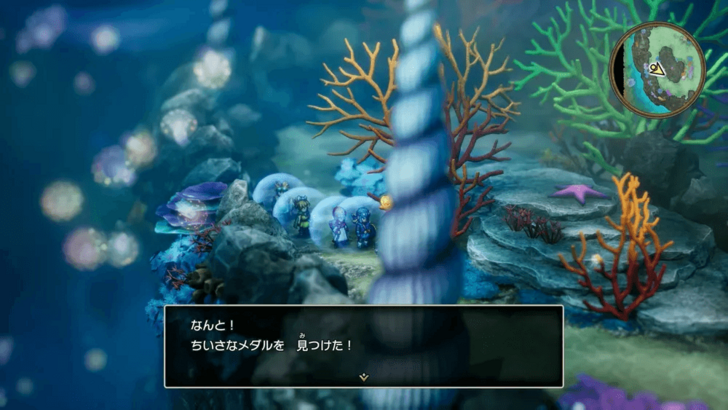
All Mini Medal Locations
| Map Image | World Image | |
|---|---|---|
46 |
 |
 |
All 80 Mini Medal Locations and Rewards
Dragon Quest 2 HD-2D Remake (DQ2) Related Guides
List of All Story Walkthroughs
Comment
Author

Walkthrough Part 8: Mersea to Mermaid's Sanctuary
Rankings
- We could not find the message board you were looking for.
Gaming News

![Star Savior Review [First Impressions] | Engaging, Entertaining, and Expensive](https://img.game8.co/4447603/8f500e9bf666bdb8adb1af478e9dfdbd.png/show)


Popular Games

Genshin Impact Walkthrough & Guides Wiki
Umamusume: Pretty Derby Walkthrough & Guides Wiki
Crimson Desert Walkthrough & Guides Wiki
Monster Hunter Stories 3: Twisted Reflection Walkthrough & Guides Wiki
Honkai: Star Rail Walkthrough & Guides Wiki
Pokemon Pokopia Walkthrough & Guides Wiki
The Seven Deadly Sins: Origin Walkthrough & Guides Wiki
Wuthering Waves Walkthrough & Guides Wiki
Zenless Zone Zero Walkthrough & Guides Wiki
Arknights: Endfield Walkthrough & Guides Wiki


Recommended Games
Fire Emblem Heroes (FEH) Walkthrough & Guides Wiki
Diablo 4: Vessel of Hatred Walkthrough & Guides Wiki
Cyberpunk 2077: Ultimate Edition Walkthrough & Guides Wiki
Yu-Gi-Oh! Master Duel Walkthrough & Guides Wiki
Super Smash Bros. Ultimate Walkthrough & Guides Wiki
Pokemon Brilliant Diamond and Shining Pearl (BDSP) Walkthrough & Guides Wiki
Elden Ring Shadow of the Erdtree Walkthrough & Guides Wiki
Monster Hunter World Walkthrough & Guides Wiki
The Legend of Zelda: Tears of the Kingdom Walkthrough & Guides Wiki
Persona 3 Reload Walkthrough & Guides Wiki


All rights reserved
© ARMOR PROJECT/BIRD STUDIO/SPIKE CHUNSOFT/SQUARE ENIX
© SUGIYAMA KOBO ℗ SUGIYAMA KOBO
The copyrights of videos of games used in our content and other intellectual property rights belong to the provider of the game.
The contents we provide on this site were created personally by members of the Game8 editorial department.
We refuse the right to reuse or repost content taken without our permission such as data or images to other sites.