Walkthrough Part 9: Den of Iniquity to Thief's Hideout
★ Interactive Map and Locations
┗ Secret Spots | Sparkly Spots | Mini Medals
☆ 100% Walkthrough Guide
┗Post Game Guide
☆ Trophy Guide: How to Get Platinum
★ Playing the first game? DQ1 Wiki here!
This is a walkthrough guide from the Den of Iniquity to the Thief's Hideout for the Main Story of Dragon Quest 2 HD-2D Remake (DQ2). See the objectives for the Den of Iniquity to the Thief's Hideout and follow a step-by-step walkthrough in this guide.
| ◀ Previous Guide | Next Guide ▶ |
|---|---|
| Mersea to Mermaid's Sanctuary | Cantlin to Slewse |
List of Contents
 Attention! Attention! |
This page contains major spoliers for Dragon Quest 2 HD-2D Remake! Continue reading on at your own risk. |
|---|
Den of Iniquity to Thief's Hideout Walkthrough Guide
| Jump to an Area Walkthrough! | |||
|---|---|---|---|
| 1 | Den of Iniquity | 2 | Mariella's Lair |
| 3 | Deserted Village | 4 | Thief's Hideout |
Den of Iniquity
| 1 | Head back to Mersea and talk to the Queen. |
|---|---|
| 2 | Fast travel to the Shrine of the Spirit and sail toward the location. Dive down afterwards. |
| 3 | Enter the cave on the wall to access the Den of Iniquity. |
| 4 | Head to the first floor and proceed through the stairs on the right. With the Magic Key, you should be able to open this door right away. |
| 5 | On the next floor, there will be a short boss battle. Be sure to prepare before attempting it! |
| 6 | Defeat the three Shining Armours ahead. A good strategy here is to go all out with magic spells, as they’re more vulnerable to them than to physical attacks. |
| 7 | After defeating them, head northeast and flip the switch. |
| 8 | Go back to the first floor and proceed to the stairs on the east side this time. |
| 9 | Head northwest and go to the room opposite the first switch. You’ll find another one here and flip it. |
| 10 | Without leaving the floor, go south and face the three Osteonauts. Defeat them to proceed. |
| 11 | Use abilities like Undead Undoer to defeat them easily. Try not to drag out this battle, as each Osteonaut can deal heavy damage to your team. |
| 12 | Head to the room in the middle, where you’ll fight another set of Osteonauts. Apply the same strategy as above! |
Mariella's Lair
| 1 | Head back to the first floor, and you should be able to open the sealed door ahead. |
|---|---|
| 2 |
Proceed and defeat Mariella. Since she’s both airborne and undead, abilities like Undead Undoer and Flying Knee can help you deal heavy damage against her. Once defeated, you’ll get the Soul Sigil. Report back to Dirkandor to find out the location of the last sigil. |
Deserted Village
| 1 | Head to the Deserted Village, which you can reach by going west of Moonahan. |
|---|---|
| 2 | Enter the village and head west toward the hut. Proceed inside once you find it. |
| 3 | Head down the stairs and continue moving forward. |
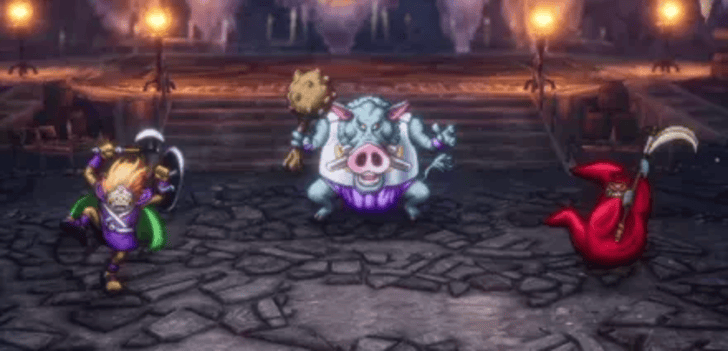
| 4 | Defeat the Wild Hog, the Pillager, and the Surgical Spirit. Prioritize defeating the Surgical Spirit first, as it can put the party to sleep. Defeat the other enemies after it’s down. |
| 5 | Head back to Moonahan and proceed to the building near the entrance, east of the small pond at the top left. |
Thief's Hideout
| 1 | Use the Magic Key to open the gate ahead. Enter it to access the Thief's Hideout. |
|---|---|
| 2 | Defeat the Grimlins and the Sinister Minister up ahead. Focus on the Sinister Minister first, as it can revive the Grimlins if you defeat them. To avoid a long battle, prioritize taking down the Sinister Minister. |
| 3 | Take the Water Sigil afterwards and leave the hideout to go to the Faerie Palace. |
| 4 | Tell the Dream-Whisperer that you have all the sigils. You’ll receive a Spirit Bracer and two Phials of Sage’s Elixir as rewards. |
Encounterable Enemies and Bosses
All Enemies
 Mariella |
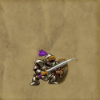
 Skeleton Swordsman |
 Crone Ranger |
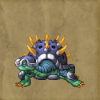 Plated Goretoise |
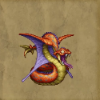 Sail Serpent |
 Vis Mager |
 Infernal Armour |
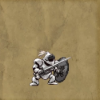 Shining Armour |
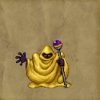
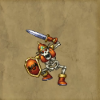 Osteonaut |
Here are all the enemies you'll encounter in this part of your adventure!
List of All Monsters and Enemies
Mariella
|
| Recommended Level |
|---|
| Level 33 |
Mariella is the main boss of this story. She uses powerful spell attacks, but she herself has a lot of weaknesses, allowing you to take her down easily if you take advantage of them.
She'll be accompanied by Shining Armours and Osteonauts, but this can be prevented if you put her to sleep with Snooze. You'll also encounter these enemies as minibosses before reaching her.
Wild Hog, the Pillager, and the Surgical Spirit
|
| Recommended Level |
|---|
| Level 33 |
Wild Hog, the Pillager, and the Surgical Spirit are the secondary bosses you'll encounter in this part of the story. As mentioned above, the Surgical Spirit
How to Beat the Wild Hog, Pillager, and Surgical Spirit
All Sparkly Spot Locations
| We’re still gathering all sparkly spot locations for this part of the story. Please check back later! |
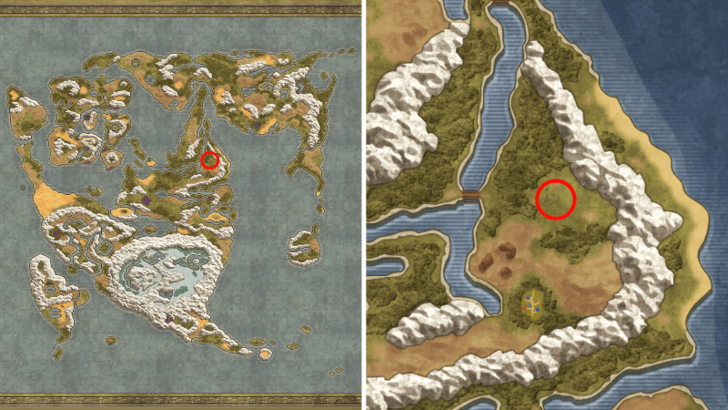
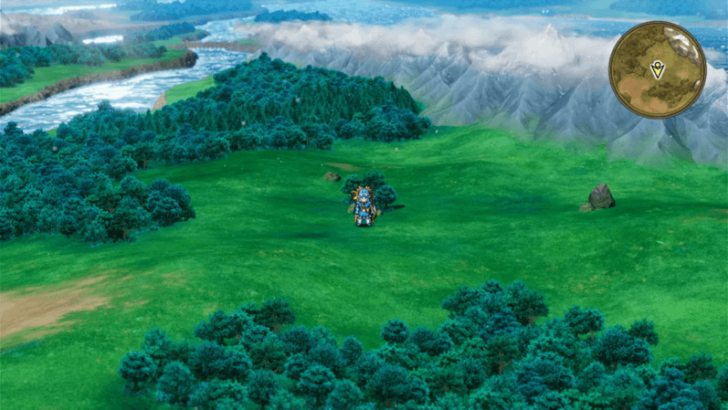
All Secret Spot Locations
| Map Image | World Image | |
|---|---|---|
| 9 |
 |
 |
| 13 |
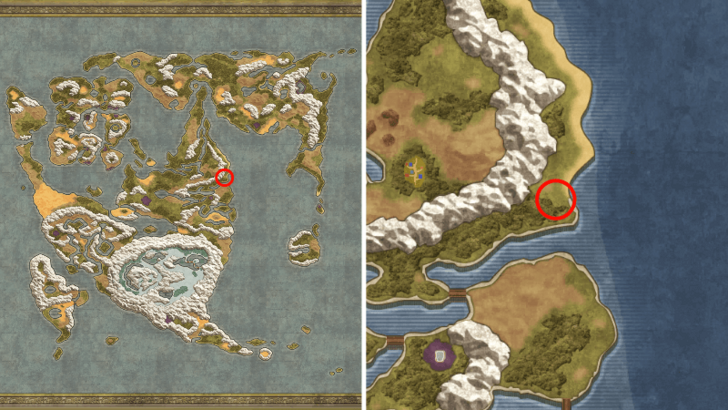 |
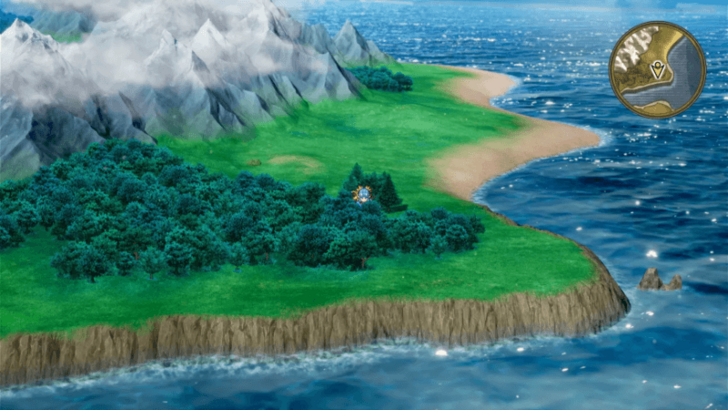 |
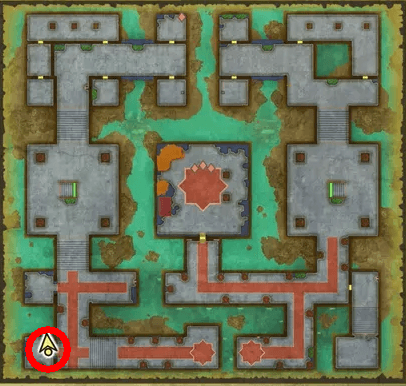
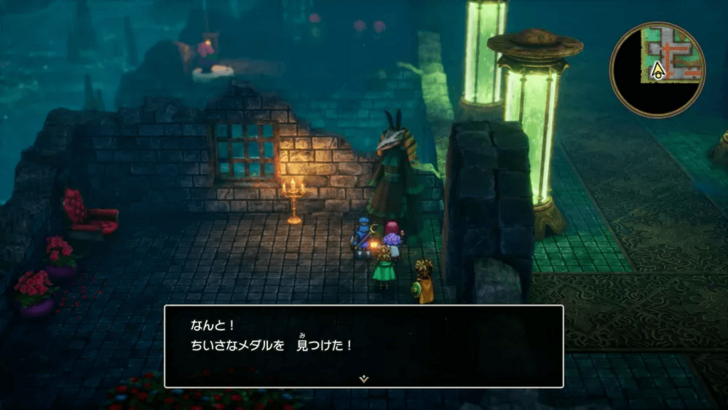
All Mini Medal Locations
| Map Image | World Image | |
|---|---|---|
47 |
 |
 |
All 80 Mini Medal Locations and Rewards
Dragon Quest 2 HD-2D Remake (DQ2) Related Guides
List of All Story Walkthroughs
Comment
Author
Walkthrough Part 9: Den of Iniquity to Thief's Hideout
Rankings
- We could not find the message board you were looking for.
Gaming News

![Star Savior Review [First Impressions] | Engaging, Entertaining, and Expensive](https://img.game8.co/4447603/8f500e9bf666bdb8adb1af478e9dfdbd.png/show)


Popular Games

Genshin Impact Walkthrough & Guides Wiki
Umamusume: Pretty Derby Walkthrough & Guides Wiki
Crimson Desert Walkthrough & Guides Wiki
Monster Hunter Stories 3: Twisted Reflection Walkthrough & Guides Wiki
Honkai: Star Rail Walkthrough & Guides Wiki
Pokemon Pokopia Walkthrough & Guides Wiki
The Seven Deadly Sins: Origin Walkthrough & Guides Wiki
Wuthering Waves Walkthrough & Guides Wiki
Zenless Zone Zero Walkthrough & Guides Wiki
Arknights: Endfield Walkthrough & Guides Wiki


Recommended Games
Fire Emblem Heroes (FEH) Walkthrough & Guides Wiki
Diablo 4: Vessel of Hatred Walkthrough & Guides Wiki
Cyberpunk 2077: Ultimate Edition Walkthrough & Guides Wiki
Yu-Gi-Oh! Master Duel Walkthrough & Guides Wiki
Super Smash Bros. Ultimate Walkthrough & Guides Wiki
Pokemon Brilliant Diamond and Shining Pearl (BDSP) Walkthrough & Guides Wiki
Elden Ring Shadow of the Erdtree Walkthrough & Guides Wiki
Monster Hunter World Walkthrough & Guides Wiki
The Legend of Zelda: Tears of the Kingdom Walkthrough & Guides Wiki
Persona 3 Reload Walkthrough & Guides Wiki


All rights reserved
© ARMOR PROJECT/BIRD STUDIO/SPIKE CHUNSOFT/SQUARE ENIX
© SUGIYAMA KOBO ℗ SUGIYAMA KOBO
The copyrights of videos of games used in our content and other intellectual property rights belong to the provider of the game.
The contents we provide on this site were created personally by members of the Game8 editorial department.
We refuse the right to reuse or repost content taken without our permission such as data or images to other sites.