Walkthrough Part 13: Rendarak Shrine to Hall of Hargon
★ Interactive Map and Locations
┗ Secret Spots | Sparkly Spots | Mini Medals
☆ 100% Walkthrough Guide
┗Post Game Guide
☆ Trophy Guide: How to Get Platinum
★ Playing the first game? DQ1 Wiki here!
This is a walkthrough guide from Rendarak Shrine to the Hall of Hargon for the Main Story of Dragon Quest 2 HD-2D Remake (DQ2). See the objectives for Rendarak Shrine to the Hall of Hargon and follow a step-by-step walkthrough in this guide.
| ◀ Previous Guide | Next Guide ▶ |
|---|---|
| Sunken Ship to Passage to Rendarak | Post-Game |
List of Contents
 Attention! Attention! |
This page contains major spoliers for Dragon Quest 2 HD-2D Remake! Continue reading on at your own risk. |
|---|
Rendarak Shrine to Hall of Hargon Walkthrough Guide
| Jump to an Area Walkthrough! | |||
|---|---|---|---|
| 1 | Rendarak Shrine | 2 | Hall of Hargon |
Rendarak Shrine
| 1 | After exiting the cave, head northeast until you reach Rendarak Shrine. After the cutscene, you will get the Ultimate Key, as well as the ability to heal and save when you talk to the priest. |
|---|---|
| 2 | Now that you have the Ultimate Key, take some time to revisit every location and unlock all the green chests and doors you come across. Make sure not to miss the Mark of Erdrick in Midenhall, since you'll need that accessory to get Erdrick's Helm in the Sanctum. Also, make sure that you talk to the man beside the counter on the second floor of Kol's weapon shop so that you can start the Side Quest to repair Erdrick's Sword. ▶ How to Get the Ultimate Key and Where to Use It |
| 3 | When you're done exploring and using the Ultimate Key, head west from Rendarak to reach the Hall of Hargon. Also, as a note, you can visit the Shivering Shrine just east of the final dungeon so that you can grab the treasures found inside. |
Hall of Hargon
| 1 | Head inside the Hall of Hargon, and after the cutscene, you will be in what appears to be Midenhall's Castle. Head up and talk to the king, then head back down and use the Eye of Rubiss from your inventory. |
|---|---|
| 2 | Now that you can see the real Hall of Hargon, head forward to initiate a boss fight with Mariella. The boss fight can be made trivial by putting her to sleep, so make sure the Princess of Moonbrooke is spamming Wild Side, Duplic Hat boosted Snoozes. |
| 3 | Once she's been defeated, you're free to start exploring Hargon's lair. The dungeon is very straightforward compared to the Passage to Rendarak, but be careful since this dungeon contains a boss gauntlet before the final fight. |
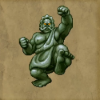
| 4 | When you reach the 4th floor, make sure you're fully ready since you'll face Atlas in the area before the staircase upwards. He'll largely be the same as his previous fight, with the exception of more AoE attacks, so make sure to increase your Defense and block before he hits you with powered-up attacks. |
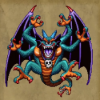
| 5 | The next boss after Atlas will be Pazuzu, encountered on the 5th floor. Make sure everyone has a Banishing Bell equipped, and also increase your magical defenses. Also, as a note, he's susceptible to sleep, so make sure the Princess of Moonbrooke is using Wild Side Duplic Hat boosted Snoozes, similar to the Mariella fight. |
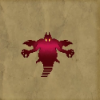
| 6 | Finally, the last boss of the gauntlet, Belial, will be fought on the 6th floor. Similar to his last encounter, make sure to spam every defensive buff you have, especially the Souped-Up Kabuff from the Prince of Cannock, and heal whenever necessary. |
| 7 | After the boss gauntlet is over, the only change remaining is Hargon himself. Finish up exploring the dungeon for any treasures and head to the 7th floor to activate the teleport that connects back to the entrance. |
| 8 | Since the only thing left is the final boss of the game, make sure to tie up any loose ends, such as Mini Medals, Key Chests, or Side Quests, like restoring Erdrick's Sword. |
| 9 | When you're ready and fully healed up, head through the door on the 7th floor to face Hargon. Make sure to preserve your MP since there's no downtime between the first and second parts of the final boss fight. |
| 10 | Once the final boss has been defeated, you'll have successfully saved the world! Before heading back to Midenhall, make sure to stop by towns, like Beran, Moonbrooke, or Cannock, and talk to NPCs for unique dialogue and cutscenes. |
| 11 | After you're done exploring the world and talking to NPCs, head back to Midenhall and talk to the king to officially beat the game. However, there's still post-game activities to do, so load your completed save and hop right back in! ▶ Post Game Guide |
Encounterable Enemies and Bosses
All Enemies in Rendarak Shrine
 Killing Machine |
 Frostburn |
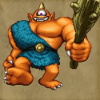
 Gigantes |
 Batmandrill |
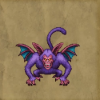
 Archdemon |
 Freezing Fog |
 Firn Fiend |
 Blue Dragon |
All Enemies in Hall of Hargon
 Hargonaut |
 Wrecktor |
 Atlas |
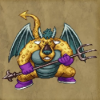
 Pazuzu |
 Belial |
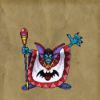 Hargon |
 Malroth |
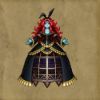 Mariella |
 Umbra |
 Stone Guardian |
 Dread Dragon |
 Knight Abhorremt |
 Dragon Zombie |
 Malwrath |
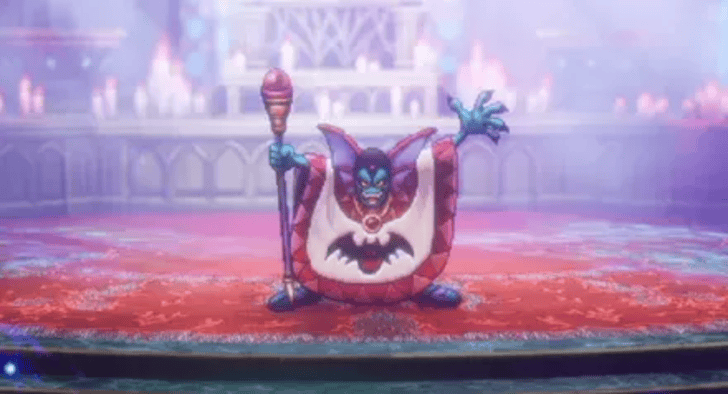
Hargon
|
| Recommended Level |
|---|
| Level 46 |
Hargon is the new boss encounter in this part of the story. This is a two-part boss battle, so be sure you're prepared, as defeating him will lead you to another fight later on.
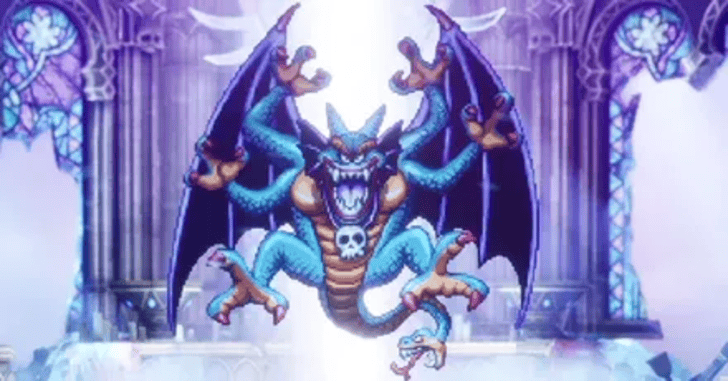
Malroth
|
| Recommended Level |
|---|
| Level 46 |
Malroth is the second phase of the battle against Hargon. The fight revolves around using other offensive options since most of the time you won't be able to cast spells. Be sure to strategize carefully for this final encounter.
How to Beat the Final Boss: Malroth
All Sparkly Spot Locations
| We’re still gathering all sparkly spot locations for this part of the story. Please check back later! |
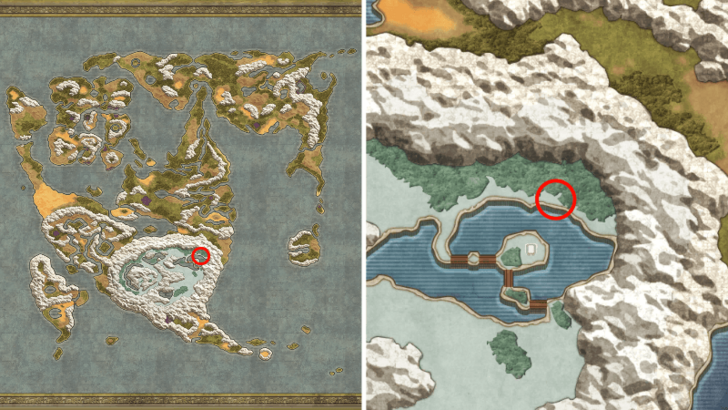
All Secret Spot Locations
| Map Image | World Image | |
|---|---|---|
| 35 |
 |
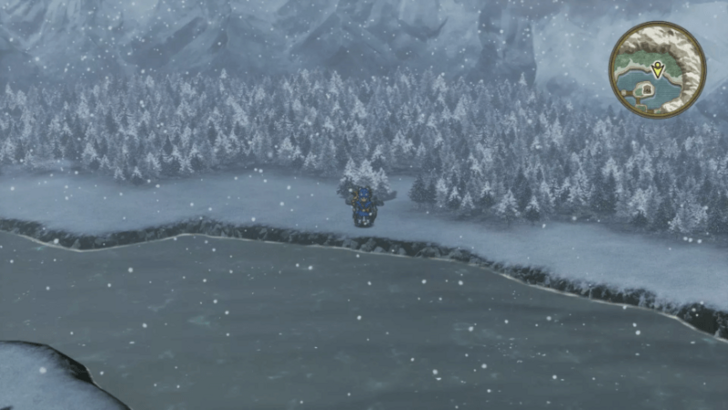 |
| 36 |
 |
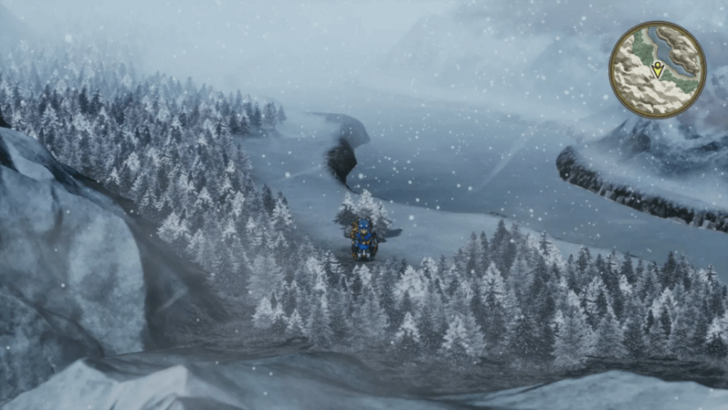 |
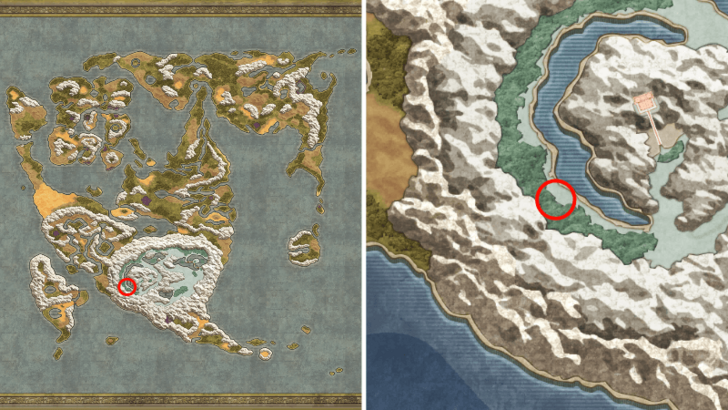
All Mini Medal Locations
| Map Image | World Image | |
|---|---|---|
56 |
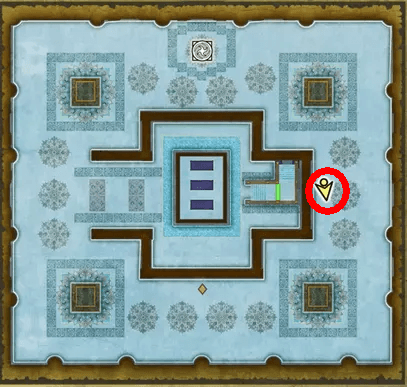 |
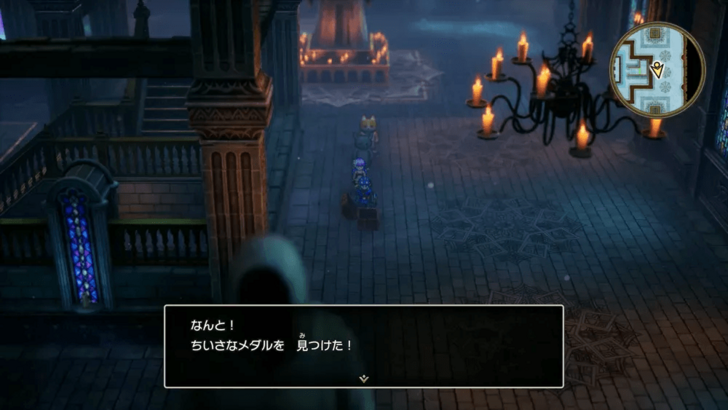 |
All 80 Mini Medal Locations and Rewards
Dragon Quest 2 HD-2D Remake (DQ2) Related Guides
List of All Story Walkthroughs
Comment
Author

Walkthrough Part 13: Rendarak Shrine to Hall of Hargon
Rankings
- We could not find the message board you were looking for.
Gaming News


Popular Games

Genshin Impact Walkthrough & Guides Wiki
Umamusume: Pretty Derby Walkthrough & Guides Wiki
Crimson Desert Walkthrough & Guides Wiki
Monster Hunter Stories 3: Twisted Reflection Walkthrough & Guides Wiki
Honkai: Star Rail Walkthrough & Guides Wiki
Pokemon Pokopia Walkthrough & Guides Wiki
The Seven Deadly Sins: Origin Walkthrough & Guides Wiki
Wuthering Waves Walkthrough & Guides Wiki
Zenless Zone Zero Walkthrough & Guides Wiki
Arknights: Endfield Walkthrough & Guides Wiki


Recommended Games
Fire Emblem Heroes (FEH) Walkthrough & Guides Wiki
Diablo 4: Vessel of Hatred Walkthrough & Guides Wiki
Cyberpunk 2077: Ultimate Edition Walkthrough & Guides Wiki
Yu-Gi-Oh! Master Duel Walkthrough & Guides Wiki
Super Smash Bros. Ultimate Walkthrough & Guides Wiki
Pokemon Brilliant Diamond and Shining Pearl (BDSP) Walkthrough & Guides Wiki
Elden Ring Shadow of the Erdtree Walkthrough & Guides Wiki
Monster Hunter World Walkthrough & Guides Wiki
The Legend of Zelda: Tears of the Kingdom Walkthrough & Guides Wiki
Persona 3 Reload Walkthrough & Guides Wiki


All rights reserved
© ARMOR PROJECT/BIRD STUDIO/SPIKE CHUNSOFT/SQUARE ENIX
© SUGIYAMA KOBO ℗ SUGIYAMA KOBO
The copyrights of videos of games used in our content and other intellectual property rights belong to the provider of the game.
The contents we provide on this site were created personally by members of the Game8 editorial department.
We refuse the right to reuse or repost content taken without our permission such as data or images to other sites.