Weapon World Map and Walkthrough
Weapon World, originally known as Factory in the original game, is a location in Super Mario RPG Remake. See a map and walkthrough of Weapon World, hidden treasure chest locations, enemies and bosses, what to do in Weapon World and minigames.
Weapon World Map and Hidden Chests
Weapon World Map
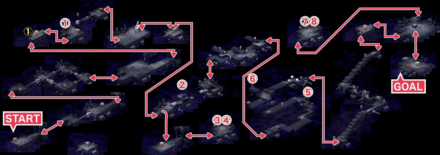
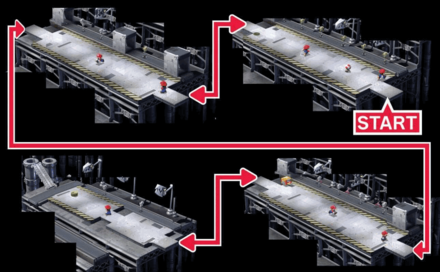
Red Numbers: Normal Chests, Yellow Numbers: Hidden Chests, Blue Numbers: Other Items
Weapon World Hidden Chests and Items
Hidden Treasure Chests
| No. | Hidden Chest | Location |
|---|---|---|
| 1 |
Hidden Chest #39 Mushroom |
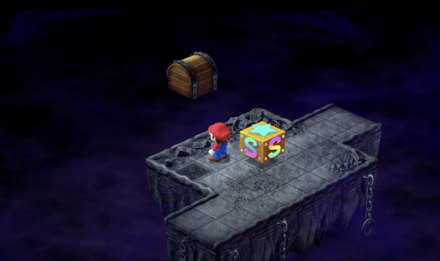 |
Normal Treasure Chests
| 1 | Ultra Hammer | 2 | Mushroom |
|---|---|---|---|
| 3 | Flower | 4 | Mushroom |
| 5 | Royal Syrup | 6 | Max Mushroom |
| 7 | Flower | 8 | Mushroom |
Other Items
| There are no other items in this area. |
Weapon World Walkthrough
| Following Bowser's Keep | |
| ① | Follow the path towards the next area. |
|---|---|
| ② | 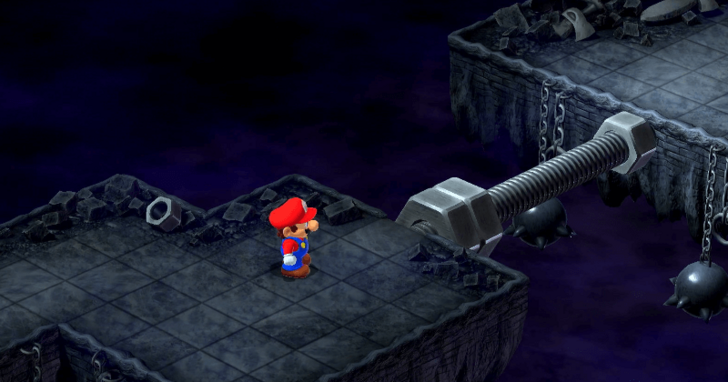 |
| ③ | From where you land, begin crossing the nut bolt bridges by jumping repeatedly to move each nut forward. Make your way to the upper-right platform to find the passage to the next area. |
| ④ | 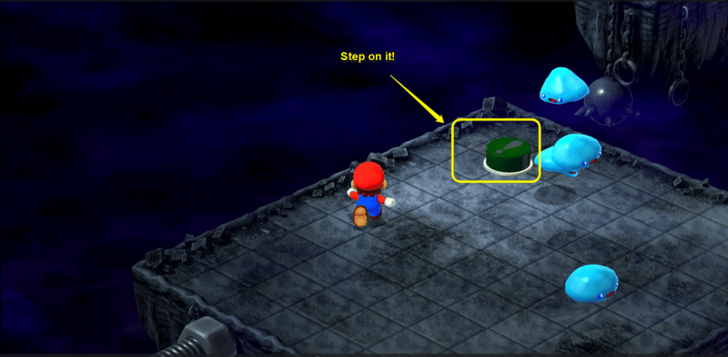 |
| ⑤ |  |
| ⑥ | 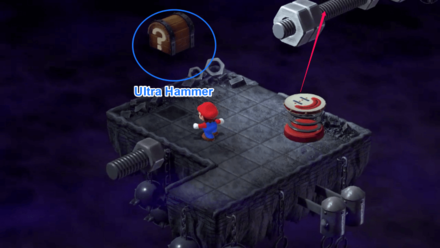 The treasure chest in this area contains an item called the Ultra Hammer. It is a weapon for Mario. |
| ⑦ | 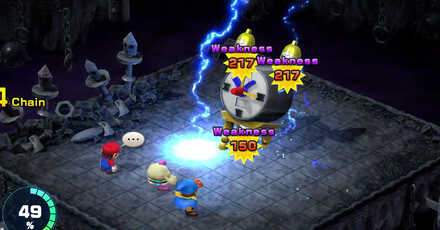 In the next room, you'll face off against Count Down. Use Mallow’s lightning spells like Shocker to deal heavy damage to Count Down and its sidekicks. Defeat it to unlock the next path forward. ▶How to Beat Count Down |
| ⑧ | Once you have saved at the save point, use the trampoline to continue on to the next area. |
| ⑨ | 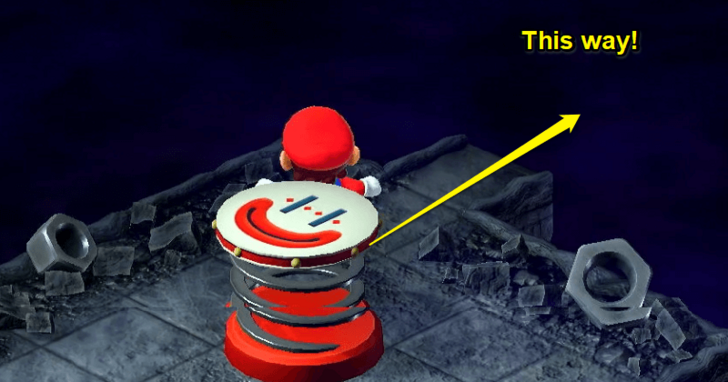 |
| ⑩ |  If you fall from the slab, there is a Mushroom and a Flower from the treasure chest below. |
| ⑪ | 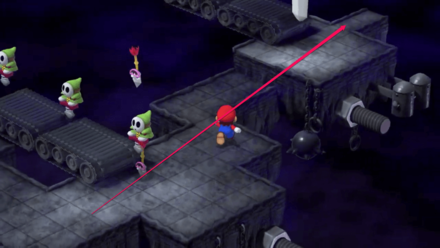 Make your way to the end of the area to reach the next location. |
| ⑫ | 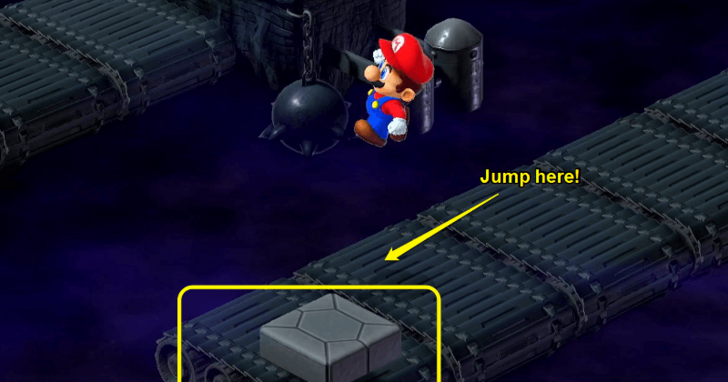 There is a treasure chest containing Royal Syrup along the way. |
| ⑬ | Go to the upper-right area and into the passage at the back to proceed onwards. If you choose to go along the conveyor on the left, you can get Max Mushrooms from the treasure chest. |
| ⑭ | 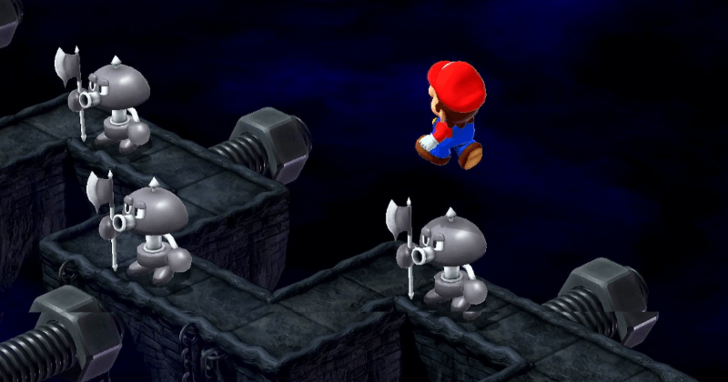 Continue on this path towards the next area. (Enemies moving sideways can be avoided by jumping.) Continue on this path towards the next area. (Enemies moving sideways can be avoided by jumping.) |
| ⑮ | Make sure to save at the save point, then go to the next area. |
| ⑯ | 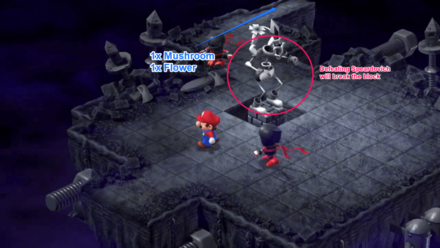 |
| ⑰ | 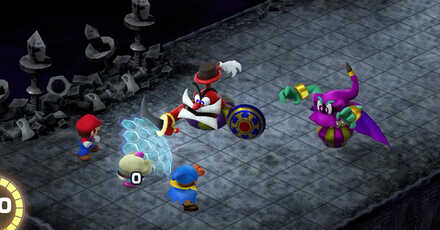 In this next area, you will encounter and battle Cloaker and Domino. • If you defeat Cloaker first, Mad Adder will join the fight. • If you defeat Domino first, Bad Adder will join the fight instead. ▶︎How to Beat Cloaker and Domino |
| ⑱ | Go to the next area through the upper-left passage. |
| ⑲ | 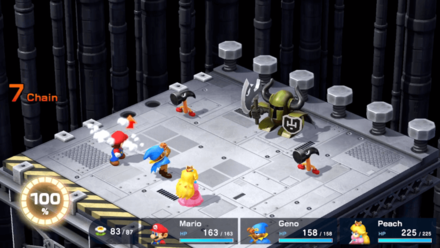 Continuing forward, you will face 3 Mad Mallets. After defeating them, you will battle Clerk along with 2 more Mad Mallets. ▶︎How to Beat Clerk |
| ⑳ | Moving on, you will trigger two events. And after that, Toad will appear. |
| ㉑ | You can purchase items from Toad here — this is your last chance to stock up before the final battle, so grab what you need! He’ll also give you a Rock Candy! When you are ready, proceed to the next area. |
| ㉒ | 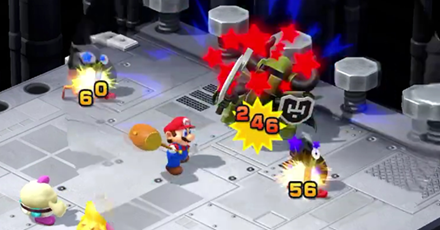 This next area is where you will face the Manager. Defeat them to continue. ▶︎How to Beat Manager |
| ㉓ | Move onto the next room. |
| ㉔ | 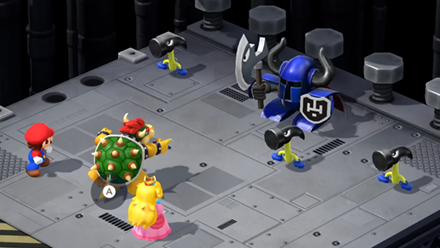 Defeat the Director. ▶︎How to Beat Director |
| ㉕ | Be sure to save after the fight, then proceed to the next area. |
| ㉖ | 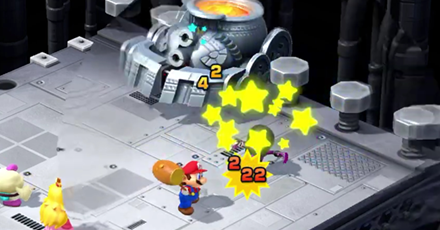 Defeat the Factory Chief ▶︎How to Beat Factory Chief |
| ㉗ |  Step on the switch to go to the area where Smithy is. Defeat Smithy. Upon his defeat, you will receive the 7th and final Star Piece. ▶︎How to Beat Smithy |
| * | After finishing the game, you will have access to exclusive post-game content! ▶︎Post-Game Guide |
7th Star Piece Walkthrough (Chapter 7)
Things to Do in Weapon World
Obtain the Ultra Hammer

As you hop on the trampolines to make it through the Weapon World, you will come across a chest containing the Ultra Hammer.
Stats-wise, the Ultra Hammer is only second to the Lazy Shell Weapon, which means this is a great upgrade for your Mario at this point in the game!
Ultra Hammer - Stats and How to Get
Finish the Main Story
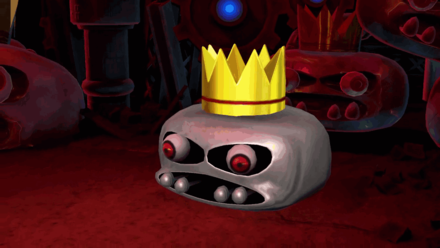
The Weapon World is the area where you get the 7th Star Piece, essentially completing the game's main story. You'll have to defeat the multiple bosses along the way, so make sure your characters are geared up!
Once you complete the main story, you can now proceed with Super Mario RPG's Post Game content, which includes a rematch of the Bosses!
All Post-Game Content and How to Get 100% Clear
Weapon World Bosses and Enemies
All Bosses
| Boss | HP | Weakness |
|---|---|---|
 Clerk Clerk
|
500 | - |
 Cloaker Cloaker
|
1200 | - |
 Count Down Count Down
|
2400 | Jump, Lightning |
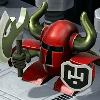 Director Director
|
1000 | Lightning |
 Domino Domino
|
900 | Fire |
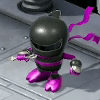 Factory Chief Factory Chief
|
1000 | Lightning, Ice |
 Manager Manager
|
800 | - |
 Smithy Smithy
|
2000 | - |
All Enemies
| Enemy | HP | Weakness |
|---|---|---|
 Ameboid Ameboid
|
220 | Fire |
 Glum Reaper Glum Reaper
|
180 | - |
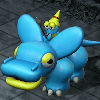 Hippopo Hippopo
|
400 | Lightning |
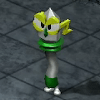 Jabit Jabit
|
150 | Lightning |
 High Boo High Boo
|
66 | - |
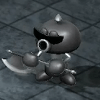 Axem Black (Machine Made) Axem Black (Machine Made)
|
120 | Lightning |
 Axem Green (Machine Made) Axem Green (Machine Made)
|
80 | Ice |
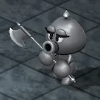 Axem Pink (Machine Made) Axem Pink (Machine Made)
|
100 | Fire, Ice |
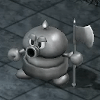 Axem Yellow (Machine Made) Axem Yellow (Machine Made)
|
200 | Jump |
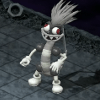 Bowyer (Machine Made) Bowyer (Machine Made)
|
1000 | - |
 Jabit (Machine Made) Jabit (Machine Made)
|
180 | - |
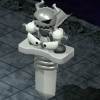 Claymorton (Machine Made) Claymorton (Machine Made)
|
300 | Lightning |
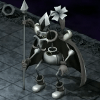 Speardovich (Machine Made) Speardovich (Machine Made)
|
800 | - |
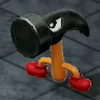 Mad Mallet Mad Mallet
|
200 | Lightning |
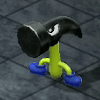 Pounder Pounder
|
180 | Lightning |
 Poundette Poundette
|
150 | Lightning |
 Puppox Puppox
|
300 | Fire |
 Springer Springer
|
122 | - |
Weapon World Shops
| There are no shops in this location. |
Super Mario RPG Remake Related Guides

All Locations
| First Star Piece | |||
|---|---|---|---|
| Bowser's Keep | Mario's House | Mushroom Way | |
| Mushroom Kingdom | Bandit's Road | - | |
| Second Star Piece | |||
| Kero Sewers | Midas River | Tadpole Pond | |
| Rose Way | Rose Town | Forest Maze | |
| Third Star Piece | |||
| Pipe Vault* | Yo'ster Isle* | Moleville | |
| Fourth Star Piece | |||
| Booster Pass | Booster Tower | Booster Hill | |
| Marrymore | Star Hill | - | |
| Fifth Star Piece | |||
| Seaside Town | Sea | Sunken Ship | |
| Sixth Star Piece | |||
| Land's End | Monstro Town | Bean Valley | |
| Grate Guy's Casino* | Nimbus Land | Barrel Volcano | |
| Seventh Star Piece | |||
| Bowser's Keep | Weapon World | - | |
| *Optional Areas | |||
Comment
Author
Weapon World Map and Walkthrough
Rankings
- We could not find the message board you were looking for.
Gaming News
Popular Games

Genshin Impact Walkthrough & Guides Wiki

Umamusume: Pretty Derby Walkthrough & Guides Wiki

Pokemon Pokopia Walkthrough & Guides Wiki

Honkai: Star Rail Walkthrough & Guides Wiki

Monster Hunter Stories 3: Twisted Reflection Walkthrough & Guides Wiki

Arknights: Endfield Walkthrough & Guides Wiki

Wuthering Waves Walkthrough & Guides Wiki

Zenless Zone Zero Walkthrough & Guides Wiki

Pokemon TCG Pocket (PTCGP) Strategies & Guides Wiki

Monster Hunter Wilds Walkthrough & Guides Wiki
Recommended Games

Diablo 4: Vessel of Hatred Walkthrough & Guides Wiki

Cyberpunk 2077: Ultimate Edition Walkthrough & Guides Wiki

Fire Emblem Heroes (FEH) Walkthrough & Guides Wiki

Yu-Gi-Oh! Master Duel Walkthrough & Guides Wiki

Super Smash Bros. Ultimate Walkthrough & Guides Wiki

Pokemon Brilliant Diamond and Shining Pearl (BDSP) Walkthrough & Guides Wiki

Elden Ring Shadow of the Erdtree Walkthrough & Guides Wiki

Monster Hunter World Walkthrough & Guides Wiki

The Legend of Zelda: Tears of the Kingdom Walkthrough & Guides Wiki

Persona 3 Reload Walkthrough & Guides Wiki
All rights reserved
© Nintendo/SQUARE ENIX Characters: © Nintendo, © SQUARE ENIX
The copyrights of videos of games used in our content and other intellectual property rights belong to the provider of the game.
The contents we provide on this site were created personally by members of the Game8 editorial department.
We refuse the right to reuse or repost content taken without our permission such as data or images to other sites.



![Monster Hunter Stories 3 Review [First Impressions] | Simply Rejuvenating](https://img.game8.co/4438641/2a31b7702bd70e78ec8efd24661dacda.jpeg/show)
![Monster Hunter Stories 3 Review [First Impressions] | Simply Rejuvenating](https://img.game8.co/4438641/2a31b7702bd70e78ec8efd24661dacda.jpeg/thumb)

![The Seven Deadly Sins: Origin [First Impressions] | A Promising Start](https://img.game8.co/4440581/584e0bfb87908f12c4eab6e846eb1afd.png/thumb)


