Heian Befouled Walkthrough
Heian Befouled is the eighth main mission in Nioh 3. See the complete walkthrough for Black Feather Sanctuary, The Oni of Rajomon, and Subterfuge at the Abandoned Shrine, as well as all mission rewards in this guide!
List of Contents
| ◀ Previous Mission | Next Mission ▶ |
|---|---|
| The Age of Clans Begins | A Cause Too Great |
Heian Befouled Mission Walkthrough
| Walkthrough Objectives | |
|---|---|
| 1 | Purify Three Barriers |
| 2 | Black Feather Sanctuary |
| 3 | The Oni of Rajomon |
| 4 | Subterfuge at the Abandoned Shrine |
Objective 1: Purify Three Barriers
| # | Walkthrough |
|---|---|
| 1 | 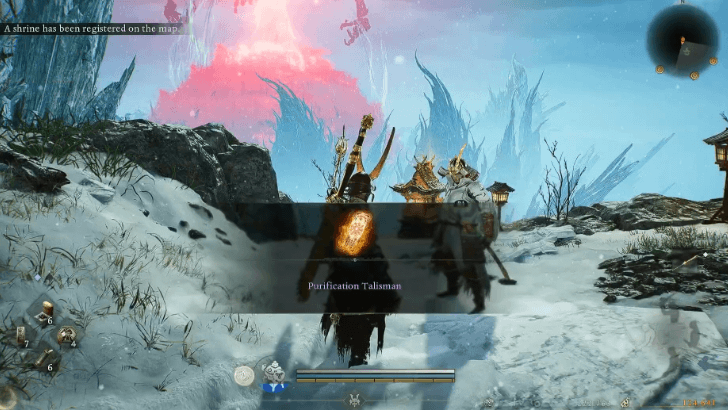 After the events of the previous mission, Minamoto no Yoshitsune will give you a Purification Talisman and task you with purifying the three barriers surrounding Kyoto. |
| 2 | The map will show three objective markers; for Black Feather Sanctuary, The Oni of Rajomon, and Subterfuge at the Abandoned Shrine. Note that you can do the three objectives in any order, but it is best to meet the recommended level for the objective first. |
Objective 2: Black Feather Sanctuary
| # | Walkthrough |
|---|---|
| 1 | 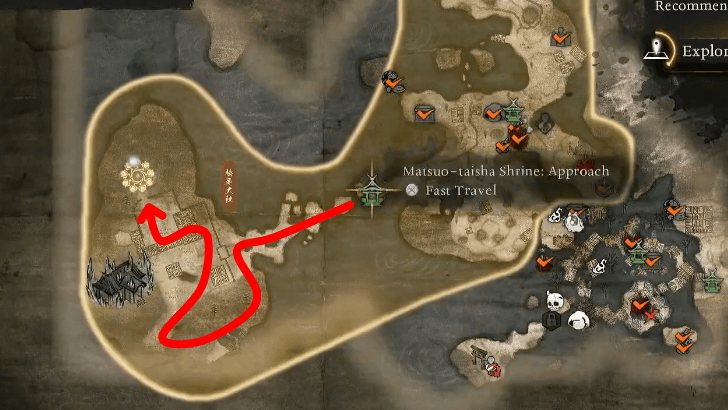 Black Feather Sanctuary is located at the Matsuo-taisha shrine in Sagano, on the west side of the map. It's recommended to reach level 69 before tackling this mission, and you can take your time exploring and leveling up on the way to this area! |
| 2 | 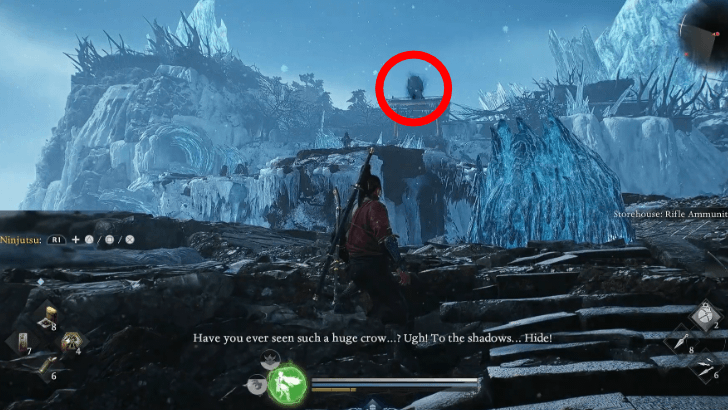 Starting from the Matsuo-taisha Shrine: Approach, go up the narrow, rocky path. Once you're close enough to spot the giant crow in the distance, it will start attacking you, so be careful! You can use the various ice walls along the way as cover, and keep moving otherwise to avoid the attacks. |
| 3 | 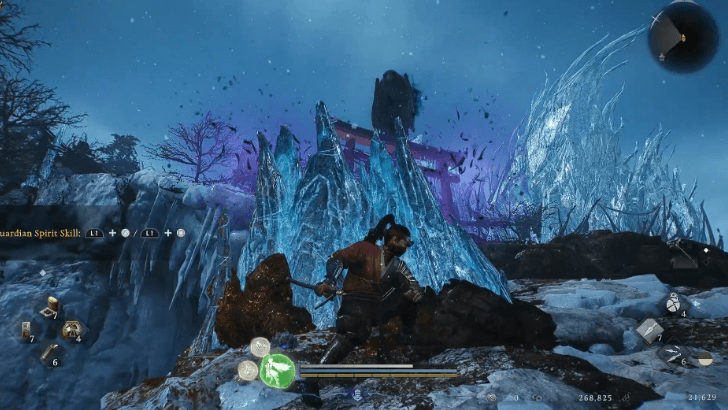 You need to carefully make your way up to the shrine until you're close enough to shoot at the crow to drive it away. Afterwards, go to the left path which leads to a shrine. |
| 4 | From the shrine, to left into a cave pathway that leads to a small cavern with three enemies inside. There will be rough steps to the right that leads up to the ledge. |
| 5 | 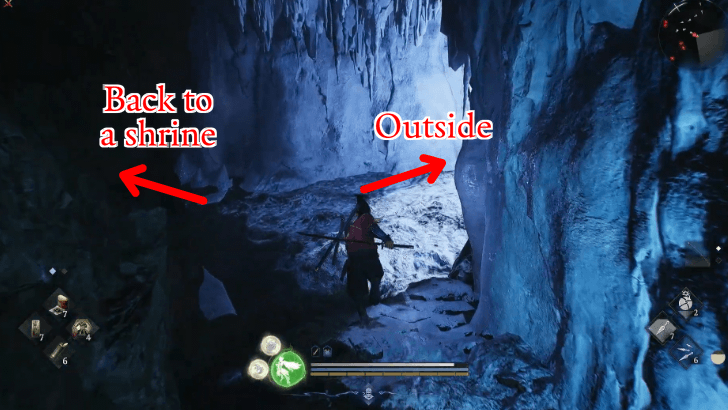 Head down the cave path to the left of the ledge, which splits into two; the path on the left has a rolling boulder you can push to open a path back to the shrine, and the path on the right leads outside. |
| 6 | 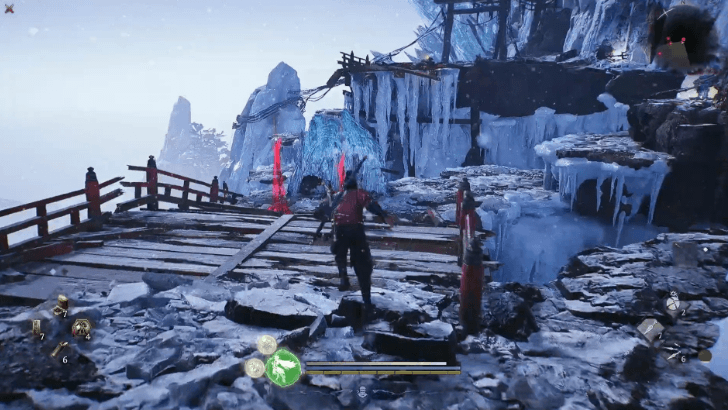 Take the path on the right, which leads to a bridge and another ice wall up ahead. A crow will appear again so take cover quickly! |
| 7 | After driving the crow away, you can keep going up the path and then into another cave on the right. Be careful of enemies and rolling boulders while exploring the cave. |
| 8 | 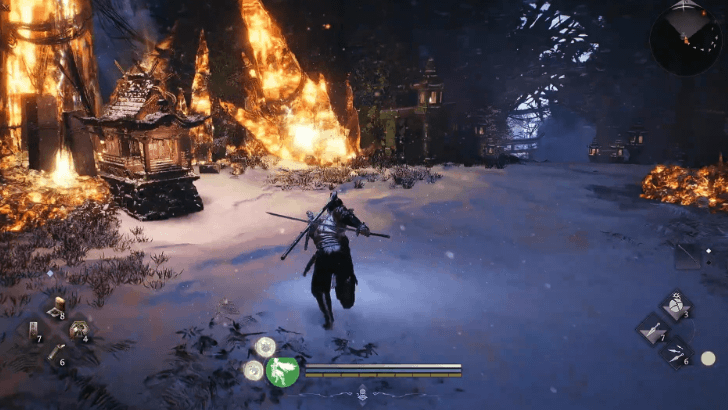 At the other end of the cave is a shrine and a path lined with lamps. Be careful as one of these lamps will turn into a yokai. |
| 9 | 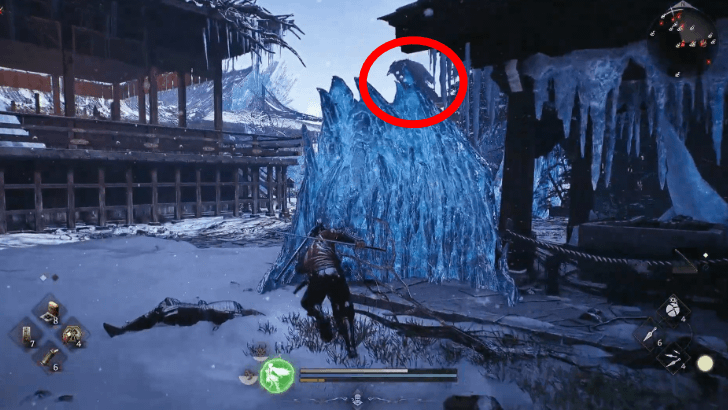 Down the path will be a courtyard and another encounter with a giant crow. It will attack by flapping its wings. After driving it away, head across the courtyard and past the gate it was perched at. |
| 10 | Opening the large gates up ahead will lead you back to the first shrine, the icy pathway to the left will lead you into the building. |
| 11 | 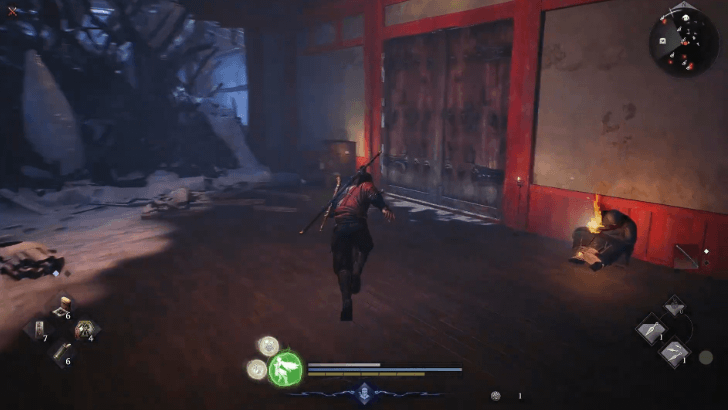 Go through the house until you reach the double doors that lead to a small creek and stone bridge. Past that is another body of water you need to get around carefully, as yokai will spawn there. |
| 12 | Follow the body of water north up another stone path, through a broken down house, and into a cave on the right that leads to a shrine. |
| 13 |  Past the shrine is a trail of benevolent graves and the Otoroshi boss! This boss is incredibly large with long reaching arms, and can disappear and drop down from above. ▶︎ How to Beat Otoroshi |
| 14 | After defeating Otoroshi, approach the barrier and select Cleanse Impurity to purify the barrier at the Matsuo-taisha shrine. |
Objective 3: The Oni of Rajomon
| # | Walkthrough |
|---|---|
| 1 | 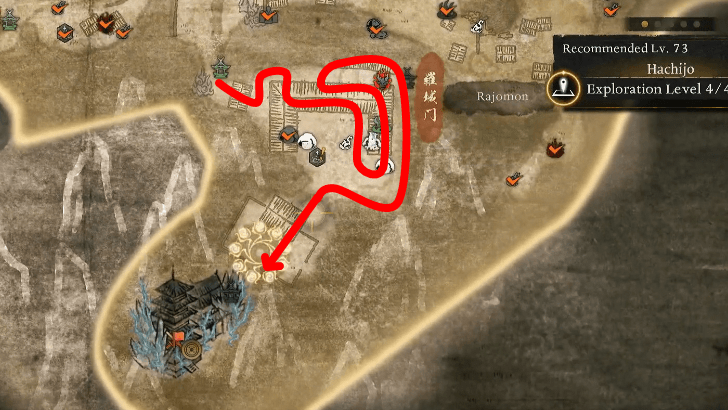 For the Oni of Rajomon, reach at least level 80 and make your way south of the Hachijo area. |
| 2 | 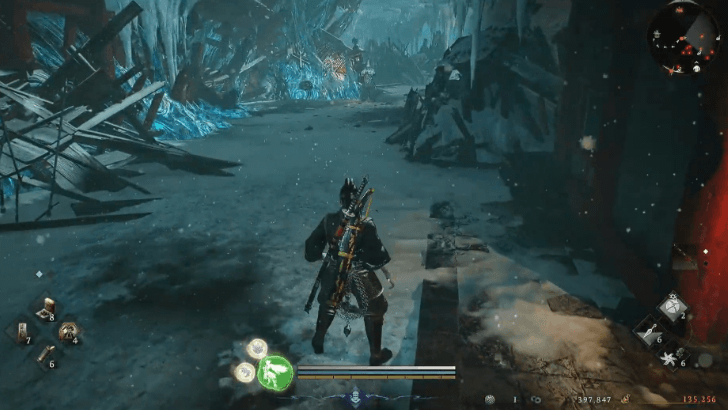 From the Rajomon: Suzaku Avenue shrine, you can head right up a stone path and down a wooden walkway. This will lead to a path behind and into a partially-broken house. Be careful of the spiders in the house. |
| 3 | If you go through the house and onto the inner street, you can make a right turn then left to a well with a Kodama inside and an open doorway. |
| 4 | 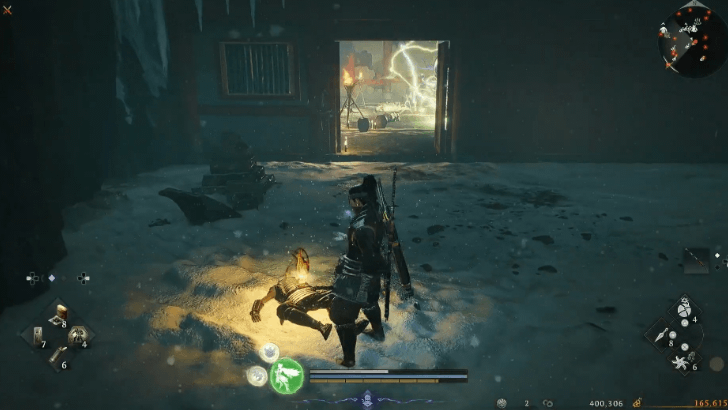 Inside the doorway is a Raiju, and you'll need to get to the Spirit Vein behind it. |
| 5 | 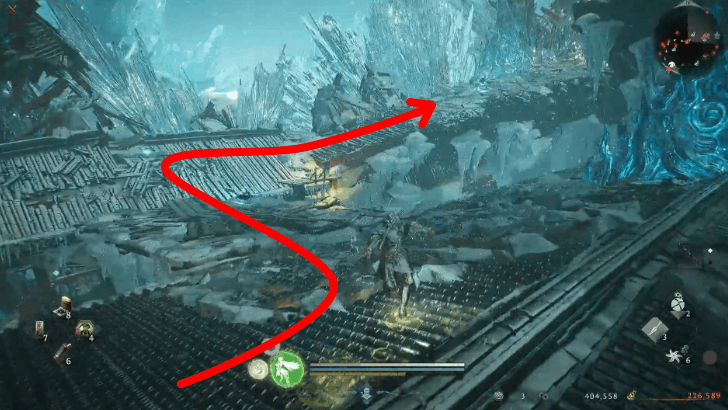 The Spirit Vein will take you to the roof, which you can then use to head north and onto a stone path leading up to a shrine. |
| 6 | From the shrine, you can make your way up into a house and then turn right, where a winding rock path will lead up to another house with a frozen statue inside. |
| 7 | 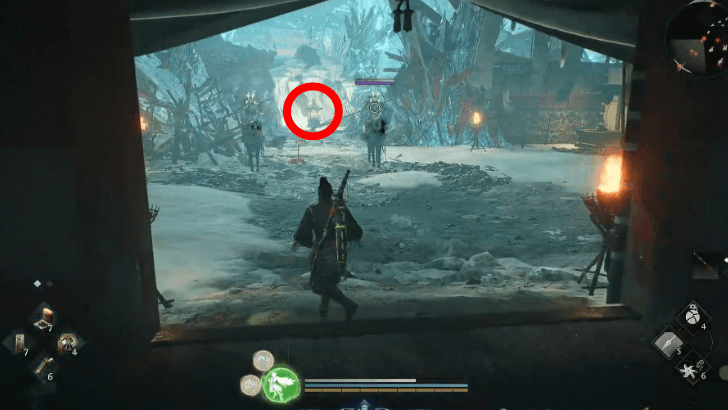 Past the frozen statue of the house are a pair of Yagyo Soldiers and a shrine behind them. |
| 8 | 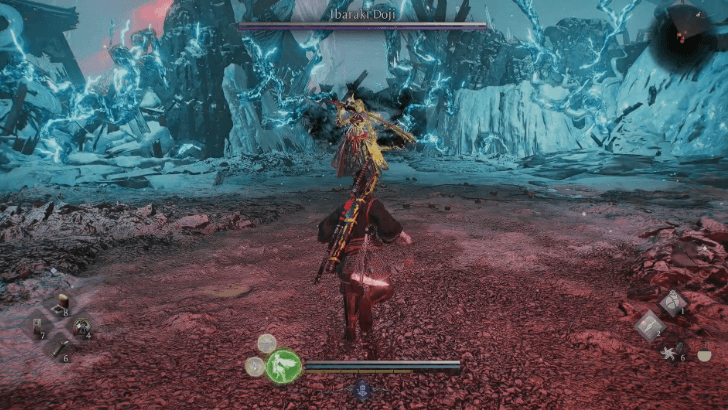 This shrine is the last stop before entering the boss arena of Ibaraki Doji! This yokai wields an idachi and uses different lightning attacks. ▶︎ How to Beat Ibaraki Doji |
| 9 | After beating Ibaraki Doji, you can cleanse the impurity in the Barrier of Rajomon. |
Objective 4: Subterfuge at the Abandoned Shrine
| # | Walkthrough |
|---|---|
| 1 | 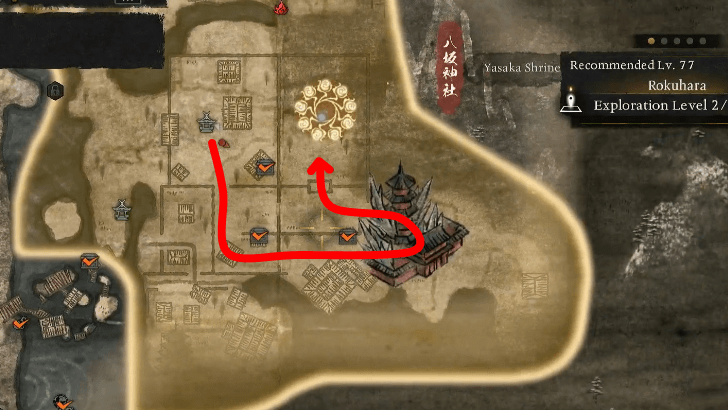 Subterfuge at the Abandoned Shrine is located in Rokuhara, at the Yasaka Shrine. Level 83 is recommended before tackling this shrine, so you can explore and level up first if you need! |
| 2 | 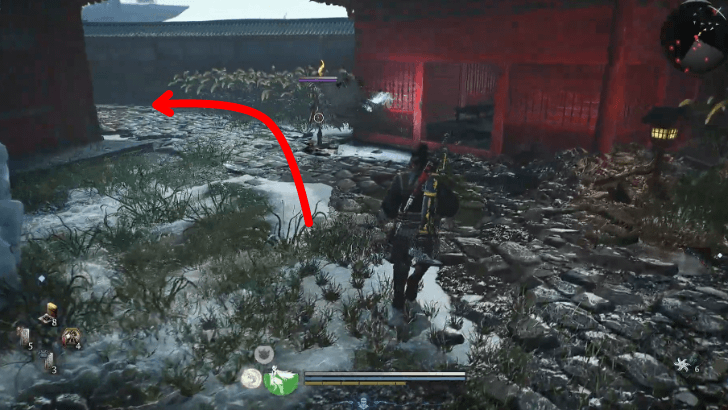 From the Yasaka Shrine: Nishiro Gate, you can head south on a ledge and up a ladder, then right to an empty courtyard. Past the courtyard, follow the stone walkway past a row of houses. |
| 3 | At the end of the road is a large circular building guarded by yokai. Inside the house you'll find a ladder leading up to the second floor, where another ladder is in the next room. This ladder leads up to a third floor where a door to the balcony and a Spirit Vein are located. |
| 4 | 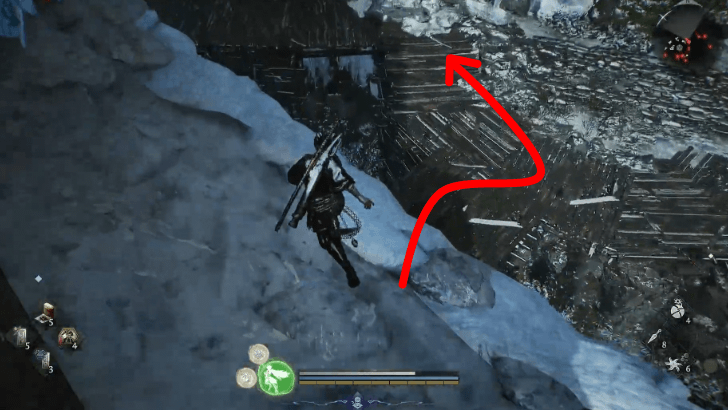 From the balcony, you can jump down a group of wooden platforms and head to the gate on the left. |
| 5 | The gate will lead to a courtyard with purple markings on the ground, and two gates, one to the right and one on the other side of the courtyard. Opening the gate across the courtyard will lead back to a shrine. Opening the gate to the right will lead to the boss arena against Kajiwara Kagetoki. |
| 6 | 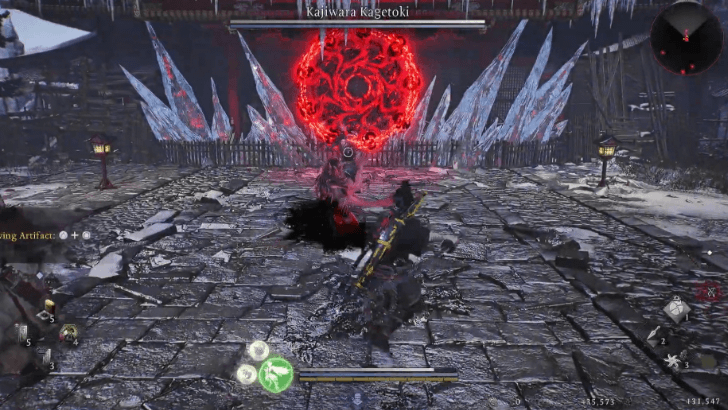 Defeat Kajiwara Kagetoki to progress the mission! This boss summons yokai to attack and uses ranged attacks with his hatchets. ▶︎ How to Beat Kajiwara Kagetoki |
| 7 | After beating Kajiwara Kagetoki, you can purify the last barrier and speak with Minamoto no Yoshitsune on the other side of the arena to complete the mission. |
Heian Befouled Rewards
All Heian Befouled Rewards
| Main Mission Rewards | |||
|---|---|---|---|
| Ninja's Locks x3 | Shugendo Hermit Hatchets | Archer's Hakama | Mantra Sword |
| Onmyo Hunting Hakama | Dual Bloodstained Cleavers | Shinto Priest's Hakama | |
Ruckus in the Sanctuary Trophy
Driving away and shooting at all three giant crows during the Black Feather Sanctuary objective rewards the Ruckus in the Sanctuary trophy! Note that you need to hit the crows until they go away but do not necessarily have to kill them.
You can redo this mission in the Battle Scroll if you missed the trophy the first time, but you need to beat the boss again for the trophy to be rewarded.
Trophy List Guide and All Achievements
How to Unlock Heian Befouled
Complete The Age of Clans Begins Main Mission
Heian Befouled unlocks automatically after completing The Age of Clans Begins.
The Age of Clans Begins Walkthrough
Nioh 3 Related Guides
All Main Missions
| Edo (1622 CE) | |
|---|---|
| 1 | Ceremony ┗ The Fall of Edo Castle |
| Warring States (1572 CE) | |
| 2 | The Battle of Hitokoto Slope ┗ Escape From Hitokoto Slope |
| 3 | The Hamamatsu Incident |
| 4 | The Battle of Futamata Castle |
| 5 | The Battle of Mikatagahara |
| 6 | The Battle of Saigagake |
| Heian (1190 CE) | |
| 7 | The Age of Clans Begins |
| 8 | Heian Befouled |
| 9 | A Cause Too Great |
| Antiquity (247 CE) | |
| 10 | Calamity’s Seed |
| 11 | Ill Omen |
| Return to Edo (1622 CE) | |
| 12 | To the Beginning |
| Bakumatsu (1864 CE) | |
| 13 | A New Era |
| 14 | Those Left Behind |
| 15 | Final Hope |
| Final Battle of Edo (1622 CE) | |
| 16 | What Makes a Shogun |
Comment
Author
Heian Befouled Walkthrough
Rankings
- We could not find the message board you were looking for.
Gaming News


Popular Games

Genshin Impact Walkthrough & Guides Wiki
Umamusume: Pretty Derby Walkthrough & Guides Wiki
Crimson Desert Walkthrough & Guides Wiki
Monster Hunter Stories 3: Twisted Reflection Walkthrough & Guides Wiki
Honkai: Star Rail Walkthrough & Guides Wiki
Pokemon Pokopia Walkthrough & Guides Wiki
The Seven Deadly Sins: Origin Walkthrough & Guides Wiki
Wuthering Waves Walkthrough & Guides Wiki
Zenless Zone Zero Walkthrough & Guides Wiki
Arknights: Endfield Walkthrough & Guides Wiki


Recommended Games
Fire Emblem Heroes (FEH) Walkthrough & Guides Wiki
Diablo 4: Vessel of Hatred Walkthrough & Guides Wiki
Cyberpunk 2077: Ultimate Edition Walkthrough & Guides Wiki
Yu-Gi-Oh! Master Duel Walkthrough & Guides Wiki
Super Smash Bros. Ultimate Walkthrough & Guides Wiki
Pokemon Brilliant Diamond and Shining Pearl (BDSP) Walkthrough & Guides Wiki
Elden Ring Shadow of the Erdtree Walkthrough & Guides Wiki
Monster Hunter World Walkthrough & Guides Wiki
The Legend of Zelda: Tears of the Kingdom Walkthrough & Guides Wiki
Persona 3 Reload Walkthrough & Guides Wiki


All rights reserved
©KOEI TECMO GAMES CO., LTD. All rights reserved.
The copyrights of videos of games used in our content and other intellectual property rights belong to the provider of the game.
The contents we provide on this site were created personally by members of the Game8 editorial department.
We refuse the right to reuse or repost content taken without our permission such as data or images to other sites.