Best Builds Tier List
This is a tier list for the best builds to use in Nioh 3. Learn the best builds to use for the Samurai and Ninja weapons!
List of Contents
Best Builds Tier List
Best Builds Tier List for Samurai
| Tier | Samurai Weapons |
|---|---|
The Samurai Style focuses on doing high damage and effective Ki management. The best Samurai builds make use of different stances to deliver powerful combos combined with consistent use of Ki Pulse and the brand-new Arts Proficiency.
Samurai weapons prioritize stats such as Strength, Constitution, Stamina, and Intellect. Equipment with special effects that increase damage, guarding ability, and Ki Pulse bonuses are needed.
Best Builds Tier List for Ninja
| Tier | Ninja Weapons |
|---|---|
The Ninja Style is known for its fast and continuous attacks, heavy Ki damage, and maneuverability. The best Ninja builds focus on being able to do multi-hits, high-speed combos, and constant evasion. As such, equipment with special effects that increase Ki and Ki recovery are often present.
Ninja weapon builds benefit from stats like Skill, Constitution, Magic, and Intellect. Onmyo Magic and Ninjutsu are often used with builds to add buffs, debuff enemies, or utilize elemental damage to inflict status effects.
Best Build Rankings Explained
| Samurai Weapons | |||
|---|---|---|---|
 Cestuses Cestuses |
 Spears Spears |
 Odachi Odachi |
 Axes Axes |
 Katana (Swords) Katana (Swords) |
 Switchglaives Switchglaives
|  Dual Swords Dual Swords |
- |
| Ninja Weapons | |||
 Tonfa Tonfa |
 Dual Ninja Swords Dual Ninja Swords |
 Talons Talons |
 Ninja Swords Ninja Swords |
 Splitstaff Splitstaff |
 Hatchets Hatchets |
 Kusarigama Kusarigama |
- |
Best Builds for Samurai
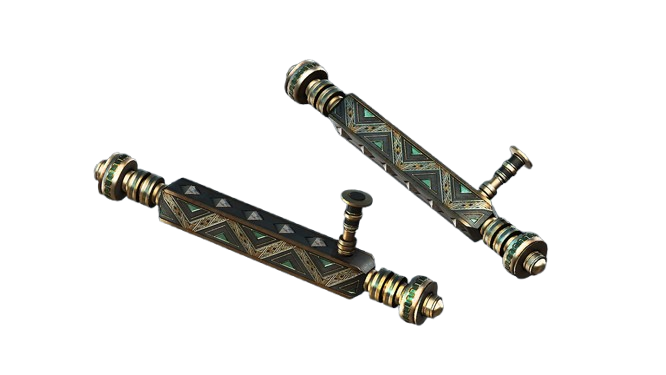
Cestuses
|
|||||||||||
| Recommended Stats | |||||||||||
|---|---|---|---|---|---|---|---|---|---|---|---|
| Special Effects | Set Bonus | ||||||||||
|
・Ki Recovery Speed
・Low Stance Martial Art Ki Consumption ・Mid Stance Martial Art Ki Consumption ・High Stance Martial Art Ki Consumption ・Melee Ki Damage |
・First of the Four Guardians (Brave Demon Hunter Set) | ||||||||||
| Onmyo Magic | |||||||||||
|
・Wind Familiar Talisman
・Extraction Talisman ・Barrier Talisman ・Water Familiar Talisman |
|||||||||||
| Guardian Spirits | |||||||||||
 Guhin Guhin(Early to Mid Game) |
 Oh Oh(Late Game) |
||||||||||
This SS-rank build highlights the Cestus' ability to dish out powerful strikes and relentless combos. With the addition of the Extraction Talisman and Life Recovery (Amrita Absorption) to continuously regain health whilst attacking, this build allows you to pressure enemies while having high survivability in any combat situation.
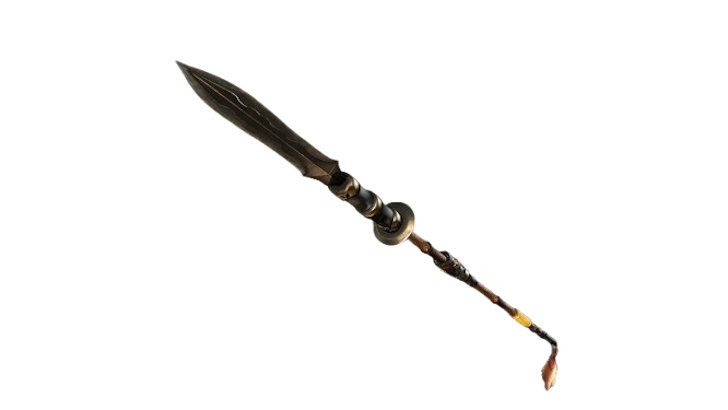
Spears
|
|||||||||||
| Recommended Stats | |||||||||||
|---|---|---|---|---|---|---|---|---|---|---|---|
| Special Effects | Set Bonus | ||||||||||
|
・Ki Recovery Speed
・Strong Attack Ki Consimption ・Martial Art Ki Consumption ・Mid Attack Ki Consumption ・Mid Attack Damage ・Melee Damage |
・The God of War Looks Down (Tatenashi Set)
・The Rightful Eccentric (Eccentric Set) ・Single Sword's Reverie (Wayfarer Set) |
||||||||||
| Onmyo Magic | |||||||||||
|
・Extraction Talisman
・Cutting Blast Talisman ・Life Leech Talisman |
|||||||||||
| Guardian Spirits | |||||||||||
| Guhin (Early to Mid Game) |
Oh (Late Game) |
||||||||||
The Spear's build is an SS-rank for its overall ease and accessibility to players of any skill level. Whether doing wide sweep combos for crowd control or using Ki as an offensive maneuver, this Spear build takes advantage of the weapon's mobility and strong mid-range control, dealing consistent damage from a safe distance.
Odachi
|
|||||||||||
| Recommended Stats | |||||||||||
|---|---|---|---|---|---|---|---|---|---|---|---|
| Special Effects | Set Bonus | ||||||||||
|
・Ki Recovery Speed
・Ki Pulse Recovery ・High Attack Ki Consumption ・Low Stance Martial Art Ki Consumption ・Attack Bonus (Stamina) ・Martial Art Ki Damage |
・Pride of the Crimson Army (Crimson General Set)
・Single Sword's Reverie (Wayfarer Set) ・The God of War Looks Down (Tatenashi Set) |
||||||||||
| Onmyo Magic | |||||||||||
|
・Water Familiar Talisman
・Steel Talisman ・Power Talisman |
|||||||||||
| Guardian Spirits | |||||||||||
| Guhin (Early Game) |
 Narikama Tanuki Narikama Tanuki(Mid Game) |
Oh (Late Game) |
|||||||||
This Odachi build ranks S for its strong damage output and efficient usage of the Arts Proficiency skill. Even without the support of utilities, this Odachi build can take down a variety of enemies through its Martial Arts and massive HP damage.
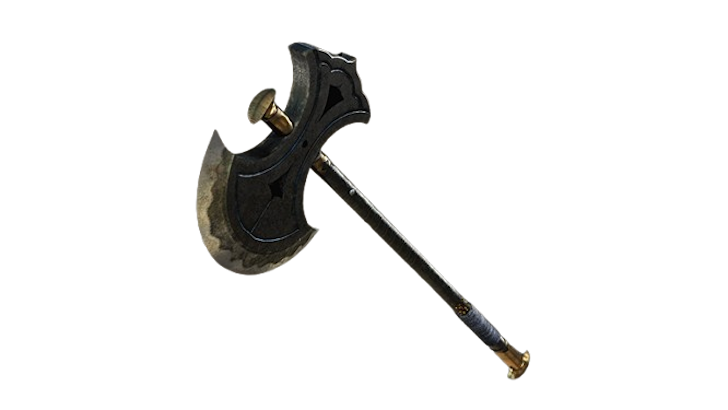
Axes
|
|||||||||||
| Recommended Stats | |||||||||||
|---|---|---|---|---|---|---|---|---|---|---|---|
| Special Effects | Set Bonus | ||||||||||
|
・Ki Recovery Speed
・Strong Attack Ki Damage ・Attack Bonus (Stamina) ・Mid Stance Martial Art Ki Consumption ・Melee Attack Ki Damage ・Melee Attack Ki Consumption |
・Warrior of the East's Honor (Warrior of the East Set)
・First of the Four Guardians (Brave Demon Hunter Set) ・The God of War Looks Down (Tatenashi Set) ・Kintaro (Kintaro Set) |
||||||||||
| Onmyo Magic | |||||||||||
|
・Extraction Talisman
・Barrier Talisman ・Water Familiar Talisman |
|||||||||||
| Guardian Spirits | |||||||||||
 Kusanagi (Samurai) Kusanagi (Samurai) (Early to Mid Game) |
Oh (Late Game) |
||||||||||
This S rank Axe build combines the weapon's innate HP damage while accumulating the Saturation status ailment to deal high amounts of damage. Because of the Axe's ability to break guard and the damage increase from the Saturation ailment, this build can make a variety of enemies vulnerable and easy to finish with just a few well-positioned hits.
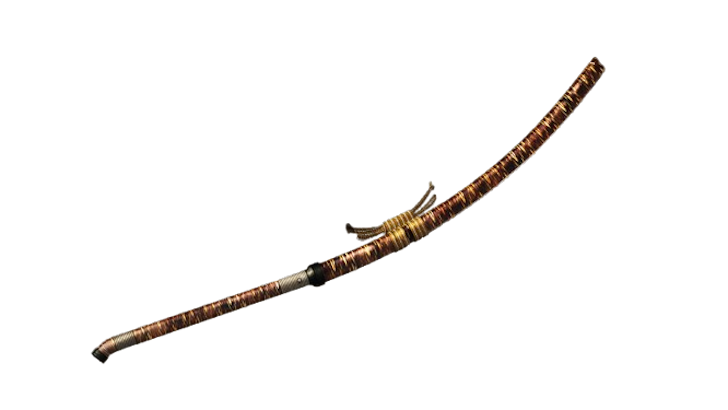
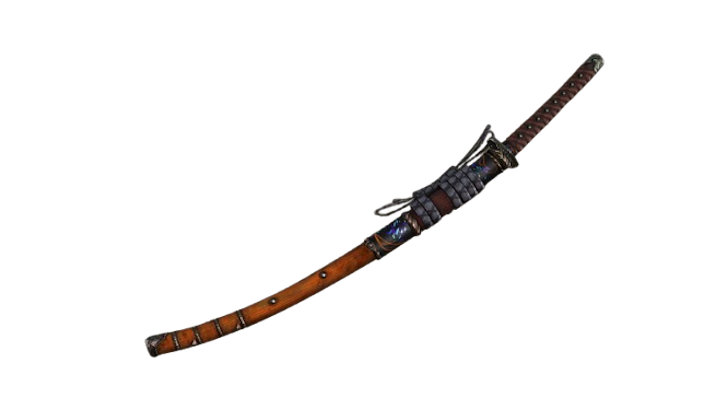
Katana (Swords)
|
|||||||||||
| Recommended Stats | |||||||||||
|---|---|---|---|---|---|---|---|---|---|---|---|
| Special Effects | Set Bonus | ||||||||||
|
・Ki Recovery Speed
・Ki Pulse Recovery ・Low Stance Martial Art Ki Consumption ・Melee Attack Ki Consumption ・Guard Ki Recovery Speed ・Guard Ki Consumption |
・Pride of the Crimson Army (Crimson General Set)
・Warrior of the East's Honor (Warrior of the East Set) ・Sword and Zen as One (Swordmaster Set) ・The God of War Looks Down (Tatenashi Set) |
||||||||||
| Onmyo Magic | |||||||||||
|
・Extraction Talisman
・Lightning Familiar Talisman ・Life Leech Talisman |
|||||||||||
| Guardian Spirits | |||||||||||
| Kusanagi (Samurai) (Early to Mid Game) |
Oh (Late Game) |
||||||||||
The Katana's build places at rank A for its straightforward skillset and strong damage output against individual enemies. Through stance switching, this Katana build makes use of the weapon's simple yet versatile combos to adapt your play style to any enemy encounter.
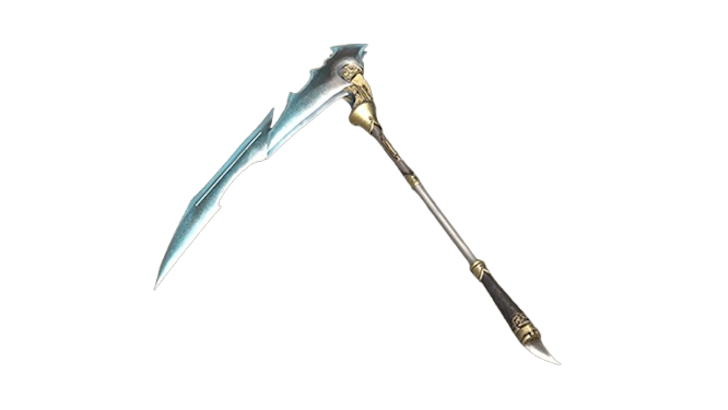
Switchglaive
|
|||||||||||
| Recommended Stats | |||||||||||
|---|---|---|---|---|---|---|---|---|---|---|---|
| Special Effects | Set Bonus | ||||||||||
|
・Melee Attack Ki Damage
・Melee Damage ・Ki Pulse Recovery ・Ki Recovery Speed ・Low Stance Martial Art Ki Consumption ・Mid Stance Martial Art Ki Consumption ・High Stance Martial Art Ki Consumption |
・Single Sword's Reverie (Wayfarer Set)
・Swift Silence and Daring Defense (Tiger of Kai Set) ・The Protection of Kannon (Sincere Buddha Set) |
||||||||||
| Onmyo Magic | |||||||||||
|
・Extraction Talisman
・Barrier Talisman ・Steel Talisman |
|||||||||||
| Guardian Spirit | |||||||||||
| Guhin |
|||||||||||
The Switchglaive build ranks A for its versatile combos through stance switching, maintaining offensive pressure by executing effortless combos. Additionally, this build takes advantage of the Switchglaive's stance switching to constantly build up the Arts Proficiency gauge to empower your Martial Arts.
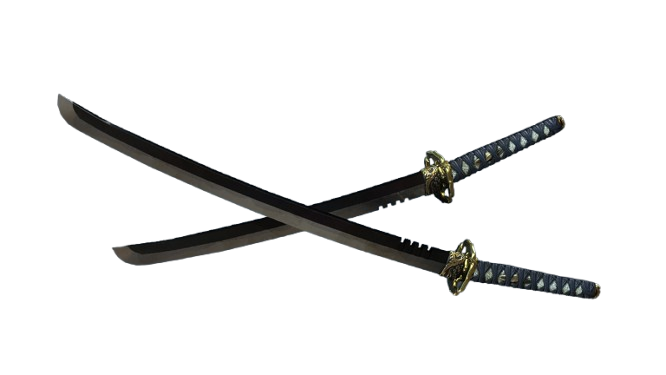
Dual Swords
|
|||||||||||
| Recommended Stats | |||||||||||
|---|---|---|---|---|---|---|---|---|---|---|---|
| Special Effects | Set Bonus | ||||||||||
|
・Ki Recovery Speed
・Ki Pulse Recovery ・Quick Attack Ki Consumption ・Martial Art Ki Consumption ・Martial Art Ki Damage |
・The Duplicitous General (Goichimonshu Set) | ||||||||||
| Onmyo Magic | |||||||||||
|
・Extraction Talisman
・Fire Talisman ・Water Familiar Talisman ・Steel Talisman |
|||||||||||
| Guardian Spirit | |||||||||||
| Guhin |
|||||||||||
This Dual Swords build ranks B for its need to rely on utilities to be highly effective during combat. Despite that, this Dual Swords build has an excellent ability to accumulate status ailments through Onmyo magic. As such, this build is viable by itself or to act as a support for Samurai weapons with greater damage output.
Best Builds for Ninja
Tonfa
|
|||||||||||
| Recommended Stats | |||||||||||
|---|---|---|---|---|---|---|---|---|---|---|---|
| Special Effects | Set Bonus | ||||||||||
|
・Imbue Wind/Lightning
・Ki Damage vs. Blustered/Electrified Enemy ・Melee Attack Ki Consumption ・Martial Arts Damage |
・Head of the Iga Ninja (Iga Jonin Set) | ||||||||||
| Ninjutsu | Onmyo Magic | ||||||||||
|
・Fire Shuriken
・Thundering Calamity ・Cicada Shell |
・Wind Familiar Talisman
・Life Leech Talisman ・Steel Talisman |
||||||||||
| Guardian Spirits | |||||||||||
 Nekomata Nekomata (Early to Mid Game) |
 Kurama Tengu Kurama Tengu(Late Game) |
||||||||||
This Tonfa build places in SS rank for its strong Ki damage, mobility, and powerful strikes that synergize with Ninjutsu and Onmyo Magic. This build is accessible for both beginners and veterans of the game, utilizing core mechanics such as combo chaining and element stacking to take down all kinds of enemies.
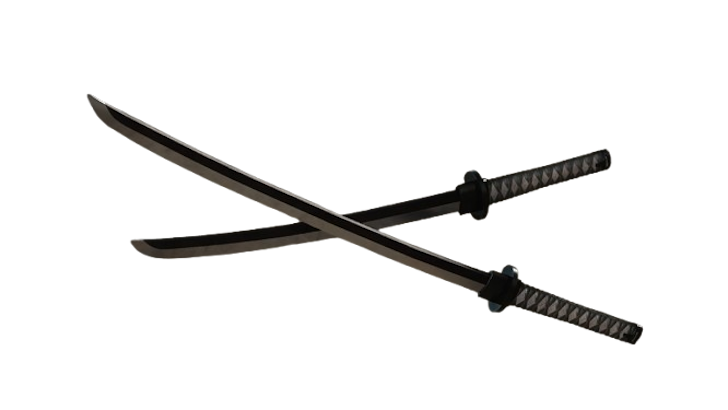
Dual Ninja Swords
|
|||||||||||
| Recommended Stats | |||||||||||
|---|---|---|---|---|---|---|---|---|---|---|---|
| Special Effects | Set Bonus | ||||||||||
|
・Imbue Wind/Fire
・Burn/Blustered Accumulation (Enemy) ・Life Recovery (Amrita Absorption) ・Decrease Damage Taken (Amrita Absorption) ・Damage Over Time ・Ki Damage vs. Scorched/Blustered Enemy |
・Head of the Iga Ninja (Iga Jonin Set)
・Devious Loyalty (Heizo Set) |
||||||||||
| Ninjutsu | Onmyo Magic | ||||||||||
|
・Fire Shuriken
・Tempestuous Calamity ・Shrapnel Bomb |
・Fire Talisman
・Wind Familiar Talisman ・Extraction Talisman ・Life Leech Talisman ・Carnage Talisman |
||||||||||
| Guardian Spirits | |||||||||||
 Enko Enko (Early Game) |
Kurama Tengu (Mid to Late Game) |
||||||||||
This SS rank Dual Ninja Swords build is capable of keeping constant pressure on enemies while building status ailments through its swift multi-attacks. With the combination of Martial Arts and Onmyo Magic, this build is capable of constantly breaking Ki at a swift rate or inflicting damage per second through the accumulation of status ailments like Scorched.
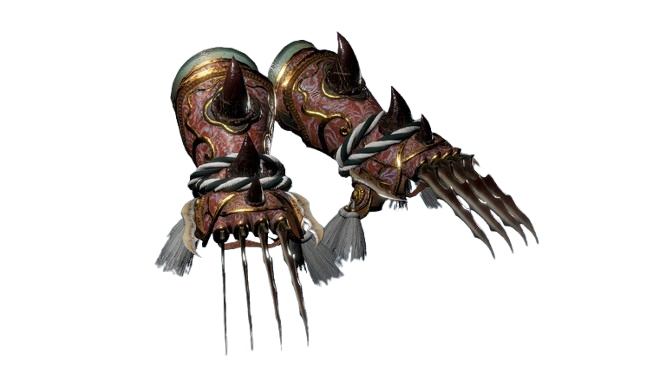
Talons
|
|||||||||||
| Recommended Stats | |||||||||||
|---|---|---|---|---|---|---|---|---|---|---|---|
| Special Effects | Set Bonus | ||||||||||
|
・Imbue Lightning/Water
・Ki Damage vs Saturated/Electrified Enemy ・Life Recovery (Amrita Absorption) ・Decreased Damage Taken (Amrita Absorption) |
・Devout Practitioner (Kobo Daishi Set) | ||||||||||
| Ninjutsu | Onmyo Magic | ||||||||||
|
・Fire Shuriken
・Thundering Calamity ・Cicada Shell |
・Extraction Talisman
・Barrier Talisman ・Water Talisman ・Lightning Familiar Talisman ・Carnage Talisman |
||||||||||
| Guardian Spirits | |||||||||||
| Nekomata (Early to Mid Game) |
 Shami-Choro Shami-Choro (Late Game) |
||||||||||
This Talons build uses the weapons' high HP damage and pair it with Saturation and Shock to maximize its offensive potential. Through the Talons' diverse Martial Arts consisting of powerful strikes and mobility skills, this build can tear through tougher enemies with just a few combinations of moves.
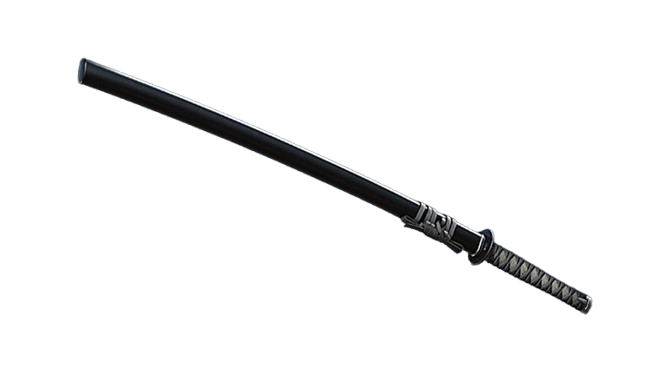
Ninja Swords
|
|||||||||||
| Recommended Stats | |||||||||||
|---|---|---|---|---|---|---|---|---|---|---|---|
| Special Effects | Set Bonus | ||||||||||
|
・Imbue Water/Fire
・Ki Damage vs. Scorched/Saturated ・Attack Bonus (Skill/Intellect) ・Onmyo Magic Power |
・Head of the Iga Ninja (Iga Jonin Set)
・Devious Loyalty (Heizo Set) |
||||||||||
| Ninjutsu | Onmyo Magic | ||||||||||
|
・Shrapnel Bomb
・Infernal Calamity ・Fire Shuriken |
・Water Familiar Talisman
・Weakness Talisman ・Power Talisman |
||||||||||
| Guardian Spirits | |||||||||||
| Enko (Early to Mid Game) |
 Kongojishi Kongojishi (Late Game) |
||||||||||
This S-rank Ninja Sword build uses the weapons easy-to-learn moveset and mobility to deal good HP and Ki damage. To further supplement its damage output, Scorched and Saturation ailments are added into the build to get an edge against challenging combat situations.
Splitstaff
| |
|||||||||||
| Recommended Stats | |||||||||||
|---|---|---|---|---|---|---|---|---|---|---|---|
| Special Effects | Set Bonus | ||||||||||
|
・Imbue Water
・Ki Damage vs Saturated Enemy ・Martial Arts Ki Consumption ・Ki Recovery Speed ・Attack Bonus (Magic/Strength/Intellect) ・Faster Movement (Onmyo Magic Hit) |
・Devout Practitioner (Kobo Daishi Set) | ||||||||||
| Ninjutsu | Onmyo Magic | ||||||||||
|
・Fire Shuriken
・Tempestuous Calamity ・Shadowstitch |
・Wind Familiar Talisman
・Water Talisman ・Barrier Talisman ・Life Leech Talisman ・Carnage Talisman |
||||||||||
| Guardian Spirits | |||||||||||
| Nekomata (Early to Mid Game) |
Kurama Tengu (Late Game) |
||||||||||
This Splitstaff build ranks A for its ability to dish out high Ki damage through blunt strikes and flexible combos. This build takes full advantage of the Splitstaff's Magic scaling to use both offensive and defensive Onmyo that allows for an aggressive playstyle while surviving longer against stronger foes.
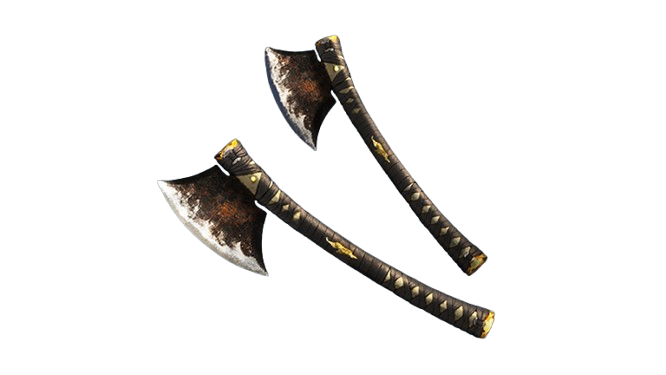
Hatchets
|
|||||||||||
| Recommended Stats | |||||||||||
|---|---|---|---|---|---|---|---|---|---|---|---|
| Special Effects | Set Bonus | ||||||||||
|
・Life Recovery (Amrita Absorption)
・Decrease Damage Taken (Amrita Absorption) ・Auto Life Recovery (Evade) ・Imbue Lightning ・Ki Damage vs. Electrified Enemy ・Ki Recovery Speed |
・Devious Loyalty (Heizo Set)
・Demon Incarnate (Demon Horde Set) |
||||||||||
| Ninjutsu | Onmyo Magic | ||||||||||
|
・Cicada Shell
・Thundering Calamity ・Shrapnel Bomb |
・Lightning Familiar Talisman
・Extraction Talisman ・Life Leech Talisman ・Carnage Talisman |
||||||||||
| Guardian Spirits | |||||||||||
| Nekomata (Early to Mid Game) |
Shami-Choro (Late Game) |
||||||||||
Although the Hatchets' playstyle is unique and satisfying to learn, it requires positioning and timing to execute the best of its combos. As such, this build focuses on giving the Hatchets an elemental advantage by building up the Shock ailment to slow enemy movements, creating opportunities to counterattack.
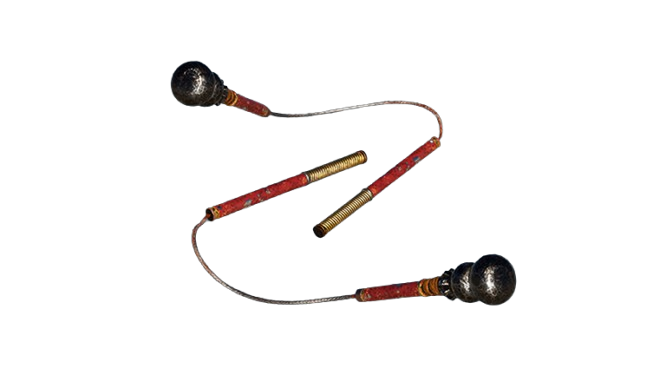
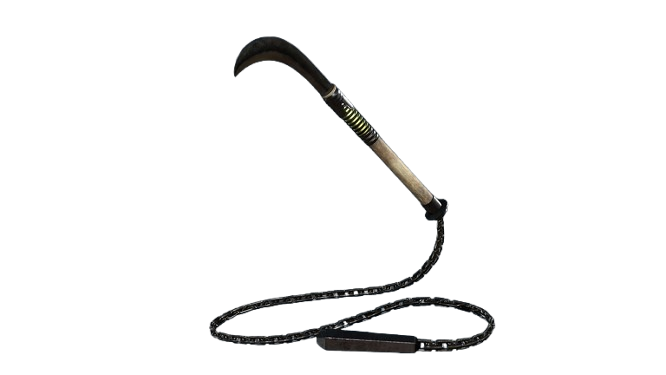
Kusarigama
|
|||||||||||
| Recommended Stats | |||||||||||
|---|---|---|---|---|---|---|---|---|---|---|---|
| Special Effects | Set Bonus | ||||||||||
|
・Imbue Water/Wind
・Life Recovery (Amrita Absorption) ・Decrease Damage Taken (Amrita Absorption) ・Ki Damage vs. Saturated or Shocked Enemy ・Saturate or Shock Accumulation (Enemy) ・Ki Recovery Speed |
・Devout Practitioner (Kobo Daishi Set)
・Head of the Iga Ninja (Iga Jonin Set) |
||||||||||
| Ninjutsu | Onmyo Magic | ||||||||||
|
・Fire Shuriken
・Tempestuous Calamity ・Uncanny Breeze |
・Wind Familiar Talisman
・Water Talisman ・Extraction Talisman ・Life Leech Talisman ・Carnage Talisman |
||||||||||
| Guardian Spirits | |||||||||||
 Kusanagi (Ninja) Kusanagi (Ninja)(Early Game) |
Kurama Tengu (Mid to Late Game) |
||||||||||
The Kusarigama is capable of dealing decent Ki damage, but its sluggish skill wind-ups and proper positioning hinder its effectiveness. To maximize the Kusarigama's range and multi-hits, this build focuses on using both Ninjutsu and Onmyo Magic to strengthen its overall damage output, making its Martial Arts against most enemies.
Best Weapon Tier List Criteria
How Game8 Ranks Nioh 3 Builds
| Damage Output | Considers the build's overall damage output for HP and Ki. |
|---|---|
| Effectiveness | Examines the build's viability against various types of enemies and bosses. |
| Ease of Use | Measures how straightforward the build is and the accessibility of the suggested equipment and skills. |
| Difficulty to Master | Considers the level of skill required to use the build consistently. |
Each weapon has its own strengths and weaknesses. That is why we recommend trying out all the weapons, for both Ninja and Samurai styles, on your own and choosing which suits your playstyle better.
Tier Ranking Legends
| Tier | Description |
|---|---|
| The build strikes a balance by delivering high damage to both HP and Ki while utilizing the weapon's full potential. Using this build could defeat most enemies or bosses. | |
| The build has a strong damage output to both Ki and HP by using most of the weapon's skillset. However, strategy may be required to overcome tougher enemies. | |
| The build consistently deals decent damage to either HP or Ki, typically focusing on depleting only one of the two. Moreover, familiarity with the weapon, skills, or combos may be necessary to get the most out of the setup. | |
| The build deals average damage to either HP or Ki, but mastery of the weapon and heavy use of utilities are required to perform well in combat. |
Nioh 3 Related Guides
Nioh 3 Wiki
| Nioh 3 Wiki Contents | |
|---|---|
 Builds Builds |
 Bosses Bosses |
 Main Missions Main Missions |
 Side Quests and Myths Side Quests and Myths |
 Tips and Tricks Tips and Tricks |
 Martial Arts Martial Arts |
 Armor Armor |
 Weapons Weapons |
 Skills Skills |
 Guardian Spirits Guardian Spirits |
 News and Game Info News and Game Info |
- |
Recommended Guides
 Interactive Map
 Best Weapon Tier List
 Crucible Wraiths
 Best Clans to Join
 Smithing Texts
 List of Soul Cores
 List of Graces
 Endings Explained
 Trophy List and All Achievements
 Character Creation Codes
 List of All Collectibles
Comment
Author
Best Builds Tier List
Rankings
- We could not find the message board you were looking for.
Gaming News


Popular Games

Genshin Impact Walkthrough & Guides Wiki
Umamusume: Pretty Derby Walkthrough & Guides Wiki
Crimson Desert Walkthrough & Guides Wiki
Monster Hunter Stories 3: Twisted Reflection Walkthrough & Guides Wiki
Honkai: Star Rail Walkthrough & Guides Wiki
Pokemon Pokopia Walkthrough & Guides Wiki
The Seven Deadly Sins: Origin Walkthrough & Guides Wiki
Wuthering Waves Walkthrough & Guides Wiki
Zenless Zone Zero Walkthrough & Guides Wiki
Arknights: Endfield Walkthrough & Guides Wiki


Recommended Games
Fire Emblem Heroes (FEH) Walkthrough & Guides Wiki
Diablo 4: Vessel of Hatred Walkthrough & Guides Wiki
Cyberpunk 2077: Ultimate Edition Walkthrough & Guides Wiki
Yu-Gi-Oh! Master Duel Walkthrough & Guides Wiki
Super Smash Bros. Ultimate Walkthrough & Guides Wiki
Pokemon Brilliant Diamond and Shining Pearl (BDSP) Walkthrough & Guides Wiki
Elden Ring Shadow of the Erdtree Walkthrough & Guides Wiki
Monster Hunter World Walkthrough & Guides Wiki
The Legend of Zelda: Tears of the Kingdom Walkthrough & Guides Wiki
Persona 3 Reload Walkthrough & Guides Wiki


All rights reserved
©KOEI TECMO GAMES CO., LTD. All rights reserved.
The copyrights of videos of games used in our content and other intellectual property rights belong to the provider of the game.
The contents we provide on this site were created personally by members of the Game8 editorial department.
We refuse the right to reuse or repost content taken without our permission such as data or images to other sites.