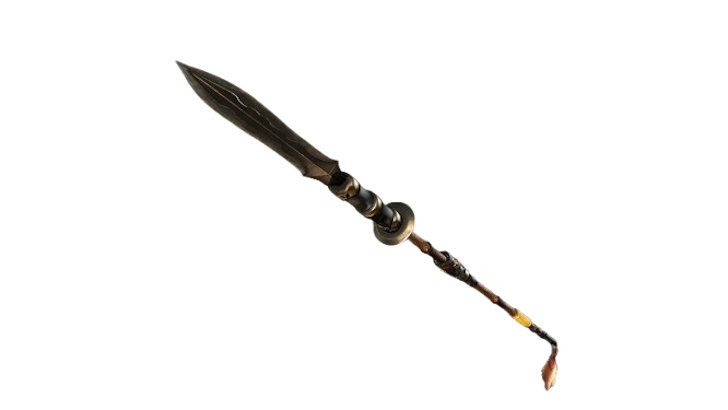
Best Spear Build
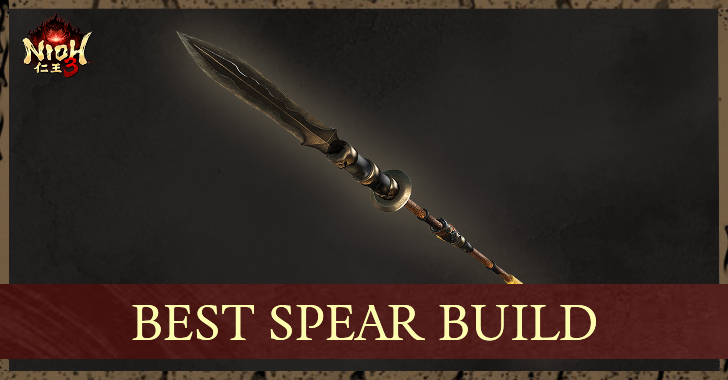
This is a guide to the best build for Spear in Nioh 3. See the best armor and accessories to use with the Spear, which Guardian Spirit and Soul Cores to equip, as well as which stat scaling to prioritize.
List of Contents
Spear Strengths and Weaknesses
| Strengths | Weaknesses |
|---|---|
| ✔︎ Excellent reach and strong mid-range control
✔︎ Effective against single targets and groups ✔︎ Strong mobility and repositioning tools |
✖︎ Requires proper spacing to be effective |
Spears excel at controlling distance, allowing you to safely pressure enemies while staying outside their immediate attack range. Its long reach makes it effective for both single targets and multiple enemies, as wide sweeps and forward-reaching thrusts can hit enemies lined up in front of you while keeping you at a safer distance from surrounding threats.
However, the Spear relies heavily on spacing and positioning. Its thrust-based attacks and Martial Arts excel at mid-range, making aggressive, close-quarters play less effective. Players need to stay patient and deliberate, using careful timing and positioning to maximize its potential.
Best Scaling for Spear
Put Points Into Heart and Stamina
| Spear Scaling |
|---|
| Character Stats |
The Spear is best used with Strong Attack thrusts while maintaining enough Ki for defensive maneuvers, so prioritize Heart as your main stat to scale your offense while increasing Ki and Ki recovery speed.
Stamina should be your secondary investment, allowing you to equip heavier armor while maintaining good agility for improved defense. Adding points into Magic is also recommended to unlock at least three talisman slots, providing useful utility through buffs and debuffs.
Use any remaining points to invest in stats that activate beneficial Special Effects from your armor and accessories, further strengthening the overall build.
Best Special Effects for Spear
| Jump to Section! | |
|---|---|
| Weapon | Armor |
| Accessories | |
Best Special Effects for Weapons
| Common Special Effects | |
|---|---|
| ・Ki Recovery Speed
・Strong Attack Ki Consimption ・Martial Art Ki Consumption ・Mid Attack Ki Consumption ・Mid Attack Damage ・Melee Damage |
|
| Fixed Special Effects | |
| ・Mid Attack Ki Consumption (Cross Spear)
・Mid Attack Damage (Sickle Spear) ・Life Drain (Quick Attack) (Torch Spear) |
|
You may use any equipment that has one or two of the special effects listed above.
The Spear relies on proper spacing and well-timed Strong Attack from the Mid Stance, which can consume significant Ki. Prioritize Special Effects that enhance Ki management, such as Ki Recovery Speed and reduced Ki Consumption.
Additionally, boosting Damage for Melee and Mid Stance will make your attacks more effective and maximize your overall combat potential.
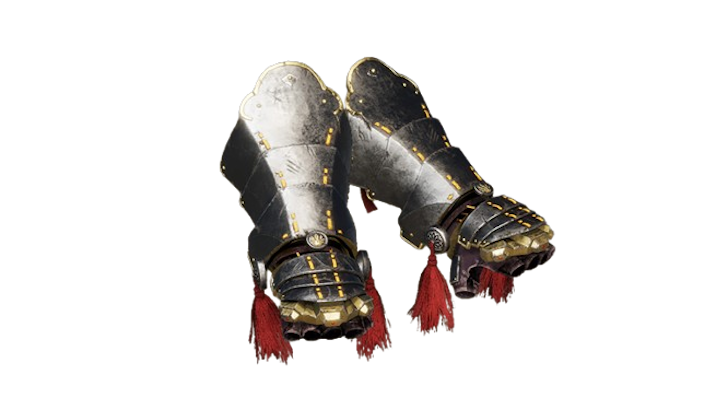
Best Special Effects for Armor
| Common Special Effects | |
|---|---|
| ・Strong Attack Ki Consumption
・Mid Attack Ki Consumption ・Melee Attack Ki Consumption ・Life Recovery (Amrita Absorption) ・Auto Life Recovery (Deflect) ・Ki Recovery Speed ・Defense ・Toughness |
|
| Fixed Special Effects | |
| ・The God of War Looks Down (Tatenashi Set)
・The Rightful Eccentric (Eccentric Set) ・Single Sword's Reverie (Wayfarer Set) |
|
You may use any equipment that has one or two of the special effects listed above.
Prioritize Special Effects that improve your offensive potential, such as reduced Ki consumption for Strong and Melee Attacks and increased Ki Recovery Speed, allowing you to maintain pressure while managing Ki efficiently.
Pairing Life Recovery (Amrita Absorption) with Auto Life Recovery (Deflect) helps sustain your health during combat, while defensive effects such as increased Defense and Toughness remain important for survivability.
For armor, aim for a green Agility to stay mobile while maintaining strong defense. Sets such as The Rightful Eccentric Set provide bonuses that enhance Strong Attacks, Tatenashi Set offers strong defensive benefits, and the Wayfarer Set grants reliable offensive bonuses that complement this build well.
Best Special Effects for Accessories
| Common Special Effects | |
|---|---|
| ・Ki Recovery Speed
・Ki Pulse Recovery ・Life Recovery (Yokai Realm) ・Untouched Elixirs ・Spirit Force Charge |
|
| Fixed Special Effects | |
| ・Ki Recovery Speed (Fan)
・Life (Omamori) ・Spirit Force Charge (Magatama) ・Life Recovery (Amrita Absorption) (Prayer Beads) |
|
You may use any equipment that has one or two of the special effects listed above.
For accessories, prioritize Life Recovery (Amrita Absorption) to improve survivability, alongside effects that increase Life, provide a chance to not consume Elixirs, and grant passive Life recovery while in the Yokai Realm.
Include Ki management effects such as increased Ki Recovery Speed or Ki Pulse Recovery, as well as Spirit Force Charge to support more frequent Guardian Spirit and Yokai skill usage.
Best Martial Arts for Spear
| Jump to Section! | |
|---|---|
| Spear Martial Arts | Samurai Martial Arts |
Where to Spend Samurai Points?
Spend your Samurai Points to unlock the High and Low stances in the Samurai tree first, as these are required to access their corresponding movesets in the Spear tree.
Spear Martial Arts
| Skills | Requirements |
|---|---|
| Spear Bash | 1 Samurai Point
Prerequisite: ・High Stance |
| Spear Flourish | 1 Samurai Point
Prerequisite: ・High Stance ・Spear Bash |
| Windmill Wind (High/Mid Stance) |
1 Samurai Point
Prerequisite: ・High Stance ・Spear Bash ・Windmill ・Unlocked with a MArtial Arts Guide |
| Spear Shove | 1 Samurai Point
Prerequisite: ・Twisting Spear |
| Fatal Thrust | 2 Samurai Points
Prerequisite: ・Low Stance ・Spearfall |
The recommended Martial Arts for the Spear focus on maintaining pressure while controlling spacing and positioning. These Arts allow you to smoothly transition between offense and mobility, letting you deal consistent damage, close gaps safely, and handle multiple enemies effectively.
Prioritize Spear Flourish, as it turns your Ki Pulse into an offensive follow-up, making it a strong complement to any combo. Spear Bash connects well with your standard Strong Attacks, while Spear Shove performs a short, forward-stepping horizontal swing that deals good Ki Damage.
Fatal Thrust lets you charge relentlessly when enemies are in range, dealing continuous damage, while Windmill Wind excels at crowd control, delivering a wide, sweeping spin attack imbued with the Wind element.
Samurai Martial Arts
| Martial Arts | Requirements |
|---|---|
| Low Stance | 1 Samurai Point |
| High Stance | 1 Samurai Point |
| Deflect | 1 Samurai Point |
Prioritize unlocking High and Low Stances, as they grant access to the recommended Martial Arts essential for this build. Deflect is also important for defense, since successfully parrying enemy attacks helps conserve Ki, build up the Arts Proficiency gauge, and improve your overall survivability.
Best Combo for Spear
Mid Stance Spear Bash to Spear Flourish
This simple combo serves as your bread and butter, focusing on quick, controlled strikes while maintaining enough Ki for defensive actions. Its effectiveness relies on proper spacing and waiting for safe openings.
From Mid Stance, perform a Strong Attack, follow up with Spear Bash, then finish with Spear Flourish to recover Ki and maintain pressure. This works best against grounded enemies and bosses.
Mid Stance Strong Attack to Windmill Wind
This combo focuses on dealing controlled attacks, followed by a crowd control move. From Mid Stance, use Strong Attack to position yourself, follow up with Windmill Wind, and finish with Spear Flourish to recover Ki.
It is highly effective against groups of enemies while still maintaining multi-hit potential against individual foes or bosses.
Best Skills for Spear
Secret Skills Text
| Secret Skill | Effects |
|---|---|
| Resilient Arts | Increases damage dealt by Strong Attacks and Martial Arts by 8.0% while Arts Proficiency is active. Makes it more difficult to fill the Arts Gauge. |
| Ki Pulse: Man | Activates when you recover the maxium amount of Ki Possible with a perfectly timed Ki Pulse while in Mid Stance. Applies Ki Pulse: Man to yourself where you will not lose any Ki the next time you guard against an attack. |
| Oppressive Strength | Prevents you from being staggered during Strong Attacks and Martial Arts while Arts Proficiency is active. |
| Defense Mastery I | Increases Defense by 6. |
| Defense Mastery II | Increases Defense by 14. |
The listed skills emphasize consistent offense and reliable defense. Oppressive Strength paired with Resilient Arts significantly boosts your offensive potential when Arts Proficiency is active, while Ki Pulse: Man provides a quick buff that helps conserve Ki when guarding after a perfect Ki Pulse. Defense Mastery offers a much-needed boost to survivability, rounding out the build’s defensive capabilities.
Best Guardian Spirits for Spear
| Early to Mid Game | |
|---|---|
| Late Game |
Use Guhin in Early to Mid Game
| Guhin | ATK | DEF | Element |
|---|---|---|---|

|
10 | 10 | Wind |
| Quest | |||
| Unlocked at the start | |||
| Special Effects | |||
|
・Martial Arts Ki Consumption -8.4%
・Damage Taken -4.2% ・Strong Attack Break +11.0% ・Faster Winded Recovery ・Melee Damage vs Winded Enemy +8.4% |
|||
| Guardian Spirit Skill | |||
|
・Tree Slicer (Spirit Force: 60)
・Eight-Handed Blade (Spirit Force: 40) |
|||
Guhin provides a balanced blend of offense and defense for this early Spear build. It lowers Martial Arts Ki Consumption, reduces Damage Taken, and boosts Strong Attack Break, which is important since Strong Attacks are used frequently. It also enhances performance when Winded, providing Faster Winded Recovery and increased Melee Damage vs Winded Enemies.
Its starting Guardian Spirit Skill, Eight-Handed Blade, unleashes close-range multi slashes, making it perfect as a follow-up attack and for finishing off weakened enemies.
Use Shin-Roku as Early to Mid Game Alternative
| Shin-Roku | ATK | DEF | Element |
|---|---|---|---|

|
7 | 17 | Lightning |
| Quest | |||
| Escape from Hitokoto Slope | |||
| Special Effects | |||
|
・Increased Damage Dealt (Purification)
・Nagitama Sensor ・Lightning Damage Reduction +14 ・Life Drain (Strong Attack) 4% ・Ailment Resistance +9 |
|||
| Guardian Spirit Skill | |||
| ・Thunderous Kick (Spirit Force: 40) | |||
Shin-Roku is a strong early to mid-game alternative, as its effects complement this build’s playstyle. Life Drain (Strong Attack) synergizes well with the Spear’s frequent use of Strong Attacks.
It also provides valuable defensive bonuses, including increased Lightning Damage Reduction and Ailment Resistance. The only drawback is that you must destroy 13 Crucible Spikes to fully unlock all of its Special Effects.
Shin-Roku Guardian Spirit Guide
Use Oh in Late Game
| Oh | ATK | DEF | Element |
|---|---|---|---|

|
14 | 22 | Wind |
| Quest | |||
| Defeat Minamoto no Yoritomo at the end of the Heian era | |||
| Special Effects | |||
|
・Spirit Force Charge Bonus (Amrita Gauge) A-
・Guard Ki Consumption -8.6% ・Life Recovery (Amrita Absorption) 11 ・Faster Ki Recovery (Deflect) ・Item Drop Rate +17.0% |
|||
| Guardian Spirit Skill | |||
|
・Gusting Crosswind (Spirit Force: 60)
・Cutting Wings (Spirit Force: 40) |
|||
Oh is a powerful late-game option for this Spear build, as it provides an important survivability effect in Life Recovery (Amrita Absorption), synergizing well with the recommended Soul Cores.
It also grants enhanced Spirit Force Charge Bonus, reduced Guard Ki Consumption, and Faster Ki Recovery (Deflect), all of which are essential effects to support this build’s offense and defense.
Best Soul Cores for Spear
| Yang Position |
|---|
| Yin Position |
Use Nuppeppo Soul Core for Yang
| Nuppeppo Soul Core | |
|---|---|
 |
|
| Yang Position | Special Effects:
・Life +100 ・Life Recovery (Amrita Absorption) 12 Yokai Ability: ・Summoning Seal: Nuppeppo x3 |
| Yin Position | Talisman:
・Rejuvenation Talisman x5 |
Nuppeppo provides strong survivability effects, including increased Life and Life Recovery (Amrita Absorption), which synergize well with the recommended Yin Soul Cores. When summoned, Nuppeppo lunges forward with a spinning attack that hits all nearby enemies, making it excellent for crowd control.
You can carry three Nuppeppo Summoning Seals, and they are replenished at the Shrine.
Use Gaki Chief Soul Core for Yang and Yin
| Gaki Chief Soul Core | |
|---|---|
 |
|
| Yang Position | Special Effects:
・Amrita Gauge Charge +7.5% ・Strong Attack Ki Damage +3.5% Yokai Ability: ・Summoning Seal: Gaki Chief x2 |
| Yin Position | Talisman:
・Extraction Talisman x5 |
In the Yang position, Gaki increases Amrita Gauge Charge and Strong Attack Ki Damage, complementing the frequent use of Strong Attacks in this build. When summoned, Gaki performs a body slam toward enemies, dealing additional damage and applying pressure during combat.
In the Yin position, Gaki provides the Extraction Talisman, which generates Amrita from enemies with any attack. This synergizes well with Life Recovery (Amrita Absorption), replenishing your Life while on offense.
You can carry two Gaki Chief Summoning Seals and five Extraction Talismans at a time. They are replenished when resting at a Shrine.
Use Mezuki Soul Core for Yin
| Mezuki Soul Core | |
|---|---|
 |
|
| Yang Position | Special Effects:
・Ki Recovery Speed +2.5% Yokai Ability: ・Summoning Seal: Mezuki x2 |
| Yin Position | Talisman:
・Cutting Blast Talisman x5 |
Mezuki provides the Cutting Blast Talisman, which produces shockwave projectiles during Strong Attacks, great for dealing damage from range and complements the Spear’s playstyle.
You can carry up to five Cutting Blast Talisman, and they are replenished at the Shrine.
Use Mermaid Soul Core for Yin
| Mermaid Soul Core | |
|---|---|
 |
|
| Yang Position | Special Effects:
・Life Drain (Water Damage) ・Faster Movement (Ailing) Yokai Ability: ・Summoning Seal: Mermaid x5 |
| Yin Position | Talisman:
・Life Leech Talisman x5 |
Mermaid provides the Life Leech Talisman, which causes enemies to generate energy when attacked. You recover Life by absorbing this energy, greatly enhancing your survivability during offense.
You can carry up to three Life Leech Talismans, and they are replenished at the Shrine.
Spear Tips and Tricks
Master Spacing and Timing
The Spear excels at mid-range combat. Focus on maintaining proper spacing to maximize your thrusts and combos. Rushing in recklessly can leave you exposed, so patience and well-timed attacks are key. Use Strong Attacks from Mid Stance to deliver powerful thrusts against single enemies, and incorporate your Martial Arts for aerial follow-ups or multi-hit combos.
Ki Management is Critical
Spear combat relies heavily on Ki management. Prioritize Special Effects that reduce Ki consumption and boost Ki recovery, especially for Strong Attacks and Flux combos. Martial Arts like Spear Flourish turn your Ki Pulse into offensive follow-ups, allowing you to maintain pressure while recovering Ki.
Spend Your Prestige Points to Get Bonuses
Prestige Points can be used to obtain permanent bonuses (known as Prestige) to enhance a variety of stats from 9 different categories. For this Spear build, we suggest using your points on some of the following Prestige:
- Samurai: Melee Attack Ki Consumption, Martial Art Ki Damage
- Tactics: Ki Recovery Speed, Living Artifact Duration
- Subjugation: Amrita Earned, Final Blow/Grapple Damage
- Formidable Enemies: Melee Ki Damage, Melee Damage vs. Winded Enemy
- Exploration: Medicine Efficacy, Dash Ki Consumption
- Collection: Martial Art Damage, Damage Bonus (Equipment Weight)
Take note that the Prestige Points you've spent can be reset and redistributed to another bonus within the same category.
How to Get Prestige Points?
To get more Prestige Points for a category, fulfill a milestone or complete challenges to earn Titles. To see the available Titles you can unlock, open the Main Menu then go to Titles > Title List.
Nioh 3 Related Guides
All Samurai Builds
| Samurai Weapons | ||
|---|---|---|
 Swords Swords |
 Dual Swords Dual Swords |
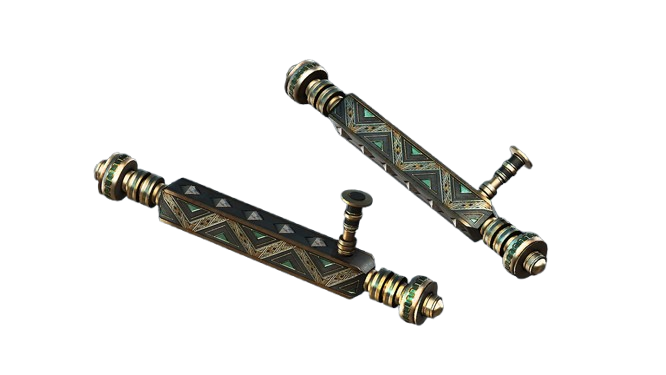
 Spears Spears |
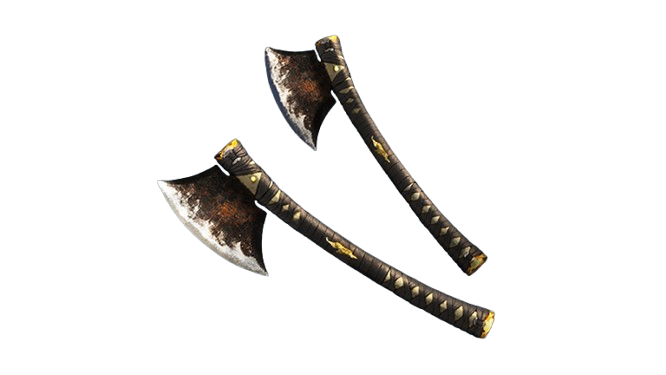
 Axes Axes |
 Odachi Odachi |
 Switchglaives Switchglaives |
 Cestesus Cestesus |
||
All Ninja Builds
| Ninja Weapons | ||
|---|---|---|
 Ninja Swords Ninja Swords |
 Dual Ninja Swords Dual Ninja Swords |
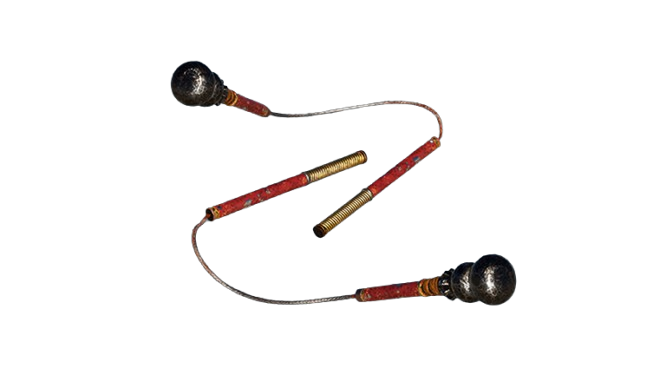
 Kusarigama Kusarigama |
 Tonfa Tonfa |
 Hatchets Hatchets |
 Splitstaff Splitstaff |
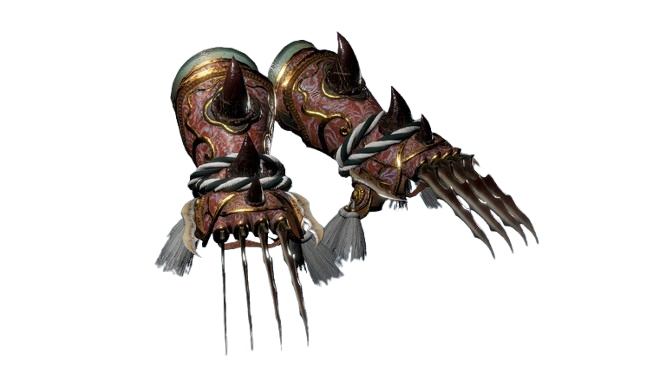 Talons Talons |
||
Comment
Author

Best Spear Build
Rankings
- We could not find the message board you were looking for.
Gaming News


Popular Games

Genshin Impact Walkthrough & Guides Wiki
Umamusume: Pretty Derby Walkthrough & Guides Wiki
Crimson Desert Walkthrough & Guides Wiki
Monster Hunter Stories 3: Twisted Reflection Walkthrough & Guides Wiki
Honkai: Star Rail Walkthrough & Guides Wiki
Pokemon Pokopia Walkthrough & Guides Wiki
The Seven Deadly Sins: Origin Walkthrough & Guides Wiki
Wuthering Waves Walkthrough & Guides Wiki
Zenless Zone Zero Walkthrough & Guides Wiki
Arknights: Endfield Walkthrough & Guides Wiki


Recommended Games
Fire Emblem Heroes (FEH) Walkthrough & Guides Wiki
Diablo 4: Vessel of Hatred Walkthrough & Guides Wiki
Cyberpunk 2077: Ultimate Edition Walkthrough & Guides Wiki
Yu-Gi-Oh! Master Duel Walkthrough & Guides Wiki
Super Smash Bros. Ultimate Walkthrough & Guides Wiki
Pokemon Brilliant Diamond and Shining Pearl (BDSP) Walkthrough & Guides Wiki
Elden Ring Shadow of the Erdtree Walkthrough & Guides Wiki
Monster Hunter World Walkthrough & Guides Wiki
The Legend of Zelda: Tears of the Kingdom Walkthrough & Guides Wiki
Persona 3 Reload Walkthrough & Guides Wiki


All rights reserved
©KOEI TECMO GAMES CO., LTD. All rights reserved.
The copyrights of videos of games used in our content and other intellectual property rights belong to the provider of the game.
The contents we provide on this site were created personally by members of the Game8 editorial department.
We refuse the right to reuse or repost content taken without our permission such as data or images to other sites.