Chapter 7: Seattle Day 2 - Ground Zero Walkthrough
Welcome to Game8's Last of Us Part 2 guide. Feel free to get started by checking out one of our popular guides from the list below!
See our guides for getting 100% of the trophies!
The Jury is out! Read our full spoiler-free review here!
This is a walkthrough for Chapter 7: Seattle Day 2 - Ground Zero in The Last of Us Part 2 (TLOU2). For a list of objectives in Seattle Day 2, items, collectible locations, enemy strategy and other tips & tricks, read on!
| Previous Section | Next Section |
|---|---|
| The Descent | Return to the Aquarium |
List of Contents
Seattle Day 2 - Ground Zero Walkthrough
| 1 | Follow Nora. |
|---|---|
| 2 | Enter the Oncology department. |
| 3 | Continue moving forward through the area, then go downstairs. |
| 4 | Go towards the ICU entrance. |
| 5 | Due to the entrance being blocked, go down the other floor. |
| 6 | Head inside the yellow door, then continue going in. |
| 7 | Look for the door with the Surgery icon it, then go inside. |
| 8 | Follow the power lines to turn on the generator. |
| 9 | After turning on the generator, use the break panel to turn on the lights. |
| 10 | The locked doors will automatically open, and the infected will come out. |
| 11 | Head to the Supply room. It is a blue door with a Supply Room sign on it. |
| 12 | Exit the Surgery room. |
| 13 | Head inside the area with the Red door. |
| 14 | Go to the ambulance to check for medical equipment. |
| 15 | Run away from the Rat King. |
| 16 | Defeat the Rat King. |
| 17 | Follow the Rat King: Other Half that exits the area. |
| 18 | Defeat the Rat King: Other Half. |
| 19 | Open the roll up door, then exit the parking. |
Seattle Day 2 - Ground Zero Tips and Strategy
After Turning on the Lights
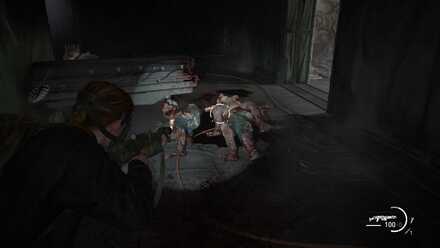
When the generator is finally running, you will be able to turn on the power. The doors will automatically open, and several Clickers will roam the area.
You can use the Flamethrower or Pipe Bombs to deal a lot of damage to the infected here. Watch out the for Stalkers also sticking to the wall.
The Rat King
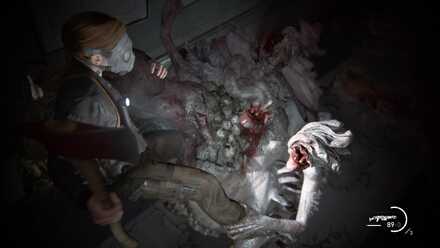
There is a new type of infected that you're going to encounter here for the first time. This creature is called the Rat King, and it is a lot bigger than a Bloater.
Use a Pipe Bomb to stop him from charging, then light him up with the Flamethrower. Always keep your distance when fighting him, because the moment he gets a hold of you, it will be game over.
Use other high damage dealing guns such as the Shotgun, Double Barrel Shotgun, and Hunting Pistol just keep moving and avoid a grab at all costs.
Seattle Day 2 - Ground Zero Collectibles
Artifacts
 |
|
| Chapter | Seattle Day 2 - Ground Zero |
|---|---|
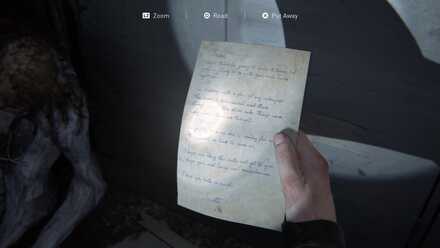
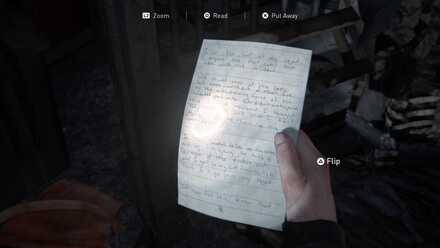
| Location | This artifact is beside a corpse in the room to your right where you need to crawl into after you pass the elevators from the Oncology Center. |
 |
|
| Chapter | Seattle Day 2 - Ground Zero |
|---|---|
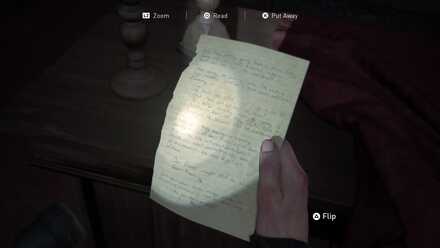
| Location | This artifact is inside a sling bag near the rotating door at the ground floor of the hospital. |
 |
|
| Chapter | Seattle Day 2 - Ground Zero |
|---|---|
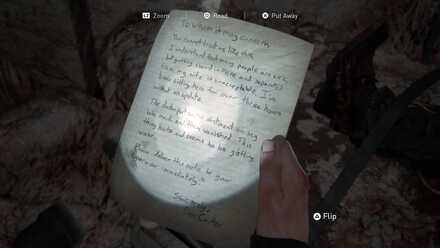
| Location | This artifact is on the altar of the Chapel opposite of where the door to the Emergency Room is. |
 |
|
| Chapter | Seattle Day 2 - Ground Zero |
|---|---|
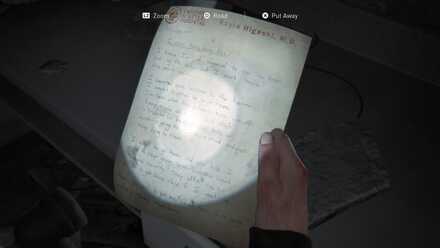
| Location | This artifact is on the bed of the dead patient inside room 24 at the Emergency Area of the Hospital. |
 |
|
| Chapter | Seattle Day 2 - Ground Zero |
|---|---|
| Location | This artifact is on the desk you climb on to where you need to vault over a wall at the Surgery Area. |
Coins
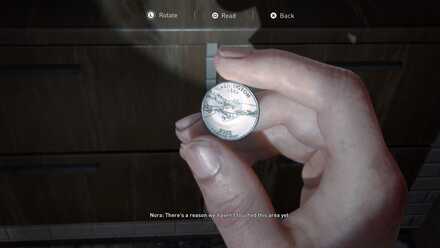 |
|
| Chapter | Seattle Day 2 - Ground Zero |
|---|---|
| Location | This coin is behind the counter of the Mocha Coffee Co. stall after you go down the stairs with Nora. |
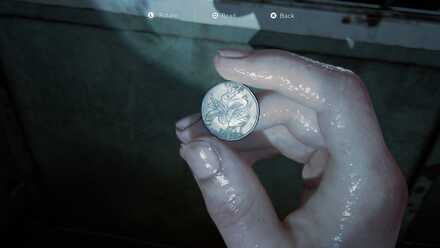 |
|
| Chapter | Seattle Day 2 - Ground Zero |
|---|---|
| Location | This coin is inside the guard house to your left once you reach the flooded garage after defeating the giant infected. |
Last of Us 2 Related Links
| Previous Section | Next Section |
|---|---|
| The Descent | Return to the Aquarium |
| Chapter 1 | Jackson |
|---|---|
| Chapter 2 | Seattle Day 1 |
| Chapter 3 | Seattle Day 2 |
| Chapter 4 | Seattle Day 3 |
| Chapter 5 | The Park |
| Chapter 6 | Seattle Day 1 |
| Chapter 7 | Seattle Day 2 |
| Chapter 8 | Seattle Day 3 |
| Chapter 9 | The Farm |
| Chapter 10 | Santa Barbara |
| Chapter 11 | The Farm |
Author
Chapter 7: Seattle Day 2 - Ground Zero Walkthrough
improvement survey
03/2026
improving Game8's site?

Your answers will help us to improve our website.
Note: Please be sure not to enter any kind of personal information into your response.

We hope you continue to make use of Game8.
Rankings
- We could not find the message board you were looking for.
Gaming News
Popular Games

Genshin Impact Walkthrough & Guides Wiki

Honkai: Star Rail Walkthrough & Guides Wiki

Umamusume: Pretty Derby Walkthrough & Guides Wiki

Pokemon Pokopia Walkthrough & Guides Wiki

Resident Evil Requiem (RE9) Walkthrough & Guides Wiki

Monster Hunter Wilds Walkthrough & Guides Wiki

Wuthering Waves Walkthrough & Guides Wiki

Arknights: Endfield Walkthrough & Guides Wiki

Pokemon FireRed and LeafGreen (FRLG) Walkthrough & Guides Wiki

Pokemon TCG Pocket (PTCGP) Strategies & Guides Wiki
Recommended Games

Diablo 4: Vessel of Hatred Walkthrough & Guides Wiki

Fire Emblem Heroes (FEH) Walkthrough & Guides Wiki

Yu-Gi-Oh! Master Duel Walkthrough & Guides Wiki

Super Smash Bros. Ultimate Walkthrough & Guides Wiki

Pokemon Brilliant Diamond and Shining Pearl (BDSP) Walkthrough & Guides Wiki

Elden Ring Shadow of the Erdtree Walkthrough & Guides Wiki

Monster Hunter World Walkthrough & Guides Wiki

The Legend of Zelda: Tears of the Kingdom Walkthrough & Guides Wiki

Persona 3 Reload Walkthrough & Guides Wiki

Cyberpunk 2077: Ultimate Edition Walkthrough & Guides Wiki
All rights reserved
© 2020 Sony Interactive Entertainment LLC. Created and developed by Naughty Dog LLC
The copyrights of videos of games used in our content and other intellectual property rights belong to the provider of the game.
The contents we provide on this site were created personally by members of the Game8 editorial department.
We refuse the right to reuse or repost content taken without our permission such as data or images to other sites.





![Everwind Review [Early Access] | The Shaky First Step to A Very Long Journey](https://img.game8.co/4440226/ab079b1153298a042633dd1ef51e878e.png/thumb)

![Monster Hunter Stories 3 Review [First Impressions] | Simply Rejuvenating](https://img.game8.co/4438641/2a31b7702bd70e78ec8efd24661dacda.jpeg/thumb)


