Passage to Rendarak Dungeon Guide
★ Interactive Map and Locations
┗ Secret Spots | Sparkly Spots | Mini Medals
☆ 100% Walkthrough Guide
┗Post Game Guide
☆ Trophy Guide: How to Get Platinum
★ Playing the first game? DQ1 Wiki here!
Passage to Rendarak is a dungeon in Dragon Quest 2 HD-2D Remake (DQ2). Read on to learn how to get through Passage to Rendarak, how to beat Hypermalediction and Belial, a detailed guide on the looping floors on L2 and L6, and discover all items and enemies that you can find here!
List of Contents
Passage to Rendarak Looping Floors and Map Guide
L2 Loop Guide: Right 3 Times, Up or Down Once
From your starting point upon getting to L2 the first time, the correct solution is to head right three times, and then go either up or down on the third corridor, depending on which entrance you came from. You'll then reach the room with a ladder on the top right that leads up to L3.
L2 Map Guide
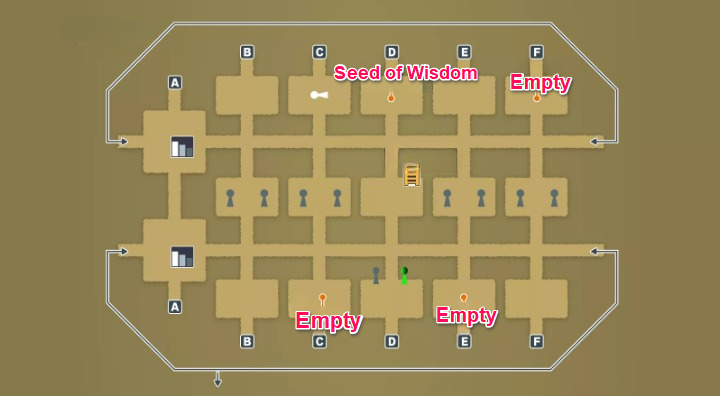
Since there is no map in the game for this floor, we created this custom map to help you navigate L2 and plan your route.
L6 Loop Guide: Follow the Candles
The correct route for the infinite loop on the 6th floor is by following the path lit by candles. Taking the wrong path will force you to start over from the 6th floor’s starting point, so use the lit candles as your guide to navigate the correct route.
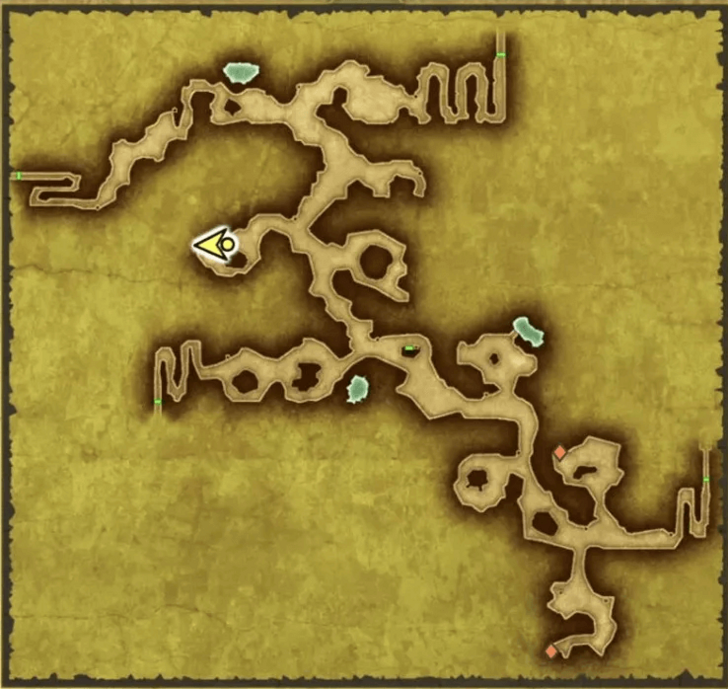
L6 Map Guide
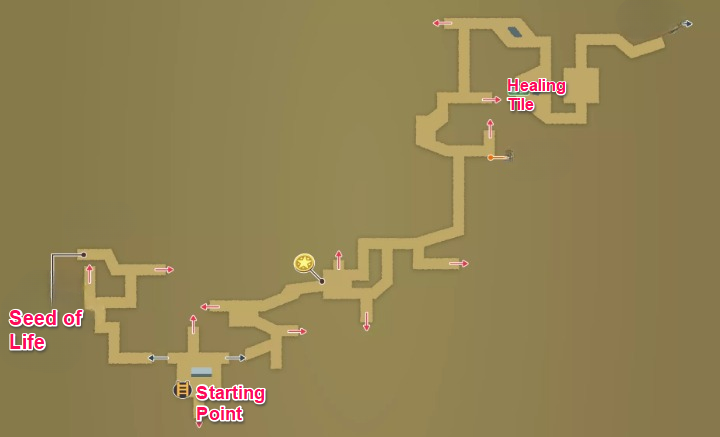
Since there is no map in the game for L6, we made this custom map to guide you through the floor. Use it to avoid getting lost and to find the correct paths.
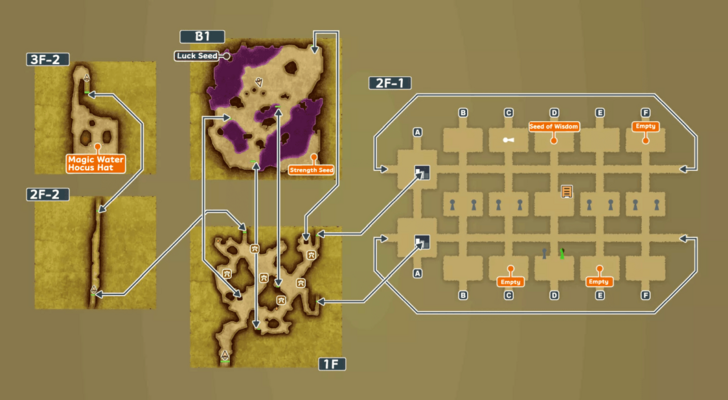
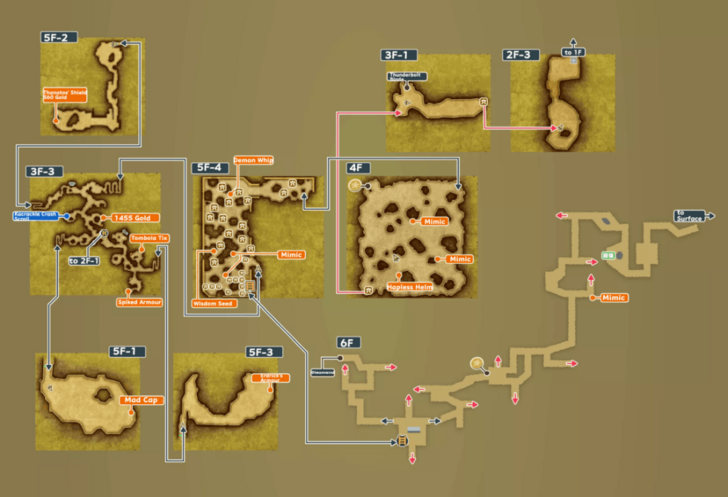
All Locations and Treasures
| Location | Map and Details |
|---|---|
| B1 |  |
| L1 | 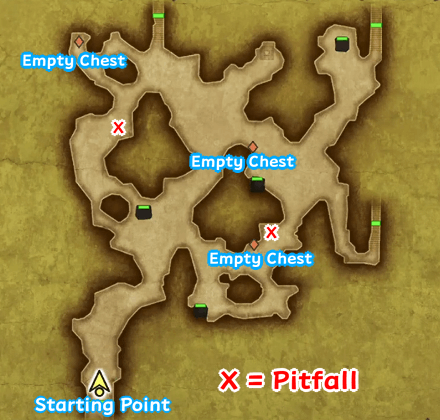 |
| L3 | 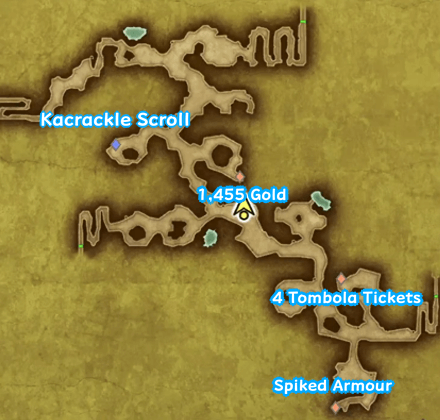 |
| L4 | 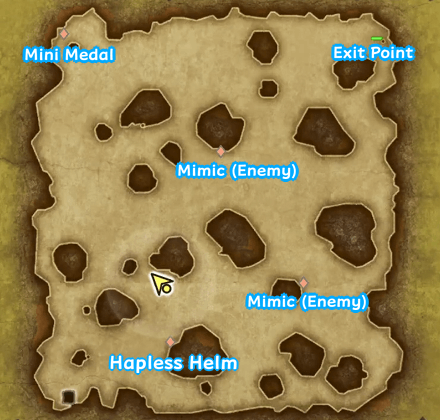 |
| L5 Northwest | 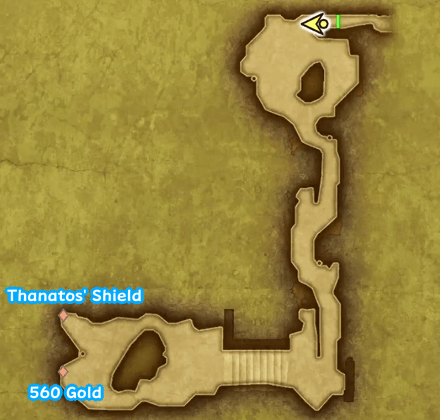 |
| L5 West | 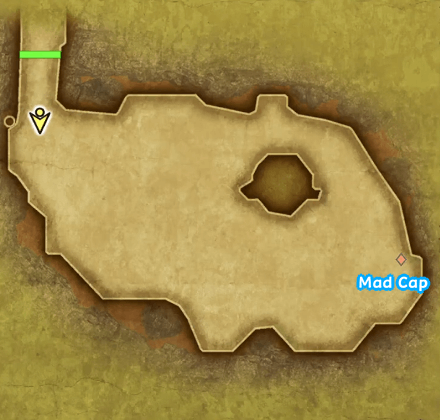 |
| L5 East | 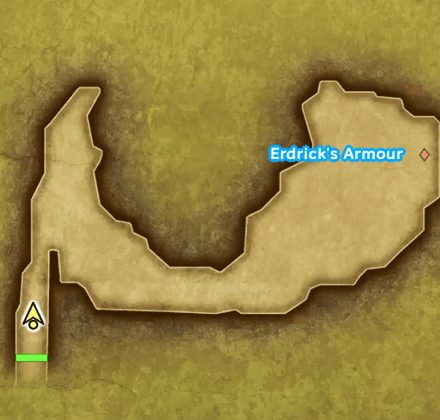 |
| L5 Pitfall Room | 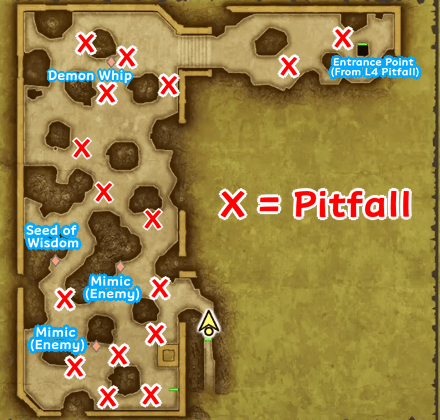 |
Here are the map guides and treasure locations for the remaining floors. These maps show the layout and key points on each floor to help you navigate Passage to Rendarak and locate all treasures efficiently.
Passage to Rendarak Walkthrough
How to Get Through Passage to Rendarak
| 1 | 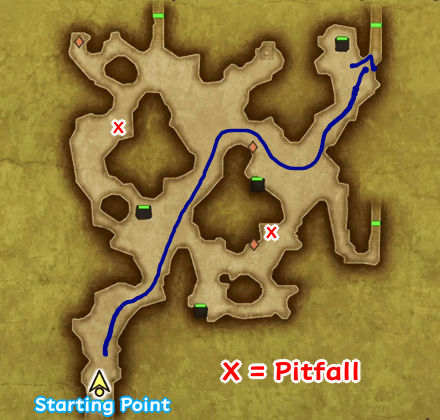 After entering the cave, explore carefully while watching out for pitfalls scattered across the floor. Once you’re ready to move forward, take the northeast exit to reach a section with no accessible map. |
|---|---|
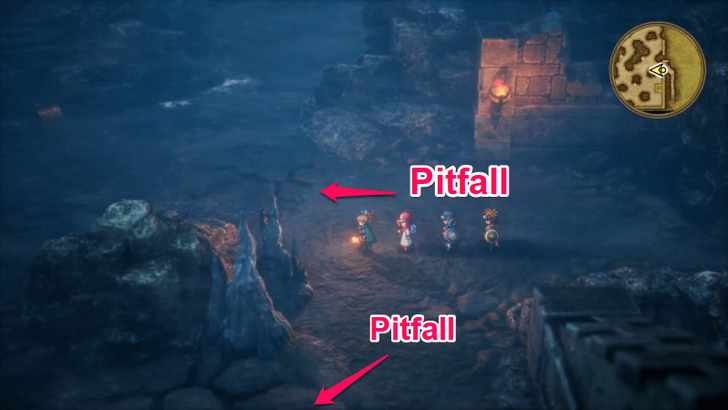
| 2 |  In this next section, you won’t have a map to rely on, so you’ll need to navigate through long corridors and rooms. Your goal is to find the room with a ladder leading upward. From your starting point, go right three times until you find a staircase going down, then continue descending, you’ll eventually arrive at the room with the ladder. |
| * | If you get disoriented in the maze, consider using the Holy Protection ability or a Holy Water item to reduce enemy encounters, especially weaker ones. This will help conserve your HP as you move through the area. |
| 3 | 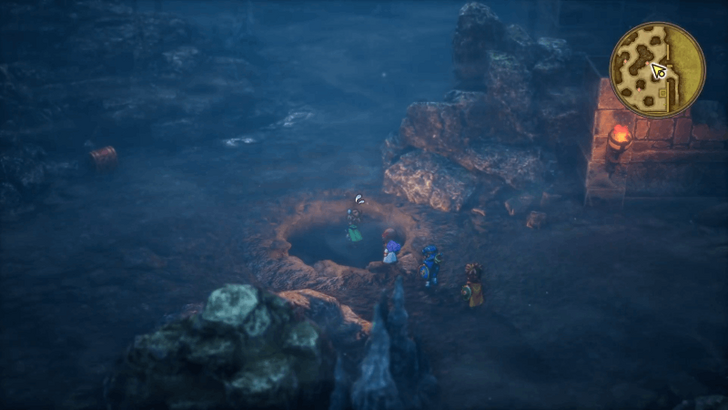 Proceed through the area and collect the treasures you find until you reach the 5th floor, which contains many pitfalls. It’s best to let yourself fall once so you can grab the treasures below. Your main goal is to reach the ladder in the bottom-right corner of the map. Make your way there without falling again to continue upward. |
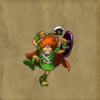
| 4 | 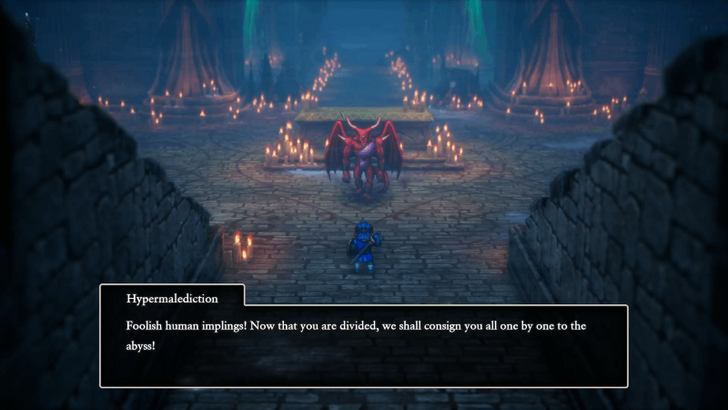 Before climbing the ladder in the top-right corner of the 5th floor, ensure the Prince of Midenhall is fully equipped with your best available gear, even if it means borrowing from other party members. Once ready, climb up the ladder to trigger a one-on-one battle against Hypermalediction. |
| 5 | After defeating the boss, you’ll reunite with your party. Before moving forward, re-equip any items you removed before the solo battle to restore your team’s setup. |
| 6 |  When you’re ready to proceed, exit right from the boss room and follow the line of candles until you find a healing tile. Continue to the end of the dungeon to face Belial for the second time. The fight should be manageable if you keep your buffs active, especially using the Prince of Cannock’s Souped-Up Kabuff. Defeat him to clear the path to Rendarak, the final area of the game. |
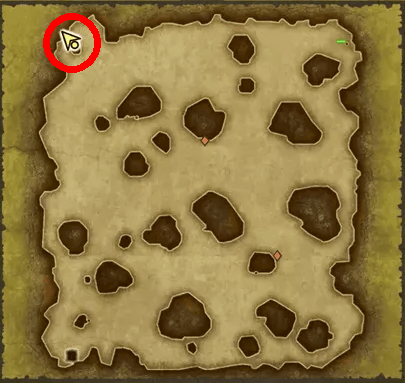
Passage to Rendarak L5 Pitfall Guide
Fall Down Once
When you reach the L5 area full of pitfalls and proceed forward, you’ll notice that both paths at the fork lead to traps. This means you’ll inevitably fall once to progress. You’ll drop to L4’s pitfall section, climb back up, and return to the top-right section of L5 to continue from there.
Ignore the Treasures on L5
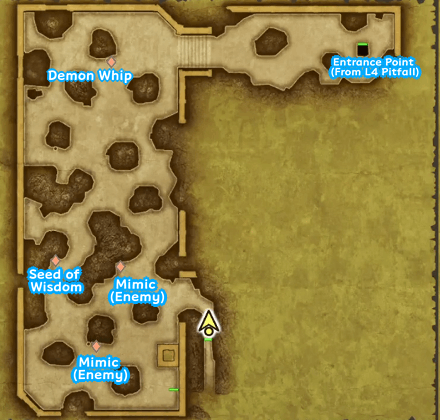
The treasures on L5 aren’t worth the risk since most are Mimics that can easily take you out if you’re not careful. Focus on finding the ladder in the southern part of the map and skip the chests altogether.
Avoid Pitfalls and Reach Your Destination

Use the map above as a reference for the correct route that avoids pitfalls. One wrong step will drop you back to L4, forcing you to climb again and restart the floor.
Passage to Rendarak Map and Treasure Chests
Passage to Rendarak Map
| 1st Half of the Passage to Rendarak |
|---|
 |
| 2nd Half of the Passage to Rendarak |
 |
Treasure Chest Items/Equipment
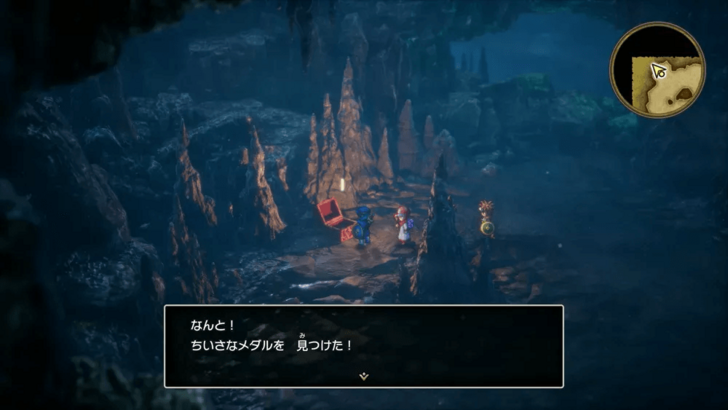
Passage to Rendarak Mini Medal Locations
All Mini Medals in Passage to Rendarak
| Map Image | World Image |
|---|---|
 |
 Inside a treasure chest on 4F, in the northwest corner. |
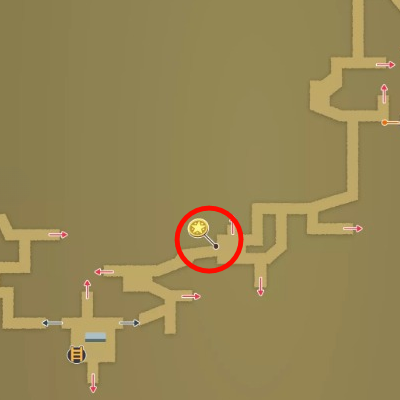 |
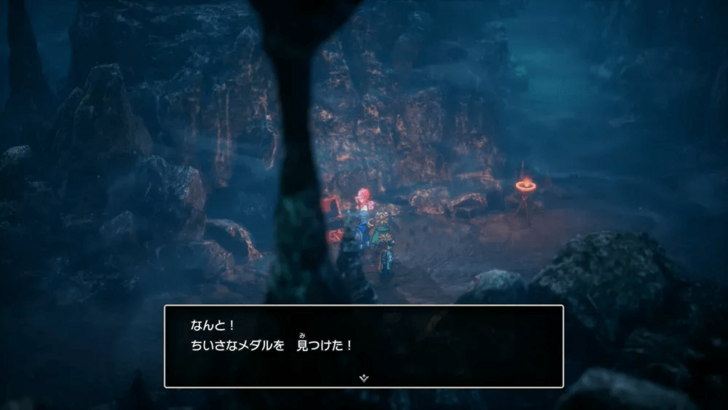 Inside a treasure chest on 6F. Note that the map does not display on 6F. |
All 80 Mini Medal Locations and Rewards
Passage to Rendarak Scroll Locations
All Scrolls in Passage to Rendarak
| Scroll | Location |
|---|---|
| Kacrackle |
  |
List of All Scrolls and Locations
Passage to Rendarak Enemies
List of Enemies in Passage to Rendarak
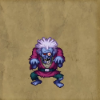 Ghoul |
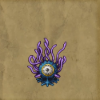 Eyelasher |
 Orc King |
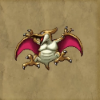 Tyrannodactyl |
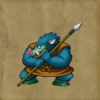
 Berserker |
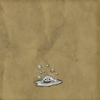 Liquid Metal Slime |
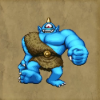 Cyclops |
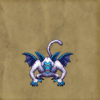 Silvapithecus |
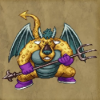 Belial |
 Heavy Hood |
 Troll |
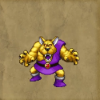 Tearwolf |
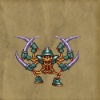 Armful |
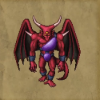 Hypermalediction |
List of All Monsters and Enemies
Passage to Rendarak Location and How to Enter
Northeast of the Shrine South of Rendarak
The Passage to Rendarak is located northeast of the Shrine South of Rendarak.
Once you learn Zoom, you can teleport to Passage to Rendarak from anywhere in the map.
Walkthrough Part 12: Sunken Ship to Passage to Rendarak
Dragon Quest 2 HD-2D Remake (DQ2) Related Guides

List of Locations by Type
All Map Related Guides
List of All Dungeons
Comment
Author

Passage to Rendarak Dungeon Guide
Rankings
- We could not find the message board you were looking for.
Gaming News


Popular Games

Genshin Impact Walkthrough & Guides Wiki
Umamusume: Pretty Derby Walkthrough & Guides Wiki
Crimson Desert Walkthrough & Guides Wiki
Monster Hunter Stories 3: Twisted Reflection Walkthrough & Guides Wiki
Honkai: Star Rail Walkthrough & Guides Wiki
Pokemon Pokopia Walkthrough & Guides Wiki
The Seven Deadly Sins: Origin Walkthrough & Guides Wiki
Wuthering Waves Walkthrough & Guides Wiki
Zenless Zone Zero Walkthrough & Guides Wiki
Arknights: Endfield Walkthrough & Guides Wiki


Recommended Games
Fire Emblem Heroes (FEH) Walkthrough & Guides Wiki
Diablo 4: Vessel of Hatred Walkthrough & Guides Wiki
Cyberpunk 2077: Ultimate Edition Walkthrough & Guides Wiki
Yu-Gi-Oh! Master Duel Walkthrough & Guides Wiki
Super Smash Bros. Ultimate Walkthrough & Guides Wiki
Pokemon Brilliant Diamond and Shining Pearl (BDSP) Walkthrough & Guides Wiki
Elden Ring Shadow of the Erdtree Walkthrough & Guides Wiki
Monster Hunter World Walkthrough & Guides Wiki
The Legend of Zelda: Tears of the Kingdom Walkthrough & Guides Wiki
Persona 3 Reload Walkthrough & Guides Wiki


All rights reserved
© ARMOR PROJECT/BIRD STUDIO/SPIKE CHUNSOFT/SQUARE ENIX
© SUGIYAMA KOBO ℗ SUGIYAMA KOBO
The copyrights of videos of games used in our content and other intellectual property rights belong to the provider of the game.
The contents we provide on this site were created personally by members of the Game8 editorial department.
We refuse the right to reuse or repost content taken without our permission such as data or images to other sites.