Scarlet and Volt's Situation DLC Mission Guide
Scarlet and Volt's Situation is the first mission in the Goddess of Victory: Nikke DLC for Stellar Blade. Check out our guide for a full walkthrough on how to complete Scarlet and Volt's Situation, including combat tips!
List of Contents
Scarlet and Volt's Situation Overview
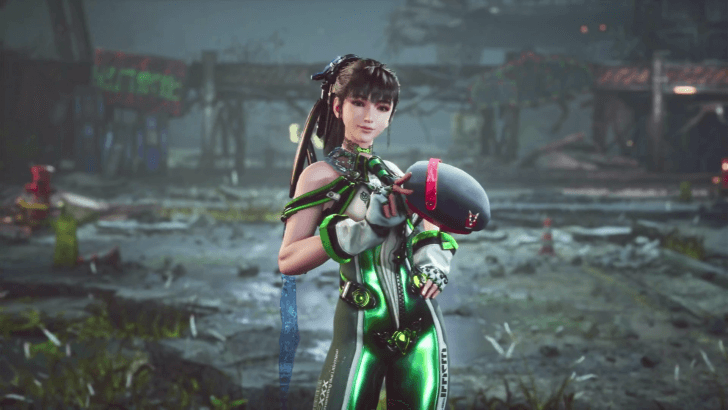
Scarlet and Volt's Situation
Scarlet tasks EVE to retrieve a hat stolen by a drone roaming the Wasteland. |
|
| Objectives | ・Follow Volt ・Interact with the Drone ・Complete the Operation ・Return to Scarlet |
|---|---|
| Bosses | Corrupter |
| Location | Wasteland |
Scarlet and Volt's Situation Walkthrough
Complete Walkthrough
| Scarlet and Volt's Situation Objectives | |
|---|---|
| 1 | Follow Volt |
| 2 | Interact with the Drone |
| 3 | Complete the Operation |
| 4 | Return to Scarlet |
1. Follow Volt to the Location
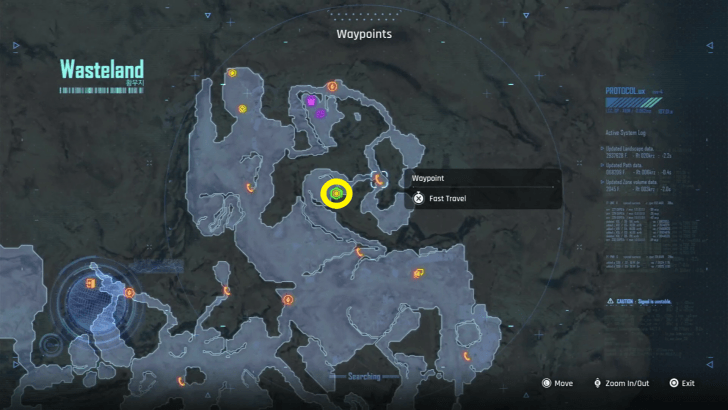
After accepting the quest from Scarlet, Volt will run off to where one of the Drones was spotted. Make your way to northeastern part of the Wasteland and just south of the Scrap Yard.
There's a nearby fast travel point just east of the location where you need to go, so make your way to the nearby supply camp south of Scarlet to fast travel there.
2. Interact with the Drone
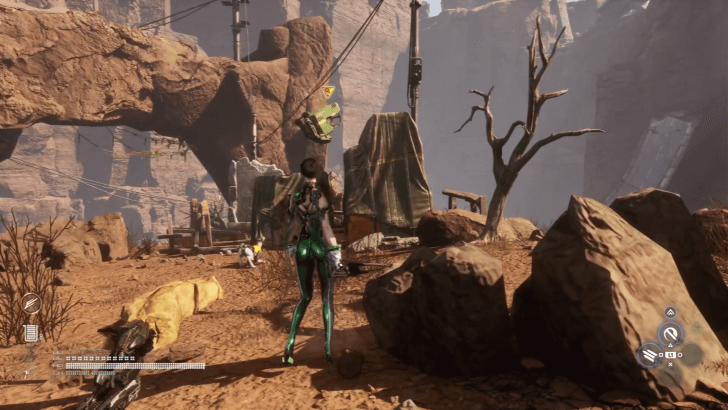
Make your way to the location and you'll see Volt barking at the Drone on top of some boxes near the cliff.
Climb up the boxes and interact with the Drone to start the operation.
3. Complete the Operation
The Operation has a total of 5 waves that pits EVE against groups of Naytiba, with a Corrupter as the final boss.
Completing the Operation will reward you the Rapi's Hat key item which you'll need to bring back to Scarlet.
4. Return to Scarlet
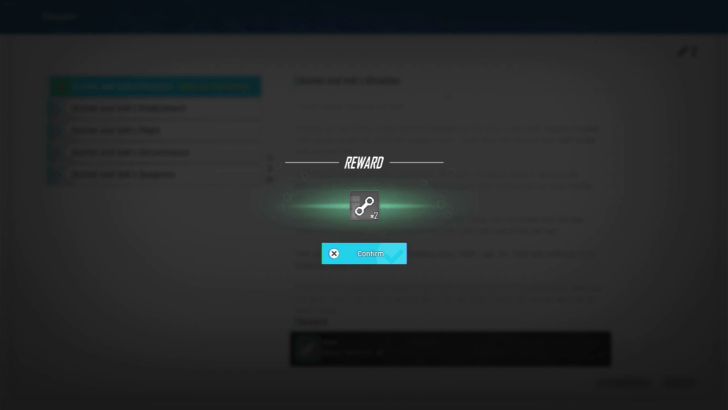
Make your way back to Scarlet and speak with her to complete the quest, and you'll receive 2 Bone-Wrenches as a reward.
Mission 1 Operation Guide
| Mission 1 Operation Walkthrough |
|---|
|
|
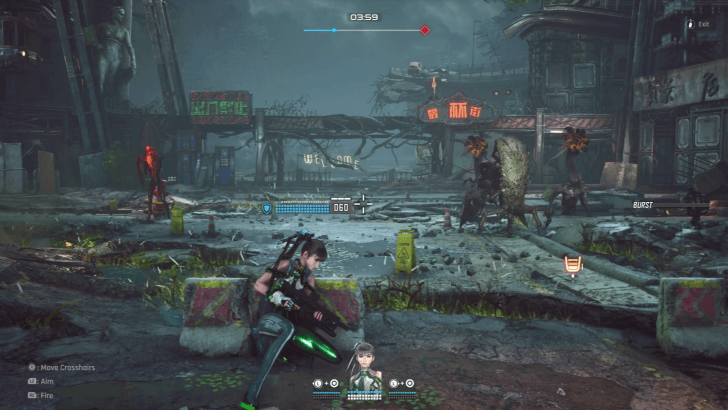
Wave 1
| Wave 1 | |
|---|---|
 |
|
| Enemies | ・Barnacle ・Turret Droid ・Cricket Boomer ・Waster x 2 |
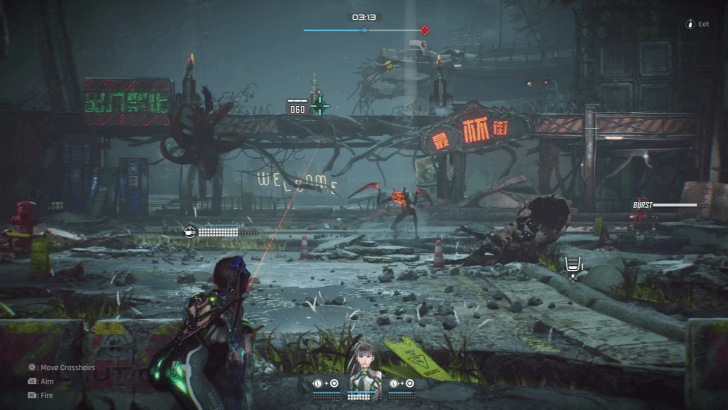
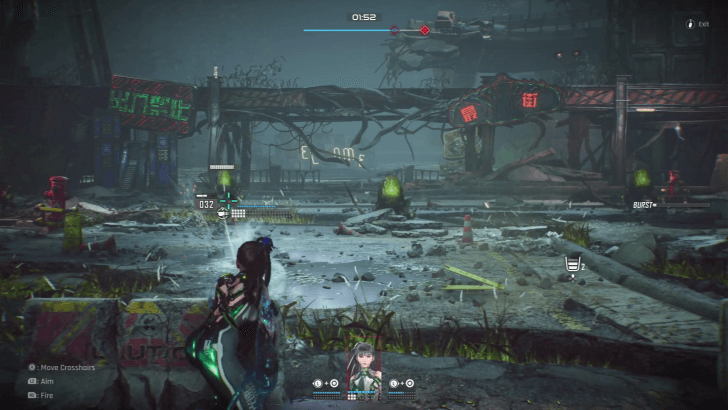
Focus on shooting the Turret Droid on the elevated area as its attacks deal the most damage to both EVE and the concrete barrier she's hiding behind. Next, defeat the two Wasters followed by the Cricket Boomer as the latter can leave an AOE that damages EVE gradually.
Leave the Barnacle for last as it doesn't actually attack, though you need to carefully shoot at its head to defeat it as its shield is completely immune to damage.
Shoot the Wandering Robot to Knock Down Enemies
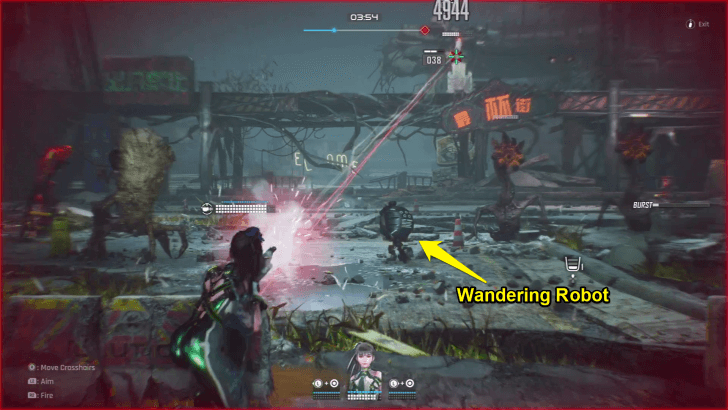
A small Wandering Robot will appear during Wave 1 running around the battlefield. Shooting this robot will cause it to explode, stunning and knocking down enemies caught in the blast.
We recommend shooting this Robot when it gets close to the Barnacle so that you can easily defeat it without your bullets getting blocked by its shield.
Wave 2
| Wave 2 | |
|---|---|
 |
|
| Enemies | ・Turret Droid x2 ・Hydra ・Cricket Butcher ・Cricket Boomer ・Waster |
Just like the previous wave, prioritize shooting the two Turret Droids on the elevated platform as they deal the most damage to EVE and the barriers. You can shoot the yellow wandering robot on the top platform to cause an explosion to easily destroy the turrets.
Next, you'll want to focus on shooting the Cricket Boomer and the Hydra. Use your Burst if you have one ready to unleash an AOE attack that damages everything on screen. Finish off any remaining enemies that survived the burst to complete the wave.
Use the Triangle Burst to Deal AOE Damage
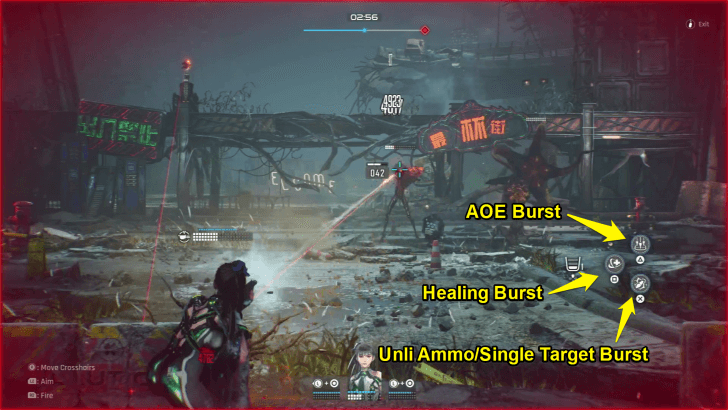
Shooting enemies will build your Burst which you can use during the operation to unleash powerful attacks against the enemy Naytibas.
We recommend using the triangle burst for this wave which summons Adam and Lily to deal AOE Damage to all enemies on screen.
Shoot the Green Wandering Robot for Health
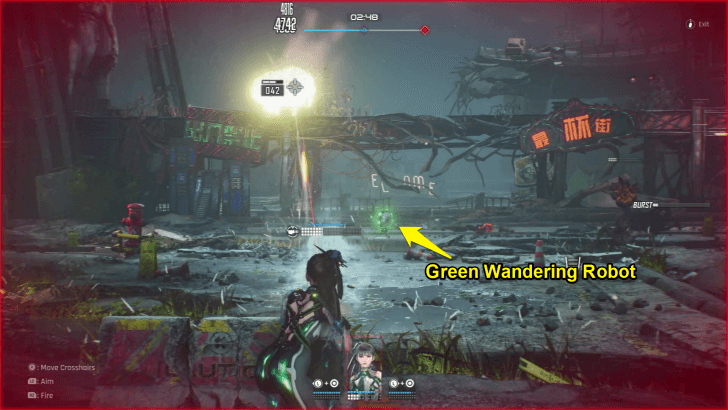
A green wandering robot may appear on the battlefield after enough enemies have been defeated or after using a Burst. Make sure to shoot this robot before completing the wave to get a recovery bar that you can use to heal EVE.
Wave 3
| Wave 3 | |
|---|---|
 |
|
| Enemies | ・Turret Droid x3 ・Guard Turret ・Hydra ・Waster x2 ・Cricket Boomer |
The most dangerous enemies in this wave are the three Turret Droids on the top platform and the lone Guard Turret on the ground level that can use powerful burst projectiles and often force you to switch covers to avoid the AOE damage.
Prioritize taking these turrets out first, then using your burst to deal AOE damage to the rest of the enemies. A floating box robot will also appear at the start of the wave and shooting the smaller robot on its head will cause an explosion that can heavily damage nearby enemies.
Finally, make sure to shoot any green wandering robots so that you have enough recovery bars for the boss fight later.
Wave 4
| Wave 4 | |
|---|---|
 |
|
| Enemies | Mutated Mite x 4 |
As soon as Wave 4 starts, four Mutated Mites will spawn and quickly run towards your cover after which they'll explode.
You can actually ignore these enemies and just switch covers to avoid the explosion, but we recommend shooting them to build your burst so that you have one ready for the upcoming boss fight.
Wave 5 (Boss)
| Wave 5 | |
|---|---|
 |
|
| Boss | ・Corrupter |
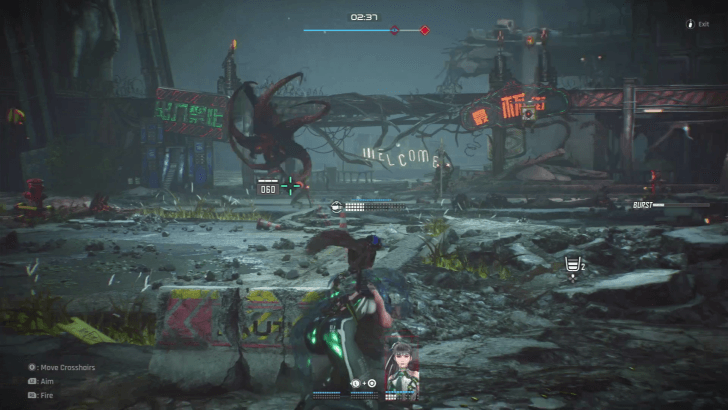
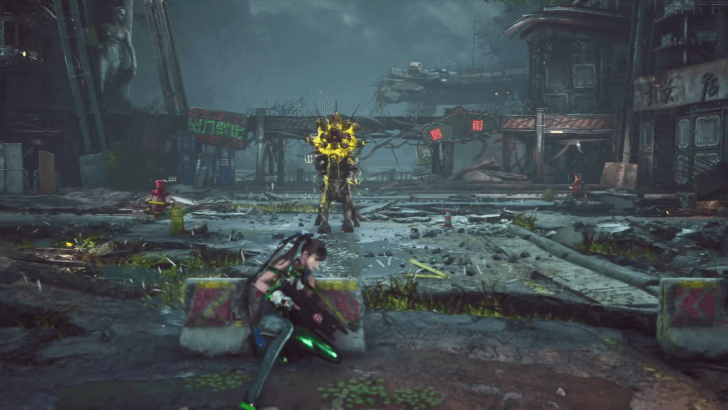
A Corrupter will appear as the lone enemy during the last wave and has several health bars. This boss only has two attacks, but they both deal lingering damage to EVE when it lands so you'll need to constantly switch covers during the fight.
We recommend using the x burst for this fight which gives EVE unlimited ammo and turns your projectiles into a high-powered laser to quickly deal burst damage to the Corrupter.
Switch Covers When It Uses the Globe Attack
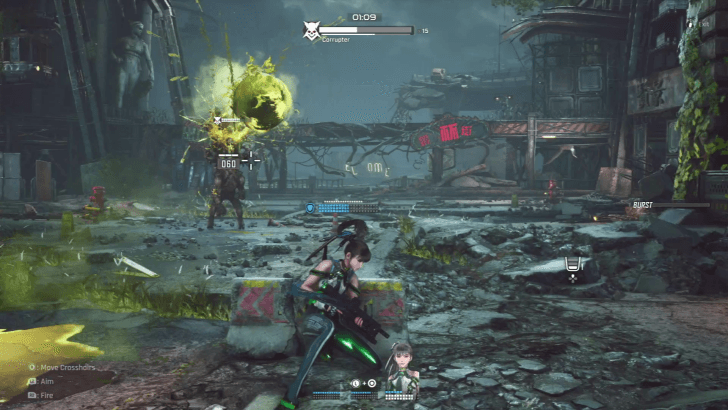
If you see the Corrupter charge and fire a yellow globe projectile, make sure to switch to the other cover as this attack leaves a large AOE poison that lingers for a few seconds and will quickly drain EVE's health if you're hit!
Once the Corrupter is defeated, you'll receive the Rapi's Hat key item which you'll need to give to Scarlet to complete the quest.
Stellar Blade Related Guides

Goddess of Victory: Nikke DLC Guides
| Nikke DLC Guides | |
|---|---|
 How to Unlock Nikke DLC How to Unlock Nikke DLC |
 Nikke DLC Missions Nikke DLC Missions |
 Nikke DLC Outfits Nikke DLC Outfits |
 Nikke DLC Hairstyles Nikke DLC Hairstyles |
 Nikke DLC Fish Nikke DLC Fish |
 Nikke DLC Hidden Songs Nikke DLC Hidden Songs |
List of DLC Missions
| Nikke DLC Missions | |
|---|---|
| Scarlet and Volt's Situation |
 Scarlet and Volt's Predicament Scarlet and Volt's Predicament |
 Scarlet and Volt's Plight Scarlet and Volt's Plight |
 Scarlet and Volt's Circumstance Scarlet and Volt's Circumstance |
 Scarlet and Volt's Quagmire Scarlet and Volt's Quagmire |
|
Comment
Author

Scarlet and Volt's Situation DLC Mission Guide
Rankings
- We could not find the message board you were looking for.
Gaming News

![Star Savior Review [First Impressions] | Engaging, Entertaining, and Expensive](https://img.game8.co/4447603/8f500e9bf666bdb8adb1af478e9dfdbd.png/show)


Popular Games

Genshin Impact Walkthrough & Guides Wiki
Umamusume: Pretty Derby Walkthrough & Guides Wiki
Crimson Desert Walkthrough & Guides Wiki
Monster Hunter Stories 3: Twisted Reflection Walkthrough & Guides Wiki
Honkai: Star Rail Walkthrough & Guides Wiki
Pokemon Pokopia Walkthrough & Guides Wiki
The Seven Deadly Sins: Origin Walkthrough & Guides Wiki
Wuthering Waves Walkthrough & Guides Wiki
Zenless Zone Zero Walkthrough & Guides Wiki
Arknights: Endfield Walkthrough & Guides Wiki


Recommended Games
Fire Emblem Heroes (FEH) Walkthrough & Guides Wiki
Diablo 4: Vessel of Hatred Walkthrough & Guides Wiki
Cyberpunk 2077: Ultimate Edition Walkthrough & Guides Wiki
Yu-Gi-Oh! Master Duel Walkthrough & Guides Wiki
Super Smash Bros. Ultimate Walkthrough & Guides Wiki
Pokemon Brilliant Diamond and Shining Pearl (BDSP) Walkthrough & Guides Wiki
Elden Ring Shadow of the Erdtree Walkthrough & Guides Wiki
Monster Hunter World Walkthrough & Guides Wiki
The Legend of Zelda: Tears of the Kingdom Walkthrough & Guides Wiki
Persona 3 Reload Walkthrough & Guides Wiki


All rights reserved
© 2024 SHIFT UP Corporation. All rights reserved. Published by Sony Interactive Entertainment Inc.
The copyrights of videos of games used in our content and other intellectual property rights belong to the provider of the game.
The contents we provide on this site were created personally by members of the Game8 editorial department.
We refuse the right to reuse or repost content taken without our permission such as data or images to other sites.