Tower of Dread Guide
Welcome to Game8's Miitopia Switch Wiki! See our guides below that will help you get started on your adventure!
This is a guide for the Tower of Dread area in Miitopia for Nintendo Switch. Learn more about the best team compositions to beat the area, as well as strategies and recommendations to beat each boss here!
List of Contents
How to Unlock Tower of Dread
'Save' the Dark Curse in Chapter 6 and Clear any District Beyond the 3rd in New Lumos

To unlock this area, you must choose to 'Save' the Dark Curse after you beat the Darker Lord in Chapter 6. Afterwards, you must go to New Lumos and defeat a boss in any District from the 3rd to 8th.
If you haven't chosen to 'Save' the Dark Curse, you can do so by fighting the Darker Lord again in the Otherworld, this time choosing to save the Dark Curse once given the option.
Best Team for Tower of Dread
Team Used (Stability Oriented Team)
| Lineup | Explanation |
|---|---|
'Hero'
 Flower Flower
|
Personality: Cool ・Primary healer, secondary damager ・Use Horse Whispering on the last floor |
Friend 1
 Scientist Scientist
|
Personality: Cool ・Main damager and emergency healer ・Acts quickly ・Safety Mask helps prevent status ailments |
Friend 2
 Princess Princess
|
Personality: Cool ・Powerful debuffer ・Can nullify status ailments via Blindfold ・Can also dodge attacks via Escort |
Friend 3
 Thief Thief
|
Personality: Cool ・Widespread attacker ・Acts quickly |
Alternative Options
| Job Used | Alternative |
|---|---|
| 'Hero'
Flower
|
 Cleric Cleric
|
| Friend 2
Princess
|
 Vampire Vampire
|
| Friend 3
Thief
|
 Elf Elf
|
Explanation
This is the team used by the writers which focuses on stability. Everyone on the team can attack, while the Princess and Scientist can keep most status ailments away from their teammates. With proper team management, this group can reach the final floor without using Sprinkles. It's recommended to run Cool or Energetic personalities on them because of the lack of glaring drawbacks.
Team Placement
You'll want to avoid putting your Princess and Scientist in the Safe Spot while the enemy is acting to counter potential status ailments. Additionally, by placing teammates who are on the center of your team into the Safe Spot you can potentially reduce the number of teammates being hit by enemy attacks that hit 3 of your allies.
Taking the team above into account you'd want to put your Scientist and Princess on opposite sides of the team, with the Thief and Flower in the middle.
What You Need Before Tower of Dread
| ・Party Level 40 at Least |
| ・Strong Equipment (Around 17000-20000 gold value on weapons and clothes) |
| ・Feed Party with Grub |
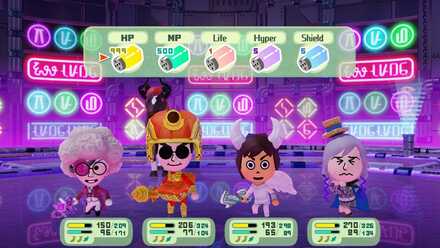
| ・Maximum Sprinkles amount (999HP, 500 MP) |
| ・Take a Traveler Companion |
Strenghten your Levels, Spend on Equipment, and Eat lots of Grub

The Tower of Dread is a high difficulty area so you'll want to be able to go through the early floors with as little difficulty as possible. It's advised to have your team members at Level 40 before entering the area, as well as buying them strong equipment and feeding them a lot of Grub. In the case of feeding them Grub, it's recommended that they have at least a +10 to all stats. The more you feed them, the better.
Raise your Sprinkles Level
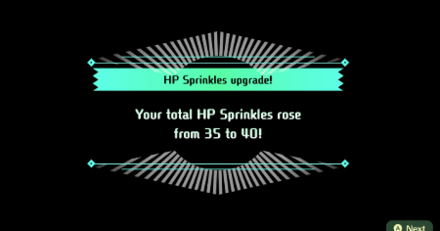
Sprinkles will be your lifeline when your team gets into a bad situation, and it's highly advised that you raise the power of your Sprinkles to maximum, which is achieved by rescuing 2500 faces.
Bring a Traveler Companion
Some quests in Traveler's Hub will involve a companion following you as you do the quest. If you enter the Tower of Dread before finishing the quest, the companion will also follow you into battle, essentially giving you a free 5th party member for the fight. It's recommended to have a Cleric or Scientist companion accompany you, as their heals and status ailment protection can keep your team alive during a fight.
Tower of Dread Tips and Tricks
Don't Use Autobattle and Fast Forward
You're taking on one of the most difficult challenges in the game at this point, and using these two options for this area is nothing short of suicide. You need to go through each of your party members' turns slowly and one by one. This is so that you can time when to use Sprinkles or put your units into the Safe Spot when the need arises.
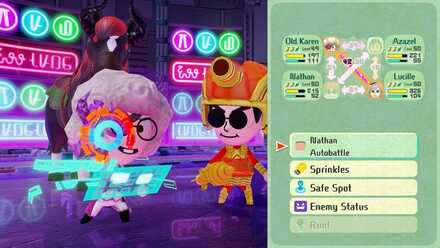
Keep Your Combat Menu Up
You'll want to have your Menu up at all times for the duration of these fights. This allows you to quickly apply Sprinkles on teammates or move them into the Safe Spot at a moment's notice.
Master the Safe Spot

The Safe Spot is the most efficient method of recovery in the game, and proper use of it can win you many difficult fights. The HP and MP restoration values are large, and can be even larger if certain skills like Snuggle Up or Get Well Soon trigger together. Additionally it prevents your units from wasting turns eating HP Bananas and MP Candies, which are far less efficient.
Know the Order of Attack
You'll want to keep track of the turn rotation, which means knowing who gets to act first, second and so on. This gives you a variety of advantages such as anticipating when the enemy will attack, knowing when to move your units in and out of the Safe Spot, and so on.
Save Sprinkles for the Last Floor
Your Sprinkles won't be replenished after each fight and ideally you'd want to save them for the last fight, so keep your team healthy through proper timing of heals and Safe Spot usage to minimize Sprinkle usage. You can opt to use some Shield Sprinkles for the 7th floor against the Evil Sage, but save your HP, MP and Life Sprinkles for the final floor.
Tower of Dread Boss Guide (Ground Floor to Apex)
Ground Floor: King Cow
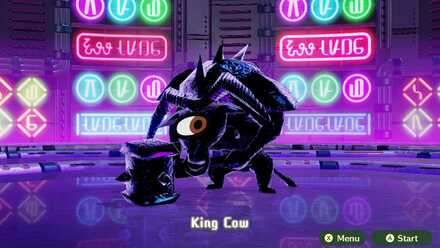
| Attack Pattern (Acts Twice) | |
|---|---|
| 1 | Normal Attack (Hits 1) |
| 2 | Hammer Swing (Hits All) |
Second Floor: Calc King
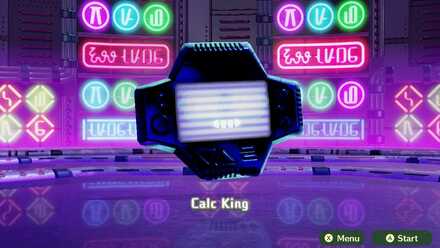
| Attack Pattern (Acts Once) | |
|---|---|
| 1 | Normal Attack (Hits 1) |
| 2 | Shock Wave (Hits All) |
| 3 | Call Companion (Summons Ultimate Robot Warrior) ・The summoned monster will lock-on to two targets and deal high damage to them on the next turn. It's better to just kill them quickly than waste Shield Sprinkles. |
Third Floor: Frog King and Frog Queen

| Frog King (Acts Twice) | |
|---|---|
| 1 | Breathes in |
| 2 | Breathes in some more |
| 3 | Exhales (Targets All) |
| 4 | Shock Wave (Targets 1 member and adjacent members) |
| Frog Queen (Acts Twice) | |
|---|---|
| 1 | Breathes in |
| 2 | Breathes in some more |
| 3 | Exhales (Targets All) |
| 4 | Shock Wave (Targets 1 member and adjacent members) |
Frog King and Frog Queen Boss Guide
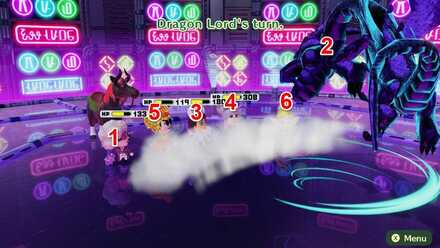
Fourth Floor: Dragon Lord

| Attack Pattern (Acts Twice) | |
|---|---|
| 1 | Intimidating Roar (Damages 1 member and Inflicts Terror) |
| 2 | Gust of Wind (Hits All) |
Fifth Floor: King of Hounds

| Attack Pattern (Acts Thrice) | |
|---|---|
| 1 | Normal Attack (Hits 1) |
| 2 | Fireballs (Hits 1 member and adjacent members) |
| 3 | Frost Breath (Hits All) |
| 4 | Howl (Inflicts Terror on one member) |
Sixth Floor: Dark King and Dark Queen
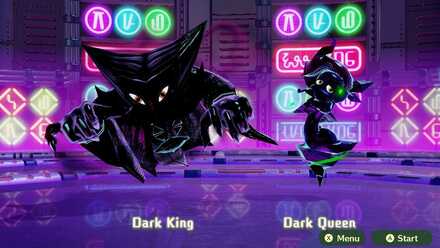
| Dark King (Acts Twice) | |
|---|---|
| 1 | Normal Attack (Hits 1) |
| 2 | Nightmare (Inflicts Terror on 1 member) |
| 3 | Rockslide (Targets All) |
| Dark Queen (Acts Twice) | |
|---|---|
| 1 | Normal Attack (Hits 1) |
| 2 | Darkness (Inflicts Evil on 1 member) |
| 3 | Chilling Wind (Targets All) |
Dark King and Dark Queen Boss Guide
Seventh Floor: Evil Sage
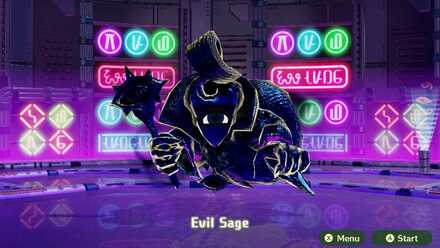
| Attack Pattern (Acts Twice) | |
|---|---|
| 1 | Lightning (Hits 1) |
| 2 | Explosion (Hits All) |
| 3 | Mark (Locks-on to 2 members, deals lethal damage to them after 1 turn) ・Move one of the targeted members to the Safe Spot to minimize Shield Sprinkle usage. |
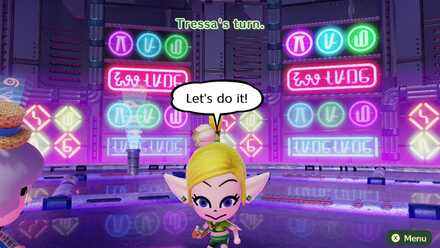
Final Floor (Apex): Dark Sun
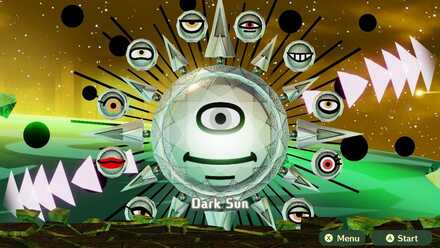
| Attack Pattern (Acts Twice) | |
|---|---|
| 1 | Normal Attack (Hits 1) |
| 2 | Dark Hole (Hits All) |
| 3 | Nightmare (Inflicts Terror on 1 member) |
| 4 | Call Servant (Summons 1 Medal) ・Summoned Medals only do 1 weak normal attack per turn, but it's best to just wipe them out quickly when they spawn. |
| 5 | Big Bang (Attack that leaves all party members with 1 HP) ・The Dark Sun will use this skill when its HP drops very low. Be ready to use Sprinkles and move critical teammates to the Safe Spot. |
Miitopia Related Links
 See Map and Guide List
 Chapter 5-1: Traveler's Hub
 Chapter 5-2: Powdered Peaks
 Chapter 5-3: Peculia
 Chapter 5-4: Nimbus
 Galados Isle
 New Lumos
 Tower of Dread
 Tower of Despair
Author

Tower of Dread Guide
Rankings
- We could not find the message board you were looking for.
Gaming News

![Star Savior Review [First Impressions] | Engaging, Entertaining, and Expensive](https://img.game8.co/4447603/8f500e9bf666bdb8adb1af478e9dfdbd.png/show)


Popular Games

Genshin Impact Walkthrough & Guides Wiki
Umamusume: Pretty Derby Walkthrough & Guides Wiki
Crimson Desert Walkthrough & Guides Wiki
Monster Hunter Stories 3: Twisted Reflection Walkthrough & Guides Wiki
Honkai: Star Rail Walkthrough & Guides Wiki
Pokemon Pokopia Walkthrough & Guides Wiki
The Seven Deadly Sins: Origin Walkthrough & Guides Wiki
Wuthering Waves Walkthrough & Guides Wiki
Zenless Zone Zero Walkthrough & Guides Wiki
Arknights: Endfield Walkthrough & Guides Wiki


Recommended Games
Fire Emblem Heroes (FEH) Walkthrough & Guides Wiki
Diablo 4: Vessel of Hatred Walkthrough & Guides Wiki
Cyberpunk 2077: Ultimate Edition Walkthrough & Guides Wiki
Yu-Gi-Oh! Master Duel Walkthrough & Guides Wiki
Super Smash Bros. Ultimate Walkthrough & Guides Wiki
Pokemon Brilliant Diamond and Shining Pearl (BDSP) Walkthrough & Guides Wiki
Elden Ring Shadow of the Erdtree Walkthrough & Guides Wiki
Monster Hunter World Walkthrough & Guides Wiki
The Legend of Zelda: Tears of the Kingdom Walkthrough & Guides Wiki
Persona 3 Reload Walkthrough & Guides Wiki


All rights reserved
Nintendo. Miitopia and Nintendo Switch are trademarks of Nintendo. 2021 Nintendo.
The copyrights of videos of games used in our content and other intellectual property rights belong to the provider of the game.
The contents we provide on this site were created personally by members of the Game8 editorial department.
We refuse the right to reuse or repost content taken without our permission such as data or images to other sites.
haha dark sun go boom