Neksdor Walkthrough (Chapter 2)
Welcome to Game8's Miitopia Switch Wiki! See our guides below that will help you get started on your adventure!
This is a walkthrough for Neksdor (Chapter 2) in Miitopia on the Nintendo Switch. Read on to learn how to progress through Neksdor, the best team for Neksdor, and the Neksdor map list.
List of Contents
Neksdor Walkthrough
Neksdor Progression
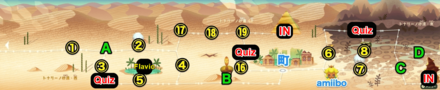
The numbers on the map indicate in which order the areas are recommended to be done.
| 1 | Battle through Neksdor Desert until reaching Neksdor Town. Take on the request of the Desert Celebrity at the town. |
|---|---|
| 2 | When you accept the request, the Underground Maze will become available. You will obtain a Mysterious Jewel at number ⑫. This will allow you to unlock the Pyramid later on. |
| 3 | Confront the Genie of the Lamp at "F". |
| 4 | Return to Neksdor Town, where the faces of its residents will be stolen by the Dark Lord. |
| 5 | Rescue the faces at ⑮, ⑱, ㉑, and ㉖. For each face you save, you will obtain a gem used to unlock the final area of the Pyramid. |
| 6 | Head to ㉗, the final area the Pyramid, and fight the boss Pharaoh "Genie of the Lamp" . |
Best Team for Neksdor
| Recommended Party Members | |||
|---|---|---|---|
Hero
 Scientist Scientist
Cool |
Teammate 1
 Mage Mage
Cool |
Teammate 2
 Warrior Warrior
Cool |
Teammate 3
 Cleric Cleric
Cool |
In Neksdor, avoid choosing the Cat for the Hero
The Cat is one of the best choices for the Hero's job, but choosing the Cat as the main hero's job in Neksdor will prohibit the Cat from being chosen in the next chapter, Realm of the Fey. Since there is more EXP to be earned in Realm of the Fey than in Neksdor, it's recommended to choose the Cat in Realm of the Fey instead, so that it will be at a much higher level when it's needed for the Dark Lord fight in the following chapter, Karkaton.
Scientist has useful skills in Neskdor
The Scientist is a great job option for the Hero, as its high Speed and access to powerful area of effect attacks allow you to make quick work of enemy mobs. You'll also learn the Safety Mask skill at higher levels, which allow you to protect yourself and your teammates from status ailments. The Safety Mask skill comes in great use especially against the final boss of Neksdor.
Select teammates for balance
For teammates, you'll want to balance out roles between damaging and defending. A Warrior teammate is ideal for damaging and defending allies at the same time, while a pure offensive teammate (preferrably Mage or Cat) dishes out the damage. A healer teammate like a Cleric is there to keep your HP up. This is to prevent your teammates from wasting turns consuming HP Bananas or MP Candies.
Neskdor Map List
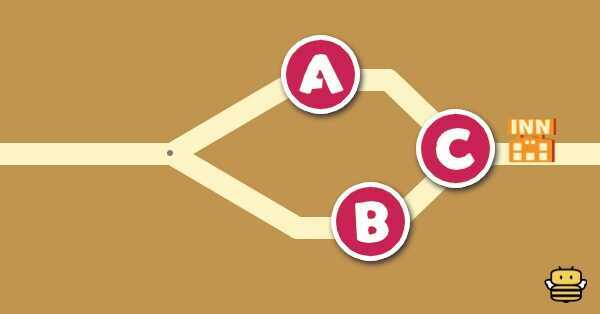
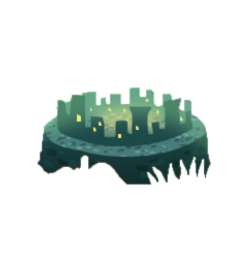
Neksdor Desert

| Map Image | Unlock Condition / Enemies / Treasure Locations |
|---|---|
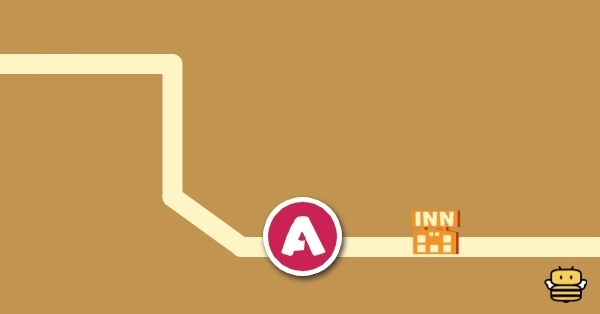
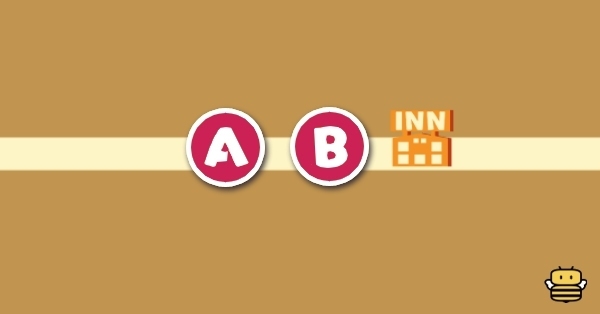
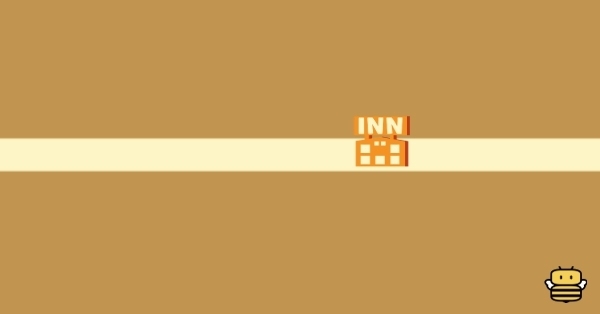
 ① Neksdor Desert |
Available at Start of Chapter 2
Cacti Stack / Scaredy-Scorpion A: Game Ticket (3) |
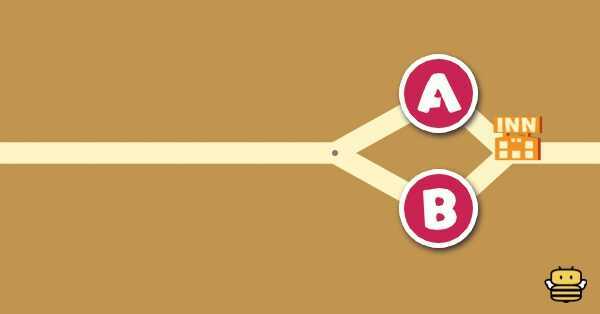
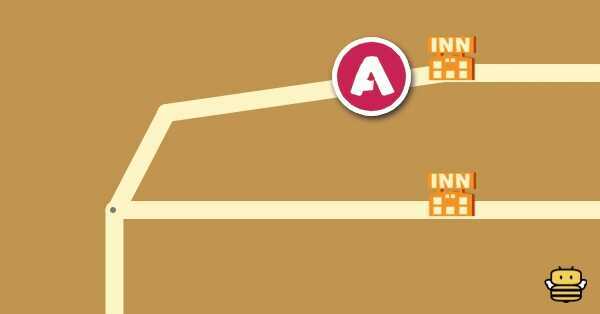
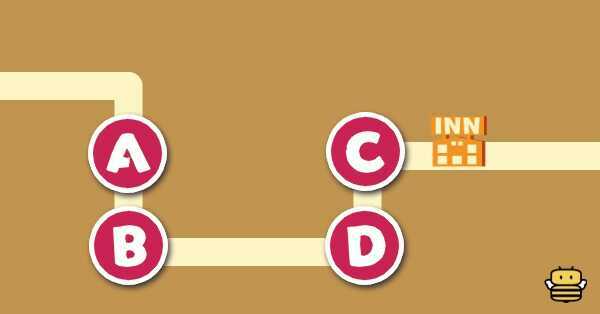
 ② Neksdor Desert |
Meet the Great Sage at A
Lady Mural / Cacti Stack / Scaredy-Scorpion A: Cactus Juice ★★ (1) B: 200G |
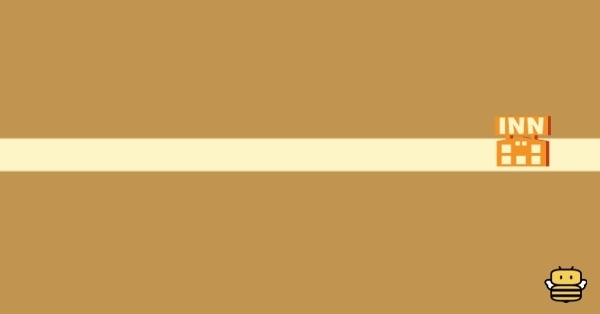
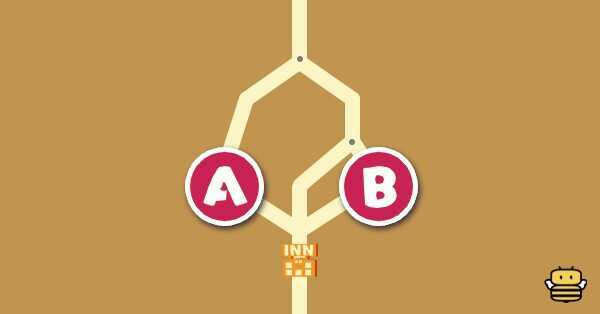
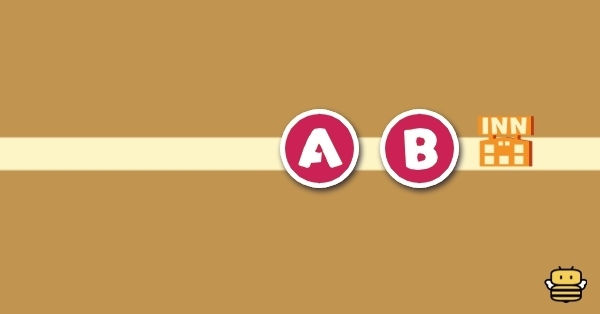
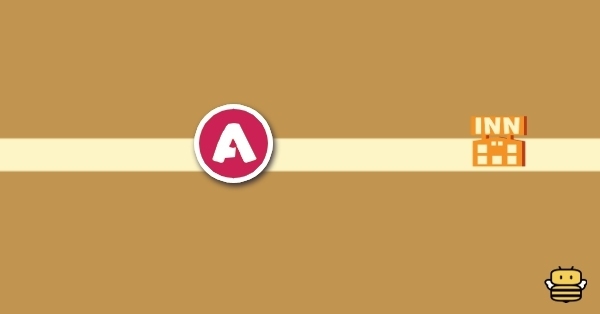
 ③ Neksdor Desert |
Meet the Great Sage at A
Griffin / Goblin / Cacti Stack / Cumulus / Scaredy-Scorpion A: Weapon (Max level: 12) B: 320G |
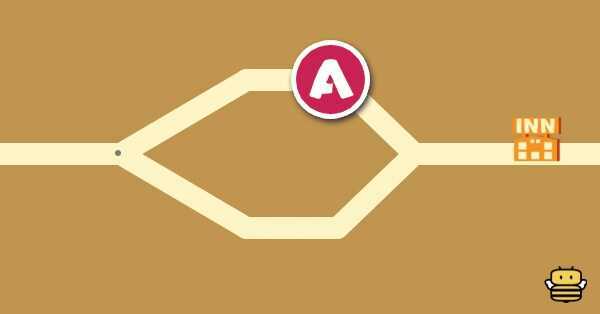
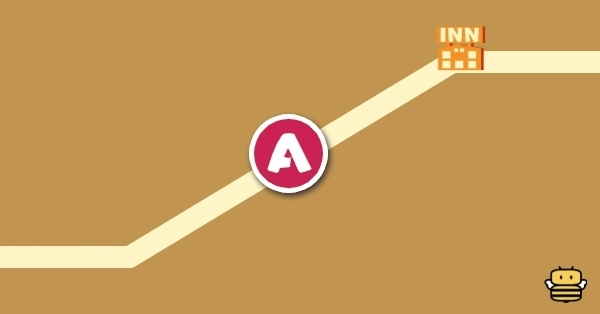
 ④ Neksdor Desert |
Clear course ②
None A: Weapon (Max level: 12) |
 ⑤ Neksdor Desert |
Clear ①
Lady Mural / Goblin / Cacti Stack / Scaredy-Scorpions |
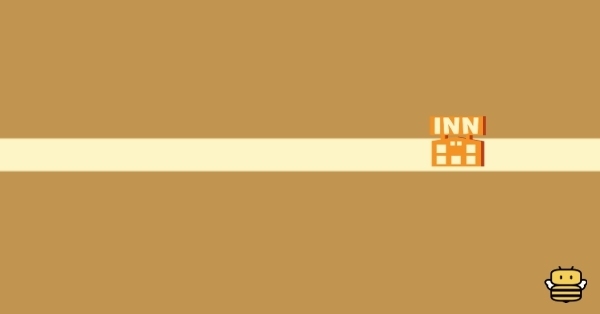
 ⑯ Neksdor Desert |
After defeating the 'Genie of the Lamp', go to Neksdor Town and talk to the 'Merchant Family' who were robbed by the Genie.
Scaredy-Scorpions A: Game Ticket (3) |
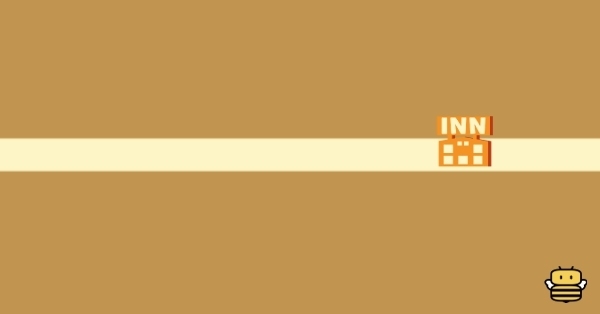
 ⑰ Neksdor Desert |
After defeating the 'Genie of the Lamp', go to Neksdor Town and talk to the 'Prickly Couple' who were robbed by the Genie.
Cacti Stack / Cactus Ball / Evil Mole A: 450G B: Game Ticket (3) |
 ⑱ Neksdor Desert |
Clear ⑰
1st encounter: Yellow Cobra / "Prickly Husband" Cobra / Cactus Ball / Jade Butterfly / Blue Cobra / Venus Mii Trap Subsequent encounters: Cactus Ball/ Jade Butterfly / Venus Mii Trap |
 ⑲ Neksdor Desert |
Clear ⑯ or ⑱
Cacti Stack / Scary Scoprion / Green Snurp A: 360G |
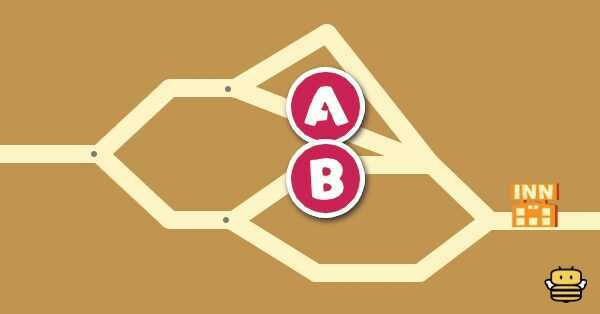
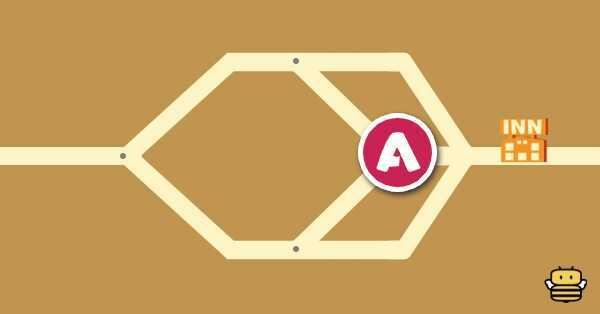
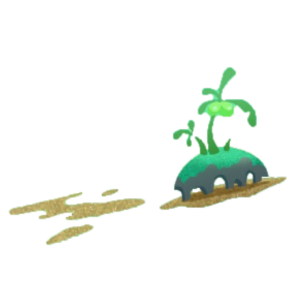
Wetland Way

| Map Image | Unlock Condition / Enemies / Treasure Locations |
|---|---|
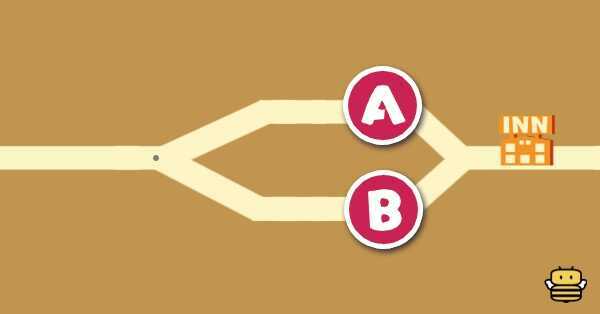
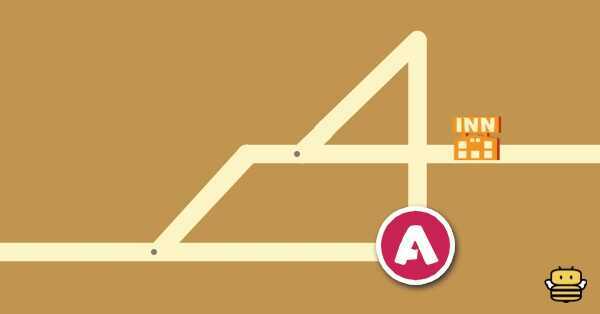
 ⑥ Wetland Way |
Talk to the Desert Celebrity in town and accept a request.
Jade Butterfly / Mole / Evil Mole A: Trap Chest B: Game Ticket (3) C: 360G D: Strata Sundae ★★ (1) |
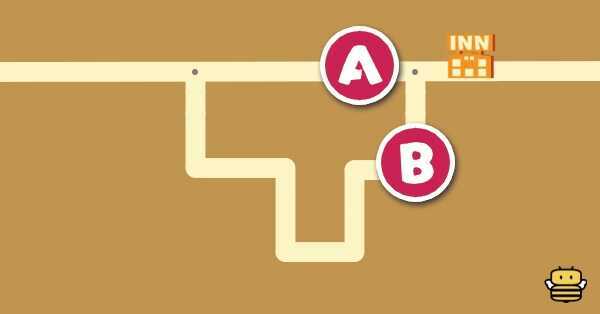
 ⑦ Wetland Way |
Talk to the Desert Celebrity in town and accept a request.
Man Mural / Lady Mural / Cacti Stack A: Banshee Tears ★ (2) |
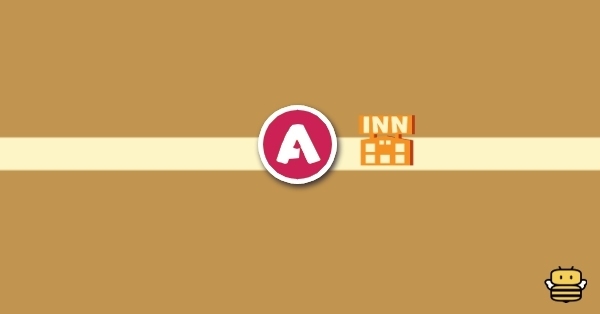
 ⑧ Wetland Way |
Clear ⑦
Jade Butterfly A: Trap Chest B: Weapon (Max level: 12) |
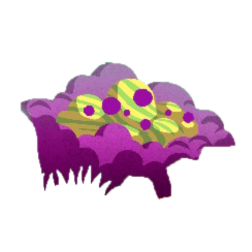
Underground Maze
| Map Image | Unlock Condition / Enemies / Treasure Locations |
|---|---|
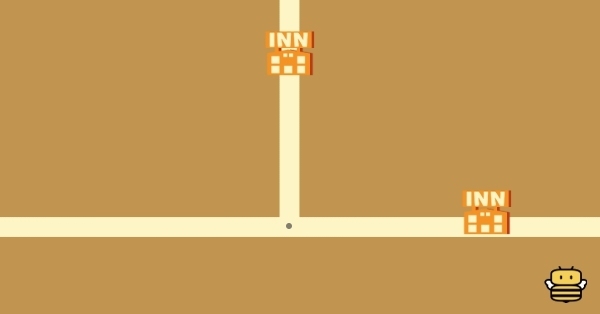
 ⑨ Underground Maze |
Meet with the Great Sage in C
Yellow Cobra / Goblin / Red Goblin A: 460G B: 220G |
 ⑩ Underground Maze |
Clear ⑨
Yellow Cobra / Fossil / Lizard Fossil / Mole / Red Goblin A: Game Ticket (1) B: Game Ticket (3) |
 ⑪ Underground Maze |
Clear ⑨
Fossil / Hermit Crab Fossil A: Dragon Fruit (3) |
 ⑫ Underground Maze |
Clear ⑩ or ⑪
Hermit Crab Fossil A: MP Candy (1) B: Game Ticket (3) C: Mysterious Jewel |
 ⑬ Underground Maze |
Clear ⑩ or ⑪
1st encounter: Minotaur Subsequent encounters: Yellow Cobra / Red Goblin A: 400G |
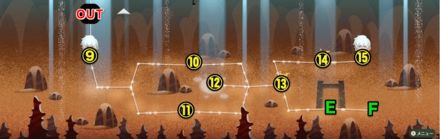
 ⑭ Underground Maze |
After defeating the 'Genie of the Lamp', go to Neksdor Town and talk to the 'Desert Celebrity' who got robbed by the Genie.
Fossil / Lizard Fossil / Venus Mii Trap |
 ⑮ Underground Maze |
Clear ⑭
1st encounter: Yellow Cobra / Venus Mii Trap / "Desert Celebrity" / Evil Mole Subsequent encounters: Venus Mii Trap / Evil Mole |
How to Unlock the Neksdor Pyramid
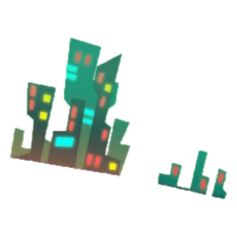
Pyramid
| Map Image | Unlock Condition / Enemies / Treasure Locations |
|---|---|
 ⑳ Pyramid |
Clear ⑲ and defeat Kind Golem at G
Blue Cobra / Mummy A: Game Ticket (1) |
 ㉑ Pyramid |
Clear ⑳
1st encounter: Hieroglyph / "Dancing Guide" Subsequent encounters: Hieroglyph / Mummy A: 550G B: Game Ticket (3) |
 ㉒ Pyramid |
Clear ㉑
Rock Face / Hieroglyph / Mummy A: Game Ticket (3) |
 ㉓ Pyramid |
Clear ㉑
None |
 ㉔ Pyramid |
Clear by activating only the 2nd and 3rd switches in ㉓
Blue Cobra / Mummy A: 1500G B: Game Ticket (3) C: Trap Chest D: Weapon (Max level: 12) |
 ㉕ Pyramid |
Clear ㉑
Rock Face / Hieroglyph / Mummy A: 2 Puppet Peppers, 1 Puppet Pepper ★ |
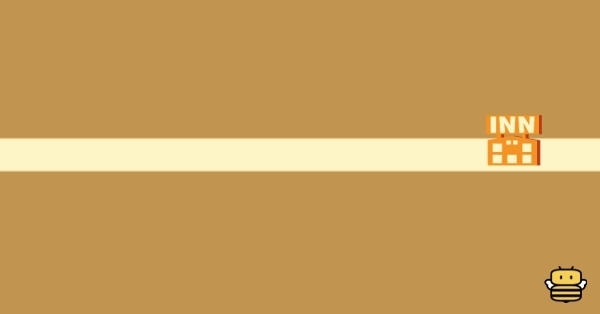
 ㉖ Pyramid |
Clear ㉕
1st encounter: "Shady Merchant Daughter" Blade / "Shady Merchant Father'"Shield / Blue Cobra / Mummy Subsequent encounters: Blue Cobra / Mummy A: 580G |
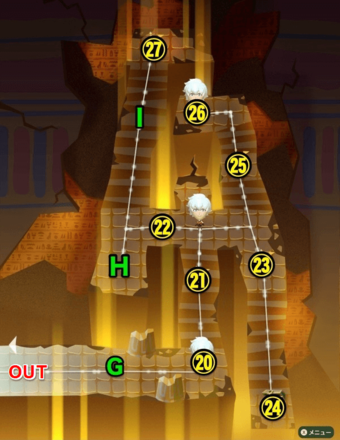
 ㉗ Pyramid |
Obtain all four Neksdor Jewels and pass through I.
Pharaoh "Genie of the Lamp" |
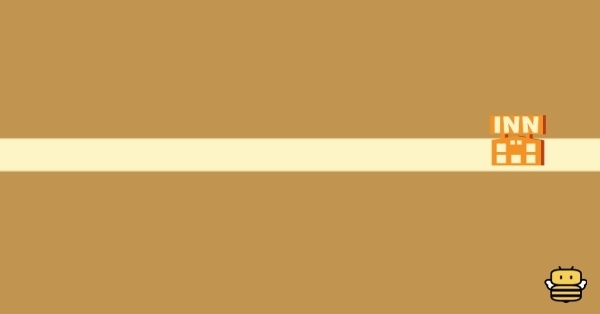
Neksdor (End)
| Map Image | Unlock Condition / Enemies / Treasure Locations |
|---|---|
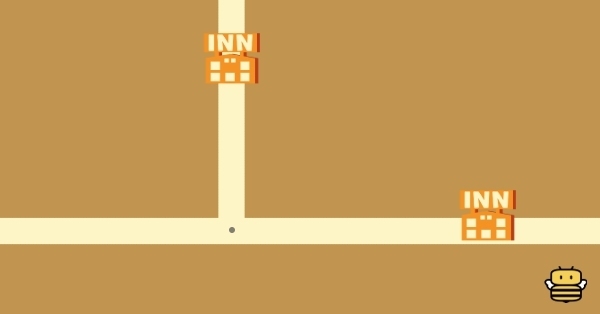
 ㉘ Wetland Way |
Clear the course ㉗, then go to Neksdor Town and talk to the 'Genie of the Lamp', which will clear the route by D.
Cactus Ball / Scary Scorpion / Venus Mii Trap |
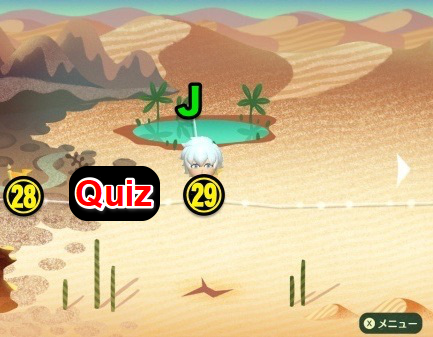
 ㉙ Neksdor Desert |
Clear ㉘
Jade Butterfly |
Miitopia Related Links
 See Map and Guide List See Map and Guide List
|
|
| Map List for Main Story | |
|---|---|
 Chapter 5-1: Traveler's Hub Chapter 5-1: Traveler's Hub |
 Chapter 5-2: Powdered Peaks Chapter 5-2: Powdered Peaks |
 Chapter 5-3: Peculia Chapter 5-3: Peculia |
 Chapter 5-4: Nimbus Chapter 5-4: Nimbus |
| Post Game Maps | |
 Galados Isle Galados Isle |
 New Lumos New Lumos |
 Tower of Dread Tower of Dread |
 Tower of Despair Tower of Despair |
Author

Neksdor Walkthrough (Chapter 2)
Rankings
- We could not find the message board you were looking for.
Gaming News

![Death Stranding 2: On The Beach [PC] Review | A Port That Delivers](https://img.game8.co/4447392/15310a0c9aa1b6843bb713b2ea216930.jpeg/show)


Popular Games

Genshin Impact Walkthrough & Guides Wiki
Umamusume: Pretty Derby Walkthrough & Guides Wiki
Crimson Desert Walkthrough & Guides Wiki
Monster Hunter Stories 3: Twisted Reflection Walkthrough & Guides Wiki
Honkai: Star Rail Walkthrough & Guides Wiki
Pokemon Pokopia Walkthrough & Guides Wiki
The Seven Deadly Sins: Origin Walkthrough & Guides Wiki
Wuthering Waves Walkthrough & Guides Wiki
Zenless Zone Zero Walkthrough & Guides Wiki
Arknights: Endfield Walkthrough & Guides Wiki


Recommended Games
Fire Emblem Heroes (FEH) Walkthrough & Guides Wiki
Diablo 4: Vessel of Hatred Walkthrough & Guides Wiki
Cyberpunk 2077: Ultimate Edition Walkthrough & Guides Wiki
Yu-Gi-Oh! Master Duel Walkthrough & Guides Wiki
Super Smash Bros. Ultimate Walkthrough & Guides Wiki
Pokemon Brilliant Diamond and Shining Pearl (BDSP) Walkthrough & Guides Wiki
Elden Ring Shadow of the Erdtree Walkthrough & Guides Wiki
Monster Hunter World Walkthrough & Guides Wiki
The Legend of Zelda: Tears of the Kingdom Walkthrough & Guides Wiki
Persona 3 Reload Walkthrough & Guides Wiki


All rights reserved
Nintendo. Miitopia and Nintendo Switch are trademarks of Nintendo. 2021 Nintendo.
The copyrights of videos of games used in our content and other intellectual property rights belong to the provider of the game.
The contents we provide on this site were created personally by members of the Game8 editorial department.
We refuse the right to reuse or repost content taken without our permission such as data or images to other sites.
For level 24 in the great pyramid, there is a mistake. It is supposed to say that the trap chest is the third chest you open, but it is the fourth.