Greenhorne Walkthrough (Chapter 1)
Welcome to Game8's Miitopia Switch Wiki! See our guides below that will help you get started on your adventure!

This is a walkthrough for Greenhorne (Chapter 1) in Miitopia on the Nintendo Switch. Read on to learn how to progress through Greenhorne, the best team for Greenhorne, and the Greenhorne map list.
List of Contents
Greenhorne Walkthrough
Greenhorne Progression

The numbers on the map indicate in which order the areas are recommended to be done.
| 1 | Speak with the residents of Greenhorne Town. Afterwards, the Dark Lord will arrive and snatch their faces away. |
|---|---|
| 2 | Rescue the faces of the residents at ②, ⑥, ⑧, and ⑪. |
| 3 | After rescuing all the Greenhorne residents' faces, speak with the Dubious Mayor to receive a letter. This will allow you to enter Greenhorne Castle. |
| 4 | Speak with the King. His face will be stolen by the Dark Lord afterwards. |
| 5 | Rescue the King's face at ⑱. |
| 6 | Return to Greenhorne Castle and speak to the King. |
| 7 | Retrieve the Calming Fruit at ㉖ and return to Greenhorne Castle afterwards. Be ready for a fight. |
| 8 | Rescue the face of the Princess at "C" in Nightmare Tower. |
You can't go into Greenhorne Castle at first
If you keep following the road, you will eventually be stopped by a soldier who prevents you from accessing Greenhorne Castle. In order to gain entry to the castle, you will first need to reclaim the faces of the Greenhorne residents that were taken away by the Dark Lord. Once all their faces have been restored, the mayor will give you a letter of recommendation that will allow you to enter the castle.
Save up Resources

You'll want to hoard up everything you can get your hands on in this chapter. This includes Gold, Grub, Outing Tickets, and Game Tickets. You can get through the Greenhorne chapter pretty easily even without upgrading any of your party's weapons or armor, so try to limit spending Gold now. Likewise with consuming Grub to buff up party member stats, as your party will start from scratch in the next chapter, where you'll face much tougher opponents.
It's also recommended to save Game Tickets and Large Treasure Chests found on the map for much later in the game. Roulette rewards and Large Treasure Chest drops are better the higher your party's level is, so it's better to utilize those in the late game (to lessen grinding for Gold or EXP).
Bond Between Hero and Horse is Key

As soon as you unlock the Horse, keep your main character in the same room as it in the Inn until the Horse relationship is maxed out. The bond between the main character and the Horse is most important due to the Horse Whispering assist that only the hero can utilize. The hero is also the only constant character throughout the first 4 chapters, so having a high Horse relationship level will give the hero an advantage.
Keeping the main character in the same room as the Horse in the Inn is a quick way to level up that relationship, and you can always use Outing Tickets to increase the main character's bond with the other party members.
Best Team for Greenhorne
Any team you assemble for Greenhorne will have the strength to beat the region, so the best team
for Greenhorne would be one that doesn't waste turns and speeds through the enemies.
| Recommended Lineup for Chapter 1 | |||
|---|---|---|---|
Hero
 Pop Star Pop Star
|
Teammate 1
 Warrior Warrior
|
Teammate 2
 Mage Mage
|
Teammate 3
 Cleric Cleric
|
| Cool | Cool | Cool | Cool |
Pop Star is an efficient main character
It's recommended to choose the Pop Star as the hero/main character for Greenhorne. The Pop Star's normal attack hits multiple enemies, which is good for dealing with the swarms of weak enemies you'll encounter in Greenhorne (such as the Slime Jelly).
Additionally, the Pop Star's Encore skill is learned immediately at level 2 and it allows teammates an extra turn. Since the goal is to conserve Grub and Gold in Greenhorne, you could just give your attackers (Warrior or Mage) the stat buffs, since the Encore skill allows you to devote the Pop Star's turn to making one of them attack.
Teammates that don't waste turns
The A.I. controls your teammates and chooses randomly between the skills the teammate has learned or normal attacks. The Warrior, Mage, and Cleric all have skills that are useful at any given moment, while other choices such as the Thief, Pop Star, and Chef have some learned skills that are either useless or even crippling to team synergy.
Map List for Greenhorne
Easin Hills
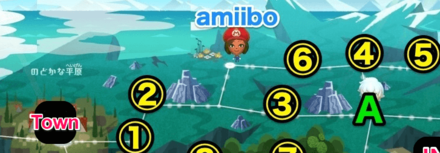
| Map Image | Unlock Condition / Enemies / Treasure Locations |
|---|---|
 ① Easin Hills |
Available at Start
Rock Moth / Goblin |
 ② Easin Hills |
Clear ①
1st encounter: Butterfly "Carefree Guide" Subsequent encounters: Rock Moth / Goblin |
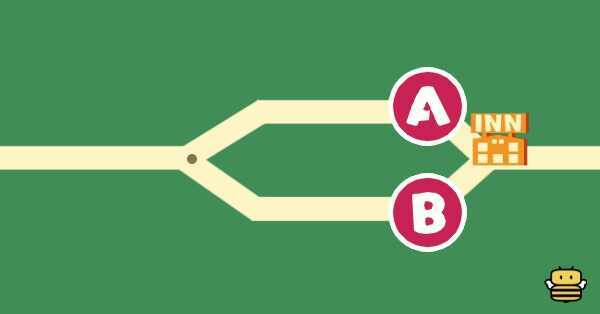 ③ Easin Hills |
Clear ②
Rock Moth / Goblin A: 195G B: Goblin Ham ★★ (1) |
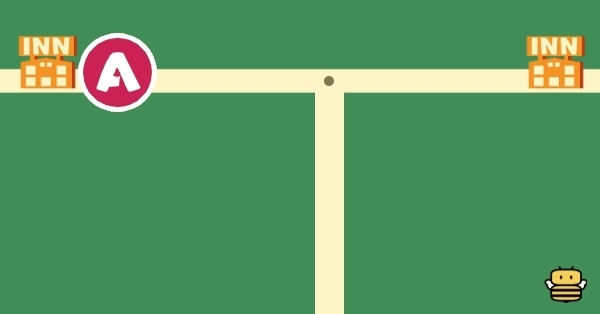 ④ Easin Hills |
Meet the Great Sage at Point A
Rock Moth / Goblin / Cumulus A: Game Ticket (3) |
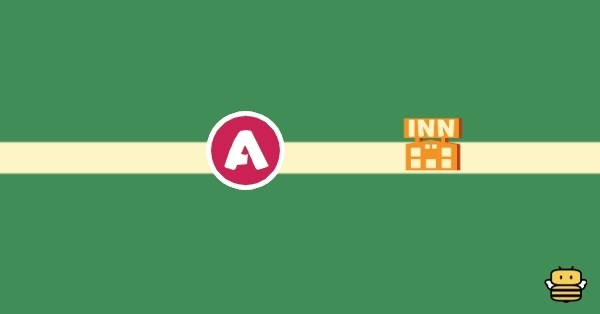 ⑤ Easin Hills |
Take the eastern route at ④
Rock Moth / Goblin A: Weapon (Max level: 12) |
 ⑥ Easin Hills |
Take the western route at ④
1st encounter: Rocky "Sarcastic Guy" Subsequent encounters: Rock Moth / Goblin / Cumulus |
Strange Grove

| Map Image | Unlock Condition / Enemies / Treasure Locations |
|---|---|
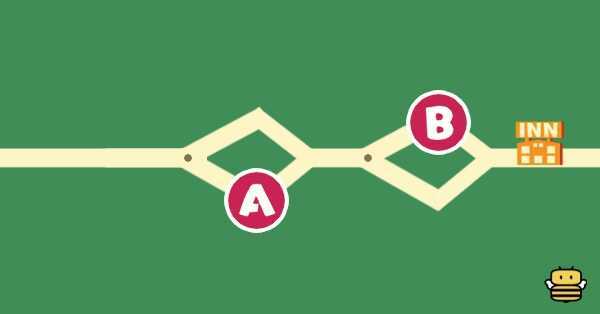 ⑦ Strange Grove |
Meet the Great Sage at Point A
Rock Moth / Goblin / Smileshroom A: 120G B: MP Candy (1) |
 ⑧ Strange Grove |
Clear ⑦
1st encounter: "Lovey-Dovey Woman" Mouse Subsequent encounters: Rock Moth / Goblin / Smileshroom |
Riverdeep Cavern

| Map Image | Unlock Condition / Enemies / Treasure Locations |
|---|---|
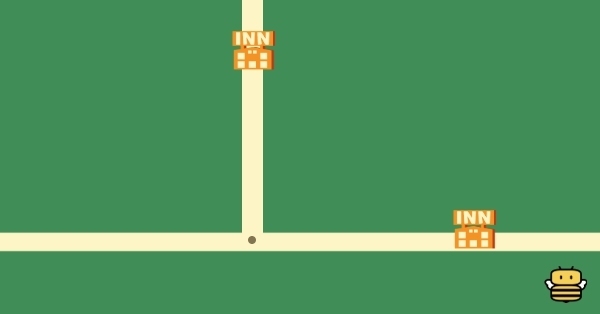 ⑨ Riverdeep Cavern |
Meet the Great Sage at Point A
Banshee / Apple Jelly / Cumulus |
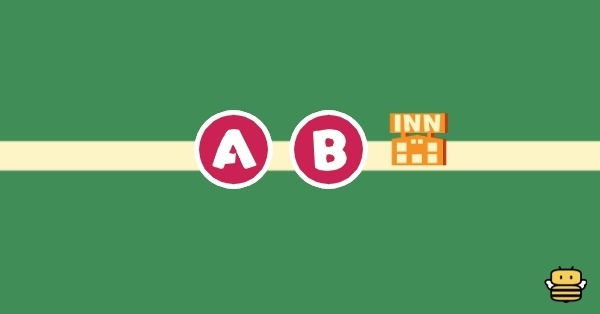 ⑩ Riverdeep Cavern |
Take the northern route at ⑨
None A: 280G B: Weapon (Max level: 12) |
Castle View

| Map Image | Unlock Condition / Enemies / Treasure Locations |
|---|---|
 ⑪ Castle View |
Take the eastern route at ⑨
1st encounter: Imp "Cheery Granny" / Apple Jelly Subsequent encounters: Rock Moth / Goblin / Cumulus |
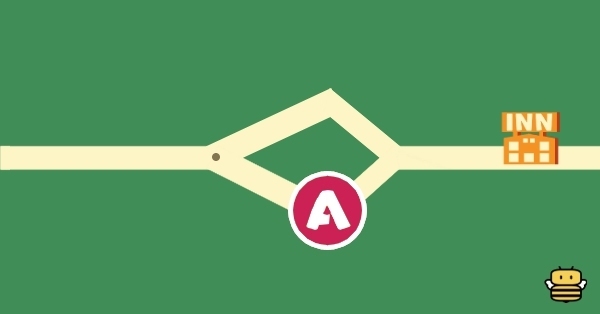 ⑫ Castle View |
Restore the faces of 4 of the Greenhorne residents at ②, ⑥, ⑧, and ⑪, then talk to the Dubious Mayor
Rock Moth / Goblin / Banshee / Cumulus A: Game Ticket (3) |
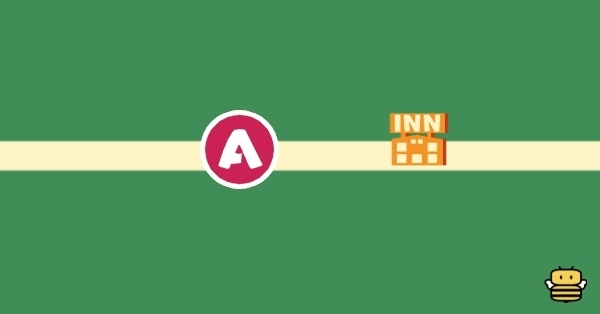 ⑬ Castle View |
Operate the switch on the upper route of ⑫
Apple Jelly / Banshee A: Weapon (Max level: 12) |
 ⑭ Castle View |
Clear ⑫
Apple Jelly / Banshee / Smileshroom A: Cheesecake (3) |
 ⑮ Castle View |
Meet the King at Greenhorne Castle
Apple Jelly / Banshee / Mole |
Wayward Woods

| Map Image | Unlock Condition / Enemies / Treasure Locations |
|---|---|
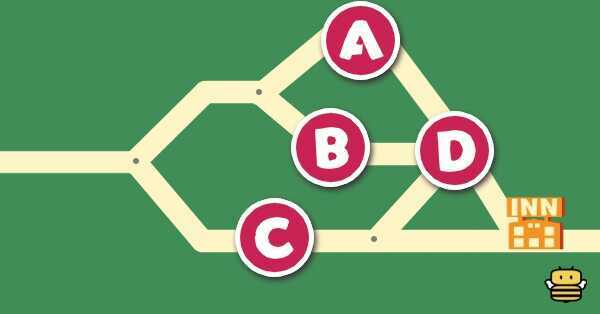 ⑯ Wayward Woods |
Operate the switch on the upper route of (10)
Rock Moth / Apple Jelly / Banshee / Mole A: Weapon (Max level: 12) B: Mouse Treat (2) C: Trap Chest D: Game Ticket (1) |
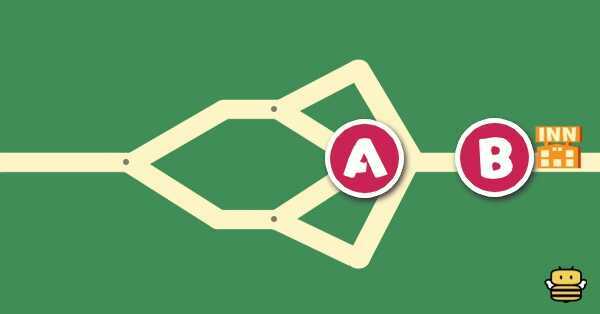 ⑰ Wayward Woods |
Clear ⑯
Rock Moth / Banshee / Poison Moth A: Game Ticket (3) B: 400G |
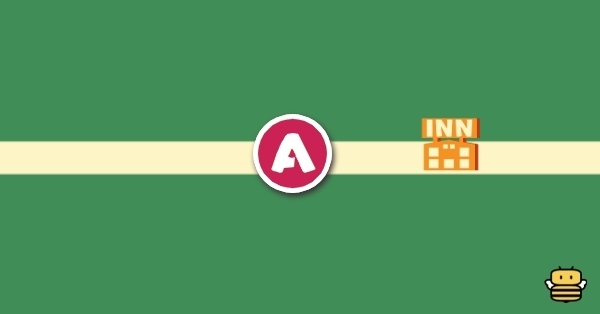 ⑱ Wayward Woods |
Clear ⑰
1st encounter: "King" Golem / Apple Jelly Subsequent encounters: Mole / Smileshroom A: MP Candy (1) |
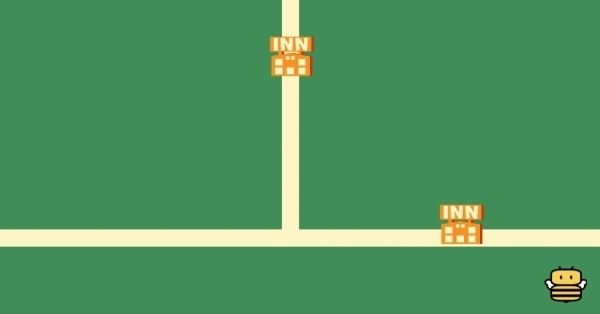 ㉔ Wayward Woods |
After the battle at B, go to Greenhorne Castle and accept the King's request
Mars Mii Trap |
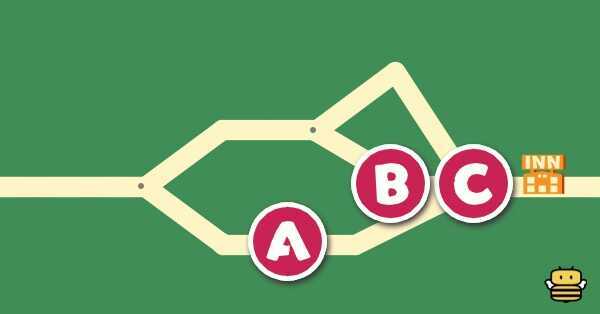 ㉕ Wayward Woods |
Clear the northern route in ㉔
Mars Mii Trap / Poison Moth / Green Snurp / Mole A: Game Ticket (3) B: Forest Nuts (2) C: Weapon (Max level: 12) |
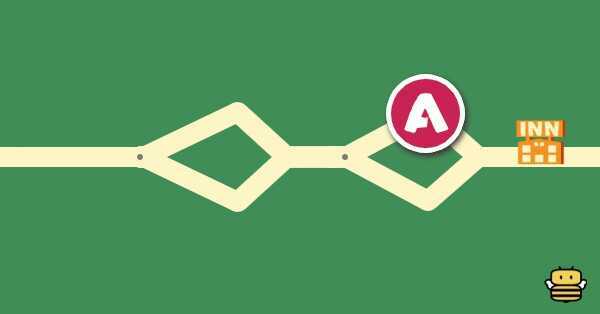 ㉖ Wayward Woods |
Clear the eastern route in ㉔
Mars Mii Trap / Nose Rock / Smileshroom A: 880G |
Arid Frontier
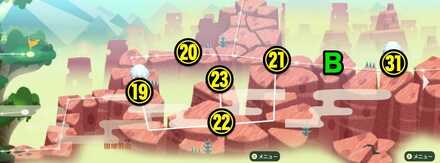
| Map Image | Unlock Condition / Enemies / Treasure Locations |
|---|---|
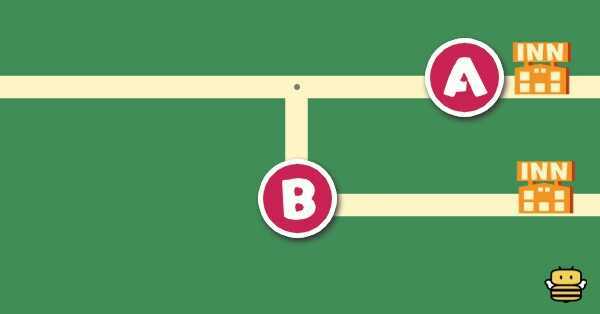 ⑲ Arid Frontier |
Clear ⑮
Apple Jelly / Nose Rock / Mole A: Game Ticket (3) B: Sandwich (2) |
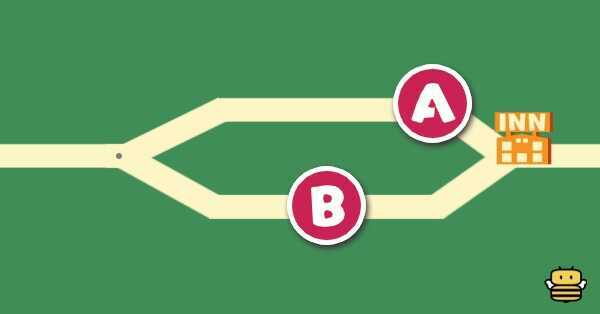 ⑳ Arid Frontier |
Clear the upper route of ⑲
Lightning Cloud / Nose Rock A: 200G B: 520G |
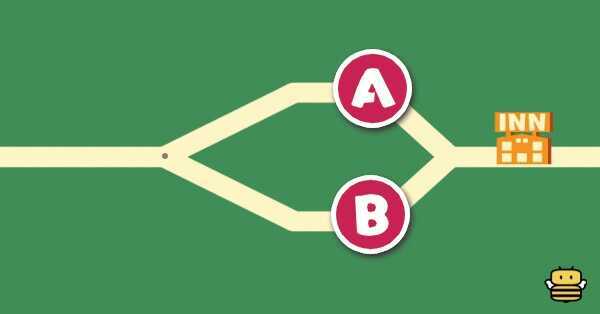 ㉑ Arid Frontier |
Clear ⑳
Poison Moth / Nose Rock / Mole A: Game Ticket (3) B: MP Candy (1) |
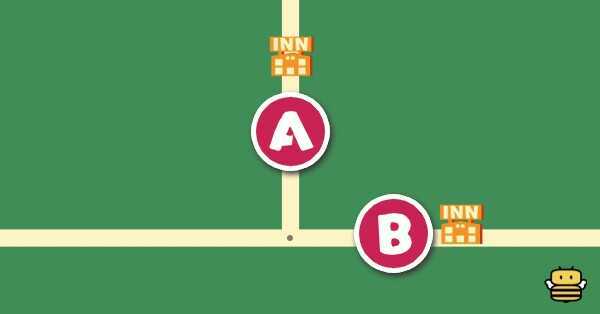 ㉒ Arid Frontier |
Clear the lower route of ⑲
Lightning Cloud / Nose Rock / Mole A: 360G B: 650G |
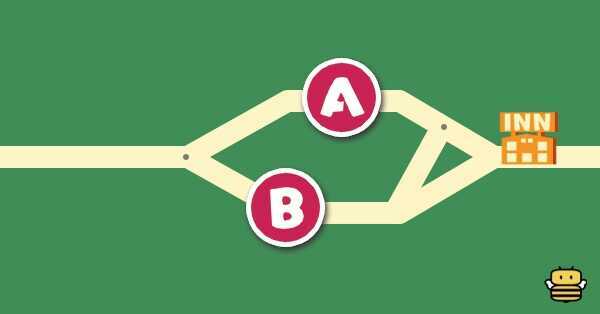 ㉓ Arid Frontier |
Clear the upper route of ㉒
Apple Jelly / Poison Moth / Green Snurp / Mole A: Weapon (Max level: 12) B: Game Ticket (3) |
 ㉛ Arid Frontier |
Defeat General "Princess" at C, then speak to the King at Greenhorne Castle, then speak to the soldier at B.
Lightning Cloud / Imp / Nose Rock / Mage Goblin |
Nightmare Tower

| Map Image | Unlock Condition / Enemies / Treasure Locations |
|---|---|
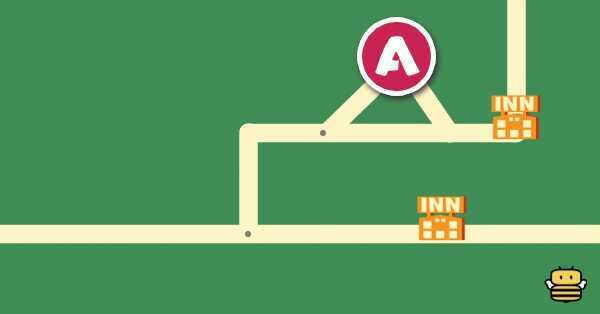 ㉗ Nightmare Tower |
Clear the event battle at Greenhorne Castle
Lightning Cloud / Imp / Apple Jelly A: Game Ticket (3) |
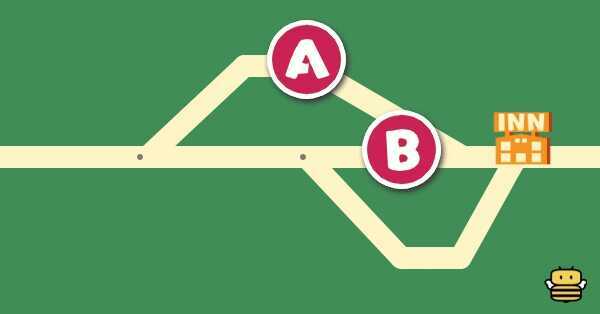 ㉘ Nightmare Tower |
Clear the southern route of ㉗
Apple Jelly / Mars Mii Trap / Imp / Mage Goblin A: 1000G B: Weapon (Max level: 12) |
 ㉙ Nightmare Tower |
Clear the northern route of ㉗
Imp / Mage Goblin A: 1 Golem Steak ★, 2 Mouse Treat |
 ㉚ Nightmare Tower |
Clear ㉙
Lightning Cloud / Apple Jelly / Green Snurp / Imp / Mage Goblin A: 980G B: 450G C: 650G |
Miitopia Related Links
 See Map and Guide List See Map and Guide List
|
|
| Map List for Main Story | |
|---|---|
 Chapter 5-1: Traveler's Hub Chapter 5-1: Traveler's Hub |
 Chapter 5-2: Powdered Peaks Chapter 5-2: Powdered Peaks |
 Chapter 5-3: Peculia Chapter 5-3: Peculia |
 Chapter 5-4: Nimbus Chapter 5-4: Nimbus |
| Post Game Maps | |
 Galados Isle Galados Isle |
 New Lumos New Lumos |
 Tower of Dread Tower of Dread |
 Tower of Despair Tower of Despair |
Author
Greenhorne Walkthrough (Chapter 1)
Rankings
- We could not find the message board you were looking for.
Gaming News
Popular Games

Genshin Impact Walkthrough & Guides Wiki

Umamusume: Pretty Derby Walkthrough & Guides Wiki

Crimson Desert Walkthrough & Guides Wiki

Monster Hunter Stories 3: Twisted Reflection Walkthrough & Guides Wiki

Honkai: Star Rail Walkthrough & Guides Wiki

Pokemon Pokopia Walkthrough & Guides Wiki

The Seven Deadly Sins: Origin Walkthrough & Guides Wiki

Wuthering Waves Walkthrough & Guides Wiki

Zenless Zone Zero Walkthrough & Guides Wiki

Arknights: Endfield Walkthrough & Guides Wiki
Recommended Games

Fire Emblem Heroes (FEH) Walkthrough & Guides Wiki

Diablo 4: Vessel of Hatred Walkthrough & Guides Wiki

Cyberpunk 2077: Ultimate Edition Walkthrough & Guides Wiki

Yu-Gi-Oh! Master Duel Walkthrough & Guides Wiki

Super Smash Bros. Ultimate Walkthrough & Guides Wiki

Pokemon Brilliant Diamond and Shining Pearl (BDSP) Walkthrough & Guides Wiki

Elden Ring Shadow of the Erdtree Walkthrough & Guides Wiki

Monster Hunter World Walkthrough & Guides Wiki

The Legend of Zelda: Tears of the Kingdom Walkthrough & Guides Wiki

Persona 3 Reload Walkthrough & Guides Wiki
All rights reserved
Nintendo. Miitopia and Nintendo Switch are trademarks of Nintendo. 2021 Nintendo.
The copyrights of videos of games used in our content and other intellectual property rights belong to the provider of the game.
The contents we provide on this site were created personally by members of the Game8 editorial department.
We refuse the right to reuse or repost content taken without our permission such as data or images to other sites.


![Death Stranding 2: On The Beach [PC] Review | A Port That Delivers](https://img.game8.co/4447392/15310a0c9aa1b6843bb713b2ea216930.jpeg/show)


Worst things! - Simon