How to Get the Best Accessories
This page lists the best accessories in Final Fantasy 7 Remake. The best accessories will be listed and ranked here based on their effects and usefulness. Read on to find out which accessories you should equip and where to find the best accessories in FF7 Remake!
List of Contents
Best Accessories (Top 5)
| 1st | Gotterdammerung Start battle with a full Limit Gauge. |
|---|---|
| 2nd | Champion Belt Increases max HP and strength. |
| 3rd | Transference Module Using ATB increases the Limit Gauge. |
| 4th | Circlet Increases max MP and magic power. |
| 5th | Healing Carcanet Increases healing. |
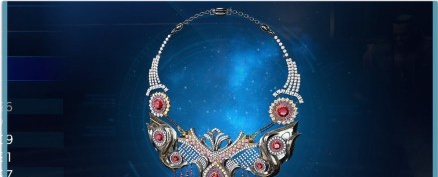
1st: Gotterdammerung
| Accessory | Effect |
|---|---|
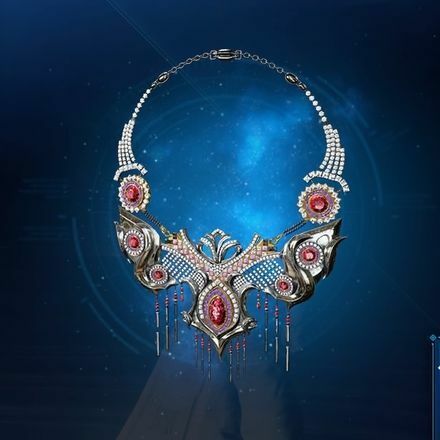 Gotterdammerung Gotterdammerung
|
Enter battle with a full limit break gauge. Limit break gauge gradually fills during battle. |
| Reason | |
| Limit Breaks are powerful so Gotterdammerung allows you to use them more often | |
| How to Obtain | |
| Shinra Combat Simulator - Clear Vs. Top Secret | |
Has No Downsides
Due to the incredible strength of Limit Breaks, the Limit Gauge doesn't fill up as fast as one would like. Equipping this accessory completely negates this, allowing you to equip it without problems.
Gotterdammerung can only be obtained by defeating the Superboss that's exclusive to Hard Mode, so clearing the game once is necessary.
2nd: Champion Belt
| Accessory | Effect |
|---|---|
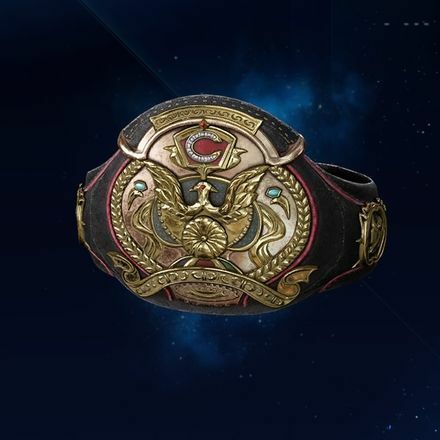 Champion Belt Champion Belt |
Increases max HP by 10%. Increases strength by 5%. |
| Reason | |
| Everyone except Aerith is a primarily physical attacker Increases survivability as well as damage output Incredibly versatile |
|
| How to Obtain | |
| Clear the Squatting Mini-Game on Pro difficulty Clear the Pull-Up Mini-Game on Pro difficulty Steal from Grungy Bandit |
|
An All-Rounder Accessory
The versatility of this accesory makes it a great choice, as it will boost the damage you deal as well as keep you alive longer. The majority of abilities are considered physical so this accessory is great when equipped on Cloud, Tifa, or Barret.
3rd: Transference Module
| Accessory | Effect |
|---|---|
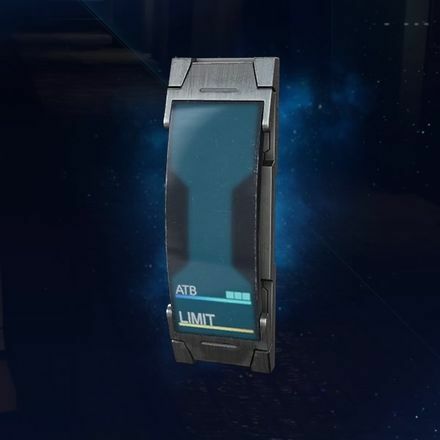 Transference Module Transference Module |
Consuming ATB charges fills the limit gauge. |
| Reason | |
| Limit Breaks are strong so anything that increases the rate you can use them is useful. | |
| How to Obtain | |
| Get 30,000 or more points in Whack-a-Box's Hard difficulty | |
Can be used in place of the Gotterdammerung
While the effects on the Limit Gauge are lacking in comparison to the Gotterdammerung, it is still useful in that you will be able to use Limit Breaks more frequently. When compared to the Spectral Cogwheel, the amount of Limit Gauge you get for using abilities isn't much different but the Transference Module will save you MP.
Can be obtained on Hard Mode.
4th: Circlet
| Accessory | Effect |
|---|---|
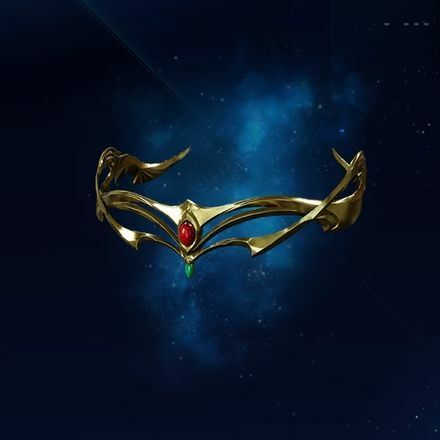 Circlet Circlet |
Increases max MP by 10% Increases magic power by 5%. |
| Reason | |
| Great on Hard Mode where you can't restore MP. Recommended for characters using magic builds. |
|
| How to Obtain | |
| Progress through Corneo's Secret Stash - Found in a treasure chest in the Steel Mountain Stash | |
Equip on Aerith or someone using magic
While this accessory is most effective when equipped on Aerith, Cloud with the Mythril Saber can also take advantage of the magic power boost.
Playing on Hard Mode running out of MP can cause problems, but there are better accessories to equip to physical fighters.
5th: Healing Carcanet
| Accessory | Effect |
|---|---|
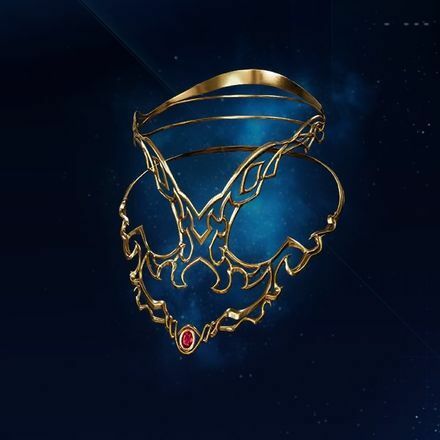 Healing Carcanet Healing Carcanet |
Increases the effectiveness of healing items, spells, and abilities. |
| Reason | |
| Getting the most out of healing is a must. | |
| How to Obtain | |
| Chapter 13 - Found inside a chest behind some debris that you can shoot away | |
Healing boost
While this is best equipped on Aerith who already has a high magic stat and healing power, when Aerith isn't in the party this can be freely given to whoever you choose to be your designated healer. As this accessory only increases healing, it's best to use a different accessory if your healing is already sufficient.
Why These Accessories?
| Reason #1 | Versatility |
|---|---|
| Reason #2 | Usefulness on Hard Mode |
| Reason #3 | Strength of the effect and how many party members can utilize them |
Runner-Up Recommendations
Crescent Moon Charm
| Accessory | Effect |
|---|---|
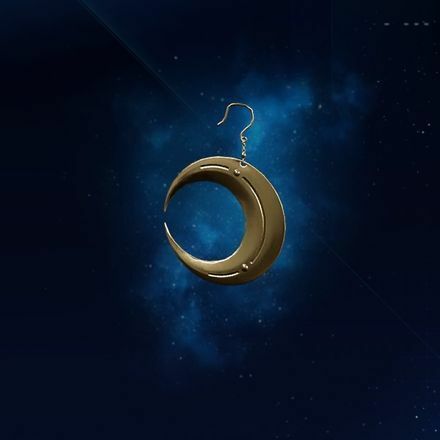 Crescent Moon Charm Crescent Moon Charm |
Reduces damage taken when equipped by non-active characters. |
| Reason | |
| Obtained at the beginning and can be used the entire game. | |
| How to Obtain | |
| ・Alone at Last ・Get 20,000 points or more in Whack-a-Box on either difficulty |
|
Can be used from start to finish
When you don't have Steadfast Block at the beginning of the game to reduce damage or during a summon's ultimate ability that can't be blocked, the Crescent Moon Charm can be made use of throughout the entire game.
Whistlewind Scarf
| Accessory | Effect |
|---|---|
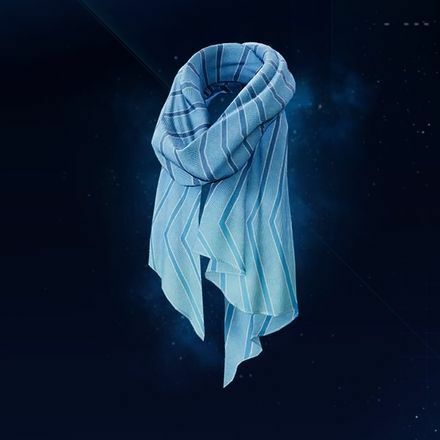 Whistlewind Scarf Whistlewind Scarf |
Enter battle with a slightly filled ATB gauge. |
| Reason | |
| Can more quickly use abiltiies at the beginning of battle | |
| How to Obtain | |
| Exchanged for 3 Moogle Medals at the Moogle Emporium | |
Good for when you want to use abilities immediately
Similar to the First Strike Materia, this will allow you to start a battle with your ATB gauge slightly filled. This accessory is great for when you want to quickly pull off a support ability or stagger an enemy.
Fury Ring
| Accessory | Effect |
|---|---|
 Fury Ring Fury Ring |
Enter battle with the berserk status effect. (Attack power and damage taken increased by 30%) |
| Reason | |
| Increase your damage done with the risk of taking more as well. | |
| How to Obtain | |
| Chapter 9 - Squeeze through some books on the first floor of Corneo's Mansion to find a treasure chest | |
Comes At a Risk But Increases Damage
While you will take 30% more damage, you will deal 30% more as well. Equipping this on characters other than Cloud is recommended, as holding the □ Button while in his Punisher mode will put him into the Berserk status for a short period of time.
Related Links
| Equipment | ||
|---|---|---|
| Obtaining the Best Equipment | ||
|---|---|---|
| How to Find The Best Weapons For Everyone | How to Get the Best Armor | How to Get the Best Accessories |
Comment
Champion belt can be stolen from the bigger of the bandit/thief enemies, the one that picks you up and slams you i to the ground, cant remember the name but Just did it 20 min ago, on the route with the robotic hand environment puzzle
Author

How to Get the Best Accessories
Rankings
Gaming News

![Star Savior Review [First Impressions] | Engaging, Entertaining, and Expensive](https://img.game8.co/4447603/8f500e9bf666bdb8adb1af478e9dfdbd.png/show)


Popular Games

Genshin Impact Walkthrough & Guides Wiki
Umamusume: Pretty Derby Walkthrough & Guides Wiki
Crimson Desert Walkthrough & Guides Wiki
Monster Hunter Stories 3: Twisted Reflection Walkthrough & Guides Wiki
Honkai: Star Rail Walkthrough & Guides Wiki
Pokemon Pokopia Walkthrough & Guides Wiki
The Seven Deadly Sins: Origin Walkthrough & Guides Wiki
Wuthering Waves Walkthrough & Guides Wiki
Zenless Zone Zero Walkthrough & Guides Wiki
Arknights: Endfield Walkthrough & Guides Wiki


Recommended Games
Fire Emblem Heroes (FEH) Walkthrough & Guides Wiki
Diablo 4: Vessel of Hatred Walkthrough & Guides Wiki
Cyberpunk 2077: Ultimate Edition Walkthrough & Guides Wiki
Yu-Gi-Oh! Master Duel Walkthrough & Guides Wiki
Super Smash Bros. Ultimate Walkthrough & Guides Wiki
Pokemon Brilliant Diamond and Shining Pearl (BDSP) Walkthrough & Guides Wiki
Elden Ring Shadow of the Erdtree Walkthrough & Guides Wiki
Monster Hunter World Walkthrough & Guides Wiki
The Legend of Zelda: Tears of the Kingdom Walkthrough & Guides Wiki
Persona 3 Reload Walkthrough & Guides Wiki


All rights reserved
© SQUARE ENIX CO., LTD. All Rights Reserved.
CHARACTER DESIGN:TETSUYA NOMURA/ROBERTO FERRARI
The copyrights of videos of games used in our content and other intellectual property rights belong to the provider of the game.
The contents we provide on this site were created personally by members of the Game8 editorial department.
We refuse the right to reuse or repost content taken without our permission such as data or images to other sites.
He's called 'Grungy Bandit'. He hits hard, but all his attacks are easy to avoid. Just bait his attacks and then attack him from behind and use the ATB for stealing if you need the belt.