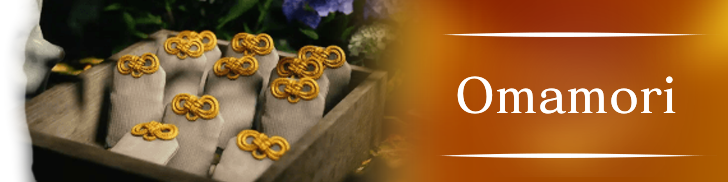
All Omamori Locations
★ Endings: Normal | Bad | Good | True | UFO
★ Best: Difficulty | Settings | Weapons
┗ Omamori Tier List | Builds
★ Puzzles: My Room | Locker Code | Mural
★ Missables: Door & Box | Ema | Inventory Size
★ Beginner's Guide | Fox Mask | Lore Explained
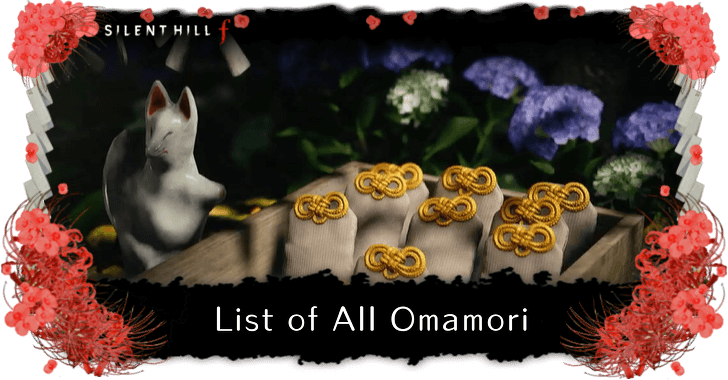
Omamori are a type of equipment that can grant effects when equipped in Silent Hill f. Check out our full list of all Omamori and their effects, how to increase the Omamori slot, and how to get each Omamori here!
| Omamori Guides | |
|---|---|
| Best Omamori | All Omamori |
All Omamori in Silent Hill f
How Many Omamori Are There?
| Type | Total | Trophy Reward |
|---|---|---|
| Shrine | 23 | Omamori Sage Trophy |
| Hidden | 17 | Omamori Collector Trophy |
There a total of 41 Omamori you can collect in Silent Hill f. The special Omamori, Peony, can only be obtained if you've pre-ordered the game.
Edition Differences and Bonuses
All Omamori List
| Omamori | Type | Details |
|---|---|---|
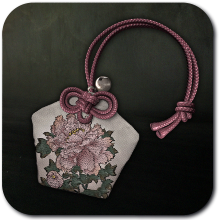 Peony Peony |
Hidden | Effect: Slightly restores Health upon picking up food items. How to Get: Obtained as a reward from Pre-Ordering the game. |
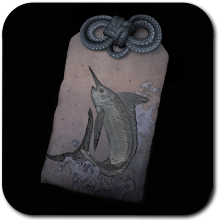
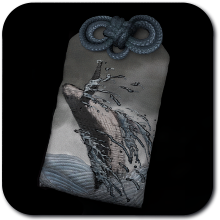 Whale Whale |
Hidden | Effect: When using a restorative item, you will not be interrupted by normal attacks. How to Get: Obtained in the area unlocked by the Back Door Key in Chapter 1. |
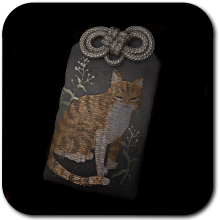 Cat Cat |
Hidden | Effect: Greatly decreases the damage taken while dodging. How to Get: Obtained by flipping over the Cat Ema at the Dark Shrine. Will be unavailable after you flip over all 3 correct ema for the puzzle. |
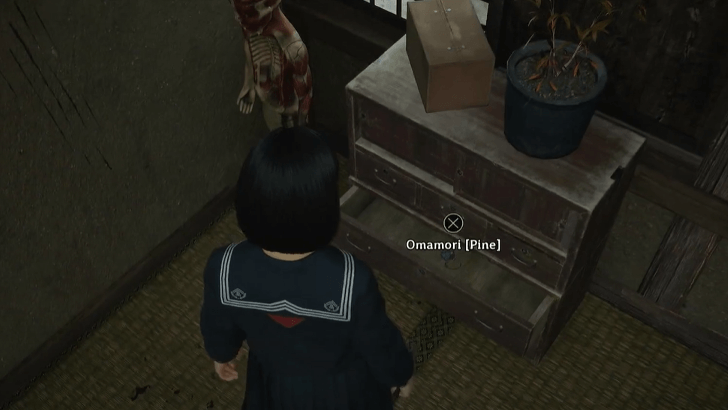
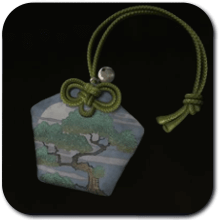 Pine Pine |
Hidden | Effect: Increases Max Health. How to Get: Can be obtained after obtaining the Doctor's Note and opening the drawer inside the room besides where you found the note. |
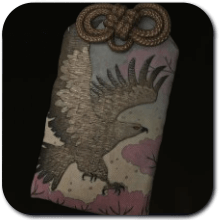 Hawk Hawk |
Hidden | Effect: Greatly decreases Focus charging time. How to Get: Can be found at the Dark Shrine Corridors. |
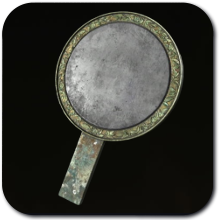 Blessed Hand Mirror Blessed Hand Mirror |
Hidden | Effect: When taking fatal damage from normal attacks, this mirror will break instead. Health, Sanity, and Stamina will be fully restored. How to Get: Obtained from a table in the room that the Stone Orb opens in the Dark Shrine Corridors chapter. |
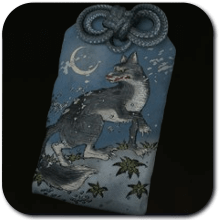 Wolf Wolf |
Hidden | Effect: Deals additional damage when using weapons with high durability. Effective only for weapons with durability. How to Get: Obtained by using the code 377 on Tsuchiya Taiko's locker in Ebisugaoka Middle School. |
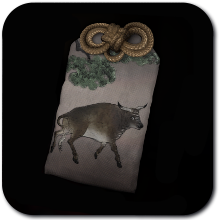 Bull Bull |
Hidden | Effect: Greatly decreases Stamina consumed by Heavy and Charged Attacks. How to Get: Complete the Light Puzzle tied to Sakuko at the Worship hall, then return to where the lockers are. |
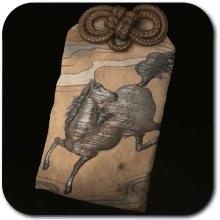 Horse Horse |
Hidden | Effect: Greatly decreases the amount of Stamina consumed when sprinting in fights. How to Get: Located on the Ebisugaoka Mountain Path, by a fox shrine directly west of the Ebisugaoka Middle School on the map. |
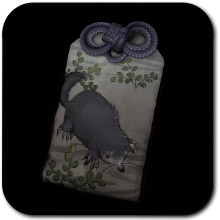
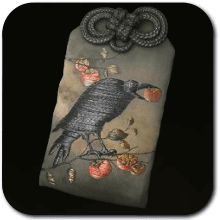 Crow Crow |
Hidden | Effect: Slightly restores Health after defeating enemies. How to Get: Can be obtained in a room south of the northwestern stairs in the Dark Shrine Main Hall. You will need the Fox Arm to open the door. |
 Suzuran Suzuran |
Hidden | Effect: Perfect Dodges become easier to perform. How to Get: Located East of Shu's house, by some crates on the path to the Shimizu Residence. |
 Cuckoo Cuckoo |
Hidden | Effect: Greatly increases damage inflicted while in a near-death state. How to Get: Found in Shimizu Residence III after completing the Ominous Photo Puzzle. Check the hallway southeast of Hinako's childhood room. |
 Hound Hound |
Hidden | Effect: Slightly restores current Max Sanity after defeating enemies. How to Get: Obtained by entering the first room on the right after retrieving the arrowhead from the fox statue in the Dark Shrine Treasure Hall, and having it point to the correct hallway. |
 Shrew Mole Shrew Mole |
Hidden | Effect: Dodging does not consume Stamina while in a near-death state. How to Get: Located in the southeastern area of Dark Shrine Path, found directly south of the Shrine Vault in NG+. |
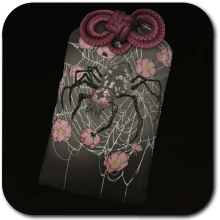 Spider Spider |
Hidden | Effect: Greatly decreases weapon durability consumption from performing Light Attack. How to Get: Open Sakuko's Mailbox in Ebisugaoka by using the Key to Sakuko's Mailbox |
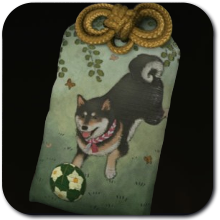
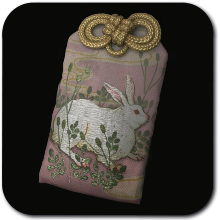 Rabbit Rabbit |
Hidden | Effect: Press Heavy Attack immediately after performing a Perfect Dodge to deal a powerful Counter. This Counter greatly consumes Stamina. How to Get: Found in the room west of where Shu and Rinko are at Ebisugaoka Middle School, only in NG+. |
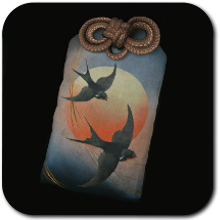 Swallow Swallow |
Hidden | Effect: Performing a Counter without using Focus increases damage inflicted. Stacks up to 5 times and resets when damage is taken. How to Get: Located in a new area south of Rinko's cage in the Dark Shrine Worship Hall. The room only opens during NG+. |
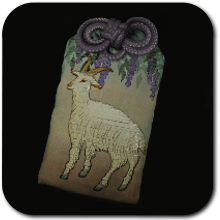 Goat Goat |
Hidden | Effect: Take less damage when facing multiple enemies. Scales with the number of enemies. How to Get: Found in the Mountain Refuge in NG+, the same place you get the Mountain Key. |
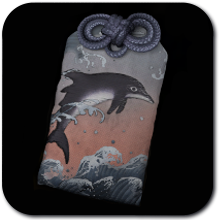 Dolphin Dolphin |
Shrine | Effect: Slightly restores current Max Sanity after a Perfect Dodge. How to Get: Has a random chance to be obtained in the Hokora Draw. |
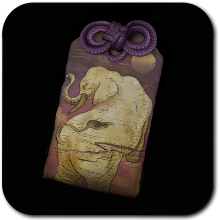 Elephant Elephant |
Shrine | Effect: Prevents Staggering from normal attacks, but greatly increases damage taken. How to Get: Has a random chance to be obtained in the Hokora Draw. |
 Swordfish Swordfish |
Shrine | Effect: After countering an attack, Stamina will not be consumed for a set time. How to Get: Has a random chance to be obtained in the Hokora Draw. |
 Camel Camel |
Shrine | Effect: Decreases current Max Sanity consumed by Charged Attacks. How to Get: Has a random chance to be obtained in the Hokora Draw. |
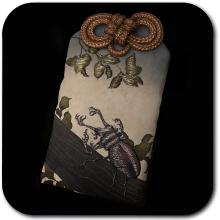 Beetle Beetle |
Shrine | Effect: Greatly increases damage inflicted to stunned enemies. How to Get: Has a random chance to be obtained in the Hokora Draw. |
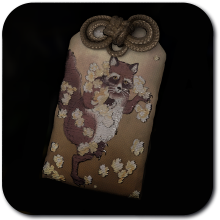 Tanuki Tanuki |
Shrine | Effect: Turns physical damage received into Sanity damage. How to Get: Has a random chance to be obtained in the Hokora Draw. |
 Weasel Weasel |
Shrine | Effect: Greatly increases damage dealt by normal attacks, but Hinako will no longer be able to stun enemies. How to Get: Has a random chance to be obtained in the Hokora Draw. |
 Serpent Serpent |
Shrine | Effect: Will automatically perform a Counter when the visual hint appears, but consumes Max Sanity when activated. When equipping, Sanity will also recover at a slower rate. How to Get: Has a random chance to be obtained in the Hokora Draw. |
 Daisy Daisy |
Shrine | Effect: Sanity and Stamina are unlimited, but Hinako will die instantly from any physical damage. How to Get: Has a random chance to be obtained in the Hokora Draw. |
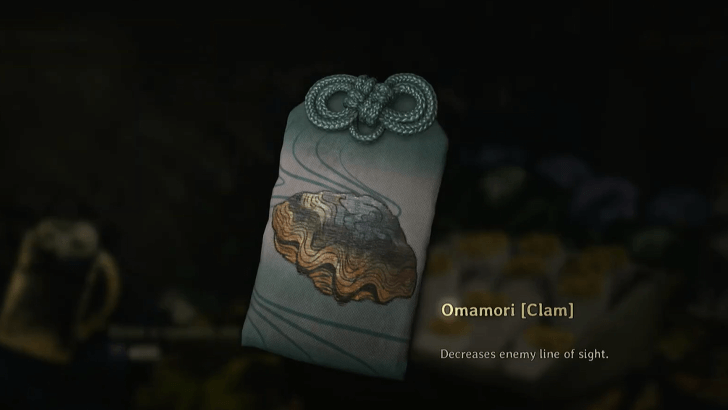
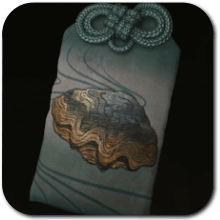 Clam Clam |
Shrine | Effect: Decreases enemy line of sight. How to Get: Has a random chance to be obtained in the Hokora Draw. |
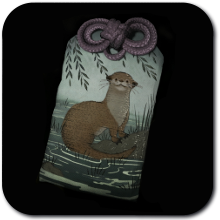 Otter Otter |
Shrine | Effect: Restores spare weapons' durability upon defeating an enemy. How to Get: Has a random chance to be obtained in the Hokora Draw. |
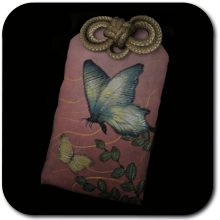 Butterfly Butterfly |
Shrine | Effect: Greatly decreases Stamina consumed by Dodging, but you are unable to continuously Dodge. How to Get: Has a random chance to be obtained in the Hokora Draw. |
 Kudzu Leaf Kudzu Leaf |
Shrine | Effect: Increases Max Health, Sanity, and Stamina. How to Get: Has a random chance to be obtained in the Hokora Draw. |
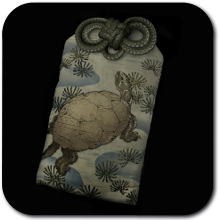 Turtle Turtle |
Shrine | Effect: Greatly decreases damage taken at full Health. How to Get: Has a random chance to be obtained in the Hokora Draw. |
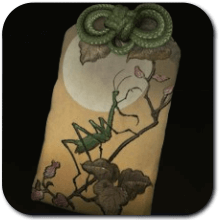 Mantis Mantis |
Shrine | Effect: Slightly restores Health after each successful Counter. How to Get: Has a random chance to be obtained in the Hokora Draw. |
 Plum Plum |
Shrine | Effect: Increases Max Stamina. How to Get: Has a random chance to be obtained in the Hokora Draw. |
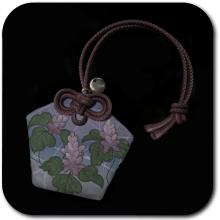
 Willow Willow |
Shrine | Effect: Enhances the effects of items and Omamoris that restore Sanity. How to Get: Has a random chance to be obtained in the Hokora Draw. |
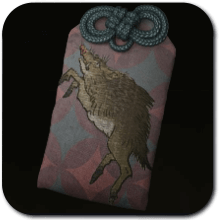 Boar Boar |
Shrine | Effect: Greatly increases Stamina recovery speed and greatly shortens Out of Breath duration. How to Get: Has a random chance to be obtained in the Hokora Draw. |
 Crab Crab |
Shrine | Effect: Weapon durability will not decrease while using Focus. How to Get: Has a random chance to be obtained in the Hokora Draw. |
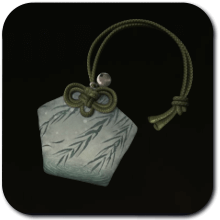
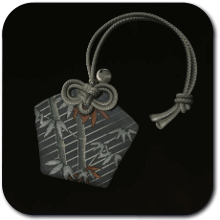 Bamboo Bamboo |
Shrine | Effect: Increases Max Sanity. How to Get: Has a random chance to be obtained in the Hokora Draw. |
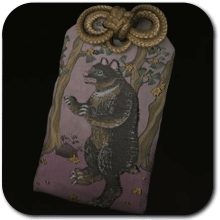 Bear Bear |
Shrine | Effect: Greatly increases stun power when weapon durability is low. How to Get: Has a random chance to be obtained in the Hokora Draw. |
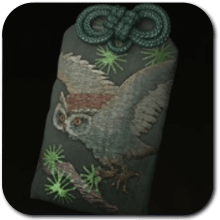 Owl Owl |
Shrine | Effect: Greatly decreases Sanity consumption while using Focus. How to Get: Has a random chance to be obtained in the Hokora Draw. |
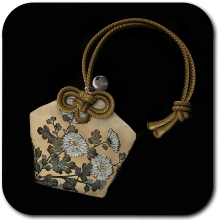
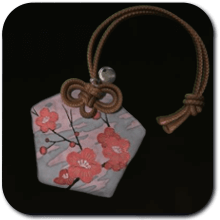
 Sakura Sakura |
Shrine | Effect: Enhances the effects of Health restoring items and Omamoris. How to Get: Has a random chance to be obtained in the Hokora Draw. |
How to Increase Omamori Slot
Increase Slot in the Abilities Menu
| Omamori Slot | |
|---|---|
| Level 1 | 1500 Faith 1 Ema |
| Level 2 | 3000 Faith 1 Ema |
| Level 3 | 3000 Faith 1 Ema |
You can increase your Omamori slot by upgrading it through the Abilities Menu. Unlocking each slot will require you to spend one ema and a large amount of Faith per level.
All Pray Abilities - Best Upgrades
How to Get Omamori
Can be Found Throughout the Game
Omamori can also be found in certain areas of the game when you're progressing through the story, exploring an area, and completing certain puzzles. Make sure to check every nook and cranny of an area to find them!
All Hidden Omamori and Locations
You Can Get Omamori From Drawing
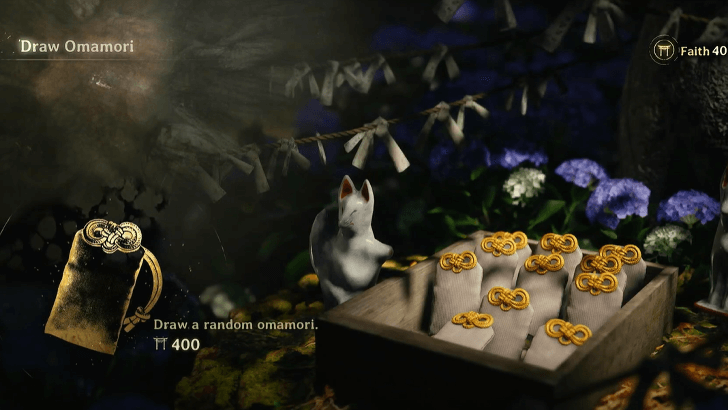
Omamori can also be obtained through drawing in the Hokora. However, this will cost you Faith to use, and each draw increases the amount of Faith you have to use.
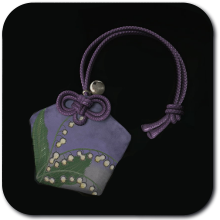
What Are Omamori?
Grants Various Effects
Omamori are items that you can slot into to give you different effects. This can range from increasing your Max Health to even decreasing your Focus charging time.
Silent Hill f Related Guides

Guides by Category
| Silent Hill f Categories | |
|---|---|
 Chapters Chapters |
 Puzzles Puzzles |
 Endings Endings |
 Bosses Bosses |
 Enemies Enemies |
 Omamori Omamori |
 Weapons Weapons |
 Items Items |
 Tips and Tricks Tips and Tricks |
 Characters Characters |
 Costumes Costumes |
 Interactive Map Interactive Map |
 News News |
- |
Recommended Guides
 New Game Plus Guide
 All Missables and Points of No Return
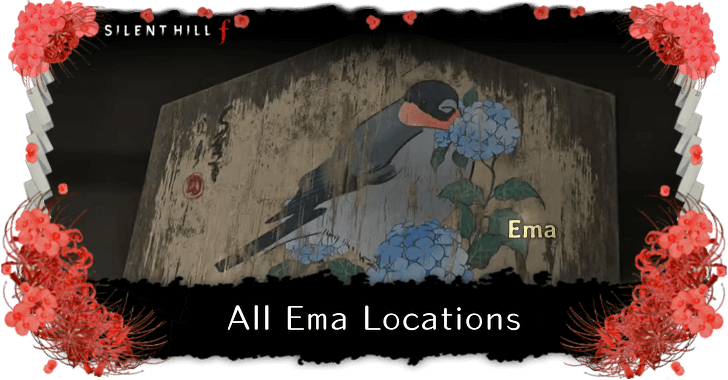 All Ema Locations
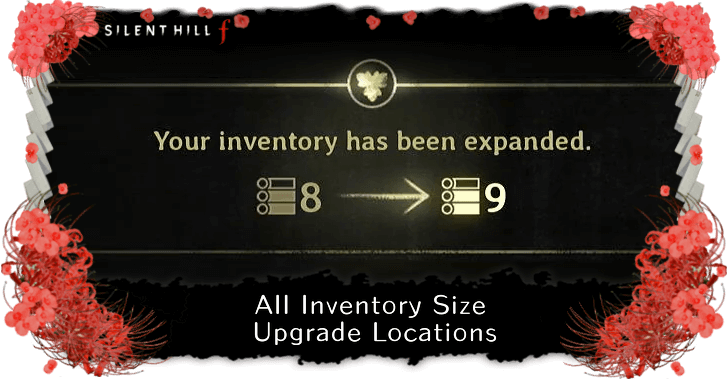 All Inventory Size Upgrade Locations
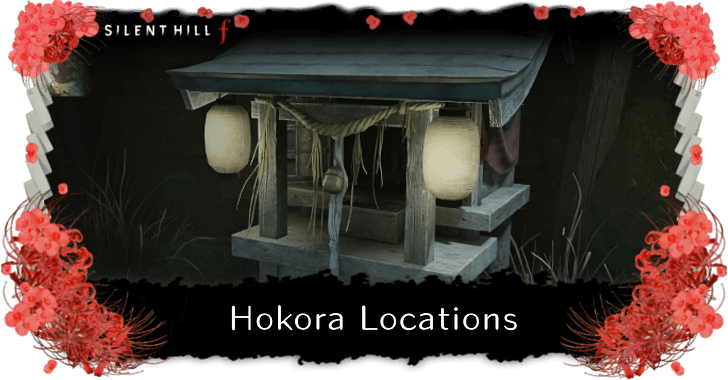 All Hokora Shrine Locations: How to Save
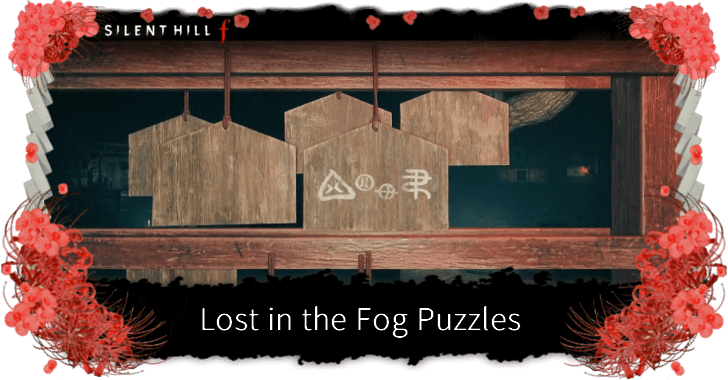 All Lost in the Fog Puzzles and Codes
 How to Get Faith
 All Final Bosses
 All Jizo Statue Locations
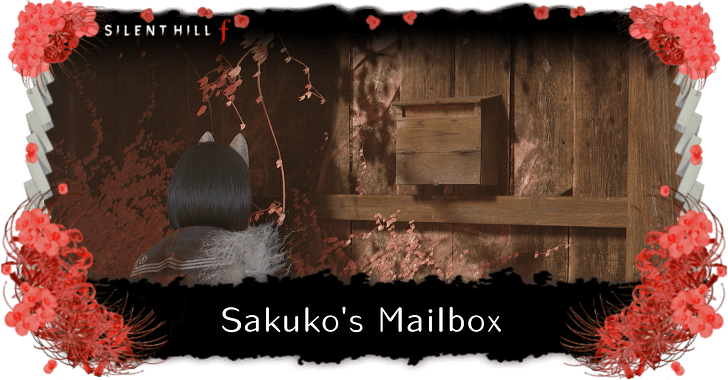 How to Open Sakuko's Mailbox
 Combat Guide and Tips
 All Inari-sama Door and Box Locations
 List of All Journal Entries
 Speedrun Guide
 All Secrets and Easter Eggs
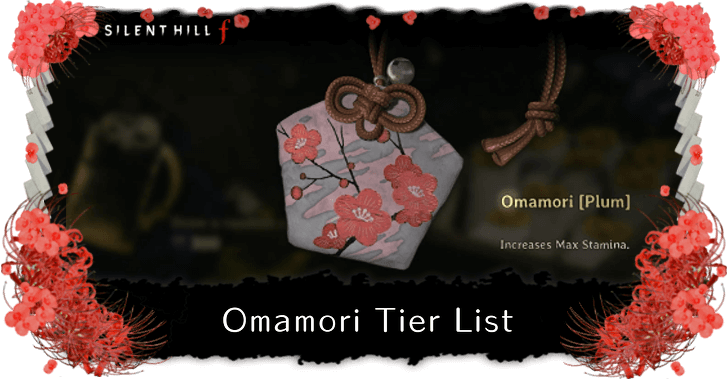 Best Omamori Tier List
 Best Weapons
 Best and Recommended Settings
 Difficulty Differences and Best Difficulty Settings
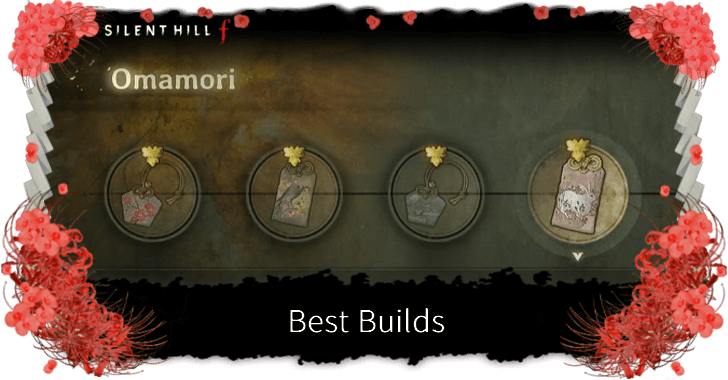 Best Builds
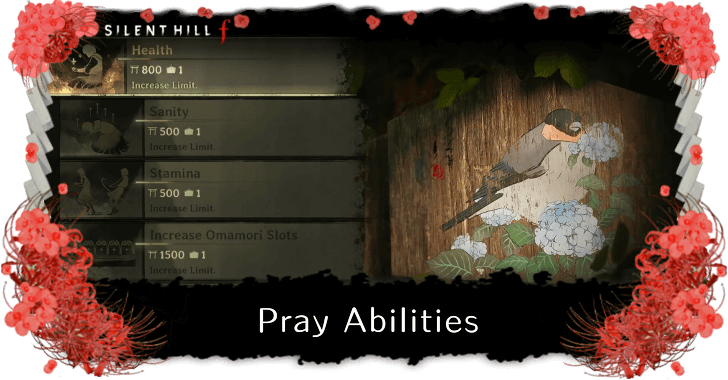 List of Pray Abilities - Best Upgrades
 Best Ending
 Time Period
 Story Explained
 Wedding Massacre Explained
 Kudzu Explained
 Who Is the Doll?
 Why Is Hinako a Traitor?
 Is White Claudia in the Red Capsule?
 Is SHf Multiplayer?
 List of Voice Actors
 What is SHf's Gameplay?
 How Long to Beat
 Are There Guns?
 List of Known Bugs and Issues
 Bonus Content
 What Does f Stand For?
 Trophy and Achievements Guide
 Untouchable Trophy Guide
 No One Left Behind Trophy Guide
 Sly Like the Fox Trophy Guide
 Where Are You Going? Trophy Guide
 O Divine Tree Trophy Guide
 Good Intentions Trophy Guide
 Agile Escape Trophy Guide
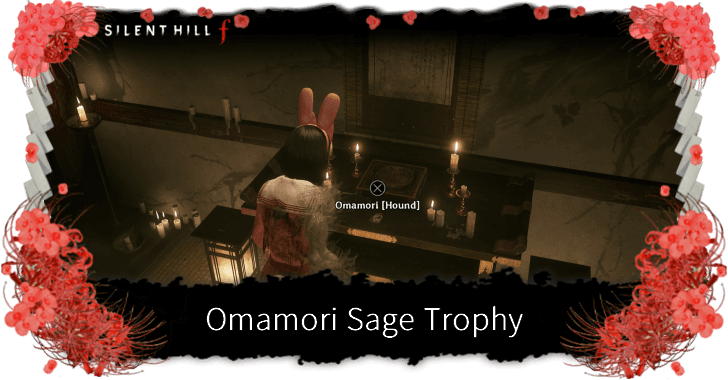 Omamori Sage Trophy Guide
Author
All Omamori Locations
Rankings
- We could not find the message board you were looking for.
Gaming News

![Star Savior Review [First Impressions] | Engaging, Entertaining, and Expensive](https://img.game8.co/4447603/8f500e9bf666bdb8adb1af478e9dfdbd.png/show)


Popular Games

Genshin Impact Walkthrough & Guides Wiki
Umamusume: Pretty Derby Walkthrough & Guides Wiki
Crimson Desert Walkthrough & Guides Wiki
Monster Hunter Stories 3: Twisted Reflection Walkthrough & Guides Wiki
Honkai: Star Rail Walkthrough & Guides Wiki
Pokemon Pokopia Walkthrough & Guides Wiki
The Seven Deadly Sins: Origin Walkthrough & Guides Wiki
Wuthering Waves Walkthrough & Guides Wiki
Zenless Zone Zero Walkthrough & Guides Wiki
Arknights: Endfield Walkthrough & Guides Wiki


Recommended Games
Fire Emblem Heroes (FEH) Walkthrough & Guides Wiki
Diablo 4: Vessel of Hatred Walkthrough & Guides Wiki
Cyberpunk 2077: Ultimate Edition Walkthrough & Guides Wiki
Yu-Gi-Oh! Master Duel Walkthrough & Guides Wiki
Super Smash Bros. Ultimate Walkthrough & Guides Wiki
Pokemon Brilliant Diamond and Shining Pearl (BDSP) Walkthrough & Guides Wiki
Elden Ring Shadow of the Erdtree Walkthrough & Guides Wiki
Monster Hunter World Walkthrough & Guides Wiki
The Legend of Zelda: Tears of the Kingdom Walkthrough & Guides Wiki
Persona 3 Reload Walkthrough & Guides Wiki


All rights reserved
©2025 Konami Digital Entertainment
The copyrights of videos of games used in our content and other intellectual property rights belong to the provider of the game.
The contents we provide on this site were created personally by members of the Game8 editorial department.
We refuse the right to reuse or repost content taken without our permission such as data or images to other sites.
I found a whale omamori which allows you to heal without taking damage from attacks