B-5 Doggone Key Gems and Boo Location Guide
Play Time | Graphics Comparison| New Features
★ Mansion Guides | Interactive Maps | 100%
☆ Locations: Gems | Boos | Ghosts | Gold Bones
★ ScareScraper Multiplayer Guide | Solo?!
┗ High Score Boards ▶︎ Missions | SkyScraper
This is a walkthrough for all gems in B5 Doggone, as well as how to clear the level and find the boo in Luigi's Mansion 2 HD for the Nintendo Switch. Read on for a detailed guide for B-5 Doggone, including how to get 3 stars, gem locations, location of the boo, as well as the secret door location.
| Previous Mansion | Current Mansion | Next Mansion | ||||||||||||||||||
|---|---|---|---|---|---|---|---|---|---|---|---|---|---|---|---|---|---|---|---|---|
| Gloomy Manor | Haunted Towers | Old Clockworks | ||||||||||||||||||
| B-1 | B-2 | B-3 | B-4 | B-5 | B-Boss | B-Bonus | ||||||||||||||
List of Contents
B-5 Doggone Key Gems and Boo Location Map
| Jump to a Section! | ||||
|---|---|---|---|---|
These are all of the Gems available within this Mansion, however some Gems are exclusive to specific Missions.
Interactive Map of All Mansions
B-5 Doggone Key Walkthrough
| Jump to a Section! | ||||
|---|---|---|---|---|
B-5 Doggone Key How to Get 3-Stars
| Min. Clear Time | Min. Ghosts Captured | Max. Health Lost | Min. Treasure |
|---|---|---|---|
| 13:15 | 15 | 63 | 695 |
These numbers are values we got based on our runs. If you got 3-Stars with better scores, take pride in it and share a picture in our Missions Record Boards!
B-5 Doggone Key Objectives
| Goal | Use the Dark-Light Device to find the trail of paw prints that the ghostly dog left behind. Once you find the dog, recover the special key. |
|---|---|
| Description | A very frisky spectral pooch took the special key that we need! Track the dog down and get that key! |
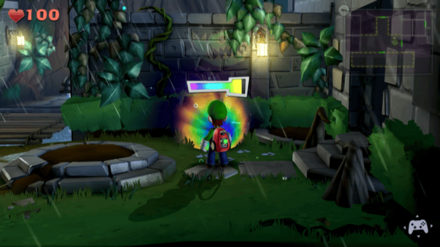
Find the Ghostly Dog
Entrance
After getting to the entrance, you can hit the tree to the right for a Gold Frog. You can also use your Dark-light to reveal a missing flower for some Bills and Coins. Head inside the gate to proceed.
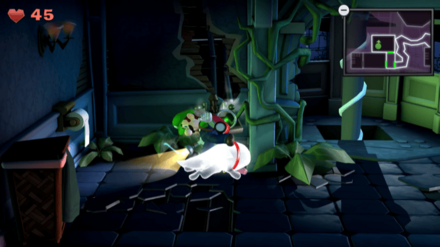
You land in the Entrance and you can see the Polterpup just beyond the gate. The tree on the left has a gold frog.
Courtyard
A cutscene will play where the Polterpup eats the key and scurries off into the Hydro Generator room, follow suit.
You can also step on the right pressure plate to reveal nothing, so use your Darklight and a cardboard flytrap should appear. Grab a spike fruit from the left and you can shoot it down for a ton of coins.
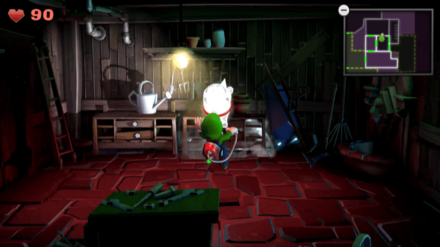
Hydro Generator, East Hall, and Tool Shed
Use your Dark-Light to find paw prints left the the Poulterpup. Follow them to find where the Polterpup went through the wall, leading north.
Pass through the East Hall, head east into the Tool Shed. Interact with one of the Desks and the Polterpup will be there, but it will run off to the Garden.
Recover the Special Key
Garden
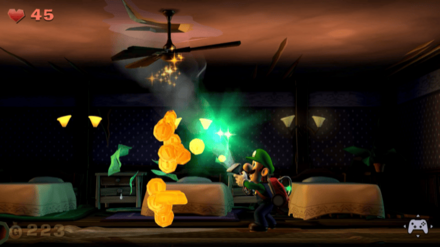
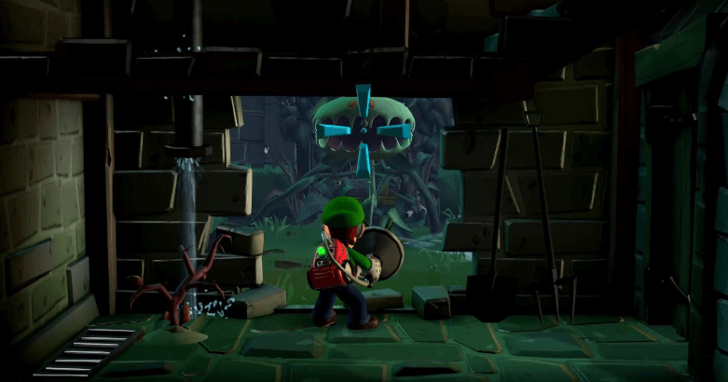
The Polterpup will turn on the lawnmower and leaves you to deal with the mess. You can go ahead to watering and strobing the flowers for some Cash and the Rectangle Emerald if you haven't gotten it yet. But going back to the Toolshed, three Sneakers will appear, so defeat them first.
Tool Shed

Coming back from the Garden, you'll notice almost all of the furniture is gone. Use your Dark-light to get them all back, and make French Boodle appear. Interact with the fountain to go to the Toolshed Stairs and proceed after nabbing the Boo.
Toolshed Stairs
The Polterpup will move upstairs, but there's a Creeper at the bottom of the stairs. The Polterpup will disappear on the third floor.
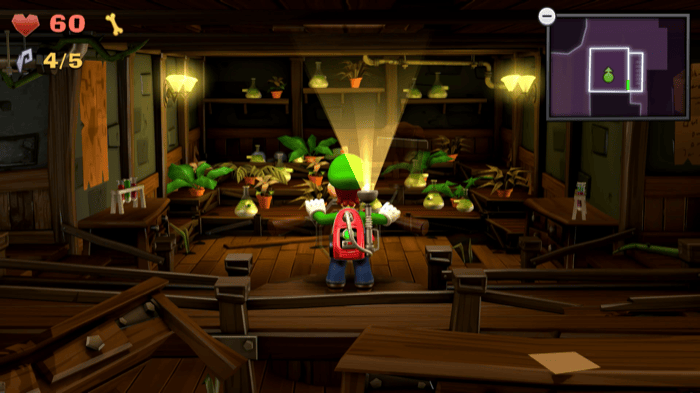
Botany Lab and Seedling Laboratory
Head inside the Botany Lab and use the plant to get to Seedling Laboratory. The Polterpup will run off to the fourth floor. Check the nightstand in front of the door of the Seedling Laboratory for a Gold Greenie. Head upstairs to the Conservatory.
Conservatory
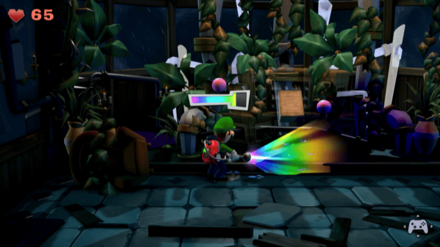
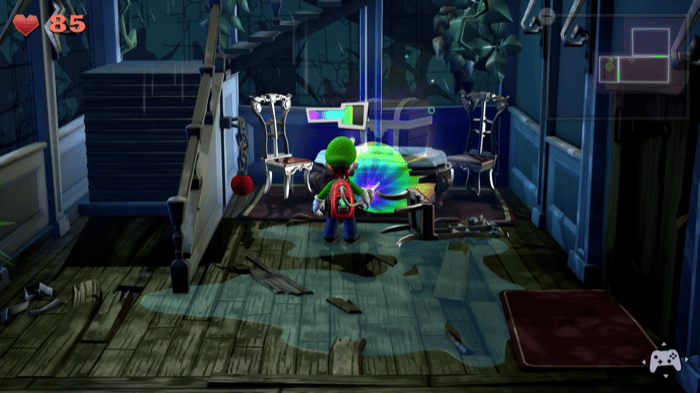
When you enter the room, there will be a Creeper at the northwest corner of the room behind a toppled sofa, so take care of that first before using your Black-light to restore the organ.
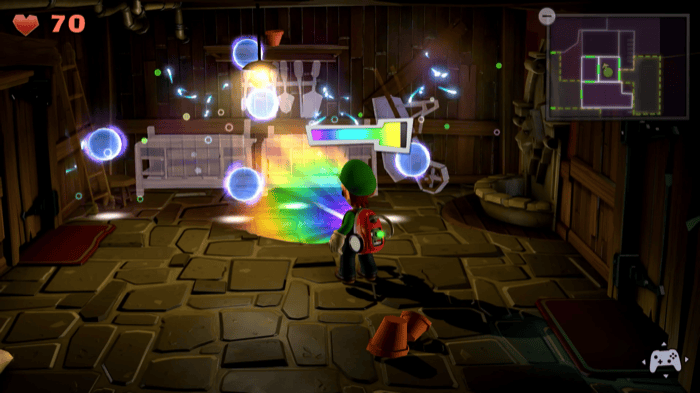
Play the organ to make the Polterpup appear, and it will run behind the organ. Go and follow it, but the Polterpup will escape to the room to your left. If you try to leave, the doors will be blocked and a Gobber and three Greenies will appear. Go to the West Bathroom once you're done.
Crow's Nest, West Hall, and West Bathroom
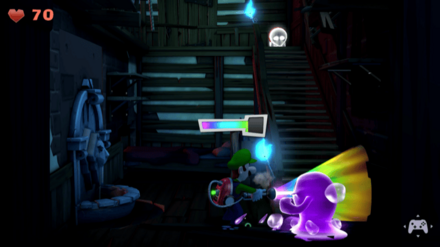
From the Conservatory, head west into the Crow's Nest and keep going until you get to the West Hall. Enter the West Bathroom at the north and the Polterpup will hide immediately when you arrive.
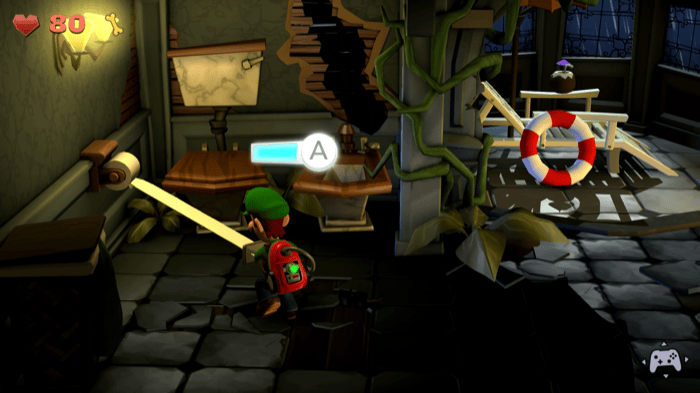
Use your Dark-light to reveal the toilet for money. The Polterpup is hiding in the bidet and will run into the West Bedroom. Take care of the small Creepers in the West Hall and head inside the West Bedroom.
West Bedroom
Once here, look up the ceiling and there's a Creeper there so take care of that first. The Polterpup is in one of the beds, so use your Dark-light to reveal the paw prints. Once you find it, suck up the sheets and you can finally vacuum the Polterpup. It has 50 HP. The key will appear when you defeat it. The stage ends once you catch it.
B-5 Doggone Key Gem Locations
| Jump to a Section! | ||||
|---|---|---|---|---|
| Available Gems | |||||||||||||||||||
|---|---|---|---|---|---|---|---|---|---|---|---|---|---|---|---|---|---|---|---|
|
|
|
|
|
||||||||||||||||
|
|
|
|
|
||||||||||||||||
|
|
|
|
|
|
|||||||||||||||
Grayed out Gems are unavailable on this mission.
Gem #1 (Circle Emerald)
| Gem |
|
|---|---|
| Where to Find | Tower Lobby |
Head towards the area behind the first flight of stairs in the Tower Lobby. From there, acquire the gem you find in the area.
Gem #3 (Rectangle Emerald)
| Gem |
|
|---|---|
| Where to Find | Garden |
Use the Poltergust to water the flower located on the southeast portion of the area. After the flower blooms, flash it with the Strobulb to reveal the hidden gem.
Gem #4 (Football Emerald)
| Gem |
|
|---|---|
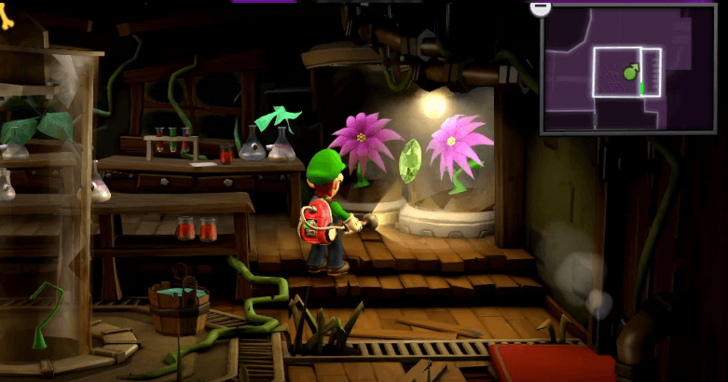
| Where to Find | Botany Lab |
Use the Poltergust to water the flower located on the northeast portion of the area. After watering the flower on the left and waiting for it to bloom, flash it with the Strobulb to reveal the hidden gem.
Gem #5 (Drop Emerald)
| Gem |
|
|---|---|
| Where to Find | Seedling Laboratory |
Proceed towards the shooter mechanism in the area, and shoot the mouse dashing around the room. Hitting it will grant you the hidden gem.
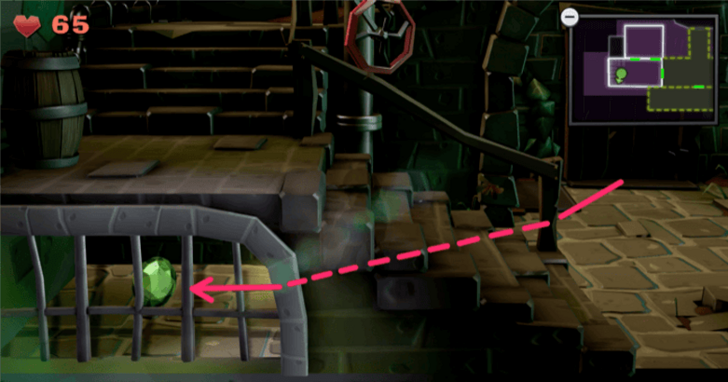
Gem #6 (Stone Emerald)
| Gem |
|
|---|---|
| Where to Find | West Garden |
Once you've gained access to the Maintenance area, fix the pipes by the stairs, then shoot a seed pod towards the giant flytrap in the area. From there, proceed towards the chest to acquire the hidden gem.
Gem #8 (Star Emerald)
| Gem |
|
|---|---|
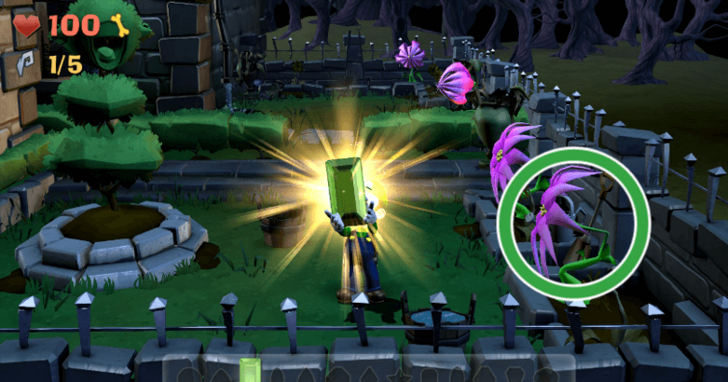
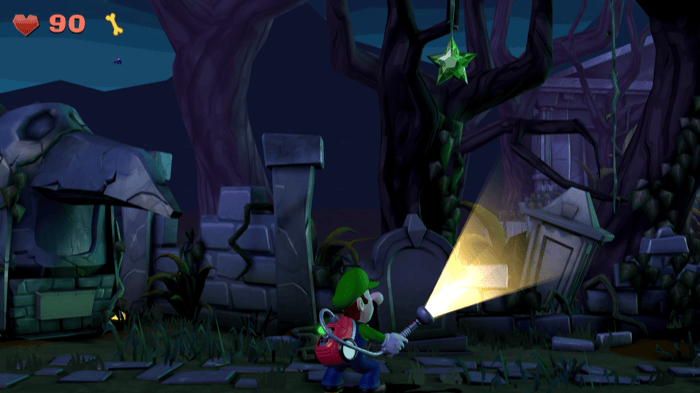
| Where to Find | Old Graveyard |
Upon entering the old graveyard, use the Poltergust to suck the Star Emerald that is hanging on a vine.
Gem #11 (Spindle Emerald)
| Gem |
|
|---|---|
| Where to Find | Solarium |
Head towards the Solarium, use the Dark-Light Device on the table in the north where a chest originally was, and open the chest to obtain the Spinde Emerald.
Gem #13 (Mushroom Emerald)
| Gem |
|
|---|---|
| Where to Find | West Bathroom |
Enter the west bathroom after getting a key for it, defeat all the enemies inside, pull the toilet paper on the west wall, and a Mushroom Emerald will drop.
Gem Locations: How to Find All Gems
B-5 Doggone Key Boo Location
| Jump to a Section! | ||||
|---|---|---|---|---|
French Boodle Location
| Boo | Where to Find |
|---|---|
| French Boodle | Tool Shed |
Enter the tool shed and use the Dark-Light Device on the drawer on the north side, and a ghost pup will appear. Chase the pup in the garden, reenter the tool shed, use the Dark-Light Device all around the room to reveal all the furniture, and suck up all the spirit balls to reveal the Boo.
All Boo Locations: Where to Find All Boos
B-5 Doggone Key Secret Door
| Jump to a Section! | ||||
|---|---|---|---|---|
| This mission does not have a secret door. |
All Secret Door Locations and Rewards
B-5 Doggone Key Enemies
| Jump to a Section! | ||||
|---|---|---|---|---|
Enemies Encountered in B-5 Doggone Key
 Greenie Greenie
|
 Sneaker Sneaker
|
 Creeper Creeper
|
 Gobber Gobber
|
 Gold Greenie Gold Greenie
|
 ??? ???
|
 Polterpup Polterpup
|
 Spider Spider
|
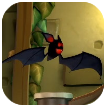 Bat Bat
|
 Gold Frog Gold Frog
|
Luigi's Mansion 2: Dark Moon Related Guides
All Mission Guides
Post-Game
| Post-Game Guide | ||
|---|---|---|
| ScareScraper Guide | Ending and Post-Game Content | 100% Checklist |
Comment
Author

B-5 Doggone Key Gems and Boo Location Guide
Rankings
- We could not find the message board you were looking for.
Gaming News

![Monster Hunter Stories 3 Review [First Impressions] | Simply Rejuvenating](https://img.game8.co/4438641/2a31b7702bd70e78ec8efd24661dacda.jpeg/show)


![Monster Hunter Stories 3 Review [First Impressions] | Simply Rejuvenating](https://img.game8.co/4438641/2a31b7702bd70e78ec8efd24661dacda.jpeg/thumb)
Popular Games

Genshin Impact Walkthrough & Guides Wiki
Honkai: Star Rail Walkthrough & Guides Wiki
Umamusume: Pretty Derby Walkthrough & Guides Wiki
Pokemon Pokopia Walkthrough & Guides Wiki
Resident Evil Requiem (RE9) Walkthrough & Guides Wiki
Monster Hunter Wilds Walkthrough & Guides Wiki
Wuthering Waves Walkthrough & Guides Wiki
Arknights: Endfield Walkthrough & Guides Wiki
Pokemon FireRed and LeafGreen (FRLG) Walkthrough & Guides Wiki
Pokemon TCG Pocket (PTCGP) Strategies & Guides Wiki


Recommended Games
Diablo 4: Vessel of Hatred Walkthrough & Guides Wiki
Cyberpunk 2077: Ultimate Edition Walkthrough & Guides Wiki
Fire Emblem Heroes (FEH) Walkthrough & Guides Wiki
Yu-Gi-Oh! Master Duel Walkthrough & Guides Wiki
Super Smash Bros. Ultimate Walkthrough & Guides Wiki
Pokemon Brilliant Diamond and Shining Pearl (BDSP) Walkthrough & Guides Wiki
Elden Ring Shadow of the Erdtree Walkthrough & Guides Wiki
Monster Hunter World Walkthrough & Guides Wiki
The Legend of Zelda: Tears of the Kingdom Walkthrough & Guides Wiki
Persona 3 Reload Walkthrough & Guides Wiki


All rights reserved
© Nintendo. Games are property of their respective owners. Nintendo of America Inc. Headquarters are in Redmond, Washington, USA
The copyrights of videos of games used in our content and other intellectual property rights belong to the provider of the game.
The contents we provide on this site were created personally by members of the Game8 editorial department.
We refuse the right to reuse or repost content taken without our permission such as data or images to other sites.