E-3 A Train to Catch Gems and Boo Location Guide
Play Time | Graphics Comparison| New Features
★ Mansion Guides | Interactive Maps | 100%
☆ Locations: Gems | Boos | Ghosts | Gold Bones
★ ScareScraper Multiplayer Guide | Solo?!
┗ High Score Boards ▶︎ Missions | SkyScraper
This is a walkthrough for all gems in E3 A Train to Catch, as well as how to clear the level and find the boo in Luigi's Mansion 2 HD for the Nintendo Switch. Read on for a detailed guide for E-3 A Train to Catch, including how to get 3 stars, gem locations, the location of the boo, as well as the secret door location.
| Previous Mansion | Current Mansion | Next Mansion | ||||||||||||||||||
|---|---|---|---|---|---|---|---|---|---|---|---|---|---|---|---|---|---|---|---|---|
| Secret Mine | Treacherous Mansion | King Boo's Illusion | ||||||||||||||||||
| E-1 | E-2 | E-3 | E-4 | E-5 | E-Boss | E-Bonus | ||||||||||||||
List of Contents
E-3 A Train to Catch Gems and Boo Location Map
| Jump to a Section! | ||||
|---|---|---|---|---|
These are all of the Gems available within this Mansion, however some Gems are exclusive to specific Missions.
Interactive Map of All Mansions
E-3 A Train to Catch Walkthrough
| Jump to a Section! | ||||
|---|---|---|---|---|
E-3 A Train to Catch How to Get 3-Stars
| Min. Clear Time | Min. Ghosts Captured | Max. Health Lost | Min. Treasure |
|---|---|---|---|
| 33:35 | 15 | 75 or Less | 2700 |
These numbers are values we got based on our runs. If you got 3-Stars with better scores, take pride in it and share a picture in our Missions Record Boards!
E-3 A Train to Catch Objectives
| Goal | Use the makeshift rotor to activate the stairwell in the Inner Courtyard. Then rush to the Train Exhibit and rescue Mario. |
|---|---|
| Description | The Toad curators brought a security-camera image back with them. Maybe it'll give us some clues about the next Dark Moon piece. |
- Activate the stairwell in the Inner Courtyard
- Find the Poltergeist and the book he took
- Get to the Train Exhibit and look for Mario
Activate the stairwell in the Inner Courtyard
Reach the Inner Courtyard
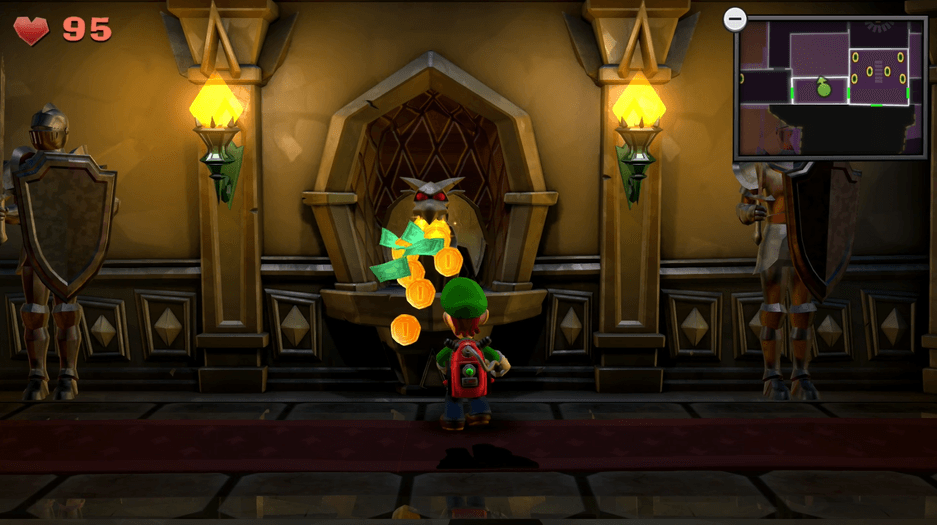
Once the mission starts, use the door in the west wall to make a quick trip into the West Gallery. Upon entering the West Gallery, dash to the center of the area to avoid the suit of armor's swinging sword. Use the Dark-Light Device to reveal the missing gargoyle on the north wall. After capturing the Spirit Balls, flash the gargoyle to earn some treasure. Then, dash back to the door in the east wall and return to the Front Entrance. Continue through the door inn the Front Entrance's east wall to find the East Gallery.
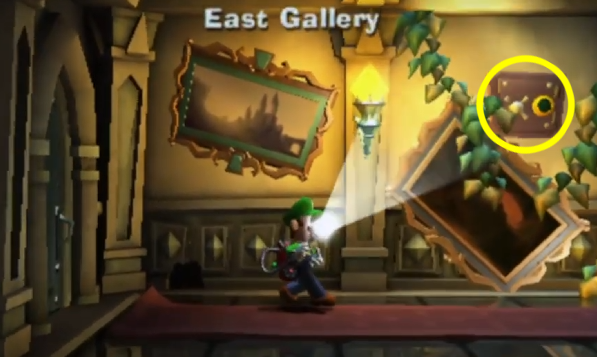
As Luigi moves through the East Gallery, flash the safe on the north wall and collect the treasure that spills to the floor. Afterwards, use the door in the east wall to reach the Jungle Exhibit.
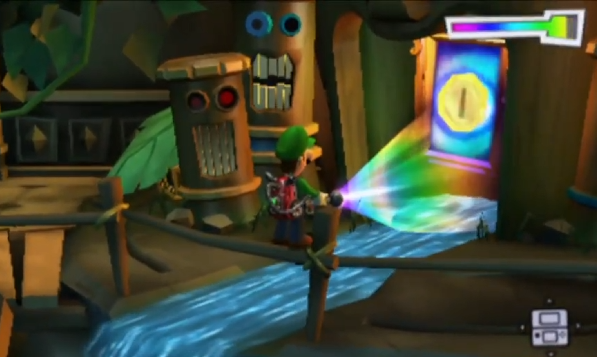
Upon entering the Jungle Exhibit, follow the wooden walkway to the east. Use the Dark-Light Device to reveal the treasure in the framed sketch, then vacuum the coins as they come spilling out. Then, head through the door in the north wall and enter the Grand East.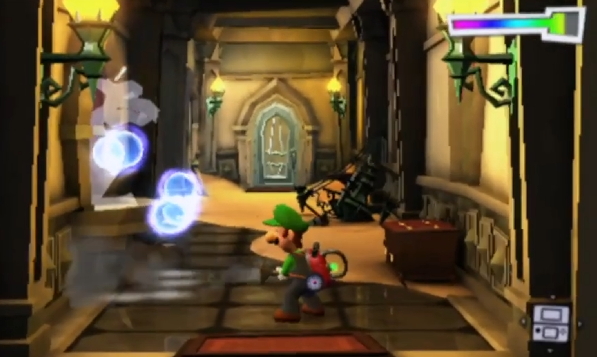
Use the Dark-Light Device to reveal the missing gargoyle at the south end of the Grand East. Flash the gargoyle, then continue to the intersection at the center of the area. Slide a few steps to the west and enter the east half of the Restrooms. Flash the safe in the east half of the Restrooms and collect the treasure that spills out. Vacuum the coins above the sinks, then head back out to the Grand East.
If Luigi has not yet collected the gem in the previous mission, use the Dark-Light Device to reveal the missing door to the west half of the Restrooms. Otherwise, just use the door at the west end of the Grand East to enter the inner Courtyard.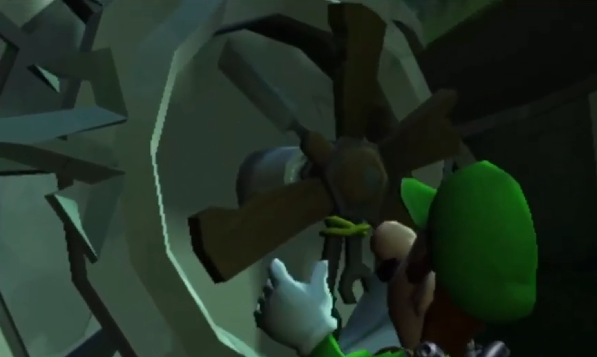
Once inside the Inner Courtyard, move to the center and place Professor E. Gadd's makeshift rotor in the slot at the base of the spiral staircase, which will trigger a cutscene. Afterwards, answer the Duel Scream. Luigi can now spin the rotor to rotate the spiral staircase. Before heading upstairs, search the Grand West first.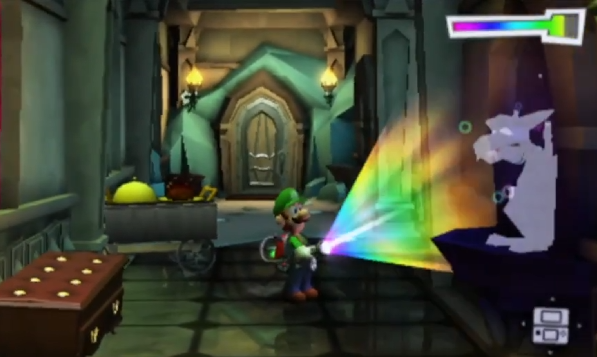
In the Grand West, use the Dark-Light Device to reveal the gargoyle at the south end of the room. After capturing the Spirit Balls, flash the gargoyle to earn some treasure. Use the Dark-Light Device again to reveal a chest along the west wall, then move north. Use the Dark-Light Device once more to reveal the gargoyle just outside the Ice Age Exhibit. Afterwards, turn around and head back to the Inner Courtyard
Check the Terrace
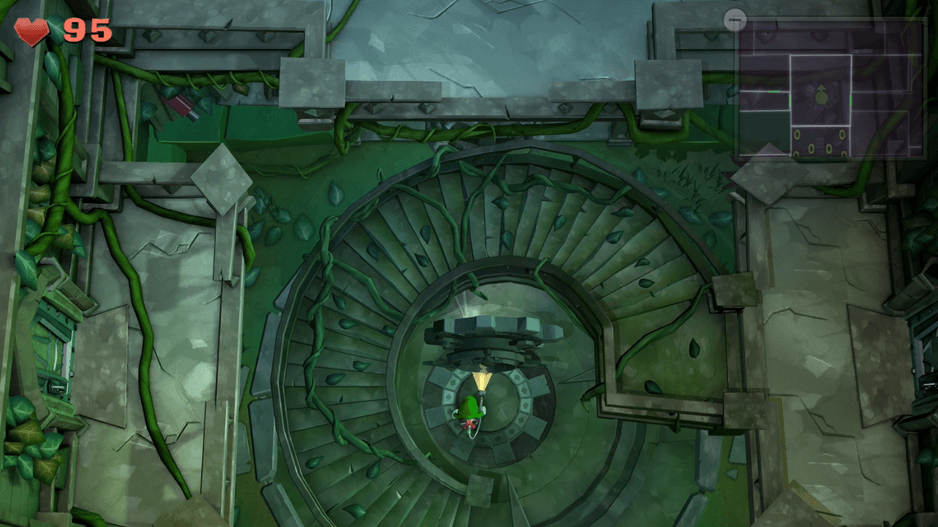
Once in the Inner Courtyard, use the Poltergust to spin the rotor until the spiral staircase connects to the north platform, then climb up to level F2. In the level F2, search the nearby suits of armor, then use the hole in the Inner Courtyard's northeast corner to peek out to the Terrace. Afterwards, use the door in the north wall to head outside.
Once outside, vacuum each pumpkin and launch it into a wall to reveal treasure. Afterwards, leave the Terrace and head back down to the spiral staircase.
Investigate the Nautical Exhibit
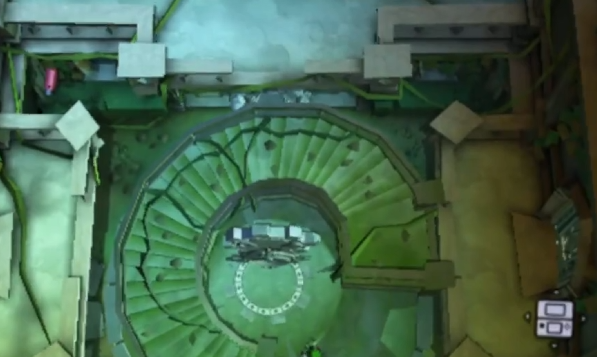
Spin the rotor in the Inner Courtyard until the spiral staircase connects to the east platform. Climb back up to level F2 and enter the East Corridor. Upon entering the East Corridor, don't follow the trail of coins that appears to lead to the next objective and don't open the false door. Search the rest of the hall instead.
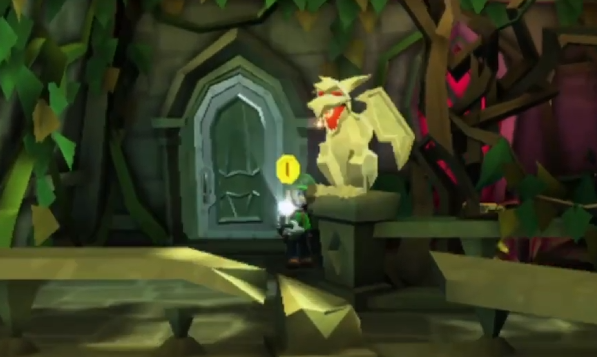
Peek through the window at the north end of the East Corridor and search the nearby suit of armor. Flash the gargoyles in the area, then use the door in the south wall to make a quick trip to the East Balcony. In the East Balcony, flash the gargoyle, but make sure to the beam doesn't hit the frogs in the nearby enclosure. Afterwards, head back into the East Corridor to get to the Nautical Exhibit.
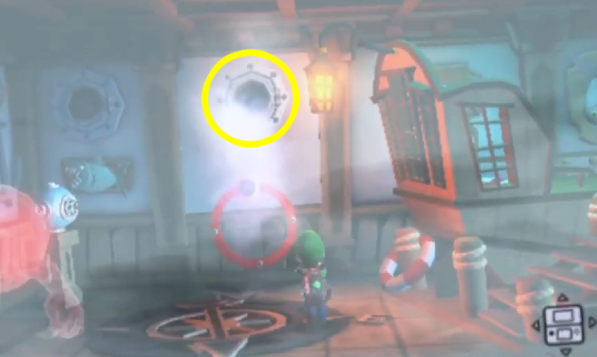
When you enter the room, a Strong Slammer is inside but the fog is too thick and renders your Strobulb useless. Blow on the porthole to close the window, then vacuum the fog with the Poltergust. Once the fog is gone, capture the Strong Slammer and the two ghosts that spawn afterwards.
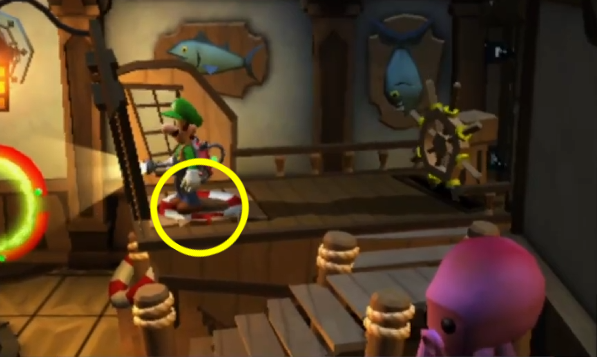
Once all ghosts are captured, activate the E-Gate with the Strobulb. Check out the east section of the exhibit. There is a floor switch on the pirate ship. If you stand on the life preserver, the wheel drops out of sight revealing a new area. You'll need something heavy to place on the life preserver to explorer that revealed area.
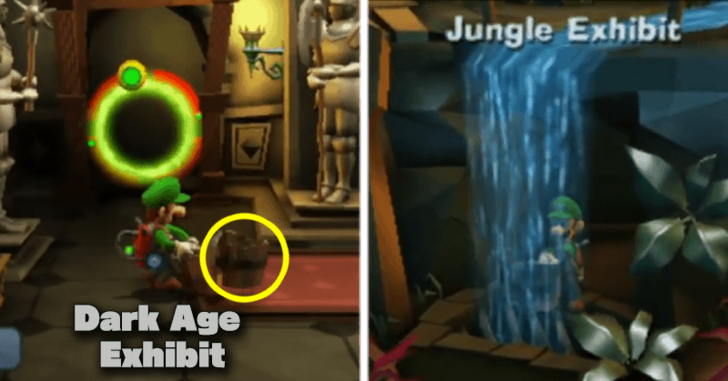
Use the E-Gate in the room to return to the Front Entrance. Head down the stairs and make your way to the Dark Age Exhibit. Grab the bucket with the Poltergust, then exit the room and proceed to the Jungle Exhibit. Get some water from the waterfall, then carry it all back to the Nautical Exhibit.
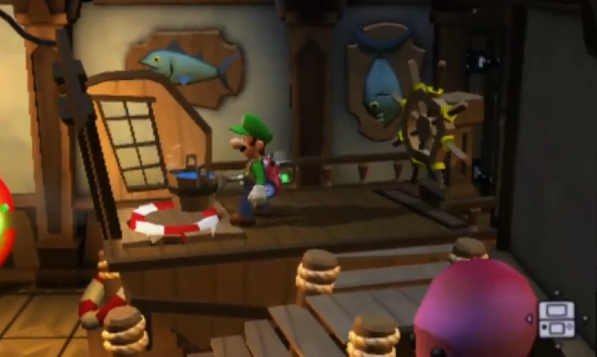
Place the bucket of water on the life preserver to explore the rest of the ship. Get the Octagon Diamond in the chest at the end of the ship.
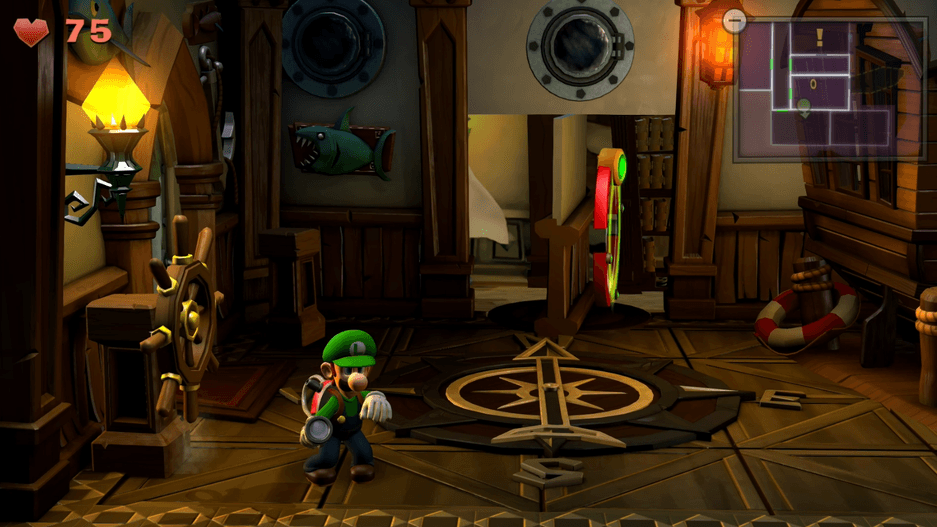
Once you have the gem, go back inside the Nautical Exhibit. Use the Poltergust on the ship wheel to move the E-Gate into the Study. Afterwards, exit to the East Corridor and go into the Study. Peek through the hole in the wall to view the Train Exhibit.
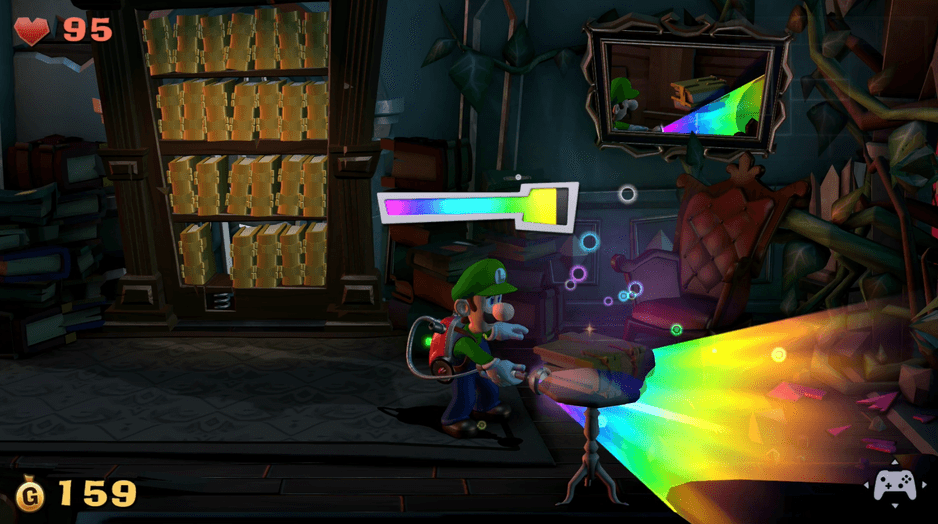
Using the mirror in the room as a guide, use the Dark-Light Device to reveal the book in the reflection. Capture the Spirit Balls to reveal the Yellow Book. Grab it and insert it in the gap in the shelf to trigger a cutscene.
Find the Poltergeist and the book he took
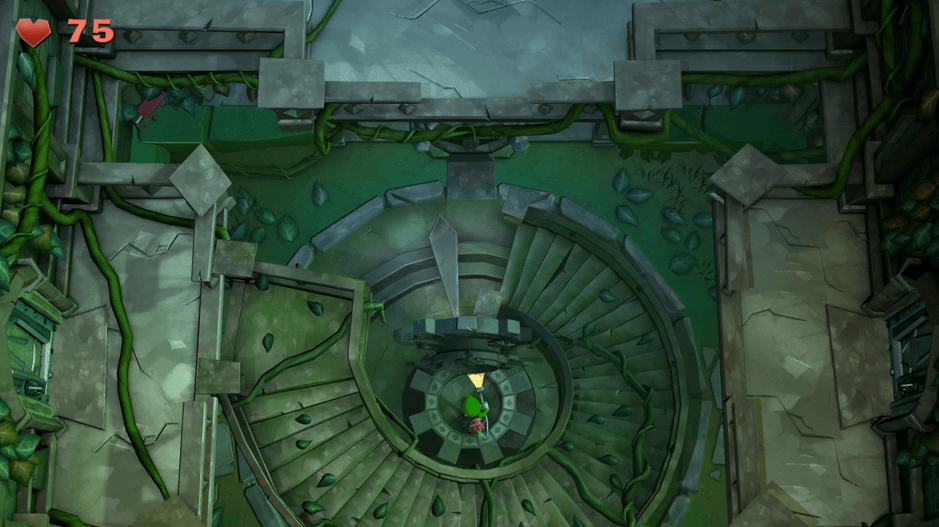
In the cutscene a Strong Poltergeist steals the book and runs of with it. Go back to the Inner Courtyard, spin the rotor so that the stairs lead to the west wing of the mansion. Head up the stairs and clear the West Corridor of enemies. 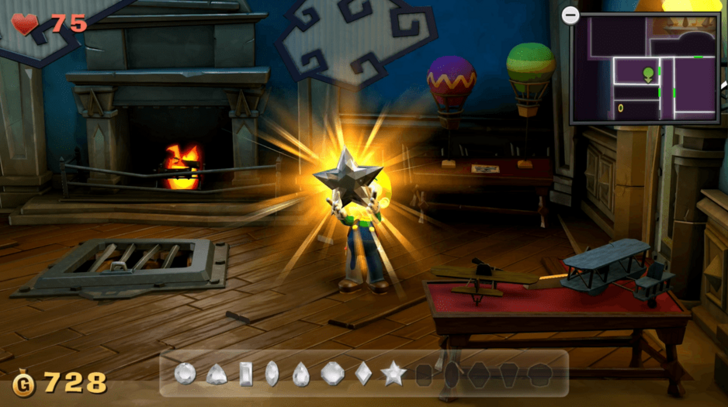
Head to the Aviation Exhibit. Inspect the sandbags on the hot air balloon at the center of the room and some ghosts will spawn. Capture them, inspect the other sandbag, and claim the Star Diamond that falls from the hot air balloon. Exit the room and head to the Archives.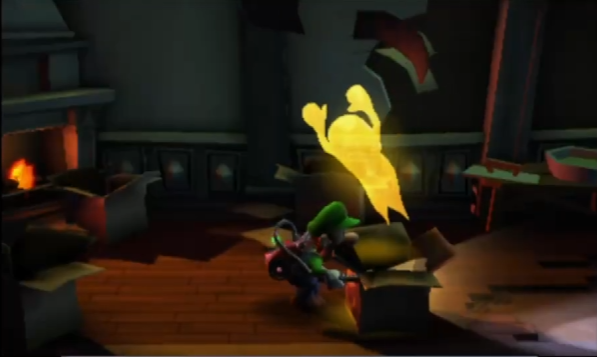
Head to the west end of the Archives and a Ghost will let out a laugh. The boxes' flaps in the Archives will have moved too. Inspect the boxes in the order they moved to summon the Gold Greenie. Exit the corridor and use the Dark-Light Device on the missing gargoyle then catch the Spirit Balls, to regain some HP. Use the Dark-Light Device again on the wall right across the gargoyle to reveal a hidden door. After catching the second set of Spirit Balls, you can now access the Space Exhibit.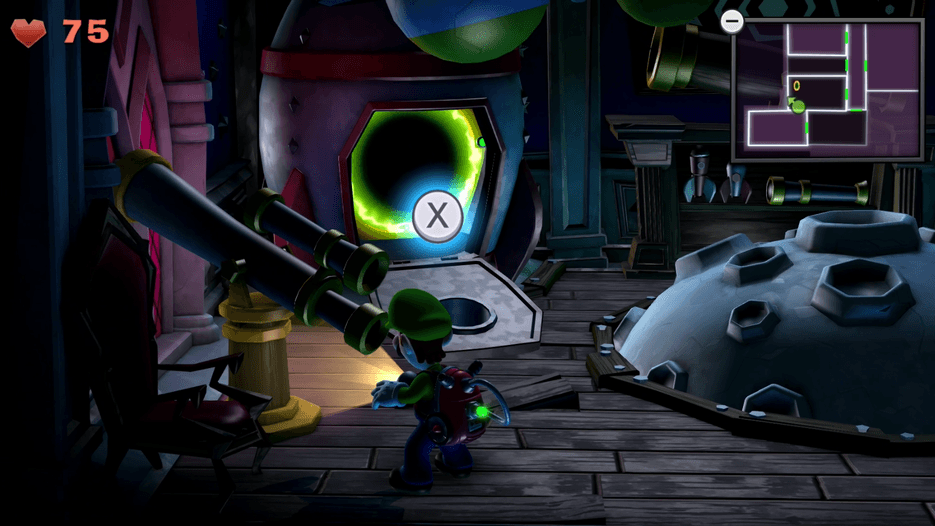
Inspect the Space Exhibit for treasure, then inspect the rocket on the northwest corner to find an E-Gate inside. Use your Strobulb to activate the E. Gate. Interact with the telescope and you'll see the Strong Poltergeist with the yellow book. Exit the telescope view and you'll find yourself transported to the moon you were viewing.
Move along with the asteroids dodging incoming attacks while finding the Strong Poltergeist. Look for star clusters that begin to glow purple, this is a sign that the Strong Poltergeist is there about to launch an attack. Flash the Strong Poltergeist before it gets to reposition itself then try to capture it with a fully-charged A-Pull.
If you managed to weaken it sufficiently, the ghost's focus will shift onto the asteroid belt. The belt will spin faster knocking you and freeing the ghost. When the asteriod belt slows down, it will start moving in the opposite direction.
Bombs and beetles will now spawn from the crater of the moon. Evade the bombs and eliminate the beetles until you can continue hunting the ghost. This cycle will repeat as you continue to weaken the Strong Poltergeist. After you capture the Strong Poltergeist, you'll be transported back to the Space Exhibit and the yellow book will pop out from one of the moon craters.
Get to the Train Exhibit and look for Mario
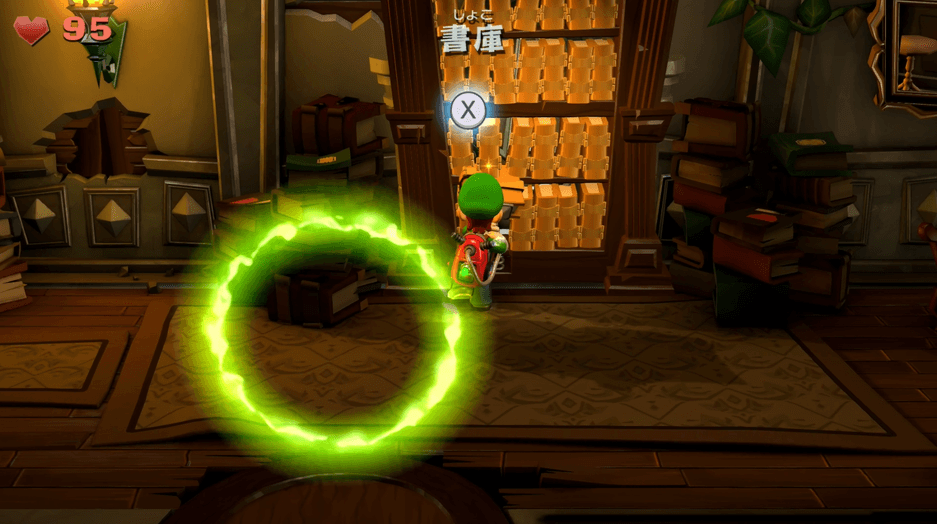
Go through the E-Gate to get to the Front Entrance again. Then take the E-Gate on the other end to get to the Study. Insert the book back to the shelf to reveal the door to the Train Exhibit. Before heading in, consider finishing up in other areas of the mansion.
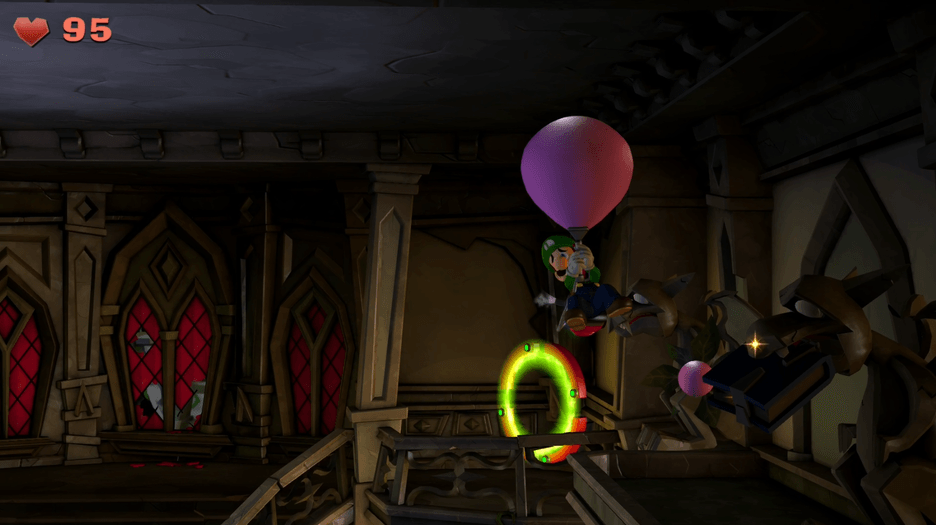
Vacuum one of the balloon bulbs, then pass through the E-Gate to get to the Front Entrance. Blow up the bulb and use it to get to the elevator platform where a gargoyle is holding a blue book in its mouth. Blow the book out of its mouth, then get a new bulb to get across to the platform on the other side. Use the Dark-Light Device on where the other gargoyle should be, catch the Spirit Balls, then get a new bulb by the gargoyle get down from the elevated platform.
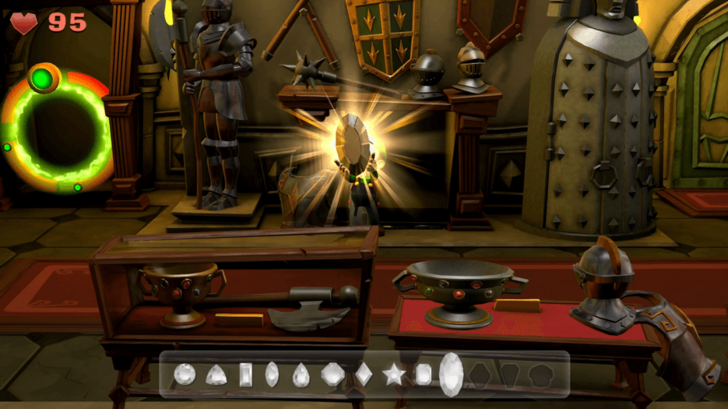
Take the blue book, and go to the Dark Age Exhibit. Place the book in the shelf to reveal the Oval Diamond. Go back to the Study to get another balloon bulb, then return to the Dark Age Exhibit. Use the Bulb to get to the 2nd floor of the Dark Age Exhibit, and collect treasure from the paintings, and then use the golden bulb on the other side to spawn some coins above the hole.
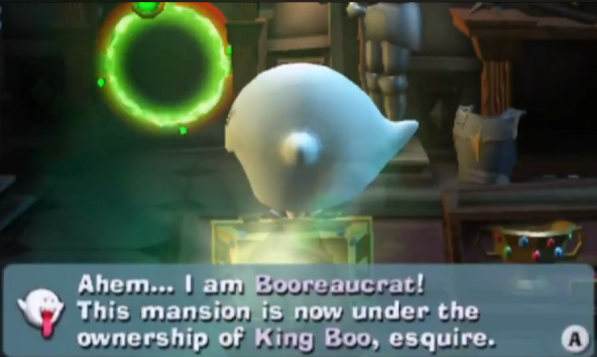
Once you've collected all the coins in the Dark Age Exhibit, exit to the West Balcony and collect the treasure there. Then pass through the West Corridor to the Space Exhibit, then go through the E-Gate in the rocket to get back to the Front Entrance. Go to the Dark Age Exhibit again, and a new chest should have appeared in the southwest corner of the room. Open the chest to find the Boo.
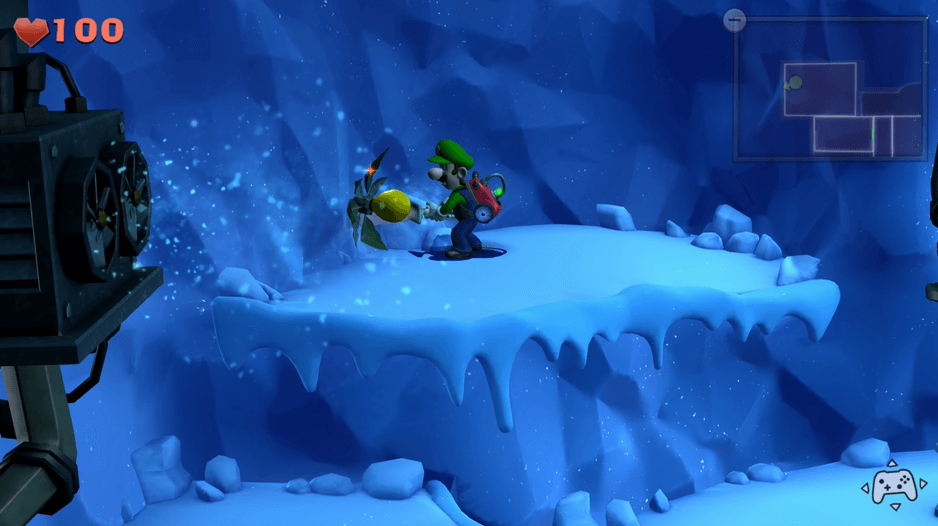
Once the Boo is captured, get another bulb from the Study. Go the Ice Age Exhibit using the E-Gate by the left side of the stairs in the Front Entrance. Blow the bulb to reach the golden bulb on the second floor of the Ice Age Exhibit. Blow the golden bulb to spawn coins in the room, collect them all to spawn the chest containing the Coffin Diamond. Use the bulb by the chest to get back down to the lower floor of the Ice Age Exhibit. Interact with other objects in the room to be sure that you've gotten all the treasure inside. Afterwards you can go back to the Front Entrance.
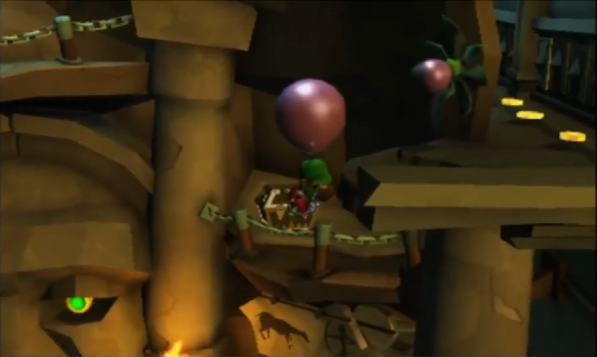
Get another bulb from the Study and go to the Ancient Exhibit using the E-Gate on the ride side of the stairs by the Front Entrance. Use the bulb to get to the chest on the upper right side of the Ancient Exhibit. Then use another bulb to get to the platform with a trail of coins. Collect the coins and use another bulb to get to the gold bulb. Use the gold bulb to spawn new coins, collect all the coins to spawn the chest containing more treasure. Use another bulb to get back up to the chest, and another bulb to get back down. Bring this bulb to the Jungle Exhibit.
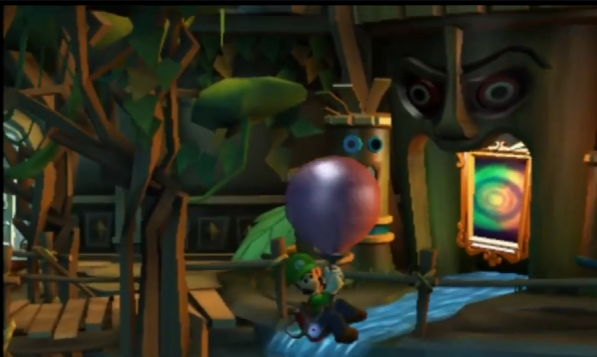
Once inside the Jungle Exhibit, pass through the waterfall and blow the bulb to reach the upper levels of the room. Try to land on the area where the golden bulb is located. Use the golden bulb and collect the coins that spawn to summon the chest containing the Spindle Diamond.
Take another bulb towards the door on the left side of upper section of the Jungle Exhibit to the East Balcony. Collect the treasure in the East Balcony, and you can proceed back to the lower section of the Jungle Exhibit using one of the bulbs.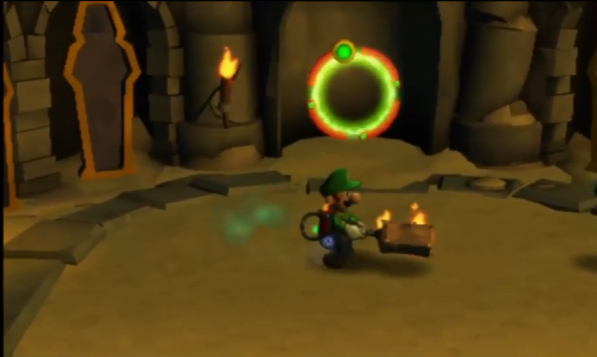
Take a log from the Jungle Exhibit and take it to the Ancient Exhibit. Set the log on fire using a torch in the Ancient Exhibit, then take it to the Space Exhibit. Light the rocket on the right side of the room causing it to crash on the ceiling. Leave the room for a bit, and return to find a Gold Greenie has spawned from the crash. Capture the Gold Greenie, then go back to the Study.
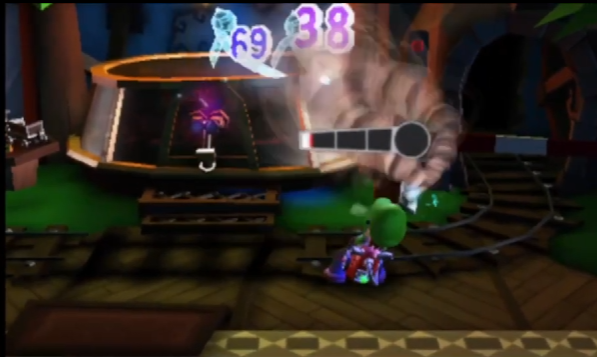
Enter the Train Exhibit from the Study, and capture the Strong Sneaker and 2 Strong Hiders inside. After they're captured, interact with the train on the left side of the room for treasure. Use the Dark-Light Device on the missing tracks, then capture the Spirit Balls to spawn the train. Hop on board to the train to get the Mushroom Diamond as it circles the tracks. Afterwards, look through the telescope on the central platform and you'll see Mario trapped in a painting surrounded by Boos. Answer the call from E. Gadd to finish the mission.
E-3 A Train to Catch Gem Locations
| Jump to a Section! | ||||
|---|---|---|---|---|
| Available Gems | |||||||||||||||||||
|---|---|---|---|---|---|---|---|---|---|---|---|---|---|---|---|---|---|---|---|
|
|
|
|
|
||||||||||||||||
|
|
|
|
|
||||||||||||||||
|
|
|
|
|
|
|||||||||||||||
Grayed out Gems are unavailable on this mission.
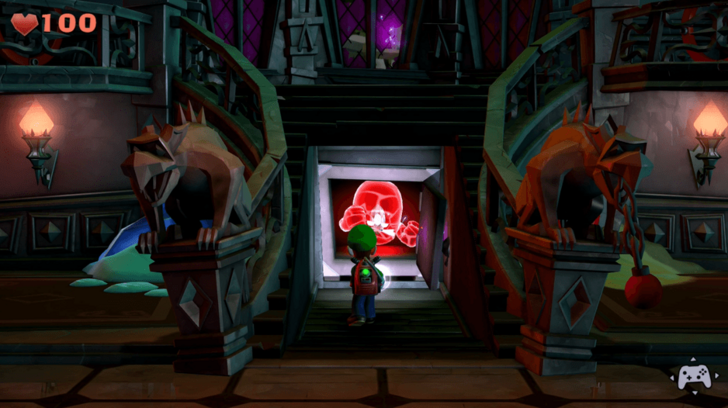
Gem #4 (Football Diamond)
| Gem |
|
|---|---|
| Where to Find | Front Entrance |
At the Front Entrance, use the Dark-Light Device to reveal the statue on the right side at the bottom of the stairs, and then pull the chain to reveal the secret vault. Once you open the vault and defeat all the enemies, you can obtain the Football Diamond inside.
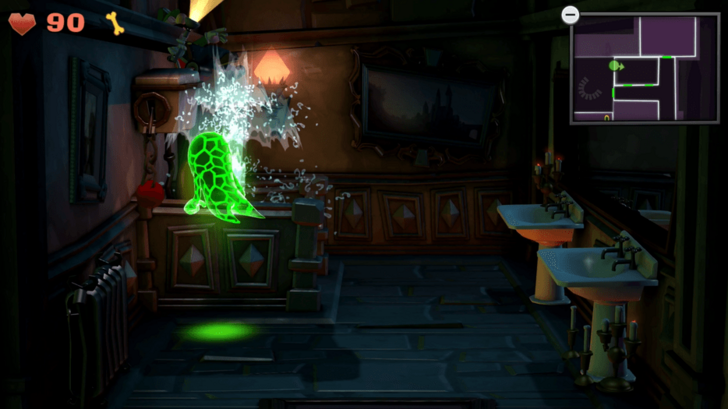
Gem #5 (Drop Diamond)
| Gem |
|
|---|---|
| Where to Find | Restrooms |
In Grand East, use the Dark-Light Device to reveal a hidden door in the west area. The door will lead you to Restrooms, and once you pull the chain to flush the toilet, it will burst out the Drop Diamond.
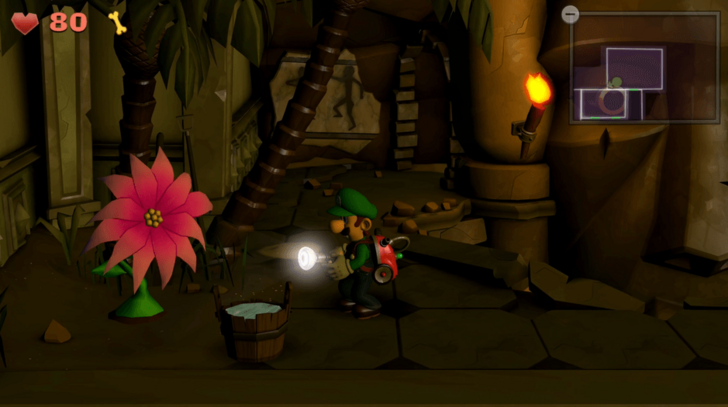
Gem #7 (Rhombus Diamond)
| Gem |
|
|---|---|
| Where to Find | Anceint Exhibit |
Once you've got a bucket of water from Jungle Exhibit, head towards the Ancient Exhibit. In the Ancient Exhibit, bring the bucket of water on the upper floor through the cave in the east, and then water the flower. Then use the Strobulb on the flower to make it drop the Rhombus Diamond.
Gem #8 (Star Diamond)

| Gem |
|
|---|---|
| Where to Find | Aviation Exhibit |
Head into the Aviation Room, pull down the heavy bags tied to the hot air balloon, defeat all the enemies, and the Star Diamond will drop from the hot air balloon.
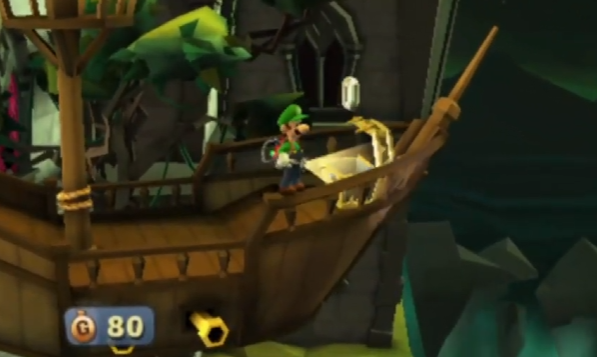
Gem #9 (Octagon Diamond)
| Gem |
|
|---|---|
| Where to Find | Nautical Exhibit |
Once you've got a bucket of water from Jungle Exhibit, head towards the Nautical Exhibit. In the Nautical Exhibit, place the bucket of water opposite the steering wheel on the upper right to reveal a hidden room. In the hidden room, open the chest on the end of the ship to obtain the Octagon Diamond.
Gem #10 (Oval Diamond)

| Gem |
|
|---|---|
| Where to Find | Dark Age Exhibit |
Using your Poltergust, suck up a bulb from Study to float on the upper right platform in Front Entrance and get the book in the gargoyle's mouth. Suck the book into the Dark Age Exhibit and place it on the bookshelf in the middle, and then the Oval Diamond will be revealed.
Gem #11 (Spindle Diamond)
| Gem |
|
|---|---|
| Where to Find | Jungle Exhibit |
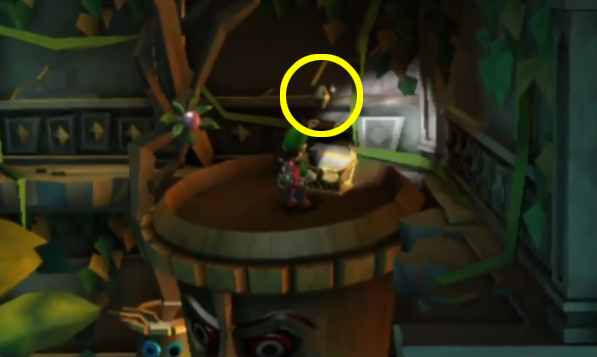
Using your Poltergust, suck up a bulb from Study and bring it into the Jungle Exhibit. In the Jungle Exhibit, use the bulb to float on the upper left platform and then suck the golden bulb. After collecting all the coins by using the golden bulb, head to the upper right platform to open the chest and obtain the Spindle Diamond.
Gem #12 (Coffin Diamond)
| Gem |
|
|---|---|
| Where to Find | Ice Age Exhibit |
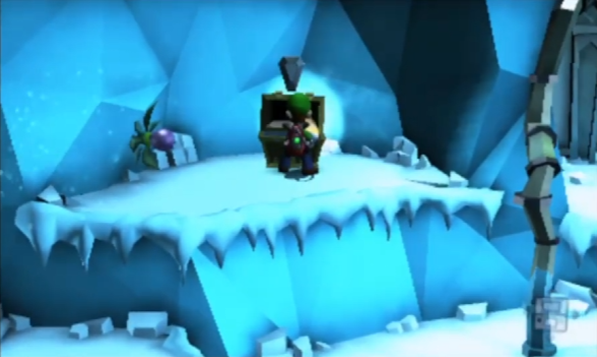
Using your Poltergust, suck up a bulb from Study and bring it into the Ice Age Exhibit. In the Ice Age Exhibit, use the bulb to float on the upper left platform and then suck the golden bulb. After collecting all the coins by using the golden bulb, head back to the upper left platform to open the chest and obtain the Coffin Diamond.
Gem #13 (Mushroom Diamond)
| Gem |
|
|---|---|
| Where to Find | Train Exhibit |
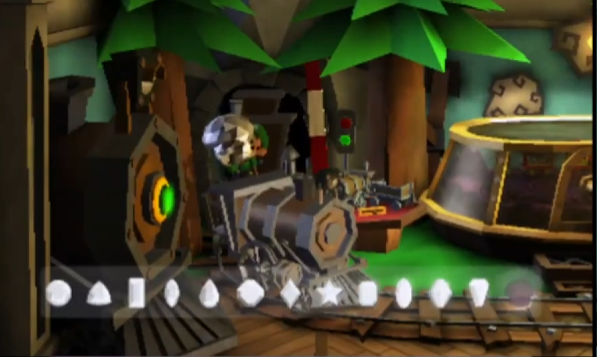
Head into the Train Exhibit, defeat all the enemies, use the Dark-Light Device to reveal a hidden rail track in the middle, then ride the train around the room, and once the train stops, you have already obtained the Mushroom Diamond.
Gem Locations: How to Find All Gems
E-3 A Train to Catch Boo Location
| Jump to a Section! | ||||
|---|---|---|---|---|
Booreaucrat Location
| Boo | Where to Find |
|---|---|
| Booreaucrat | Dark Age Exhibit |
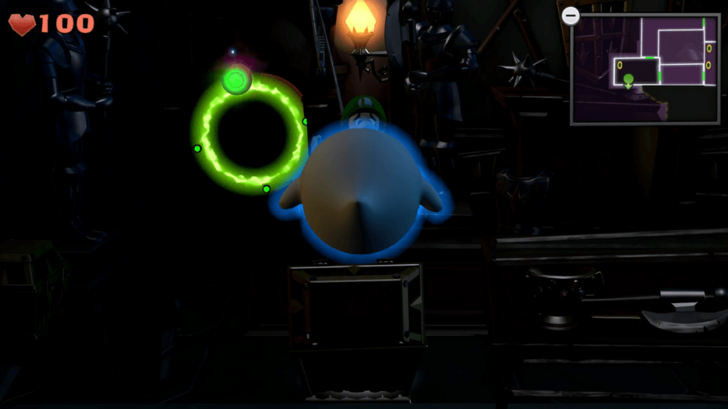
Get a bulb from the study portal in the upper right of the front entrance, use the bulb to float on the upper floor of the dark age exhibit, use the golden bulb on the upper right platform, collect the coins, and open the chest afterwards, and a Boo will appear.
All Boo Locations: Where to Find All Boos
E-3 A Train to Catch Secret Door
| Jump to a Section! | ||||
|---|---|---|---|---|
| This mission does not have a secret door. |
All Secret Door Locations and Rewards
E-3 A Train to Catch Enemies
| Jump to a Section! | ||||
|---|---|---|---|---|
Enemies Encountered in E-3 A Train to Catch
 Creeper Creeper
|
 Strong Greenie Strong Greenie
|
 Strong Slammer Strong Slammer
|
 Strong Hider Strong Hider
|
 Strong Sneaker Strong Sneaker
|
 Strong Poltergeist Strong Poltergeist
|
 Gold Greenie Gold Greenie
|
 Gold Mouse Gold Mouse
|
 Spider Spider
|
 Gold Spider Gold Spider
|
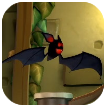 Bat Bat
|
 Gold Crow Gold Crow
|
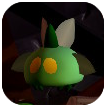 Beetle Beetle
|
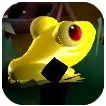 Gold Frog Gold Frog
|
Luigi's Mansion 2: Dark Moon Related Guides

All Mission Guides
Post-Game
| Post-Game Guide | ||
|---|---|---|
| ScareScraper Guide | Ending and Post-Game Content | 100% Checklist |
Comment
Author
E-3 A Train to Catch Gems and Boo Location Guide
Rankings
Gaming News
Popular Games

Genshin Impact Walkthrough & Guides Wiki

Honkai: Star Rail Walkthrough & Guides Wiki

Umamusume: Pretty Derby Walkthrough & Guides Wiki

Pokemon Pokopia Walkthrough & Guides Wiki

Resident Evil Requiem (RE9) Walkthrough & Guides Wiki

Monster Hunter Wilds Walkthrough & Guides Wiki

Wuthering Waves Walkthrough & Guides Wiki

Arknights: Endfield Walkthrough & Guides Wiki

Pokemon FireRed and LeafGreen (FRLG) Walkthrough & Guides Wiki

Pokemon TCG Pocket (PTCGP) Strategies & Guides Wiki
Recommended Games

Diablo 4: Vessel of Hatred Walkthrough & Guides Wiki

Cyberpunk 2077: Ultimate Edition Walkthrough & Guides Wiki

Fire Emblem Heroes (FEH) Walkthrough & Guides Wiki

Yu-Gi-Oh! Master Duel Walkthrough & Guides Wiki

Super Smash Bros. Ultimate Walkthrough & Guides Wiki

Pokemon Brilliant Diamond and Shining Pearl (BDSP) Walkthrough & Guides Wiki

Elden Ring Shadow of the Erdtree Walkthrough & Guides Wiki

Monster Hunter World Walkthrough & Guides Wiki

The Legend of Zelda: Tears of the Kingdom Walkthrough & Guides Wiki

Persona 3 Reload Walkthrough & Guides Wiki
All rights reserved
© Nintendo. Games are property of their respective owners. Nintendo of America Inc. Headquarters are in Redmond, Washington, USA
The copyrights of videos of games used in our content and other intellectual property rights belong to the provider of the game.
The contents we provide on this site were created personally by members of the Game8 editorial department.
We refuse the right to reuse or repost content taken without our permission such as data or images to other sites.


![Monster Hunter Stories 3 Review [First Impressions] | Simply Rejuvenating](https://img.game8.co/4438641/2a31b7702bd70e78ec8efd24661dacda.jpeg/thumb)


