C-5 Piece at Last Gems and Boo Location Guide
Play Time | Graphics Comparison| New Features
★ Mansion Guides | Interactive Maps | 100%
☆ Locations: Gems | Boos | Ghosts | Gold Bones
★ ScareScraper Multiplayer Guide | Solo?!
┗ High Score Boards ▶︎ Missions | SkyScraper
This is a walkthrough for all gems in C5 Piece at Last, as well as how to clear the level and find the boo in Luigi's Mansion 2 HD for the Nintendo Switch. Read on for a detailed guide for C-5 Piece at Last, including how to get 3 stars, gem locations, location of the boo, as well as the secret door location.
| Previous Mansion | Current Mansion | Next Mansion | ||||||||||||||||||
|---|---|---|---|---|---|---|---|---|---|---|---|---|---|---|---|---|---|---|---|---|
| Haunted Towers | Old Clockworks | Secret Mine | ||||||||||||||||||
| C-1 | C-2 | C-3 | C-4 | C-5 | C-Boss | C-Bonus | ||||||||||||||
List of Contents
C-5 Piece at Last Gems and Boo Location Map
| Jump to a Section! | ||||
|---|---|---|---|---|
These are all of the Gems available within this Mansion, however some Gems are exclusive to specific Missions.
Interactive Map of All Mansions
C-5 Piece at Last Walkthrough
| Jump to a Section! | ||||
|---|---|---|---|---|
C-5 Piece at Last How to Get 3-Stars
| Min. Clear Time | Min. Ghosts Captured | Max. Health Lost | Min. Treasure |
|---|---|---|---|
| 20:35 | 23 | 20 or Less | 2100 |
These numbers are values we got based on our runs. If you got 3-Stars with better scores, take pride in it and share a picture in our Missions Record Boards!
C-5 Piece at Last Objectives
| Goal | A ghost has made off with the rotor, the last piece needed to open the Clock Tower Gate. Follow him and take it back! The rotor was taken into the Storage Room, which is locked. Look for E. Gadd's Toad assistant, and see if he can help. |
|---|---|
| Description | There's one last clock part we need to find before we can fix the Clock Tower Gate, and I think I know where it is! |
- Chase the Ghost and Get the Rotor.
- Meet with the Toad in the Synchronization Room
- Return to the Gear Chamber
- Lead the Toad to the Service Elevator
Chase the Ghost and Get the Rotor
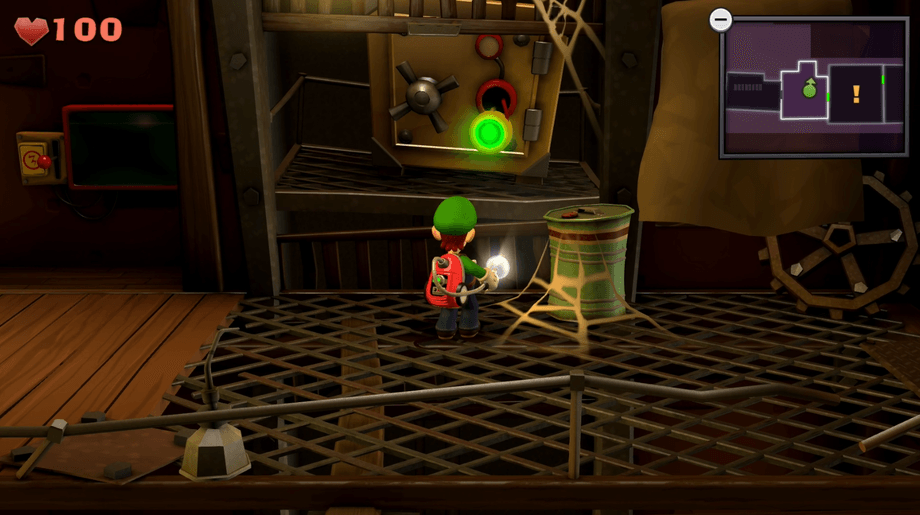
Once the mission starts, you will be in the Service Elevator and the Strong Sneaker has ran off with the rotor. Head to the door on your right towards the Gear Chamber until a cutscene plays. After the cutscene look through the crack on the wall, and answer the professor's call afterwards.
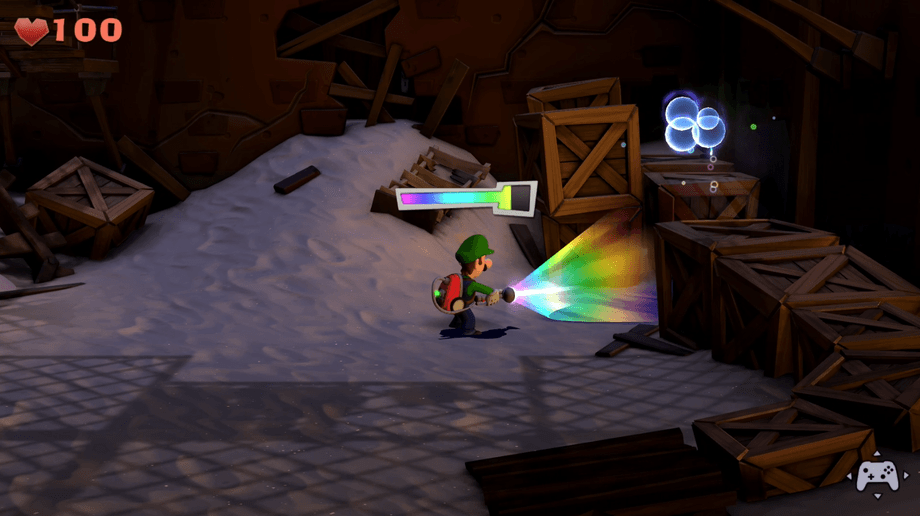
Before leaving the Gear Chamber, examine the big crack in the central wall. Flash the beetles that will spawn. Use the Dark-Light Device on the gap atop the boxes by the right hand side. Capture the Spirit Balls that emerge. Climb up the makeshift ramp towards the back of the crack on the wall for a bonus challenge!
Gear Chamber Door Bonus Challenge
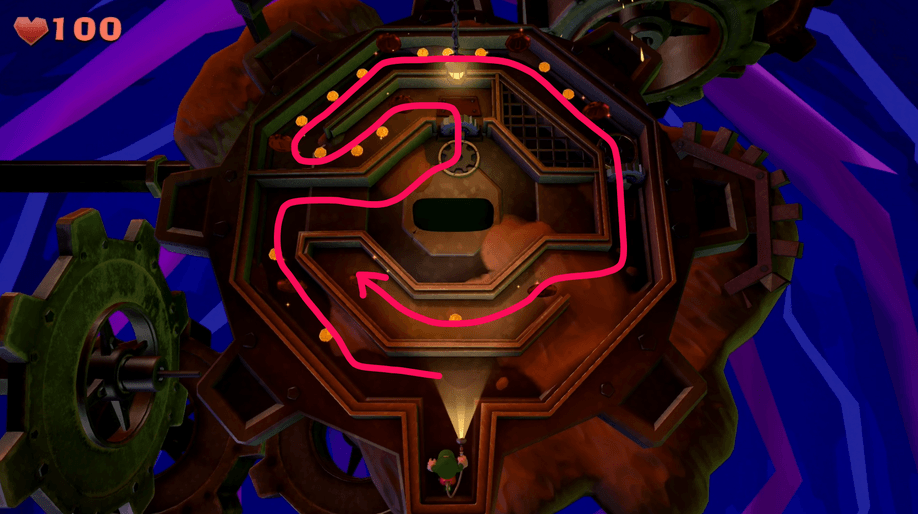
Collect all the Red Coins within the allotted time. Run towards the center, then jump on the gear to be propelled north. Collect the second set of Red Coins towards the second gear. Collect the last two coins. Once all Red Coins are collected within the time limit, a chest appears at the center of the maze. Inside you'll find the Oval Ruby.
Meet with Toad in the Synchronization Room
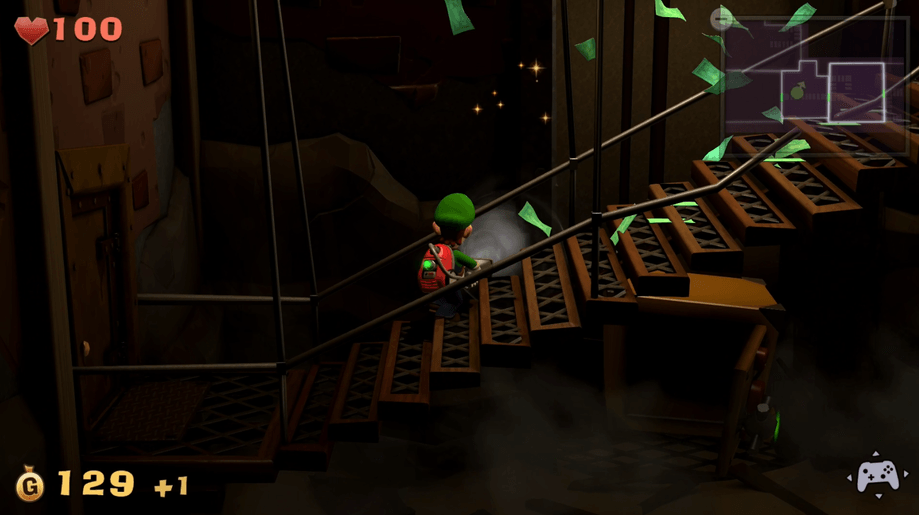
Head back to the Service Elevator on B1 and go to the Maintenance Hub. Flash the panel on the wall to summon a chain. Latch onto the chain to be transported to the other side. You can now use blow a path to the central gear in the Maintenance Hub.

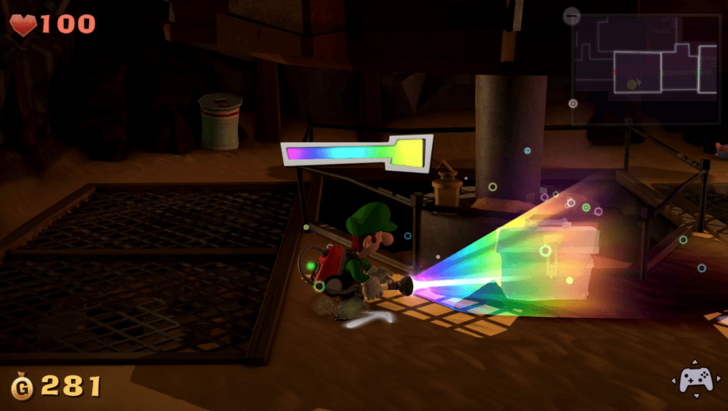
Use the Dark-Light Device on the missing chest underneath the giant gear. Capture the Spirit Balls to reveal the chest containing the Spindle Ruby.
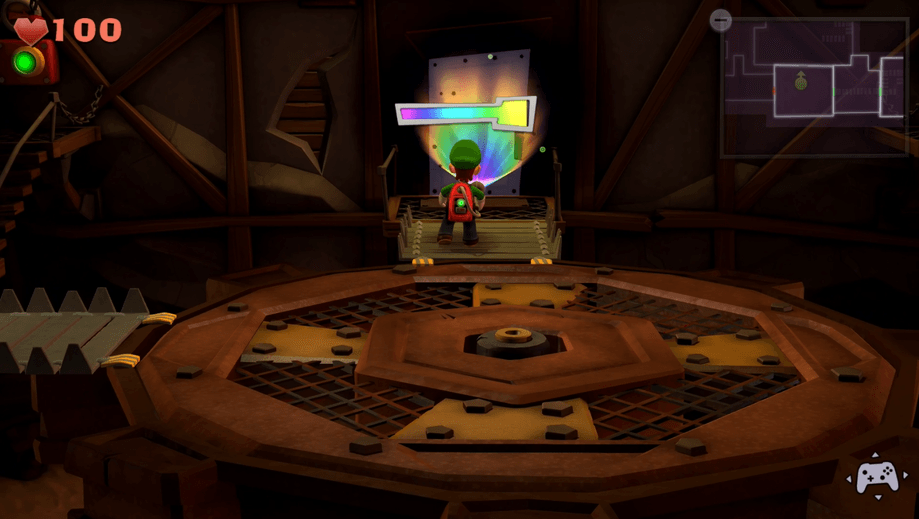
Get on the springy gear by the right side of the room to be launched onto the giant gear. Use the Dark-Light Device on the wall to reveal a door. Catch the Spirit Balls, and pass through the door to the Crank Room. When you get inside, flash the Gold Spiders then continue forward then downward. Blow the red bombs to the hole, then flash the gold bomb to detonate it leaving behind some treasure.
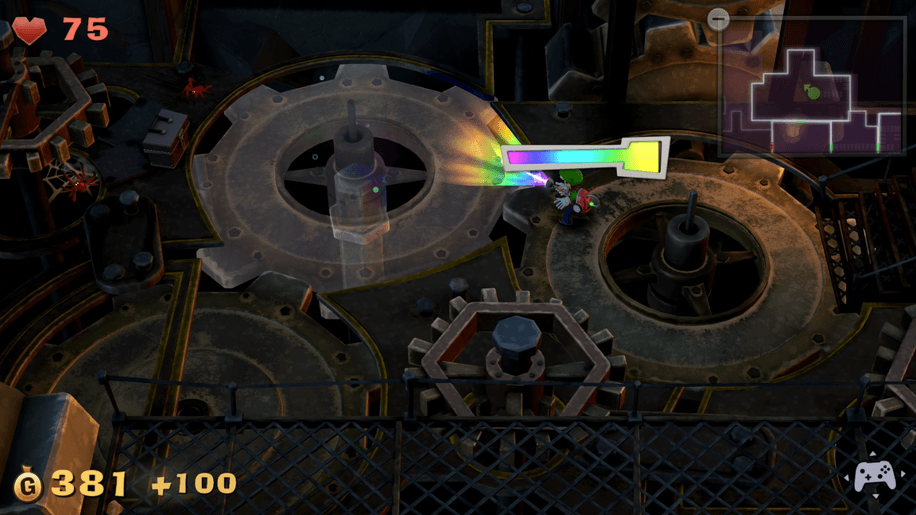
Use the Dark-Light Device on the giant hole to reveal the missing gear. Capture the Spirit Balls to get the gears moving again. Run back to the entrance of the Crank Room, and you can ride the giant gear on the left towards a walkway.
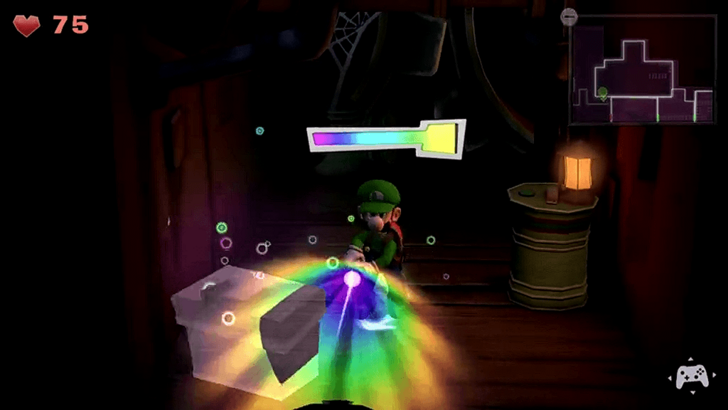
Pull the curtain away to reveal a small room. Get the Gold Bone from one of the corners, then use the Dark-Light Device to reveal a hidden box in the small room inside is Boony Raboot, capture it to add to your collection.
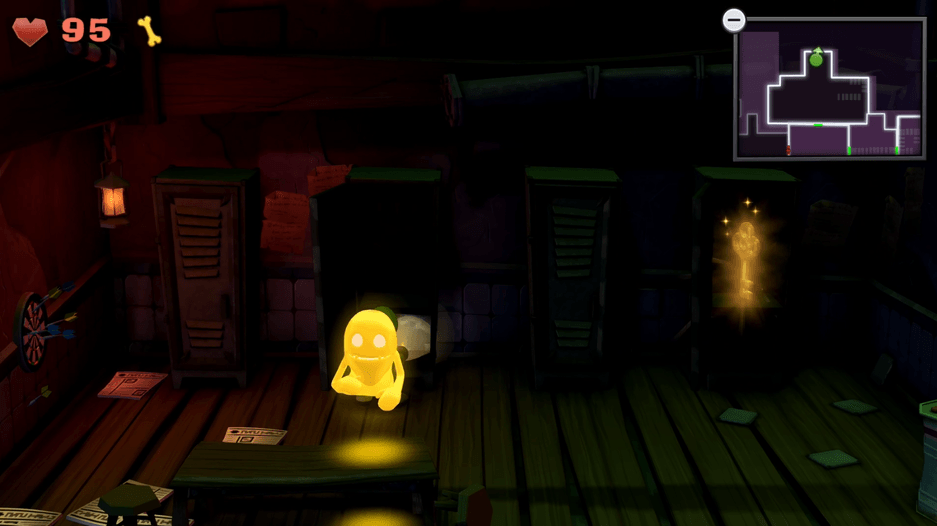
Go back to the larger room, and time yourself with the rotating gear to get to the other side. Capture the Slammers and get the key from one of the lockers. Inspect the other lockers to find a Golden Greenie. Ride the gear to on the right to get back on the walkway towards the exit to the Maintenance Hub.
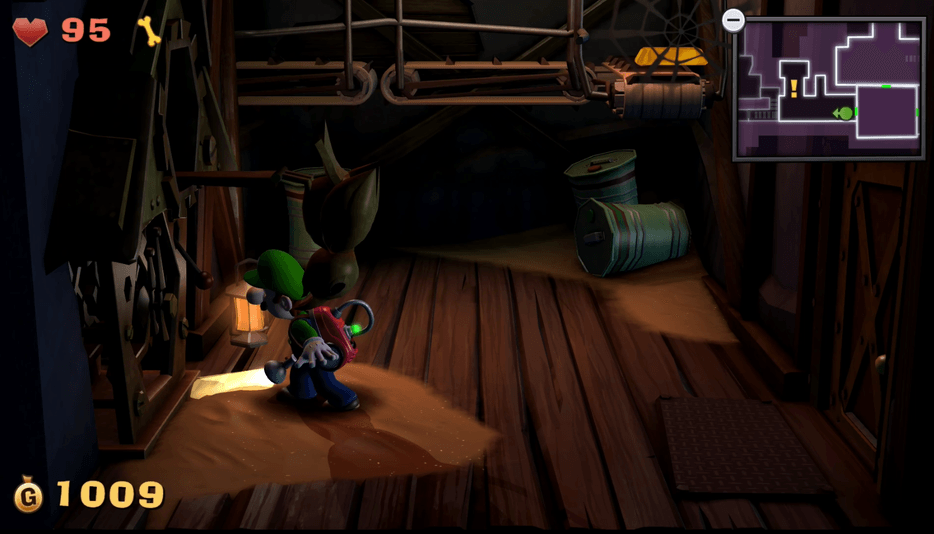
You can now use the newly acquired key to open the door on the left of the Maintenance Hub. Enter the Synchro Gantry and clear the room of webs. Inspect the area for treasure. Interact with the cuckoo clock door to be taken to the central area of the Synchro Gantry. Pass through the door on the left to reach the Synchronization Room.
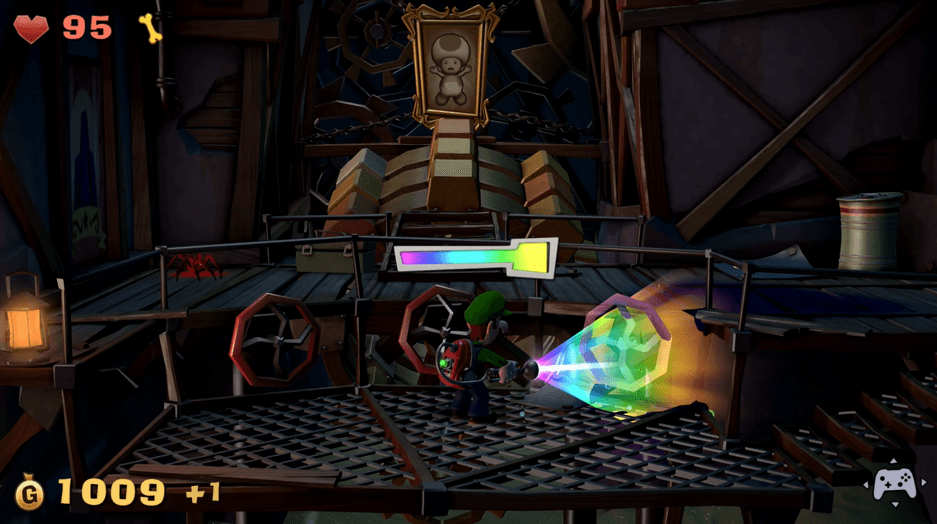
Use the Dark-Light Device on the missing valve next to the other two valves, then capture the Spirit Balls. With the missing valve in place, the gears leading up to the Toad Painting will realign. Use the Dark-Light Device on the painting to free the Toad. Capture the two Greenies that will spawn after rescuing the Toad.
Return to the Gear Chamber
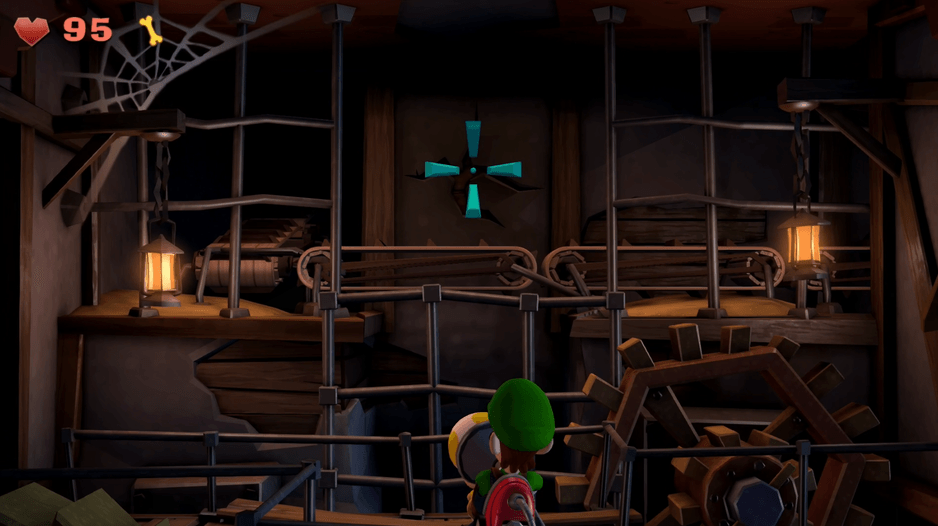
Go east and vacuum the Toad while standing the pressure floor switch. Once the obstruction is lowered, shoot the Toad onto the conveyor belt then use the Cuckoo Door to get to the other side. Capture the ghost on the other side of the Cuckoo door to reach the Maintenance Hub. Vacuum the Toad, then get on the central gear. Shoot the toad towards the walkway, then use the hanging cord from earlier to get to the other side. Capture the Greenies that spawn as you make your way back to the cord.
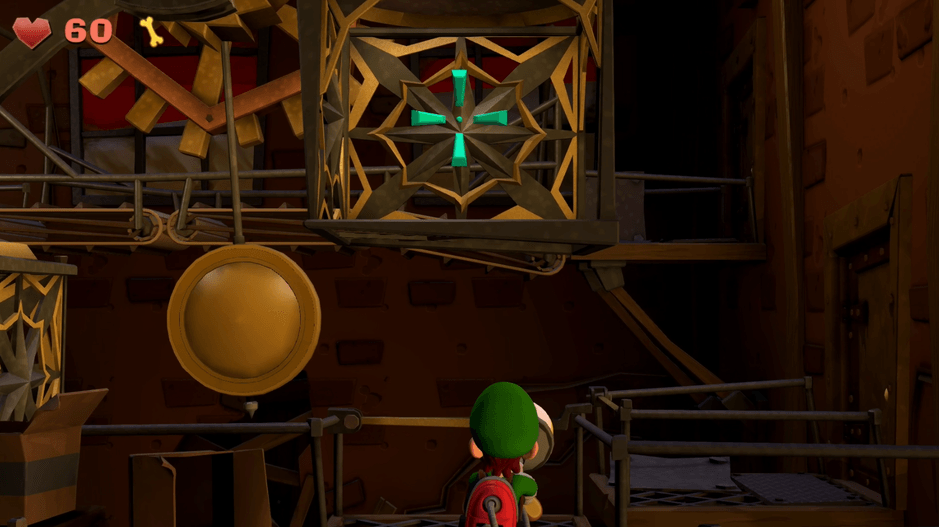
Pass through the Service Elevator to get to the Gear Chamber. Capture the ghosts, mummies, and beetles that spawn inside the Gear Chamber with the Poltergust and the Strobulb. Defeat the mummies the same way you do with ghosts. Flash them with the Strobulb to stun them, then vacuum their wrappings to reveal that they are really just Greenies on the inside. After defeating every ghost, you can now attack and capture the Strong Sneaker. Once captured, answer the call from E. Gadd to continue.
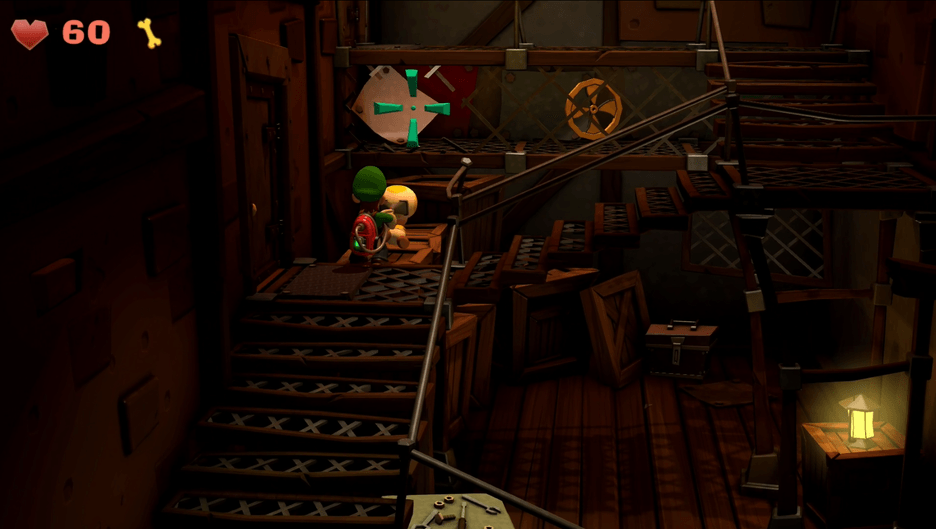
Go up the stairs in the Gear Chamber then vacuum and shoot the Toad into the raised cage. This will lower the platform creating a path to the Storage Room. Vacuum the Toad again and shoot them towards the chain-link chute to get the Rotor.
Lead the Toad to the Service Elevator
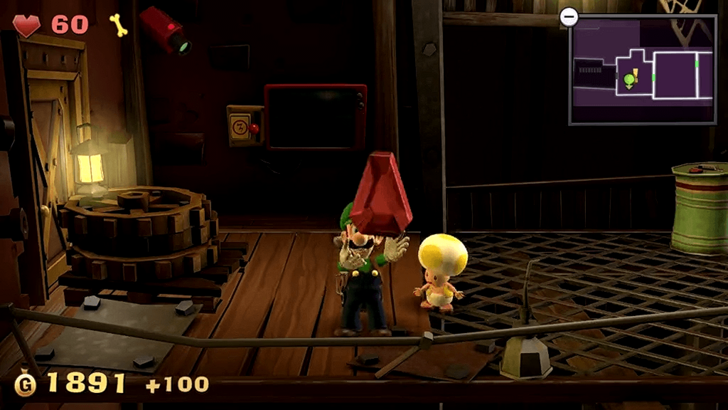
Go up the stairs in the Storage room to reach the Gear Chamber room on the first floor. Ride the conveyor belt, then walk down the walkway towards the Service Elevator. Shoot the Toad across towards the south of the room using the mirror as a guide, then guide it along the walkway to collect some treasure and the Coffin Ruby. Afterwards, interact with the panel in the Service Elevator to transport the Toad out of the mansion. Answer the call from E. Gadd to complete the mission.
C-5 Piece at Last Gem Locations
| Jump to a Section! | ||||
|---|---|---|---|---|
| Available Gems | |||||||||||||||||||
|---|---|---|---|---|---|---|---|---|---|---|---|---|---|---|---|---|---|---|---|
|
|
|
|
|
||||||||||||||||
|
|
|
|
|
||||||||||||||||
|
|
|
|
|
|
|||||||||||||||
Grayed out Gems are unavailable on this mission.
Gem #10 (Oval Ruby)

| Gem |
|
|---|---|
| Where to Find | Gear Chamber |
Head down to the lower floors of the Gear Chamber, defeat all the beetles coming out of the hole on the north wall, use the Dark-Light Device to reveal a hidden wooden plank, go through the hidden room in the hole on the north wall, and finish the time challenge. Open the chest to obtain the Oval Ruby.
Gem #11 (Spindle Ruby)
| Gem |
|
|---|---|
| Where to Find | Maintenance Hub |
Head to the Maintenance Hub, use the strobulb to swing across to the left side, head down the lower floor, use the Dark-Light Device to reveal a toolbox in the middle beneath the big gear, and open it to obtain the Spindle Ruby.
Gem #12 (Coffin Ruby)
| Gem |
|
|---|---|
| Where to Find | Service Elevator |
Once you found the missing Toad, head back to the Sevice Elevator, pull the sheet covering the big mirror in the east, aim and shoot the Toad towards the gem opposite the mirror, and the Toad will grab the Coffin Ruby for you.
Gem Locations: How to Find All Gems
C-5 Piece at Last Boo Location
| Jump to a Section! | ||||
|---|---|---|---|---|
Boony Raboot Location
| Boo | Where to Find |
|---|---|
| Boony Raboot | Crank Room |
Enter the crank room, follow the path on the south side, pull down the sheet covering the hidden area at the end of the path, and use the Dark-Light Device in the southwest cover of the hidden area where a toolbox originally was. Suck up all the spirit balls to reveal the Boo.
All Boo Locations: Where to Find All Boos
C-5 Piece at Last Secret Door
| Jump to a Section! | ||||
|---|---|---|---|---|
| Location | How to Find the Secret Door |
|---|---|
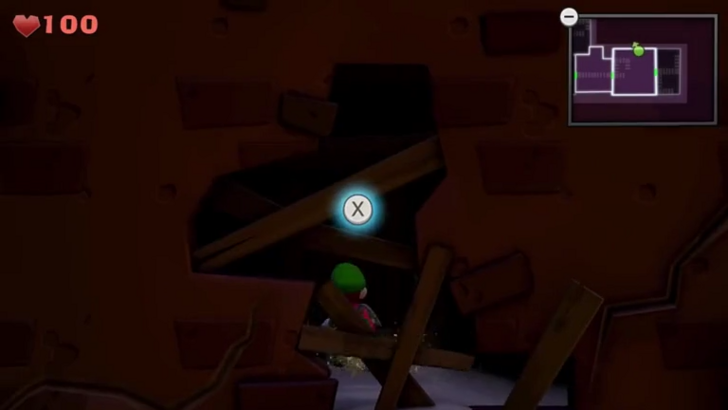 |
Use the Dark-Light Device to reveal the missing planks near the east wall, then use it as a bridge to the hidden area behind the north wall. Move behind the large hole in the room's north wall to find the door. |
How to Beat the Challenge
When the challenge starts, turn left and collect the Red Coin in the outer ring. Run to the center of the maze and use the nearby gear to launch yourself over the wall. When you land, collect the Red Coins on the way to the second gear, then launch yourself back to the other half of the maze and grab the last two Red Coins.
All Secret Door Locations and Rewards
C-5 Piece at Last Enemies
| Jump to a Section! | ||||
|---|---|---|---|---|
Enemies Encountered in C-5 Piece at Last
 Greenie Greenie
|
 Slammer Slammer
|
 Sneaker Sneaker
|
 Strong Sneaker Strong Sneaker
|
 Spider Spider
|
 Gold Spider Gold Spider
|
 Beetle Beetle
|
Luigi's Mansion 2: Dark Moon Related Guides

All Mission Guides
Post-Game
| Post-Game Guide | ||
|---|---|---|
| ScareScraper Guide | Ending and Post-Game Content | 100% Checklist |
Comment
Author
C-5 Piece at Last Gems and Boo Location Guide
Rankings
- We could not find the message board you were looking for.
Gaming News
Popular Games

Genshin Impact Walkthrough & Guides Wiki

Honkai: Star Rail Walkthrough & Guides Wiki

Umamusume: Pretty Derby Walkthrough & Guides Wiki

Pokemon Pokopia Walkthrough & Guides Wiki

Resident Evil Requiem (RE9) Walkthrough & Guides Wiki

Monster Hunter Wilds Walkthrough & Guides Wiki

Wuthering Waves Walkthrough & Guides Wiki

Arknights: Endfield Walkthrough & Guides Wiki

Pokemon FireRed and LeafGreen (FRLG) Walkthrough & Guides Wiki

Pokemon TCG Pocket (PTCGP) Strategies & Guides Wiki
Recommended Games

Diablo 4: Vessel of Hatred Walkthrough & Guides Wiki

Cyberpunk 2077: Ultimate Edition Walkthrough & Guides Wiki

Fire Emblem Heroes (FEH) Walkthrough & Guides Wiki

Yu-Gi-Oh! Master Duel Walkthrough & Guides Wiki

Super Smash Bros. Ultimate Walkthrough & Guides Wiki

Pokemon Brilliant Diamond and Shining Pearl (BDSP) Walkthrough & Guides Wiki

Elden Ring Shadow of the Erdtree Walkthrough & Guides Wiki

Monster Hunter World Walkthrough & Guides Wiki

The Legend of Zelda: Tears of the Kingdom Walkthrough & Guides Wiki

Persona 3 Reload Walkthrough & Guides Wiki
All rights reserved
© Nintendo. Games are property of their respective owners. Nintendo of America Inc. Headquarters are in Redmond, Washington, USA
The copyrights of videos of games used in our content and other intellectual property rights belong to the provider of the game.
The contents we provide on this site were created personally by members of the Game8 editorial department.
We refuse the right to reuse or repost content taken without our permission such as data or images to other sites.


![Monster Hunter Stories 3 Review [First Impressions] | Simply Rejuvenating](https://img.game8.co/4438641/2a31b7702bd70e78ec8efd24661dacda.jpeg/thumb)


