Hateno Tower Region: Korok Seed Map, Shrines, and Quests
★ Sequel: Tears of the Kingdom Guide here!
★ Get a head start with our Beginner's Guide
┗ The Best Recipes to Cook | Rupee Farming
★ Shrines Locations | Korok Seeds Locations
★ Explore after the story with our Post Game Guide
This page is a map of the Hateno Tower Region in The Legend of Zelda: Breath of the Wild (BotW). Here you can find all Korok Seed locations in the Hateno Tower Region, as well as quests, shrines, and other locations.
List of Contents
Hateno Tower Region Korok Seed Map
Map of All Hateno Tower Korok Seeds
| Hateno Korok Seed Map |
|---|
 Enlarge EnlargeView Full Map Image |
How to Get All Hateno Koroks
| Total No. | Korok in Region | Solution & Video Link |
|---|---|---|
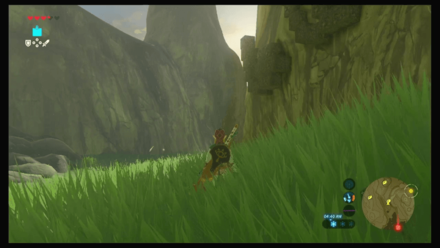
| 81 |
 Enlarge Enlarge |
Metal Block
Use Magnesis to put the metal block to the square hole. |
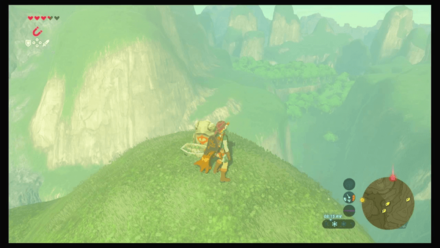
| 82 |
 Enlarge Enlarge |
Fruit Offering
Offer an apple to the empty offering bowl at the top of the hill. |
| 83 |
 Enlarge Enlarge |
Follow the Flowers
Touch the flower sticking at the wall and then follow it until a white flower appears at the other wall. |
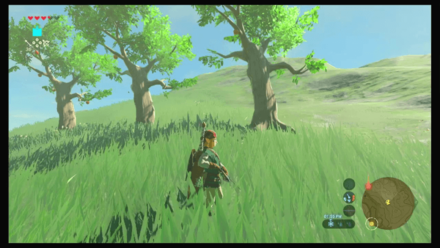
| 84 |
 Enlarge Enlarge |
Fruit Match
Match the appearance of the three trees by shooting some fruits with arrows. Do not shoot the fruit that is on a similar location as the other two trees. |
| 85 |
 Enlarge Enlarge |
Rock
Climb up the tree and lift the rock at the top. |
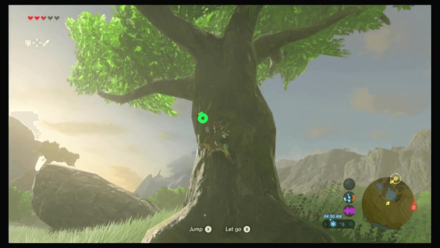
| 86 |
 Enlarge Enlarge |
Rock
Climb up the tree and lift the rock at the top. |
| 87 |
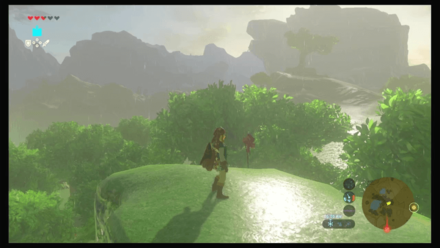 Enlarge Enlarge |
Jumping Acorn
Shoot the two acorns being launched. |
| 88 |
 Enlarge Enlarge |
Rock
Climb the tree beside the Mezza Lo Shrine and lift the rock on the top. |
| 89 |
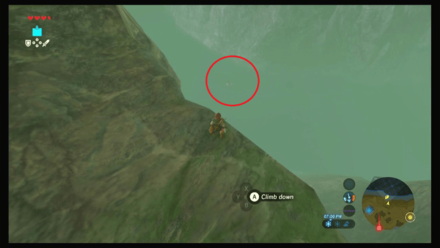 Enlarge Enlarge |
One Balloon
On the top of the cliffside near Mezza Lo Shrine, shoot the balloon floating near the water. When aiming, be sure to aim a bit higher than the balloon. |
| 90 |
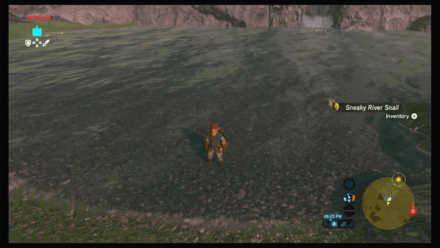 Enlarge Enlarge |
Moving Sparkles
Chase the sparkle moving on the water and examine it. |
| 91 |
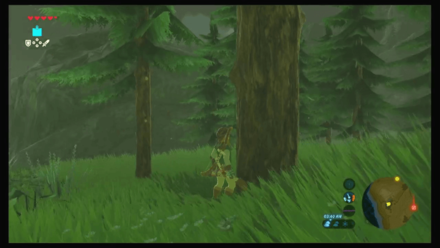 Enlarge Enlarge |
Peak Sparkles
Climb the tall tree and examine the sparkle at the top. |
| 92 |
 Enlarge Enlarge |
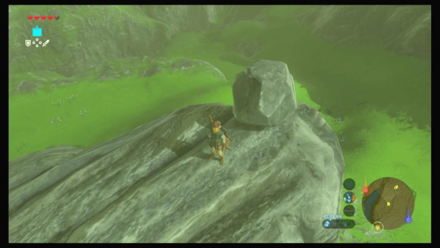
Rock Pit
Push the boulder and let it roll towards the hole. |
| 93 |
 Enlarge Enlarge |
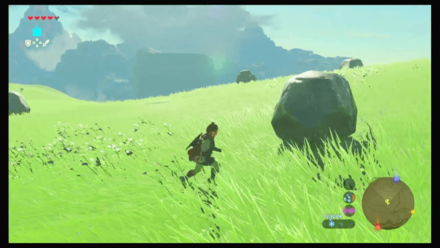
Other
Push the middle boulder towards the small land depression. |
| 94 |
 Enlarge Enlarge |
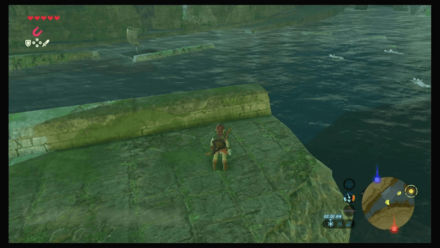
Water Ring
Dive to the center of the flower ring. |
| 95 |
 Enlarge Enlarge |
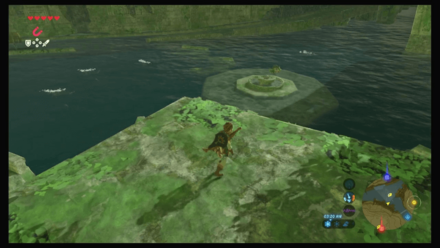
Rock
Glide towards the circle platform on the water where a Lizalfos is roaming and then lift the rock at the middle. |
| 96 |
 Enlarge Enlarge |
Rock Pattern
Lift the rock behind the bush and then drop it at the gap between the stones of the stone circle. |
| 97 |
 Enlarge Enlarge |
Rock
Lift the rock at the top of Peak of Awakening. |
| 98 |
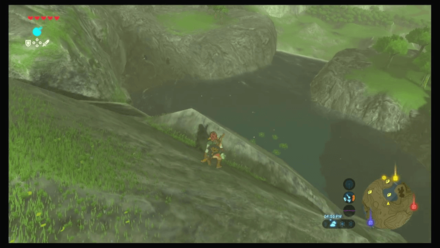 Enlarge Enlarge |
Water Ring
Glide towards the flower circle and drop on the middle of it. Be aware that there is a strong wind that will make it hard to glide. |
| 99 |
 Enlarge Enlarge |
Fruit Match
Match the appearance of the three trees by shooting some fruits with arrows. Do not shoot the fruit that is on a similar location as the other two trees. |
| 100 |
 Enlarge Enlarge |
Metal Block
Use Magnesis on the metal block and place it on the other set of blocks. |
| 101 |
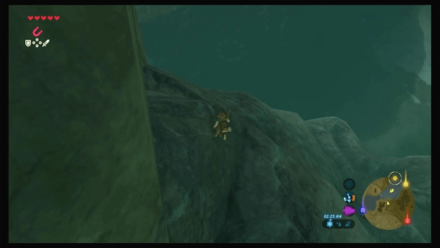 Enlarge Enlarge |
Water Ring
Glide towards the flower ring then drop on the middle of it. |
| 102 |
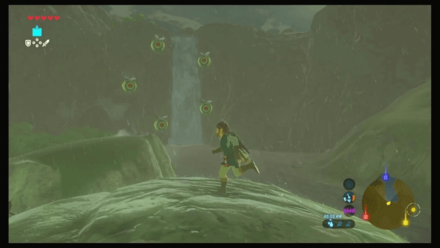 Enlarge Enlarge |
Pinwheel Balloon
Shoot all five balloons |
| 103 |
 Enlarge Enlarge |
One Acorn
Shoot the acorn in the tree. |
| 104 |
 Enlarge Enlarge |
Fruit Offering
Offer an apple to the empty offering bowl. |
| 105 |
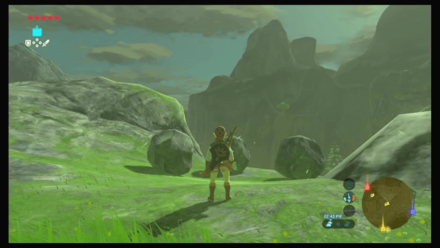 Enlarge Enlarge |
Rock Pit
Put the boulder in the hole by pushing it and letting it roll down the slope. |
| 106 |
 Enlarge Enlarge |
Hidden Rock
Use a bomb to explode the breakable wall and lift the rock that's underneath it. |
| 107 |
 Enlarge Enlarge |
Hidden Rock
Use Magnesis on the door to reveal a rock and then lift it. |
| 108 |
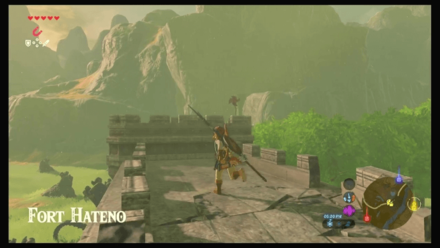 Enlarge Enlarge |
Jumping Acorn
At the top of the gate of Fort Hateno, go near the pinwheel and shoot the two acorns being launched. You can also use Stasis to freeze the acorns midair to have an easier time shooting. |
| 109 |
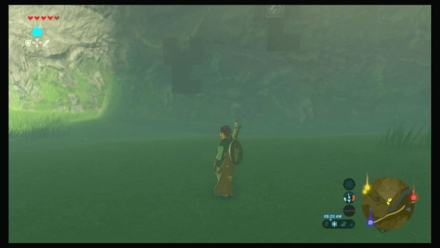 Enlarge Enlarge |
Metal Block
Use Magnesis on the metal block and place it on the other set of blocks. |
| 110 |
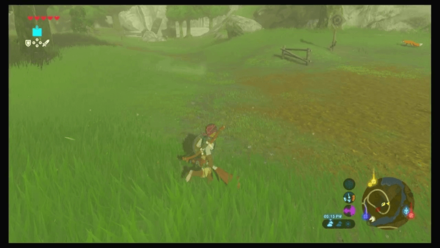 Enlarge Enlarge |
Other
Shoot all the 10 targets around the area with a bow. and then shoot the balloon that will appear afterwards. Note that there are enemies around the area. |
| 111 |
 Enlarge Enlarge |
Hidden Rock
Use Magnesis on the door to reveal a rock and then lift it. |
| 112 |
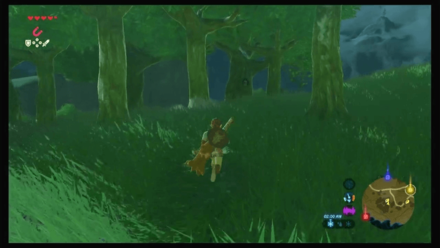 Enlarge Enlarge |
One Acorn
Shoot the acorn in the tree. |
| 113 |
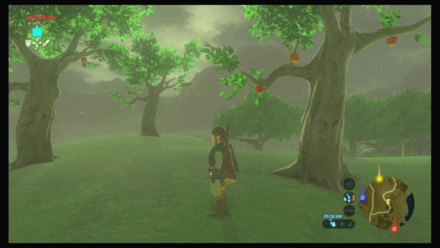 Enlarge Enlarge |
Fruit Match
Match the appearance of the trees by shooting some fruits with arrows. Do not shoot the fruit that is on a similar location as the other two trees. |
| 114 |
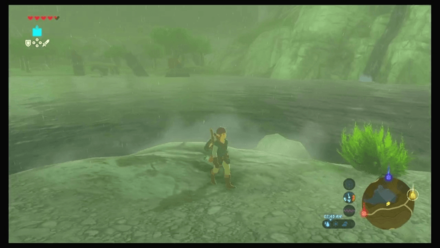 Enlarge Enlarge |
Rock
Lift the rock located at a small shore. |
| 115 |
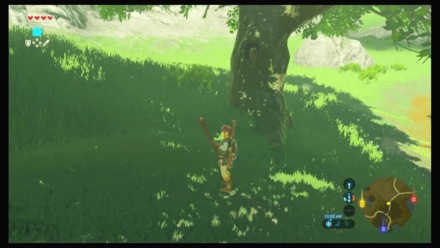 Enlarge Enlarge |
One Acorn
Shoot the acorn in the tree. |
| 116 |
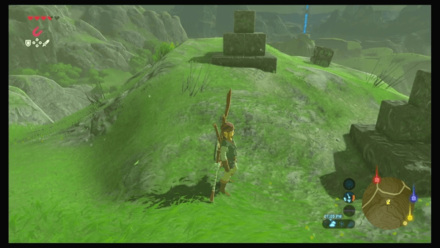 Enlarge Enlarge |
Metal Block
Match the appearance of the two set of blocks by using Magnesis on the metal block and placing it on the right position. |
| 117 |
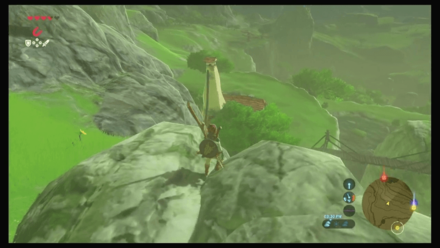 Enlarge Enlarge |
Follow the Flowers
From Hateno Village, touch the yellow flower and follow it until you see a white flower at the top of the mountain. |
| 118 |
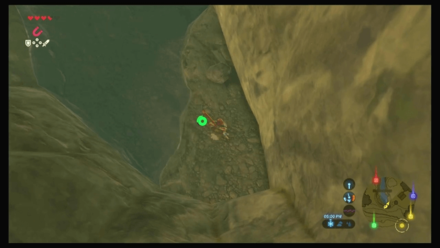 Enlarge Enlarge |
Rock
In Hateno Village, go to the edge of Firly Pond and lift the rock located there. |
| 119 |
 Enlarge Enlarge |
Water Ring
Dive to the center of the flower ring. |
| 120 |
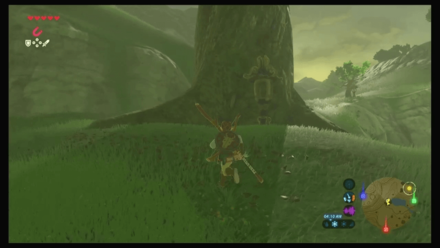 Enlarge Enlarge |
Rock
Climb the huge tree and lift the rock at the top. |
| 121 |
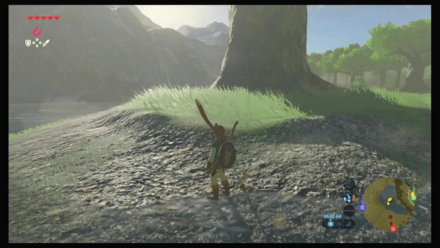 Enlarge Enlarge |
Rock
Climb the huge tree and lift the rock at the top. |
| 122 |
 Enlarge Enlarge |
Peak Sparkles
Climb to the roof of Hateno Ancient Tech Lab and examine the sparkle. |
| 123 |
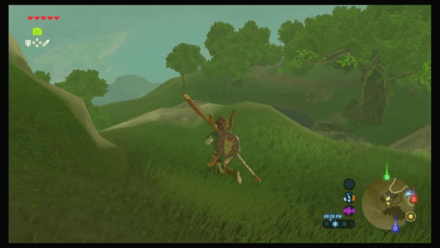 Enlarge Enlarge |
Water Ring
Glide towards the flower ring then drop on the middle of it. |
| 124 |
 Enlarge Enlarge |
Ice Sparkles
Melt the ice by using a fire arrow or by using a lit torch. You can light a torch by placing a Red Chuchu Jelly on the floor and attacking it. |
| 125 |
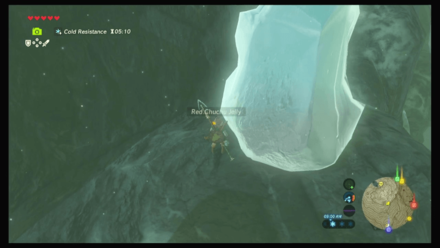 Enlarge Enlarge |
Ice Sparkles
Melt the ice by using a fire arrow or by using a lit torch. You can light a torch by placing a Red Chuchu Jelly on the floor and attacking it. |
| 126 |
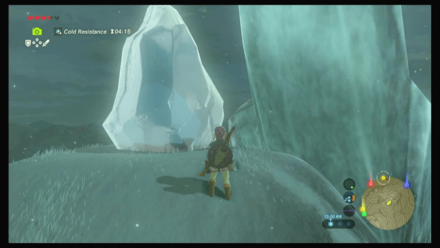 Enlarge Enlarge |
Ice Sparkles
Melt the ice by using a fire arrow or by using a lit torch. You can light a torch by placing a Red Chuchu Jelly on the floor and attacking it. |
| 127 |
 Enlarge Enlarge |
Timed Ring
After stepping on the tree stump, glide towards where the ring is and climb the tree. From the top of the tree, glide towards the ring. |
| 128 |
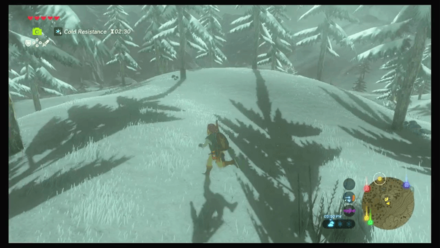 Enlarge Enlarge |
Moving Sparkles
Interact with the moving sparkle. |
| 129 |
 Enlarge Enlarge |
Timed Ring
After stepping on the tree stump, glide towards where the ring is and climb the mountain. |
| 130 |
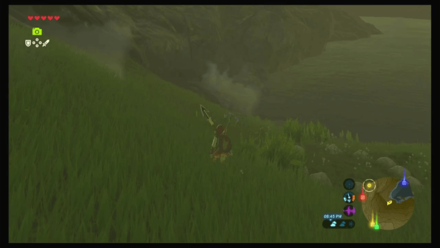 Enlarge Enlarge |
Rock Pattern
Lift the rock located near the rock circle and put it on the gap of the rock circle. |
| 131 |
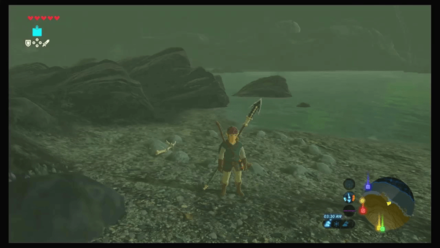 Enlarge Enlarge |
Rock Pattern
Lift the rock located near the rock circle and put it on the gap of the rock circle. |
| 132 |
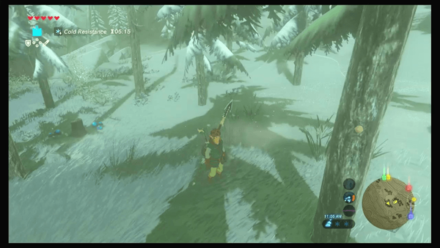 Enlarge Enlarge |
Rock Pattern
Lift the rock located near the rock circle and put it on the gap of the rock circle. |
| 133 |
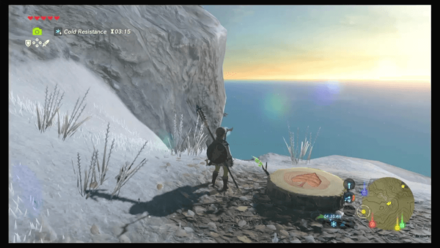 Enlarge Enlarge |
Timed Ring
After stepping on the stump, either glide towards the ring or use shield surf on the left side of the stump. Take note that the ring disappears quickly so you need to waste no movement when attempting to shield surf or glide. |
| 134 |
 Enlarge Enlarge |
Rock Pit
Push the boulder and let it roll towards the hole. |
| 135 |
 Enlarge Enlarge |
Follow the Flowers
Chase the flower. Make sure you have cold resistance by eating a spicy meal, drinking elixir or wearing an armor that has cold resist. |
| 136 |
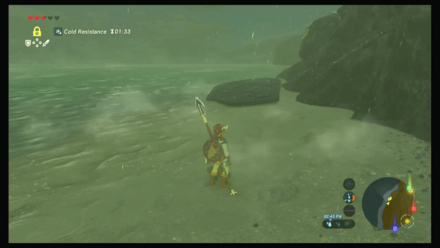 Enlarge Enlarge |
Hidden Rock
Use Stasis on the slab and then launch it by attacking it. Afterwards, lift the rock. |
| 137 |
 Enlarge Enlarge |
Pinwheel Balloon
Shoot the three balloons. |
| 138 |
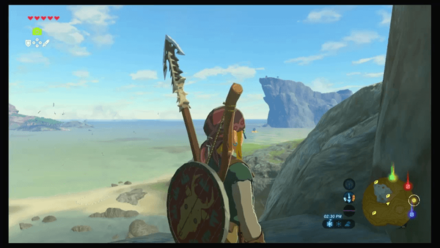 Enlarge Enlarge |
Water Ring
Glide towards and dive in the middle of the flower ring. |
| 139 |
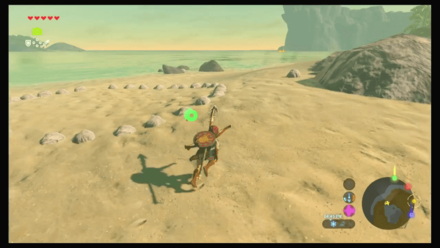 Enlarge Enlarge |
Rock Pattern
Lift the three rocks around the rock circle and place them on the gaps of the circle. |
| 140 |
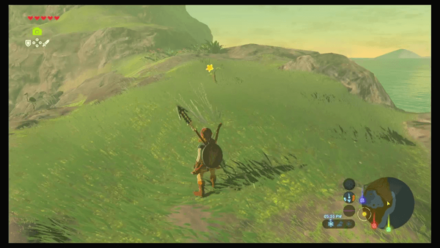 Enlarge Enlarge |
Follow the Flowers
Chase the yellow flowers. |
| 141 |
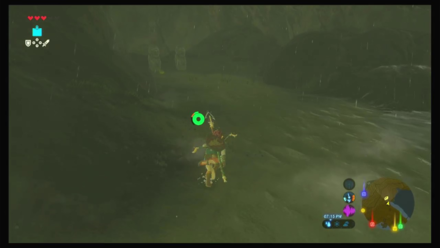 Enlarge Enlarge |
Fruit Offering
Offer a palm fruit to the empty offering bowl. Palm fruits can be found in the surrounding area. |
| 142 |
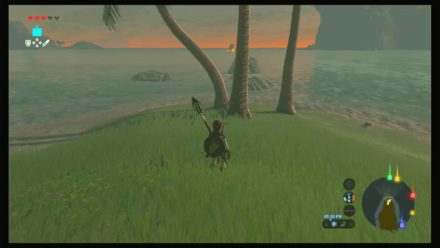 Enlarge Enlarge |
Follow the Flowers
Chase the flower. Make sure you have cold resistance by eating a spicy meal, drinking elixir or wearing an armor that has cold resist. |
| 143 |
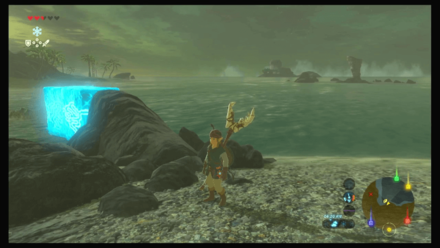 Enlarge Enlarge |
Rock Circle
Build two ice pillars close to the rock ring in the water then lift a rock from the shore and throw it to the middle of the rock ring. |
| 144 |
 Enlarge Enlarge |
Rock Pattern
Lift a rock nearby the rock circle and then place it on the gap of the rock circle. |
| 145 |
 Enlarge Enlarge |
Fruit Match
Match the appearance of the trees by shooting some fruits with arrows. Do not shoot the fruit that is on a similar location as the other two trees. |
| 146 |
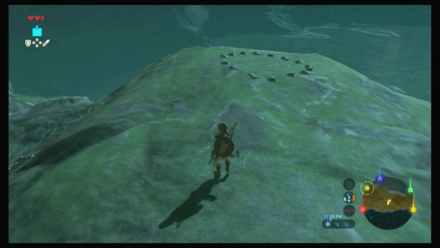 Enlarge Enlarge |
Rock Pattern
Lift a rock from the left of the rock circle and then place it on the gap of the rock circle. |
| 147 |
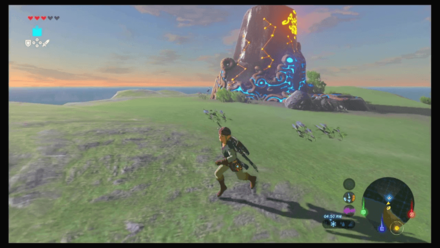 Enlarge Enlarge |
Rock
Lift the rock located on a small cliffside near the Muwo Jeem Shrine |
| 148 |
 Enlarge Enlarge |
Timed Ring
Get the Korok Leaf beside the shrine and then activate the Korok Ring by stepping on the stump. Use the raft with your Korok Leaf to get to the ring. |
Korok Seeds Map and All Korok Seed Locations
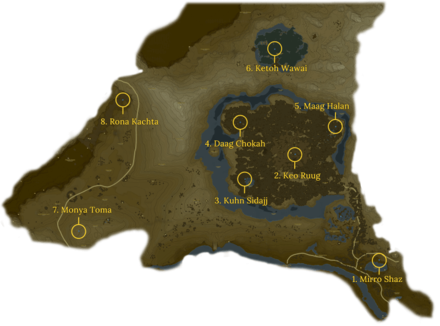
Shrines in Woodland Tower Region
Woodland Tower Region Shrines
| Woodland Region Shrine Map |
|---|
 Enlarge EnlargeView Full Map Image |
| Shrine Number | Shrine | Overview |
|---|---|---|
| 1 |
 Enlarge Enlarge |
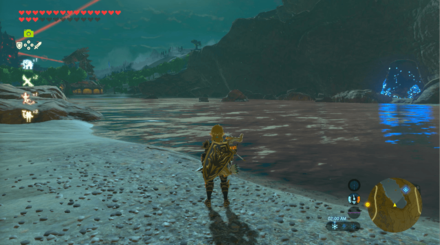
Trial: Tempered Power Location: Woodland Stable, Woodland Region Rewards: ・Iron Sledgehammer ・ Iron Sledgehammer ・ Giant Ancient Core |
| 2 |
 Enlarge Enlarge |
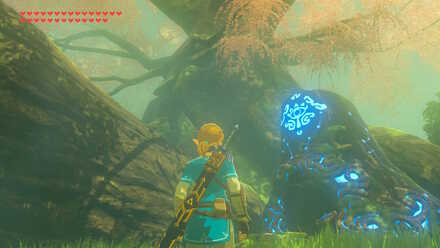
Trial: Fateful Stars Location: Korok Forest, Woodland Region Rewards: ・Knight's Claymore |
| 3 |
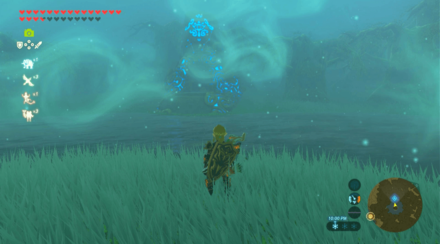 Enlarge Enlarge |
Trial: Kuhn Sidajj's Blessing Requirements: Start The Hero's Sword and The Korok Trials Shrine Quest: Trial of Second Sight Location: Lake Saria, Woodland Region Rewards: ・Giant Ancient Core |
| 4 |
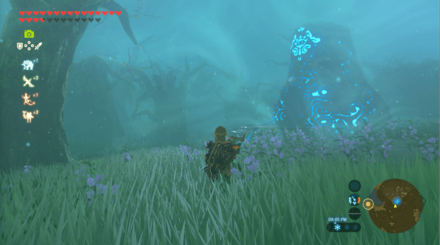 Enlarge Enlarge |
Trial: Daag Chokah's Blessing Requirements: Start The Hero's Sword and The Korok Trials Shrine Quest: The Lost Pilgrimage Location: Korok Forest, Woodland Region Rewards: ・Ancient Core |
| 5 |
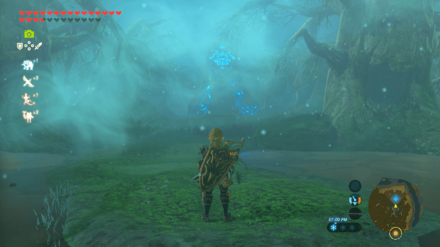 Enlarge Enlarge |
Trial: Maag Halan's Blessing Requirements: Start The Hero's Sword and The Korok Trials Shrine Quest: The Test of Wood Location: Mido Swamp, Woodland Region Rewards: ・Giant Ancient Core |
| 6 |
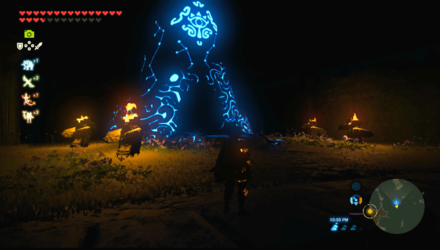 Enlarge Enlarge |
Trial: Ketoh Wawai's Blessing Shrine Quest: Shrouded Shrine Location: Typhlo Ruins, Woodland Region Rewards: ・Ancient Core |
| 7 |
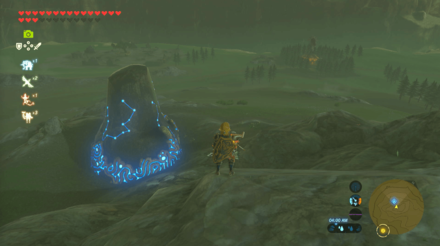 Enlarge Enlarge |
Trial: Drawing Parabolas Location: Salari Hills, Woodland Region Rewards: ・Thunderblade |
| 8 |
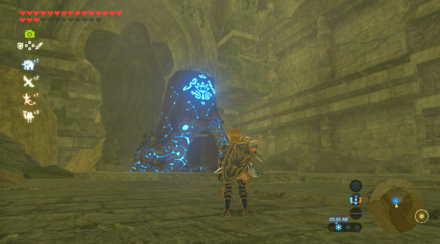 Enlarge Enlarge |
Trial: Rona Kachta's Blessing Location: Forgotten Temple, Woodland Region Rewards: ・Great Flameblade |
| ▲ Back to All Shrines by Tower Region ▲ | ||
Shrines Map and All Shrine Locations
Shrines in Hateno Tower Region
Hateno Tower Region Shrines
| Hateno Region Shrine Map |
|---|
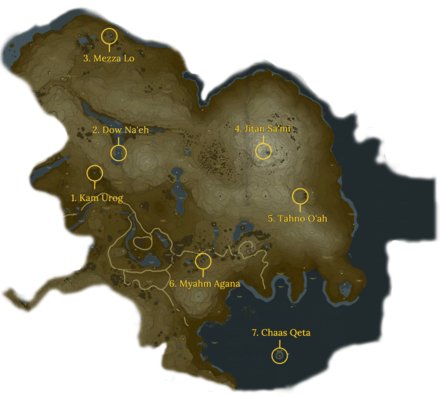 Enlarge EnlargeView Full Map Image |
| Shrine Number | Shrine | Overview |
|---|---|---|
| 1 |
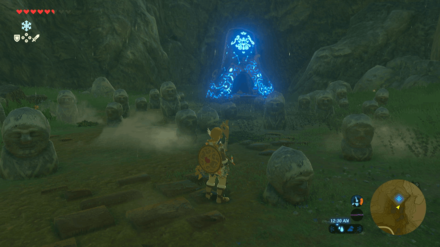 Enlarge Enlarge |
Trial: Trial of Passage Shrine Quest: The Cursed Statue Location: Robred Dropoff / Ovli Plains, Hateno Region Rewards: ・Opal ・ Soldier's Spear |
| 2 |
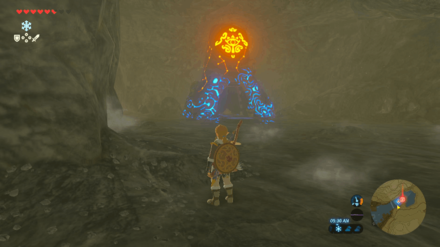 Enlarge Enlarge |
Trial: Three Boxes Location: Lanayru Promenade, Hateno Region Rewards: ・Zora Sword ・ Amber ・ Opal |
| 3 |
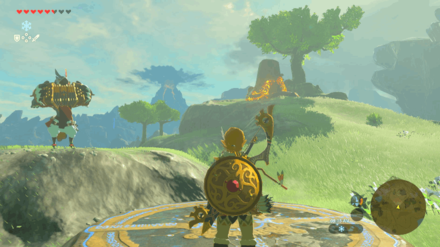 Enlarge Enlarge |
Trial: Ancient Trifecta Shrine Quest: The Crowned Beast Location: Rabia Plain, Hateno Region Rewards: ・Thunderblade |
| 4 |
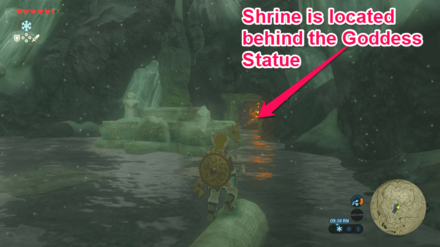 Enlarge Enlarge |
Trial: Jitan Sa'mi's Blessing Requirements: Cold Resistance Level 2 Shrine Quest: The Spring of Wisdom Location: Spring of Wisdom, Hateno Region Rewards: ・Frostspear |
| 5 |
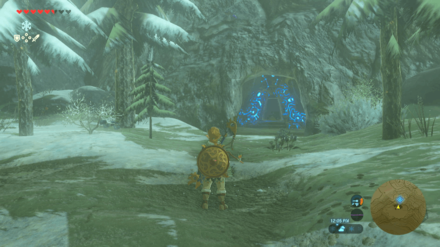 Enlarge Enlarge |
Trial: Tahno O'ah's Blessing Requirements: Cold Resistance Level 2 Shrine Quest: Secret of the Cedars Location: Lanayru Range, Hateno Region Rewards: ・Climbing Boots |
| 6 |
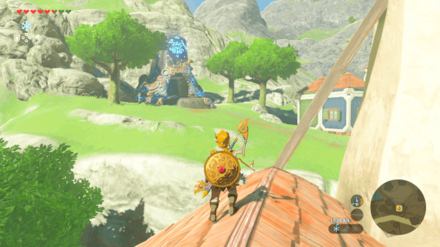 Enlarge Enlarge |
Trial: Myahm Agana Apparatus Location: Hateno Village, Hateno Region Rewards: ・Phrenic Bow |
| 7 |
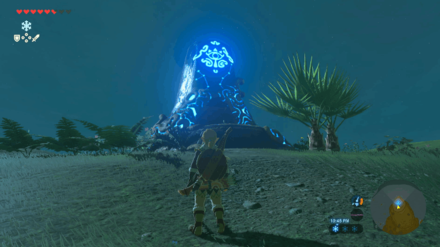 Enlarge Enlarge |
Trial: A Major Test of Strength Location: Tenoko Island, Hateno Region Rewards: ・Climbing Gear |
| ▲ Back to All Shrines by Tower Region ▲ | ||
Shrines Map and All Shrine Locations
Quests in Hateno Tower Region
Main Quests
| No quests to display in this region. |
Side Quests
| Quest | Type | Quest Giver & Location |
|---|---|---|
| The Hero's Cache | Side Quest | Kass Kitano Bay |
| Slated for Upgrades | Side Quest | Purah Hateno Ancient Tech Lab |
| Sunshroom Sensing | Side Quest | Symin Hateno Ancient Tech Lab |
| The Sheep Rustlers | Side Quest | Koyin Hateno Village |
| The Weapon Connoisseur | Side Quest | Nebb Hateno Village |
| A Gift for My Beloved | Side Quest | Manny Hateno Village |
| The Statue's Bargain | Side Quest | Horned Statue Hateno Village |
| Hylian Homeowner | Side Quest | Bolson Hateno Village |
| From the Ground Up | Side Quest | Hudson Hateno Village |
| Robbie's Research | Side Quest | Purah Hateno Ancient Tech Lab |
Shrine Quests
| Quest | Type | Quest Giver & Location |
|---|---|---|
| The Crowned Beast | Shrine Quest | Kass Rabia Plain |
| The Spring of Wisdom | Shrine Quest | Medda Hateno Village |
| The Cursed Statue | Shrine Quest | Calip Fort Hateno |
| Secret of the Cedars | Shrine Quest | Clavia Hateno Village |
DLC Quests
| No quests to display in this region. |
All Locations in Hateno Tower Region
| Zelkoa Pond | Walnot Mountain | Trotter's Downfall | Tenoko Island |
| Spring of Wisdom | Solewood Range | Retsam Forest | Rabia Plain |
| Quatta's Shelf | Purifier Lake | Pierre Plateau | Phalian Highlands |
| Peak of Awakening | Ovli Plain | Nirvata Plateau | Nirvata Lake |
| Naydra Snowfield | Midla Woods | Marblod Plain | Mapla Point |
| Madorna Mountain | Loshlo Harbor | Lanayru Road - West Gate | Lanayru Road - East Gate |
| Lanayru Range | Lanayru Promenade | Lanayru Heights | Lanayru Bluff |
| Lake Sumac | Lake Jarrah | Kitano Bay | Hateno Beach |
| Hateno Bay | Ginner Woods | Fort Hateno | Firly Plateau |
| Fir River | Ebon Mountain | Deepback Bay | Cliffs of Quince |
| Camphor Pond | Afromsia Coast |
Zelda: BotW Related Guides

Points of Interest
| All Maps and Locations | |
|---|---|
| Shrines | Stables |
| Great Fairy Fountains | Korok Seeds |
Tower Regions
Author
The Legend of Zelda: Breath of the Wild Walkthrough & Guides Wiki
Hateno Tower Region: Korok Seed Map, Shrines, and Quests
Rankings
- We could not find the message board you were looking for.
Gaming News
Popular Games

Genshin Impact Walkthrough & Guides Wiki

Honkai: Star Rail Walkthrough & Guides Wiki

Umamusume: Pretty Derby Walkthrough & Guides Wiki

Pokemon Pokopia Walkthrough & Guides Wiki

Resident Evil Requiem (RE9) Walkthrough & Guides Wiki

Monster Hunter Wilds Walkthrough & Guides Wiki

Wuthering Waves Walkthrough & Guides Wiki

Arknights: Endfield Walkthrough & Guides Wiki

Pokemon FireRed and LeafGreen (FRLG) Walkthrough & Guides Wiki

Pokemon TCG Pocket (PTCGP) Strategies & Guides Wiki
Recommended Games

Diablo 4: Vessel of Hatred Walkthrough & Guides Wiki

Cyberpunk 2077: Ultimate Edition Walkthrough & Guides Wiki

Fire Emblem Heroes (FEH) Walkthrough & Guides Wiki

Yu-Gi-Oh! Master Duel Walkthrough & Guides Wiki

Super Smash Bros. Ultimate Walkthrough & Guides Wiki

Pokemon Brilliant Diamond and Shining Pearl (BDSP) Walkthrough & Guides Wiki

Elden Ring Shadow of the Erdtree Walkthrough & Guides Wiki

Monster Hunter World Walkthrough & Guides Wiki

The Legend of Zelda: Tears of the Kingdom Walkthrough & Guides Wiki

Persona 3 Reload Walkthrough & Guides Wiki
All rights reserved
© 2020 Nintendo. The Legend of Zelda, Wii U, and Nintendo Switch are trademarks of Nintendo.
The copyrights of videos of games used in our content and other intellectual property rights belong to the provider of the game.
The contents we provide on this site were created personally by members of the Game8 editorial department.
We refuse the right to reuse or repost content taken without our permission such as data or images to other sites.


![Monster Hunter Stories 3 Review [First Impressions] | Simply Rejuvenating](https://img.game8.co/4438641/2a31b7702bd70e78ec8efd24661dacda.jpeg/thumb)


