Free the Divine Beasts Walkthrough
★ Sequel: Tears of the Kingdom Guide here!
★ Get a head start with our Beginner's Guide
┗ The Best Recipes to Cook | Rupee Farming
★ Shrines Locations | Korok Seeds Locations
★ Explore after the story with our Post Game Guide

This is a guide to the Main Quest, Free the Divine Beasts, in The Legend of Zelda: Breath of the Wild. Here you can find a quest walkthrough, where to start "Free the Divine Beasts" and all quest rewards.
List of Contents
How to Start Free the Divine Beasts
Free the Divine Beasts Location
| Quest Giver | Impa |
|---|---|
| Location | Kakariko Village |
| Region | Dueling Peaks |
Upon completing the quest Seek Out Impa, and learning the story of the fall of Hyrule, Impa tells you to free the Divine Beasts across Hyrule before you set out to defeat Calamity Ganon.
Free the Divine Beasts Walkthrough
Guide Overview
|
|
You are free to pursue the Divine Beasts in any order, but we recommend following the listed order, as it is the best way to get stronger. The difficulty increases with each Divine Beast, with Vah Ruta in Zora's Domain being the simplest one.
Free Divine Beast Vah Ruta in Zora's Domain
We recommend going for the nearest Divine Beast from Kakariko Village, which can be found by going to Zora's Domain in the Lanayru Tower Region.
Get to Zora's Domain
| Objectives | Guide | |
|---|---|---|
| 1 | 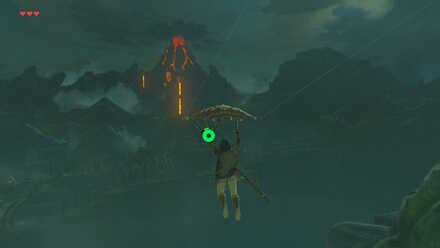 Paraglide to Lanayru (Short Route) |
Short Route: From Kakariko Village, you can paraglide your way to the next region, Lanayaru. Stock up on stamina-restoring elixirs if your stamina gauge is small to be sure to reach the cliffs! |
 Go Around West Necluda (Long Route) |
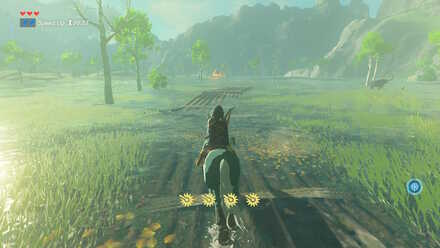
Long Route: You can also go around West Necluda, by turning right from Proxim Bridge and following the path. You can continue the path until you reach Zora River, or you can go straight through the swamps by leaving from the back entrance of Kakariko Village. This route will allow you to find stables and shrines along the way. |
|
 Visit the Stables (Optional) |
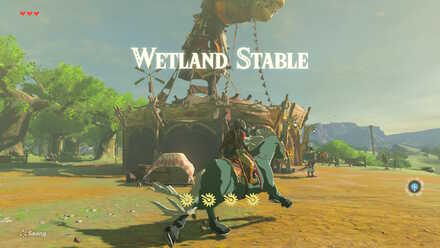
Optional: If you choose the long route, you can find Riverside Stable along the way. You can talk to Gotter here to do the A Royal Recipe side quest. Along the paths past the swamps you can also find Wetland Stable. Here, you can talk to Izra to do the Riverbed Reward side quest. Nearby: ・Wahgo Katta Shrine (Riverside Stable) ・Kaya Wan Shrine (Wetland Stable) |
|
| 2 | 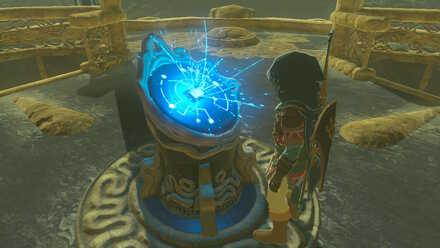 Activate Lanayru Tower |
Be wary of the monsters around the tower, as they are stronger compared to the ones you have previously fought. Climb the tower and activate it, making the region of Lanayru available on your map.
Nearby: Soh Kofi Shrine |
| 3 |  Speak with Sidon at Inogo Bridge |
You will meet various Zoras along the way, who all ask you to meet Prince Sidon at Inogo Bridge. Go to the bridge to speak with Sidon, the Zora prince. |
| 4 | 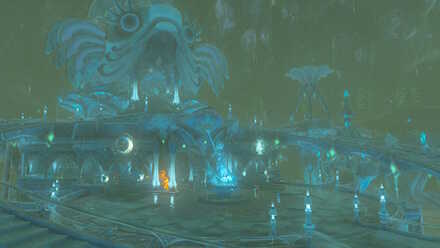 Reach Zora's Domain |
Follow the lit paths to reach Zora's Domain. Replenish your equipment and prepare elixirs as you will face waves of monsters. Some enemies will have electric attacks, so cook dishes with shock-resistant properties. ・ Reach Zora's Domain Walkthrough and Guide |
| 5 | 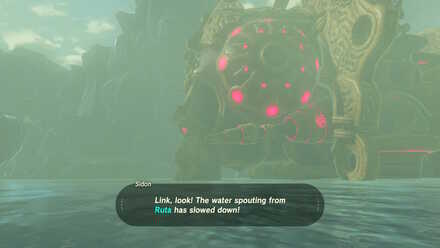 Free Divine Beast Vah Ruta |
With the aid of Sidon it is time to stock up on shock arrows and take over Vah Ruta.
・ Divine Beast Vah Ruta Quest Guide ・Waterblight Ganon Boss Guide |
Free Divine Beast Vah Rudania in Death Mountain
Prepare your Rupees and materials, because the next area in the Tower Region of Eldin requires you to have protection against the scorching heat of Death Mountain.
Get to Death Mountain and Goron City
| 6 | 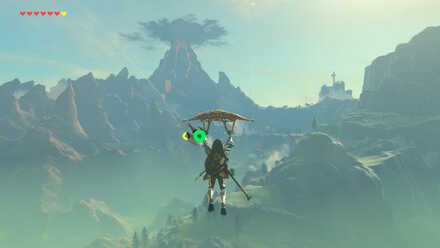 Get to Eldin |
North of Lanayru Wetlands is the region of Eldin. The fastest way to get there is to paraglide from Lanayru Tower, then walk on foot until you reach the foot of the mountain. |
|---|---|---|
| 7 | 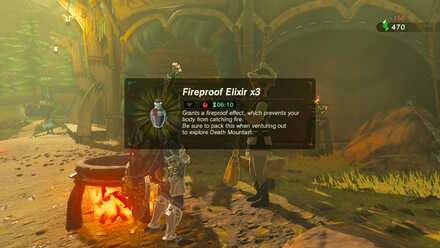 Prepare Fireproof Elixirs |
Just before the mountain entrance is the Foothill Stable. You can talk to Gaile to buy Fireproof Elixirs from her. Be sure to bring at least three. You can also talk to Mayro to unlock the A Landscape of a Stable shrine quest. Nearby: Mo'a Keet Shrine |
| 8 | 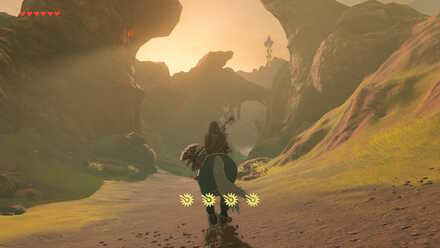 Enter the Maw of Death Mountain |
At the entrance, the heat is still tolerable. Do not consume the elixirs yet. Upon entering this area, you will be facing new enemies with fire properties. Be careful of the Stalmoblin which appear at night, because they can one-hit you. |
 Defeat the Guardian Stalker (Optional) |
Optional: A Guardian Stalker will be at the arch. You can defeat it by shooting its eye to stun it. You should receive an Ancient Arrow from Beedle beforehand to one-shot the Guardian in the eye. | |
| 9 | 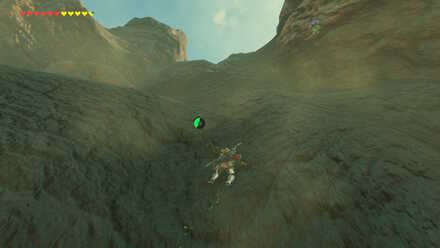 Turn Left and Climb the Mountain (Short Route) |
At the arch, you can turn left to see a way to climb up. Climbing up that way will directly lead you to Eldin Tower. Make sure you bring stamina-recovery food or potions for the trip up. |
 Follow the Path Up the Mountain (Long Route) |
You can also opt to follow the path that leads to Goron City. This way, you will be able to find Ore Deposits, and face more enemies. | |
| 10 | 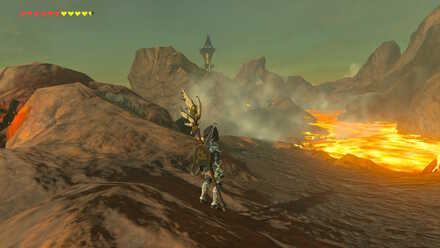 Get to Eldin Tower |
It will get hotter deeper in the mountain. At this point, wooden equipment will start to burn. You can also roast food by dropping them on the ground. The path also abruptly stops because of a cliff. If you are riding a horse, they cannot go past this point. |
| 11 | 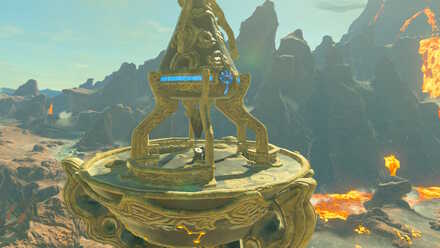 Activate Eldin Tower |
Climb up to the tower and activate it to reveal the map of Eldin, including Death Mountain. This will help you on your way to Goron City. |
 Defeat the Guardian Stalker (Optional) |
Optional: Another Guardian Stalker can be found near the tower. You can make your way around instead to avoid it, or fight it head on to get materials. | |
| 12 | 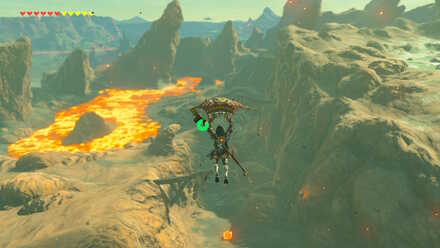 Get Past Goronbi River |
Now begins the actual trip to Goron City. More enemies, including Rock Octoroks can be found.
Nearby: Qua Raym Shrine |
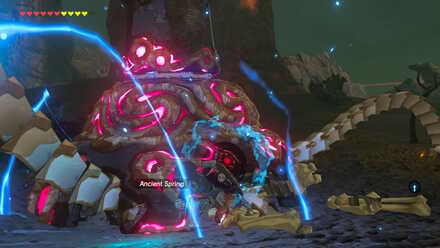
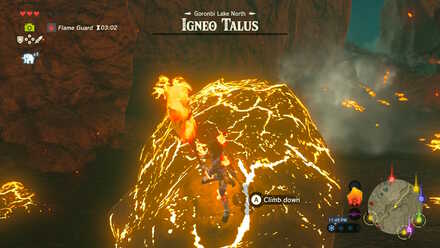 Defeat Igneo Talus (Optional) |
Optional: Past the river is a cave-like area, where a strong monster called Igneo Talus appears. You cannot hit him with weapons, as you need to aim at the ore on his back to defeat him. Note that battling it will take precious time, depleting your Fireproof Elixir timer. If you are not prepared, you can flee and take another path on the cliff instead. |
|
| 13 | 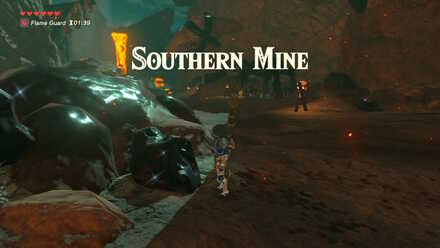 Get Past the Southern Mine |
Reach Southern Mine, where you can find a lot of Ore Deposits. There is an Iron Sledgehammer that you can pick up to break the ores. There is also a cooking pot if you need to replenish on food and elixirs. |
 Complete a Side Quest for Fireproof Armor (Optional) |
Optional: You can talk to Kima, a Hylian, and complete his quest, Fireproof Lizard Roundup, to get the Flamebreaker Armor, which is fireproof. This will make your travels through Death Mountain a lot easier. This will also save you rupees since you need at least 2 fireproof gear to enter Rudania, so we highly recommend it! | |
| 14 | 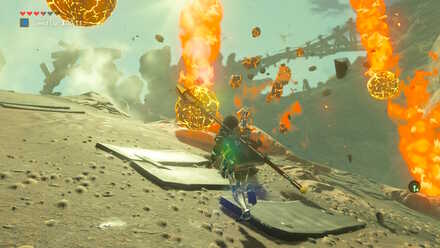 Dodge the Magma Bombs |
Past the mines, you will be able to see the city in the distance. Watch Out: Just before the entrance, magma bombs will fall down from the sky, dealing great damage, so dodge them well. |
| 15 | 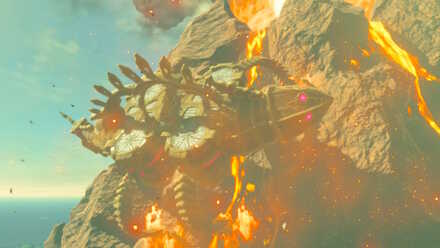 Free Divine Beast Vah Rudania |
At Goron City, talk to Bludo and take care of Divine Beast Vah Rudania. If you still do not have fireproof armor, turn right at the city entrance to buy the Flamebreaker Armor at the armor shop, you will need at least 2 armor pieces. ・ Divine Beast Vah Rudania Quest Guide |
Divine Beast Vah Medoh in Hebra Mountains
At this point, there are multiple ways to get to Rito Village in Hebra Mountains. You can go west from Eldin, or you can go northwest from the Great Plateau. We recommend going on horseback for the long trip between regions.
First Route to Hyrule Ridge
| How to Get to Hyrule Ridge From Death Mountain | ||
|---|---|---|
| 16 | 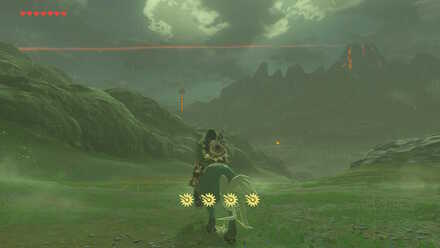 Get to Woodland |
From the edge of Death Mountain, you can paraglide to the west into the region of the Woodland Tower. You can also take the road on a horse to reach the next area. |
 Visit Woodland Stable (Optional) |
Optional: Along the path to Woodland is a stable. You can talk to Shamae for the Balloon Flight side quest.
Nearby: Mirro Shaz Shrine |
|
| 17 | 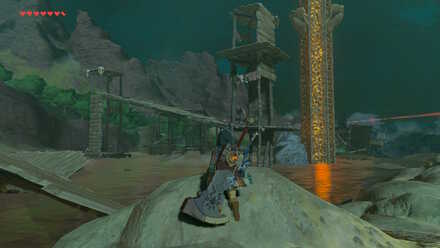 Get to Woodland Tower |
Woodland Tower is at the top of a military camp inhabited by monsters, so you should be ready with your equipment. Around the tower is a bog, and you will sink if you stay too long. Use Cryonis to get through. |
| 18 | 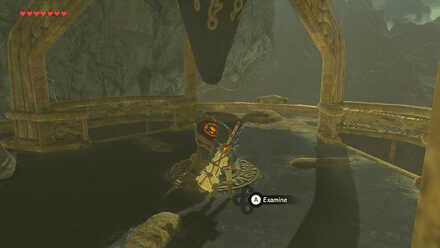 Activate Woodland Tower |
Follow the platforms to the tower while killing monsters along the way. Beware of the Decayed Guardian along the path, but you should be able to defend yourself as it is unable to move. Climb up, and activate the tower to gain access to the regional map. |
| 19 | 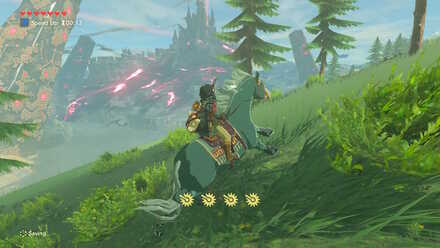 Go Through North of Hyrule Castle |
Continue west until you reach the path going to Hyrule Ridge. Watch Out: Stay as far away from the castle as possible, as there are Guardian Skywatchers around the area. |
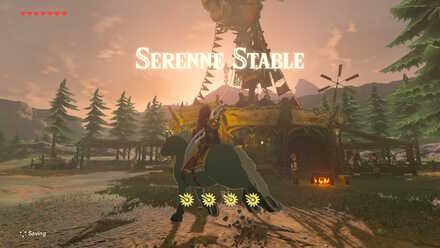 Visit Serene Stable (Optional) |
Optional: Far in the plains, you should be able to see Serene Stable. You can talk to Akrah for the Leviathan Bones side quest.
Nearby: Monya Toma Shrine |
|
| 20 |  Get to Ridgeland Tower |
Follow the path south and you will see Ridgeland Tower up ahead. |
Second Route to Hyrule Ridge
| How to Get to Hyrule Ridge From the Great Plateau | |||
|---|---|---|---|
| 16 | 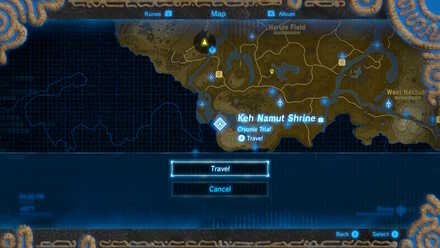 Fast-Travel to the Great Plateau |
From the Great Plateau, there are multiple routes to get to Hyrule Ridge, but the route described below is the fastest way. | |
| 17 | 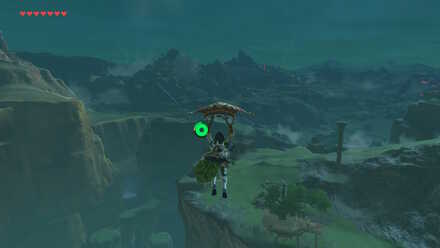 Paraglide to the North |
Paraglide from Keh Namut Shrine to get to the next region. The path will take you to the shortest and safest way to Hyrule Ridge. | |
 Visit Outskirt Stable (Optional) |
Optional: You should pass by Outskirt Stable just below the Plateau, where you can talk to Trott for the A Rare Find side quest, and Toffa for The Royal White Stallion side quest.
Nearby: Rota Ooh Shrine |
||
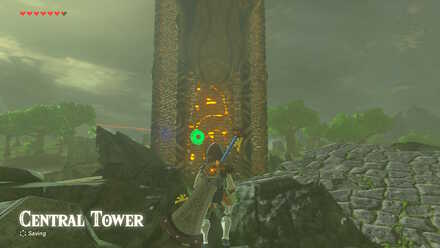 Activate the Central Tower (Optional) |
Optional: If you have not activated the the Central Tower yet, we recommend doing so, as this will make your way to Hyrule Ridge easier. Watch Out: You will encounter a Guardian Stalker and Decayed Guardians around the tower. It is possible to dodge and hide from their beams, but they make the climb a bit tricky. |
||
| 18 | 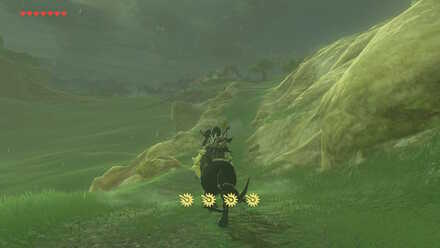 Follow the Path to the Hill |
Past Outskirt Stable, turn left to cross Manhala Bridge. In the next intersection, turn right to Safula Hill. Continue following the path north. | |
| 19 | 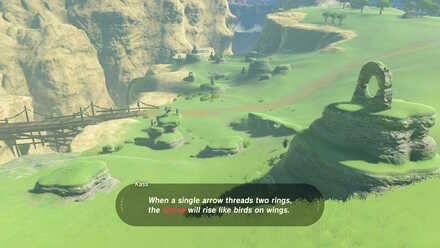 Get to West Hyrule Plains |
You will pass through Sanidin Park Ruins, and lastly Jeddo Bridge. Past that, you should be in the West Hyrule Plains. | |
| 20 | 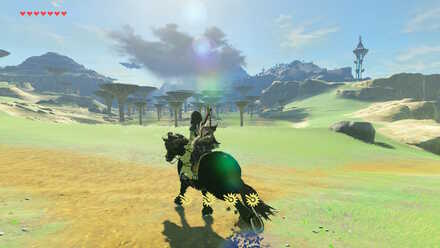 Get to Ridgeland Tower |
Up ahead is the tower. Go right, and follow the path to get there. You can also get off the road and climb the hill next to Ludfo's Bog to get there faster. | |
Get to Rito Village
| 21 |  Activate Ridgeland Tower |
The tower is at the center of a lake, surrounded by Lizalfos, but the Thunder Wizzrobes are the difficult part. Combat them with electric-resistant elixirs and armor. You can use Cryonis to get to the tower. There are mushroom-like structures which you can also stand on. If you want to avoid all that, you can also climb up the mountain nearby, and paraglide halfway up the tower. |
|---|---|---|
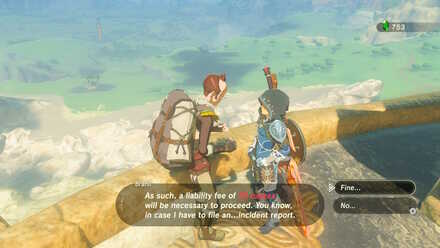 Take on Branli's Bird-Man Research (Optional) |
Optional: Up the tower you can talk to Branli to take on a gliding challenge. Reach far distances to get Rupees! | |
| 22 | 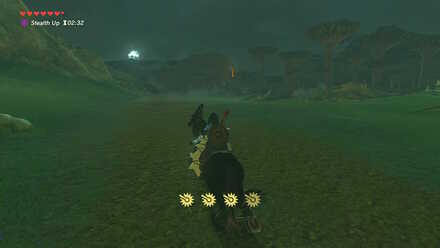 Follow the Path to Tabantha |
Follow the path to the west of Ludfo's Bog, and turn right at the end to reach the borders of Tabantha. |
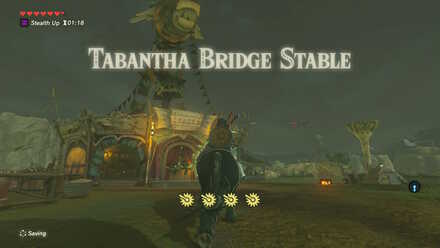 Visit Tabantha Bridge Stable (Optional) |
Optional: At the border of Tabantha Bridge Stable. You can talk to Toren for the A Gift for the Great Fairy side quest.
Nearby: Shae Loya Shrine |
|
| 23 | 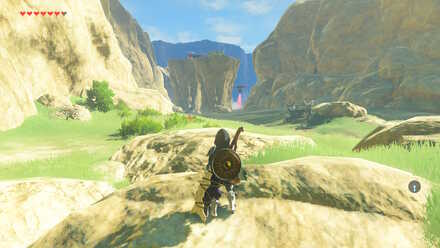 Cross the Tabantha Great Bridge |
Cross the bridge, and you will see Guardian Skywatchers along the path. If you are riding a horse, we recommend ditching the road temporarily and climb the mountains instead. Call your horse back when you are in a safe area. Nearby: Tena Ko'sah Shrine |
| 24 | 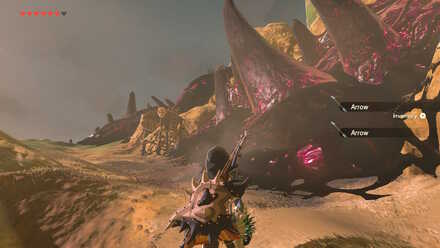 Get to Tabantha Tower |
On top of Nero Hill is Tabantha Tower. Climb up and defeat monsters along the way. If you are low on Arrows, grab the ones in the area along the way. This is essential to activate the tower. |
| 25 | 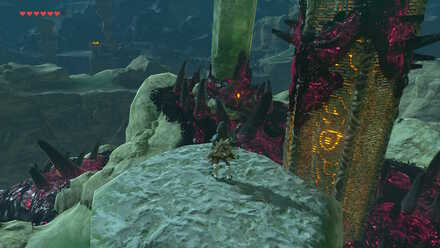 Get Rid of the Malice |
Surrounding the tower is black goo, or Ganon's malice. To climb the tower, you will need to get rid of the malice first. Climb on top of the upright pillar, and shoot the orange eyeball inside the nearby malice. |
| 26 | 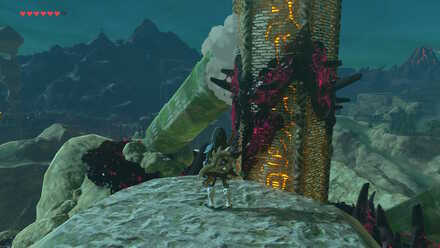 Activate Tabantha Tower |
The pillar holding the malice will fall, and you can climb that to get to the tower. Climb up and activate the tower to get the regional map.
Nearby: Great Fairy Kaysa Fountain |
| 27 | 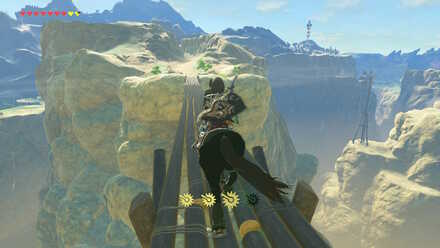 Cross Kolami Bridge |
Continue following the path up north and cross Kolami Bridge, and you will be near the village. |
 Defeat the Stone Talus (Optional) |
Optional: In the Kolami Bridge South, a Stone Talus will appear on the path. You can defeat it to get materials. | |
| 28 |  Free Divine Beast Vah Medoh |
Continue up north and you will reach the village. Note that you cannot bring horses inside the village. Go up the stairs on the hill to talk to Rito Village's elder, Kaneli. ・Divine Beast Vah Medoh Quest Guide |
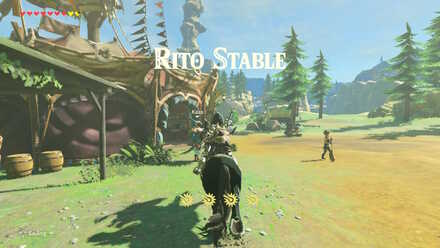 Visit Rito Stable (Optional) |
Optional: Just before the village is Rito Stable. You can talk to Lester for the Curry for What Ails You side quest. |
Divine Beast Vah Naboris in Gerudo Desert
Divine Beast Vah Naboris can be found in the harsh sands of Gerudo Desert. Prepare at least 600 Rupees for a new armor set needed to get in to Gerudo Town.
Get to Gerudo Town
| 29 | 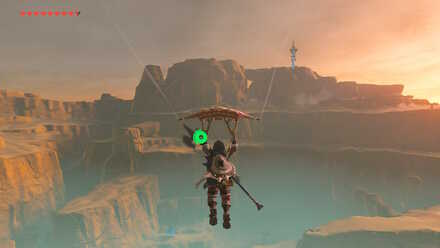 Glide from the Great Plateau (Short Route) |
From Keh Namut Shrine in the Great Plateau, glide southwest to get to the next region. You will also see the Wasteland Tower from afar. Pin that on your map for later access. |
|---|---|---|
 Take the Road from Outskirt Stable (Long Route) |
You can also start from Outskirt Stable if you have it on your map. Take a horse with you and follow the path to Digdogg Bridge. Beware of the Blue Hinox sleeping in between the bridges. |
|
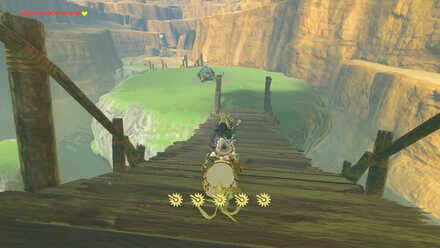
| 30 | 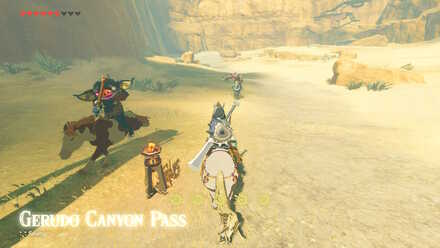 Enter Gerudo Canyon |
If you chose to glide down, there is a mob of Blue Bokoblins riding horses. Defeat them and you can take a horse for the journey. Enter the canyon, and follow the long path bordering Gerudo. Nearby: Jee Noh Shrine |
| 31 | 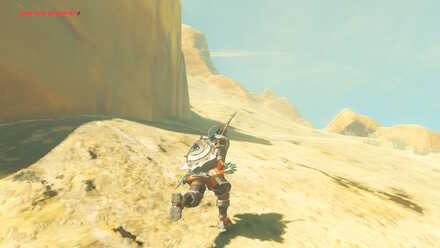 Get to Wasteland Tower |
Around the canyon, you can climb up to get to the Tower. If you are low on stamina, you can continue the path until you see a series of ladders and platforms that you can use to get higher up on the mountain. |
| 32 |  Activate Wasteland Tower |
The tower is surrounded by bog, so you can use Cryonis to build ice blocks to get to the tower. Aim for the slanted pillar, and regain your stamina before climbing up. There are less platforms than usual in this tower, so it will be a long climb up. Activate the tower to get the regional map. |
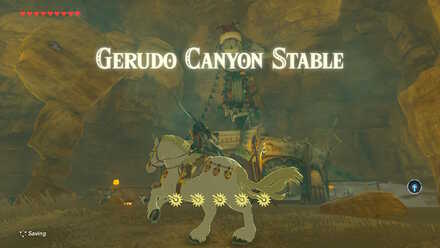 Visit Gerudo Canyon Stable |
You can pass by Gerudo Canyon Stable to prepare for the journey to Gerudo Town. Here, you can talk to Pirou for the Rushroom Rush! side quest, and Sesami for the Missing in Action side quest.
Nearby: Kay Noh Shrine |
|
| 33 | 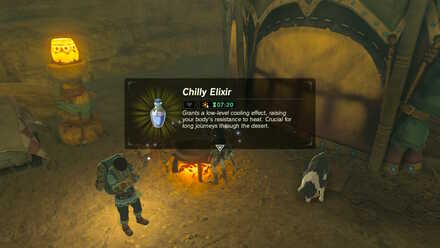 Prepare Heat and Cold Resistance Elixirs |
The temperature is intense deeper in the desert. At day it will be hot, so prepare Chilly Elixirs. At night it will be cold, so you should wear Cold-Resistant Armor like the Warm Doublet or the Snowquill Tunic. If you do not have them, prepare Spicy Elixirs instead. Tips: A merchant named Maypin will be around the stable selling darners needed to create the elixirs. |
| 34 | 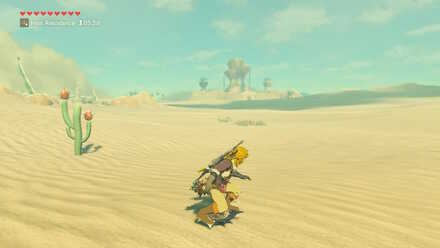 Go to Gerudo Town |
Horses cannot go past the gateway, so you will have to go on foot. To get there faster, you can shield surf. When you try to go in, the guards will stop you because men are not allowed inside. Nearby: Daqo Chisay Shrine |
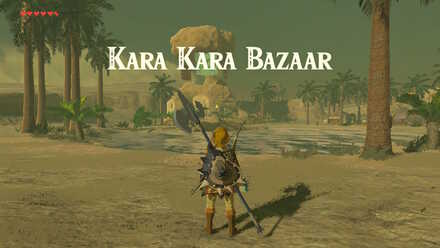 Pass by Kara Kara Bazaar |
You can pass by Kara Kara Bazaar on the way to the town. There, you can buy Hydromelons which can be cooked for heat resistance. This is also where one of the photos from the Captured Memories main quest can be recalled. |
|
| 35 | 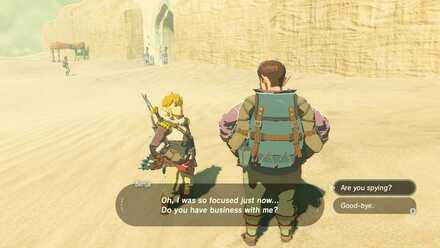 Talk to Benja the Merchant |
Just outside the entrance, you can find a merchant named Benja spying on the town. |
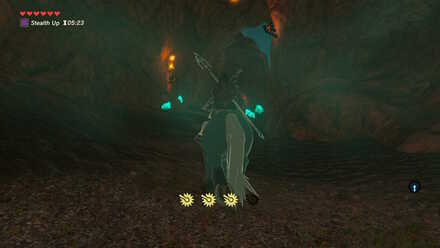
| 36 |  Get into Gerudo Town |
With the new quest unlocked, you will need to find a way to get into Gerudo Town.
・ Forbidden City Entry Quest Guide |
| 37 | 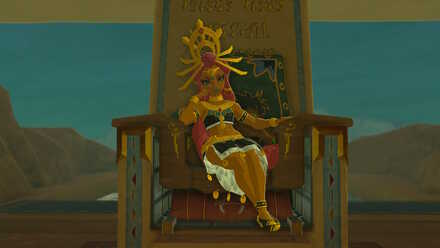 Free Divine Beast Vah Naboris |
After successfully sneaking into the town, go to the Palace to speak with Gerudo Chief, Riju.
・Divine Beast Vah Naboris Quest Guide |
Report to Impa
| 38 | 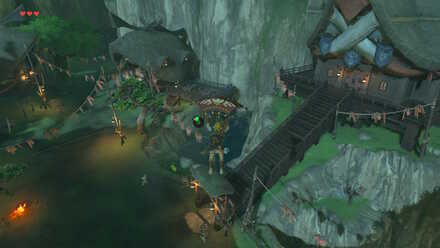 Go to Kakariko Village |
Fast-travel to Ta'loh Naeg Shrine to get to Kakariko Village. |
|---|---|---|
| 39 |  Talk to Impa |
Speak with Impa to finish the main quest. For the next quest, you can either go challenge Ganon, recover all Link's memories or pick up the Master Sword if you haven't already! ・Quest guides coming soon! |
Free the Divine Beasts Quest Rewards
| Free the Divine Beasts Quest Rewards | |
|---|---|
| Mipha's Grace | Daruk's Protection |
| Revali's Gale | Urbosa's Fury |
Adventure Log Entries
This is a full list of the Adventure Log entries for Free the Divine Beasts.
| Entry | Entry Text |
|---|---|
| Quest Start | There are four Divine Beasts that must be freed: -The Divine Beast Vah Rudania, piloted by Daruk of the Gorons -The Divine Beast Vah Medoh, piloted by Revali of the Rito -The Divine Beast Vah Ruta, piloted by Mipha of the Zora -The Divine Beast Vah Naboris, piloted by Urbosa of the Gerudo Each race's elder should have more details. |
| 1st Update | There are four Divine Beasts: - The Divine Beast Vah Rudania of the Gorons - The Divine Beast Vah Medoh of the Rito - The Divine Beast Vah Ruta of the Zora - The Divine Beast Vah Naboris of the Gerudo You've beaten the phantom of Ganon haunting one of the Divine Beasts. There are three left. |
| 2nd Update | There are four Divine Beasts: - The Divine Beast Vah Rudania of the Gorons - The Divine Beast Vah Medoh of the Rito - The Divine Beast Vah Ruta of the Zora - The Divine Beast Vah Naboris of the Gerudo You've beaten the phantom of Ganon haunting two of the Divine Beasts. There are two left. |
| 3rd Update | There are four Divine Beasts: - The Divine Beast Vah Rudania of the Gorons - The Divine Beast Vah Medoh of the Rito - The Divine Beast Vah Ruta of the Zora - The Divine Beast Vah Naboris of the Gerudo You've beaten the phantom of Ganon haunting three of the Divine Beasts. There is one left. |
| 4th Update | There are four Divine Beasts: - The Divine Beast Vah Rudania of the Gorons - The Divine Beast Vah Medoh of the Rito - The Divine Beast Vah Ruta of the Zora - The Divine Beast Vah Naboris of the Gerudo You've reclaimed the four Divine Beasts by defeating the four Ganon phantoms haunting them. You should let Impa know of your success. |
| Quest Clear | There are four Divine Beasts: - The Divine Beast Vah Rudania of the Gorons - The Divine Beast Vah Medoh of the Rito - The Divine Beast Vah Ruta of the Zora - The Divine Beast Vah Naboris of the Gerudo You've claimed the four Divine Beasts by defeating the four Ganon phantoms haunting them. You are ready to face Ganon. |
Zelda: BotW Related Guides

Main Quest Guides
Quests by Type
| BotW Quest Types | |||
|---|---|---|---|
| Main Quests | Side Quests | ||
| Shrine Quests | DLC Quests | ||
Author

The Legend of Zelda: Breath of the Wild Walkthrough & Guides Wiki
Free the Divine Beasts Walkthrough
Rankings
- We could not find the message board you were looking for.
Gaming News


![Monster Hunter Stories 3 Review [First Impressions] | Simply Rejuvenating](https://img.game8.co/4438641/2a31b7702bd70e78ec8efd24661dacda.jpeg/thumb)
Popular Games

Genshin Impact Walkthrough & Guides Wiki
Honkai: Star Rail Walkthrough & Guides Wiki
Umamusume: Pretty Derby Walkthrough & Guides Wiki
Pokemon Pokopia Walkthrough & Guides Wiki
Resident Evil Requiem (RE9) Walkthrough & Guides Wiki
Monster Hunter Wilds Walkthrough & Guides Wiki
Wuthering Waves Walkthrough & Guides Wiki
Arknights: Endfield Walkthrough & Guides Wiki
Pokemon FireRed and LeafGreen (FRLG) Walkthrough & Guides Wiki
Pokemon TCG Pocket (PTCGP) Strategies & Guides Wiki


Recommended Games
Diablo 4: Vessel of Hatred Walkthrough & Guides Wiki
Cyberpunk 2077: Ultimate Edition Walkthrough & Guides Wiki
Fire Emblem Heroes (FEH) Walkthrough & Guides Wiki
Yu-Gi-Oh! Master Duel Walkthrough & Guides Wiki
Super Smash Bros. Ultimate Walkthrough & Guides Wiki
Pokemon Brilliant Diamond and Shining Pearl (BDSP) Walkthrough & Guides Wiki
Elden Ring Shadow of the Erdtree Walkthrough & Guides Wiki
Monster Hunter World Walkthrough & Guides Wiki
The Legend of Zelda: Tears of the Kingdom Walkthrough & Guides Wiki
Persona 3 Reload Walkthrough & Guides Wiki


All rights reserved
© 2020 Nintendo. The Legend of Zelda, Wii U, and Nintendo Switch are trademarks of Nintendo.
The copyrights of videos of games used in our content and other intellectual property rights belong to the provider of the game.
The contents we provide on this site were created personally by members of the Game8 editorial department.
We refuse the right to reuse or repost content taken without our permission such as data or images to other sites.