Ridgeland Tower Region: Korok Seed Map, Shrines, and Quests
★ Sequel: Tears of the Kingdom Guide here!
★ Get a head start with our Beginner's Guide
┗ The Best Recipes to Cook | Rupee Farming
★ Shrines Locations | Korok Seeds Locations
★ Explore after the story with our Post Game Guide
This page is a map of the Ridgeland Tower Region in The Legend of Zelda: Breath of the Wild (BotW). Here you can find all Korok Seed locations in the Ridgeland Tower Region, as well as quests, shrines, and other locations.
List of Contents
Ridgeland Tower Region Korok Seed Map
Map of All Ridgeland Tower Korok Seeds
| Ridgeland Korok Seed Map |
|---|
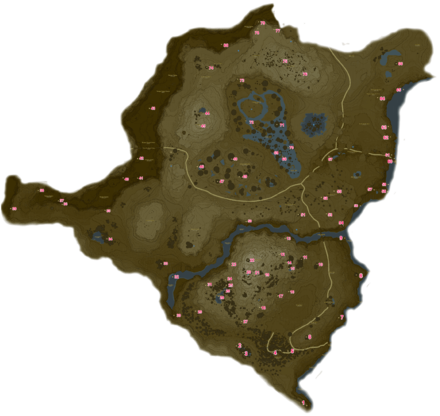 Enlarge EnlargeView Full Map Image |
How to Get All Ridgeland Koroks
| Total No. | Korok in Region | Solution & Video Link |
|---|---|---|
| 518 |
 Enlarge Enlarge |
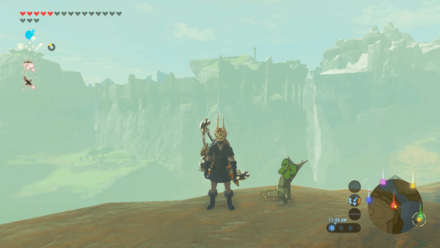
Rock
Pick up the rock to reveal the Korok. |
| 519 |
 Enlarge Enlarge |
One Acorn
Shoot the hanging acorn to reveal the Korok. |
| 520 |
 Enlarge Enlarge |
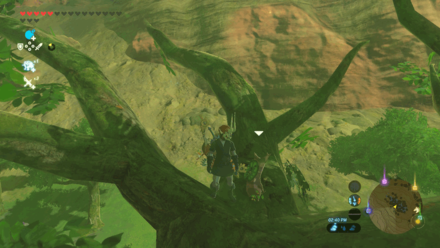
Rock
Climb up the tree to find a rock. Lift it up to reveal the Korok. |
| 521 |
 Enlarge Enlarge |
One Acorn
Shoot the hanging acorn to reveal the Korok. |
| 522 |
 Enlarge Enlarge |
Fruit Offering
Drop an apple on the statue. |
| 523 |
 Enlarge Enlarge |
Fruit Offering
Place an apple into the empty prayer bowl. |
| 524 |
 Enlarge Enlarge |
Rock
Pick up the rock to reveal the Korok. |
| 525 |
 Enlarge Enlarge |
Rock
Climb up the tree to find a rock. Lift it up to reveal the Korok. |
| 526 |
 Enlarge Enlarge |
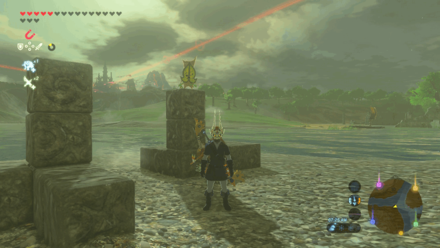
Metal Block
Pick up the metal cube underwater near the block pattern using Magnesis. Put the metal cube in the middle slot to complete the pattern. |
| 527 |
 Enlarge Enlarge |
One Acorn
Shoot the acorn hidden inside the tree's hollow. |
| 528 |
 Enlarge Enlarge |
One Acorn
Shoot the acorn hidden inside the tree's hollow. |
| 529 |
 Enlarge Enlarge |
Hidden Rock
Blow up some stone rubble with a Rune Bomb and pick up the rock from inside the rubble. |
| 530 |
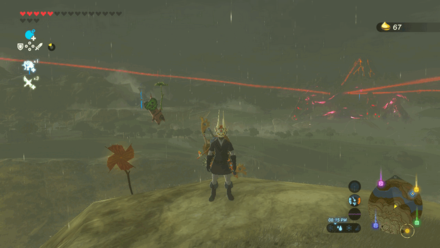 Enlarge Enlarge |
Pinwheel Balloon
Stand near the pinwheel and three balloons will appear. Shoot all of them for the Korok to show up. |
| 531 |
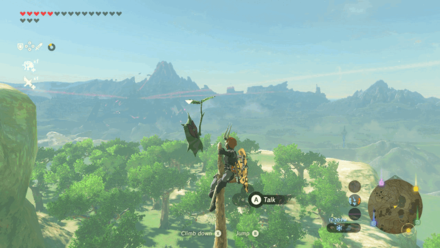 Enlarge Enlarge |
Peak Sparkles
Climb the three without leaves and the sparkle will appear. Interact with it to reveal the Korok. |
| 532 |
 Enlarge Enlarge |
Rock
Pick up the rock behind the tree stump to reveal the Korok. |
| 533 |
 Enlarge Enlarge |
Pinwheel Balloon
Stand near the pinwheel and balloons will appear. Shoot all of them for the Korok to show up. |
| 534 |
 Enlarge Enlarge |
One Acorn
Shoot the acorn hidden in the log to reveal the Korok. |
| 535 |
 Enlarge Enlarge |
Hidden Rock
Use Stasis on the big rock and hit it with any weapon. Release the Stasis to blast it away. Pick up the rock that was buried and reveal the Korok. |
| 536 |
 Enlarge Enlarge |
Timed Ring
Step on the tree stump with a leaf mark on it and it'll point out the direction of the ring where you'll need to reach it in time to reveal the Korok. |
| 537 |
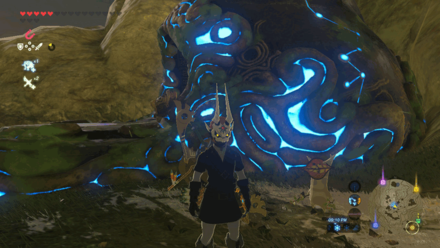 Enlarge Enlarge |
Hidden Rock
Hit the pile of leaves next to the shrine with any weapon and lift the stone buried in it to reveal the Korok. |
| 538 |
 Enlarge Enlarge |
Follow the Flowers
Chase the yellow flower which teleports from place to place until it becomes a white flower, then the Korok appears. |
| 539 |
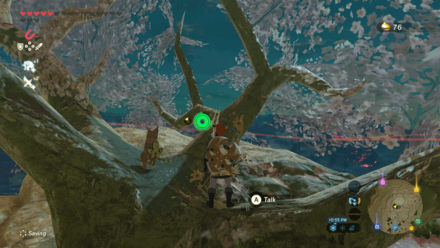 Enlarge Enlarge |
Rock
Climb the tree with pink leaves and lift the stone on top of it. |
| 540 |
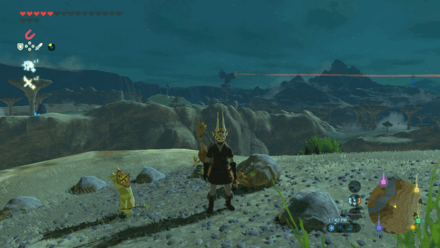 Enlarge Enlarge |
Rock Pattern
Pick up the rock hidden in the grass and put it in the spot of the pattern where its missing a rock. |
| 541 |
 Enlarge Enlarge |
Hidden Rock
Blow up some stone rubble with a Rune Bomb and pick up the rock from inside the rubble. |
| 542 |
 Enlarge Enlarge |
Numbered Flowers
Light the thorns surrounding the middle tree stump on fire to gain access to the four flowers. Walk towards the flowers in order from one to five with four being at the top of the tree stump. |
| 543 |
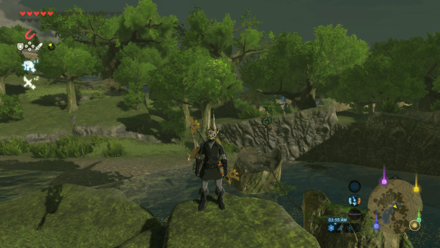 Enlarge Enlarge |
Chained Ball
Use Magnesis to put the metal boulders tied with chains to a nearby tree stump with a hole. |
| 544 |
 Enlarge Enlarge |
Rock Pit
Roll down the big boulder down the hill towards the hole. For it to not pass the hole, use Stasis and hit it towards the direction of the hole. |
| 545 |
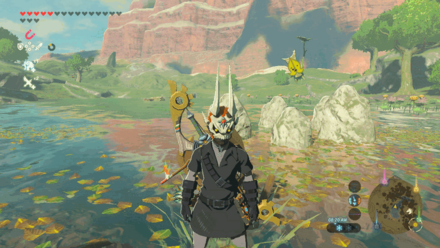 Enlarge Enlarge |
Rock Circle
Shoot a stone inside the circle rock formation in the middle of the water to reveal the Korok. |
| 546 |
 Enlarge Enlarge |
Hidden Rock
Destroy the leaf pile and lift up the rock that was buried beneath it. |
| 547 |
 Enlarge Enlarge |
Rock
The rock is behind a small rock formation. Lift it up to reveal the Korok. |
| 548 |
 Enlarge Enlarge |
Hidden Rock
Destroy the leaf pile and lift up the rock that was buried beneath it. |
| 549 |
 Enlarge Enlarge |
Rock
The rock is on top of another rock in the middle of the river. Lift it up to reveal the Korok. |
| 550 |
 Enlarge Enlarge |
One Balloon
Shoot the balloon on top of the big tree to reveal the Korok. |
| 551 |
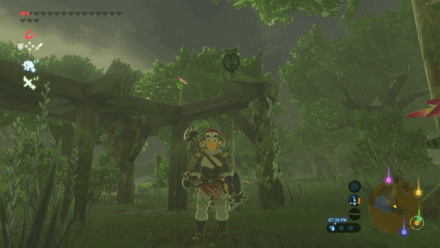 Enlarge Enlarge |
Numbered Flowers
Walk through the flowers from one to five to reveal the Korok. |
| 552 |
 Enlarge Enlarge |
Rock
Pick up the rock to reveal the Korok. |
| 553 |
 Enlarge Enlarge |
Timed Ring
Step on the tree stump with a leaf mark on it and it'll point out the direction of the ring where you'll need to reach it in time to reveal the Korok. |
| 554 |
 Enlarge Enlarge |
One Acorn
Shoot the acorn to reveal the Korok. |
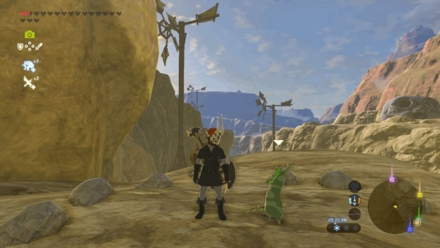
| 555 |
 Enlarge Enlarge |
Rock Pattern
Pick up the rock at the corner and put it in the spot of the pattern where its missing a rock. |
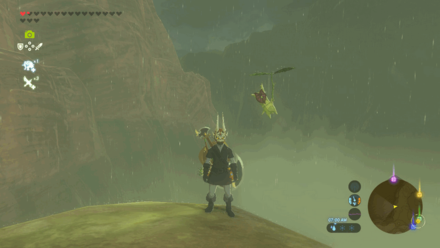
| 556 |
 Enlarge Enlarge |
Pinwheel Balloon
Stand near the pinwheel and balloons will appear. Shoot all of them for the Korok to show up. |
| 557 |
 Enlarge Enlarge |
Hidden Rock
Use Stasis on the flat slate and hit it with a weapon for it to blast away, revealing the stone beneath it. Lift up the stone to reveal the Korok. |
| 558 |
 Enlarge Enlarge |
Rock
The rock is behind big stone structures. Lift it up to reveal the Korok. |
| 559 |
 Enlarge Enlarge |
Metal Block
The metal cube can be found at the block pattern. Use Magnesis and match it with the other block pattern. |
| 560 |
 Enlarge Enlarge |
Peak Sparkles
Climb up the flagpole and interact with the sparkle to reveal the Korok. |
| 561 |
 Enlarge Enlarge |
Rock
Pick up the rock to reveal the Korok. |
| 562 |
 Enlarge Enlarge |
Rock
Pick up the rock to reveal the Korok. |
| 563 |
 Enlarge Enlarge |
Moving Sparkles
Chase the sparkle and interact with it to reveal the Korok. |
| 564 |
 Enlarge Enlarge |
Timed Ring
Step on the tree stump with a leaf mark on it and it'll point out the direction of the ring where you'll need to reach it in time to reveal the Korok. |
| 565 |
 Enlarge Enlarge |
One Balloon
Shoot the balloon to reveal the Korok. |
| 566 |
 Enlarge Enlarge |
One Balloon
Shoot the balloon to reveal the Korok. |
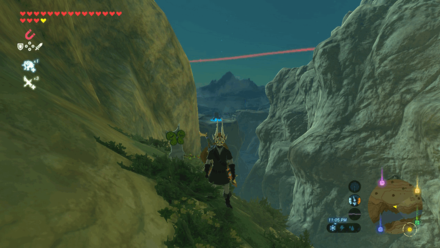
| 567 |
 Enlarge Enlarge |
Rock
Pick up the rock to reveal the Korok. |
| 568 |
 Enlarge Enlarge |
Fruit Match
Match the fruit of the left tree to the other two. The match needs to be the exact location, not the number of fruits in the tree. |
| 569 |
 Enlarge Enlarge |
Moving Sparkles
Chase and examine the moving sparkles. |
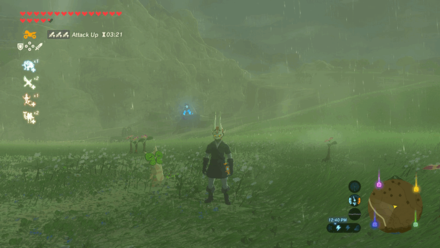
| 570 |
 Enlarge Enlarge |
Numbered Flowers
Walk through the flowers from one to five to reveal the Korok. |
| 571 |
 Enlarge Enlarge |
One Acorn
Shoot the acorn hidden inside the tree's hollow. |
| 572 |
 Enlarge Enlarge |
Hidden Rock
Use Stasis on the flat slate and hit it with a weapon for it to blast away, revealing the stone beneath it. Lift up the stone to reveal the Korok. |
| 573 |
 Enlarge Enlarge |
Rock
Pick up the rock to reveal the Korok. |
| 574 |
 Enlarge Enlarge |
One Balloon
Shoot the balloon to reveal the Korok. |
| 575 |
 Enlarge Enlarge |
Follow the Flowers
Follow the flowers up and along the side of the land bridge. |
| 576 |
 Enlarge Enlarge |
Rock Circle
Shoot a stone inside the circle rock formation in the middle of the water to reveal the Korok. |
| 577 |
 Enlarge Enlarge |
One Acorn
Shoot the acorn hidden inside the tree's hollow. |
| 578 |
 Enlarge Enlarge |
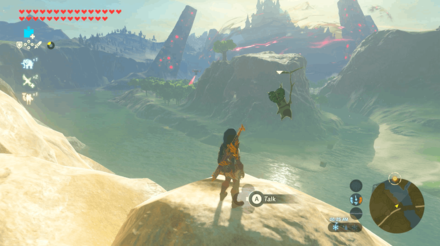
Timed Ring
Use Revali's Gale to reach the ring on the hill across the river. |
| 579 |
 Enlarge Enlarge |
Rock Pit
Roll down the big boulder down the hill towards the hole. |
| 580 |
 Enlarge Enlarge |
Metal Block
The metal cube can be found at the block pattern. Use Magnesis and match it with the other block pattern. |
| 581 |
 Enlarge Enlarge |
Follow the Flowers
Chase the yellow flower which teleports from place to place until it becomes a white flower, then the Korok appears. |
| 582 |
 Enlarge Enlarge |
Rock Circle
Shoot a stone inside the circle rock formation in the middle of the water to reveal the Korok. |
| 583 |
 Enlarge Enlarge |
Rock
Climb up the tree to find a rock. Lift it up to reveal the Korok. |
| 584 |
 Enlarge Enlarge |
Timed Ring
Step on the tree stump with a leaf mark on it and it'll point out the direction of the ring where you'll need to reach it in time to reveal the Korok. |
| 585 |
 Enlarge Enlarge |
Water Ring
Use Revali's Gale to reach the top of the tree-like structure and dive straight to the ring of plants to reveal the Korok. |
| 586 |
 Enlarge Enlarge |
Follow the Flowers
Chase the yellow flower which teleports from place to place until it becomes a white flower, then the Korok appears. |
| 587 |
 Enlarge Enlarge |
Timed Ring
Step on the tree stump with a leaf mark on it and it'll point out the direction of the ring where you'll need to reach it in time to reveal the Korok. |
| 588 |
 Enlarge Enlarge |
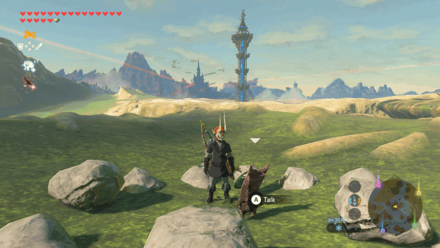
Rock Pattern
Place the nearby rocks to the spots to complete the rock pattern and reveal the Korok. |
| 589 |
 Enlarge Enlarge |
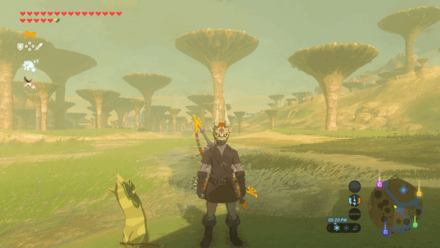
Moving Sparkles
Chase the sparkle and interact with it to reveal the Korok. |
| 590 |
 Enlarge Enlarge |
Hidden Rock
Use your Rune Bomb and blow up the stone rubble to reveal a rock. Lift the rock up to reveal the Korok. |
| 591 |
 Enlarge Enlarge |
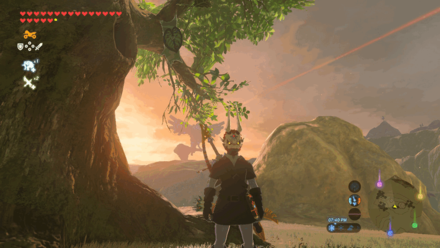
One Acorn
Shoot the acorn hidden inside the tree's hollow. |
| 592 |
 Enlarge Enlarge |
Peak Sparkles
Climb the three without leaves and the sparkle will appear. Interact with it to reveal the Korok. |
| 593 |
 Enlarge Enlarge |
Timed Ring
Step on the tree stump with a leaf mark on it and it'll point out the direction of the ring where you'll need to reach it in time to reveal the Korok. |
| 594 |
 Enlarge Enlarge |
Hidden Rock
Use your Rune Bomb and blow up the stone rubble to reveal a rock. Lift the rock up to reveal the Korok. |
| 595 |
 Enlarge Enlarge |
Rock
Lift the rock up to reveal the Korok. |
| 596 |
 Enlarge Enlarge |
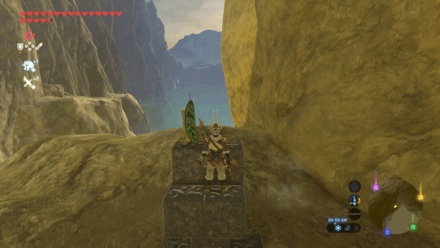
Metal Block
The metal cube can be found at the block pattern. Use Magnesis and match it with the other block pattern. |
| 597 |
 Enlarge Enlarge |
Rock Pattern
Place the nearby rock to the spot to complete the rock pattern and reveal the Korok. |
Korok Seeds Map and All Korok Seed Locations
Shrines in Woodland Tower Region
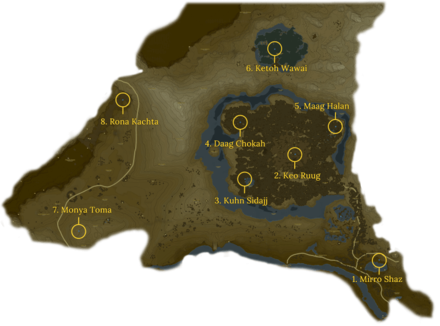
Woodland Tower Region Shrines
| Woodland Region Shrine Map |
|---|
 Enlarge EnlargeView Full Map Image |
| Shrine Number | Shrine | Overview |
|---|---|---|
| 1 |
 Enlarge Enlarge |
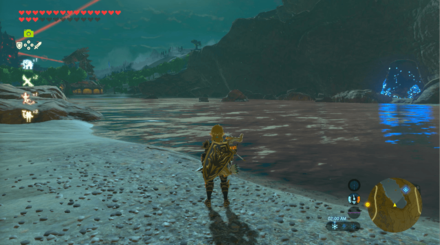
Trial: Tempered Power Location: Woodland Stable, Woodland Region Rewards: ・Iron Sledgehammer ・ Iron Sledgehammer ・ Giant Ancient Core |
| 2 |
 Enlarge Enlarge |
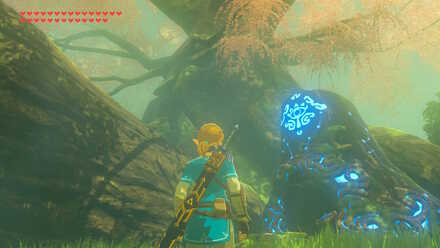
Trial: Fateful Stars Location: Korok Forest, Woodland Region Rewards: ・Knight's Claymore |
| 3 |
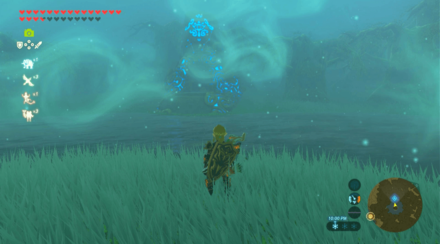 Enlarge Enlarge |
Trial: Kuhn Sidajj's Blessing Requirements: Start The Hero's Sword and The Korok Trials Shrine Quest: Trial of Second Sight Location: Lake Saria, Woodland Region Rewards: ・Giant Ancient Core |
| 4 |
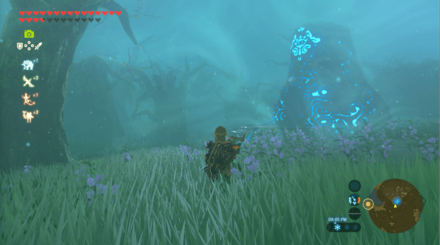 Enlarge Enlarge |
Trial: Daag Chokah's Blessing Requirements: Start The Hero's Sword and The Korok Trials Shrine Quest: The Lost Pilgrimage Location: Korok Forest, Woodland Region Rewards: ・Ancient Core |
| 5 |
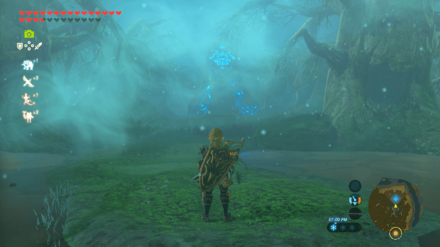 Enlarge Enlarge |
Trial: Maag Halan's Blessing Requirements: Start The Hero's Sword and The Korok Trials Shrine Quest: The Test of Wood Location: Mido Swamp, Woodland Region Rewards: ・Giant Ancient Core |
| 6 |
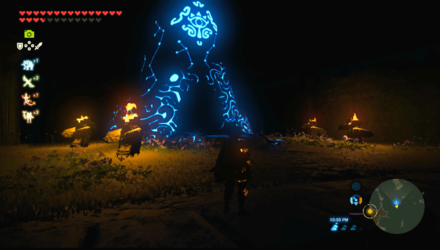 Enlarge Enlarge |
Trial: Ketoh Wawai's Blessing Shrine Quest: Shrouded Shrine Location: Typhlo Ruins, Woodland Region Rewards: ・Ancient Core |
| 7 |
 Enlarge Enlarge |
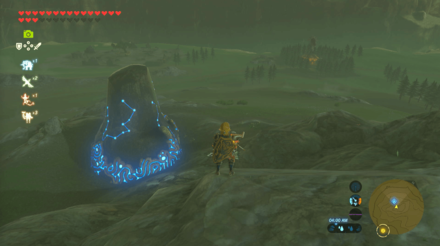
Trial: Drawing Parabolas Location: Salari Hills, Woodland Region Rewards: ・Thunderblade |
| 8 |
 Enlarge Enlarge |
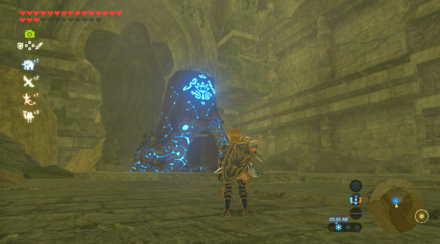
Trial: Rona Kachta's Blessing Location: Forgotten Temple, Woodland Region Rewards: ・Great Flameblade |
| ▲ Back to All Shrines by Tower Region ▲ | ||
Shrines Map and All Shrine Locations
Shrines in Ridgeland Tower Region
Ridgeland Tower Region Shrines
| Ridgeland Region Shrine Map |
|---|
 Enlarge EnlargeView Full Map Image |
| Shrine Number | Shrine | Overview |
|---|---|---|
| 1 |
 Enlarge Enlarge |
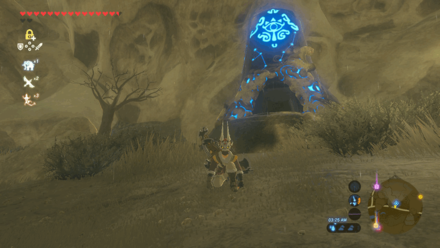
Trial: Two Orbs to Guide You Location: Breach of Demise, Ridgeland Region Rewards: ・Knight's Bow |
| 2 |
 Enlarge Enlarge |
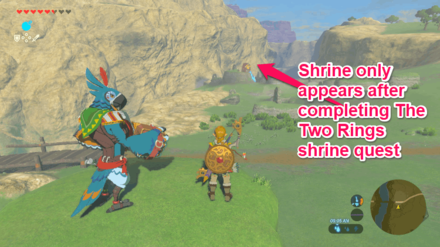
Trial: Moving in Parallel Shrine Quest: The Two Rings Location: Jeddo Bridge, Ridgeland Region Rewards: ・Great Thunderblade |
| 3 |
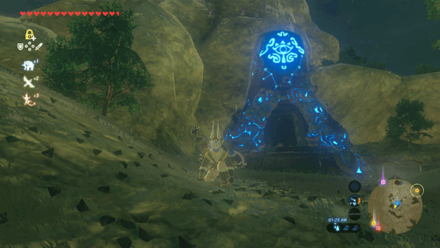 Enlarge Enlarge |
Trial: Synced Swing Location: Satori Mountain, Ridgeland Region Rewards: ・Forest Dweller's Spear ・ Forest Dweller's Bow ・ Gold Rupee |
| 4 |
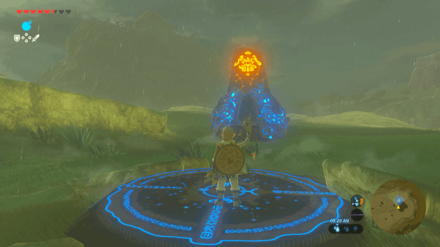 Enlarge Enlarge |
Trial: A Modest Test of Strength Requirements: Activate the shrine under a Blood Moon Shrine Quest: Under a Red Moon Location: Washa's Bluff, Ridgeland Region Rewards: ・Frostblade |
| 5 |
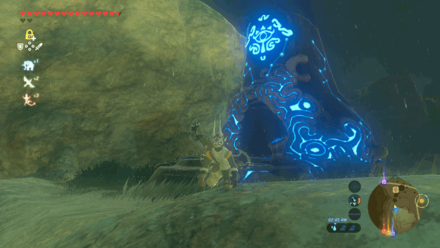 Enlarge Enlarge |
Trial: Aim for the Moment Requirements: Bow and arrows Location: Tabantha Bridge Stable, Ridgeland Region Rewards: ・Topaz ・ Falcon Bow |
| 6 |
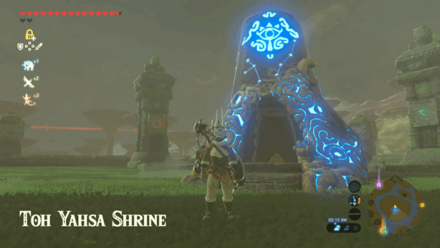 Enlarge Enlarge |
Trial: Buried Secrets Shrine Quest: Trial of Thunder Location: Thundra Plains, Ridgeland Region Rewards: ・Rubber Armor ・ Opal |
| 7 |
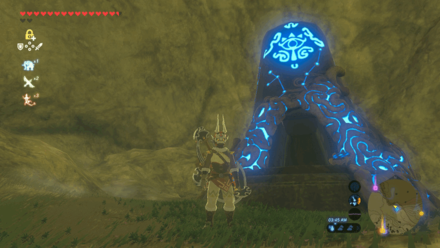 Enlarge Enlarge |
Trial: Maag No'rah's Blessing Location: Maritta Exchange Ruins, Ridgeland Region Rewards: ・Silver Rupee |
| ▲ Back to All Shrines by Tower Region ▲ | ||
Shrines Map and All Shrine Locations
Quests in Ridgeland Tower Region
Main Quests
| No quests to display in this region. |
Side Quests
| Quest | Type | Quest Giver & Location |
|---|---|---|
| A Gift for the Great Fairy | Side Quest | Toren Tabantha Bridge Stable |
Shrine Quests
| Quest | Type | Quest Giver & Location |
|---|---|---|
| Trial of Thunder | Shrine Quest | ??? Thundra Plateau |
| Under a Red Moon | Shrine Quest | Kass Hyrule Ridge |
| The Two Rings | Shrine Quest | Kass West Hyrule Plains |
DLC Quests
| No quests to display in this region. |
All Locations in Ridgeland Tower Region
| West Hyrule Plains | Washa's Bluff | Upland Lindor | Thundra Plateau |
| Tanagar Canyon Course | Tanagar Canyon | Tamio River | Tabantha Great Bridge |
| Tabantha Bridge Stable | Seres Scablands | Satori Mountain | Sanidin Park Ruins |
| Safula Hill | Rutile Lake | Royal Ancient Lab Ruins | North Hyrule Plain |
| Nima Plain | Mount Rhoam | Ludfo's Bog | Lindor's Brow |
| Lake Illumeni | Jeddo Bridge | Irch Plain | Illumeni Plateau |
| Footrace Check-In | Elma Knolls | Dalite Forest | Breach of Demise |
| Aldor Foothills |
All Tower Regions

Points of Interest
| All Maps and Locations | |
|---|---|
| Shrines | Stables |
| Great Fairy Fountains | Korok Seeds |
Tower Regions
Author
The Legend of Zelda: Breath of the Wild Walkthrough & Guides Wiki
Ridgeland Tower Region: Korok Seed Map, Shrines, and Quests
Rankings
- We could not find the message board you were looking for.
Gaming News
Popular Games

Genshin Impact Walkthrough & Guides Wiki

Honkai: Star Rail Walkthrough & Guides Wiki

Umamusume: Pretty Derby Walkthrough & Guides Wiki

Pokemon Pokopia Walkthrough & Guides Wiki

Resident Evil Requiem (RE9) Walkthrough & Guides Wiki

Monster Hunter Wilds Walkthrough & Guides Wiki

Wuthering Waves Walkthrough & Guides Wiki

Arknights: Endfield Walkthrough & Guides Wiki

Pokemon FireRed and LeafGreen (FRLG) Walkthrough & Guides Wiki

Pokemon TCG Pocket (PTCGP) Strategies & Guides Wiki
Recommended Games

Diablo 4: Vessel of Hatred Walkthrough & Guides Wiki

Cyberpunk 2077: Ultimate Edition Walkthrough & Guides Wiki

Fire Emblem Heroes (FEH) Walkthrough & Guides Wiki

Yu-Gi-Oh! Master Duel Walkthrough & Guides Wiki

Super Smash Bros. Ultimate Walkthrough & Guides Wiki

Pokemon Brilliant Diamond and Shining Pearl (BDSP) Walkthrough & Guides Wiki

Elden Ring Shadow of the Erdtree Walkthrough & Guides Wiki

Monster Hunter World Walkthrough & Guides Wiki

The Legend of Zelda: Tears of the Kingdom Walkthrough & Guides Wiki

Persona 3 Reload Walkthrough & Guides Wiki
All rights reserved
© 2020 Nintendo. The Legend of Zelda, Wii U, and Nintendo Switch are trademarks of Nintendo.
The copyrights of videos of games used in our content and other intellectual property rights belong to the provider of the game.
The contents we provide on this site were created personally by members of the Game8 editorial department.
We refuse the right to reuse or repost content taken without our permission such as data or images to other sites.


![Monster Hunter Stories 3 Review [First Impressions] | Simply Rejuvenating](https://img.game8.co/4438641/2a31b7702bd70e78ec8efd24661dacda.jpeg/show)


![Monster Hunter Stories 3 Review [First Impressions] | Simply Rejuvenating](https://img.game8.co/4438641/2a31b7702bd70e78ec8efd24661dacda.jpeg/thumb)


Nvm the one I was talking about is in the ridgeland tower just trying to help as much as possible