Gerudo Tower Region: Korok Seed Map, Shrines, and Quests
★ Sequel: Tears of the Kingdom Guide here!
★ Get a head start with our Beginner's Guide
┗ The Best Recipes to Cook | Rupee Farming
★ Shrines Locations | Korok Seeds Locations
★ Explore after the story with our Post Game Guide
This page is a map of the Gerudo Tower Region in The Legend of Zelda: Breath of the Wild (BotW). Here you can find all Korok Seed locations in the Gerudo Tower Region, as well as quests, shrines, and other locations.
List of Contents
Gerudo Tower Region Korok Seed Map
Map of All Gerudo Tower Korok Seeds
| Gerudo Korok Seed Map |
|---|
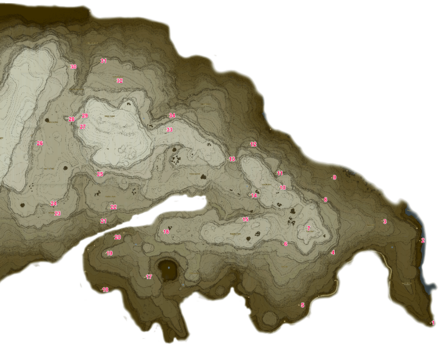 Enlarge EnlargeView Full Map Image |
How to Get All Gerudo Koroks
| Total No. | Korok in Region | Solution & Video Link |
|---|---|---|
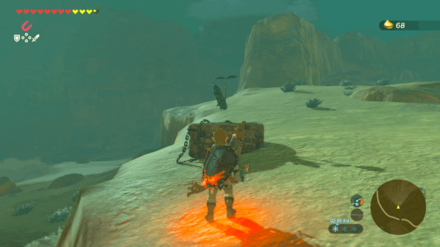
| 484 |
 Enlarge Enlarge |
Chained Ball
Use Magnesis to lift the metal ball and place it in the well. |
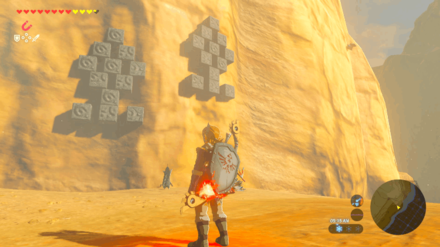
| 485 |
 Enlarge Enlarge |
Metal Block
Use Magnesis to pick up the block and place it on the missing spot on the leftmost block pattern to match the rightmost block pattern. |
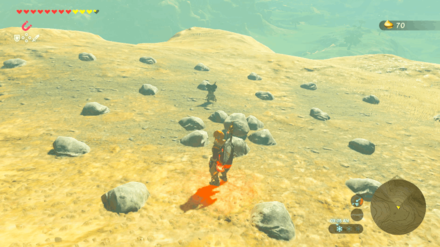
| 486 |
 Enlarge Enlarge |
Rock Pattern
Lift the rock hidden between three elevated platforms and place it in the northern stone circle. |
| 487 |
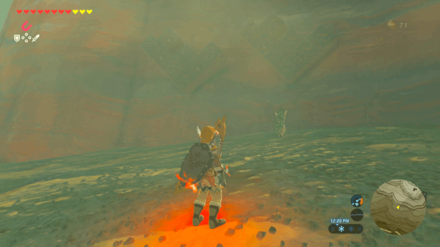 Enlarge Enlarge |
Metal Block
Use Magnesis to pick up the block and place it on the missing spot on the leftmost block pattern to match the rightmost block pattern. |
| 488 |
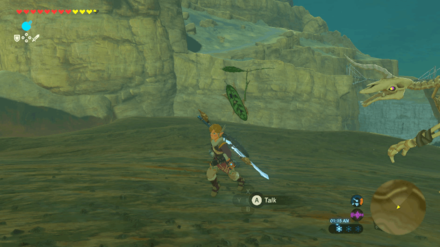 Enlarge Enlarge |
Timed Ring
Step on the stump and glide towards the dash ring below the area. Glide until you are above the ring and drop down to reach it before the time runs out. |
| 489 |
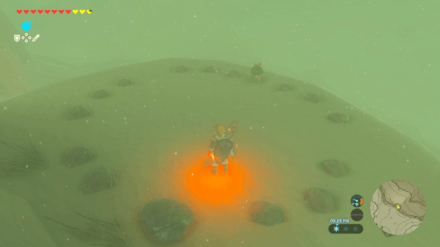 Enlarge Enlarge |
Rock Pattern
The rock circle consists of three sets of rocks in between. Pick up the large rock and place it on the northern side of the rock circle to complete the pattern. |
| 490 |
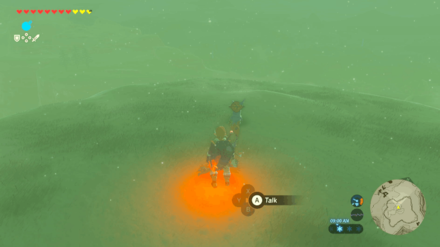 Enlarge Enlarge |
Rock
Lift up the rock on top of the mountain to reveal the Korok. |
| 491 |
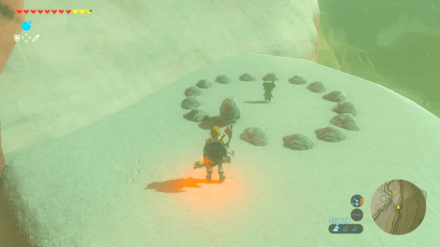 Enlarge Enlarge |
Rock Pattern
Pick up the rock on the higher cliff west of the rock circle. Bring the rock down on the empty spot of the rock circle to complete the pattern. Wear a Cold Resistance Level 2 armor in this area to prevent from freezing. |
| 492 |
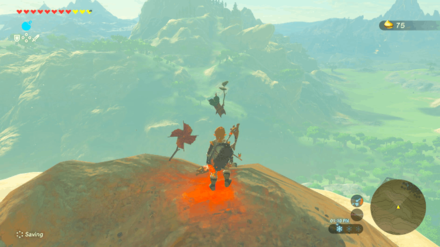 Enlarge Enlarge |
Pinwheel Balloon
Walk near the pinwheel to spawn three balloons in the sky. Use a bow and arrow to shoot the balloons to reveal the Korok. |
| 493 |
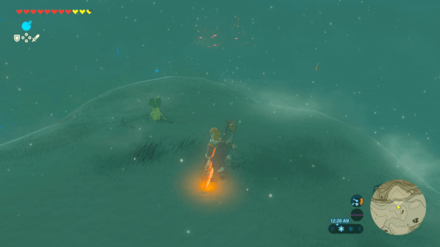 Enlarge Enlarge |
Ice Sparkles
Use a fire weapon to melt the ice chunk near the cliff edge to spawn stationary sparkles. Examine the sparkles to reveal the Korok. |
| 494 |
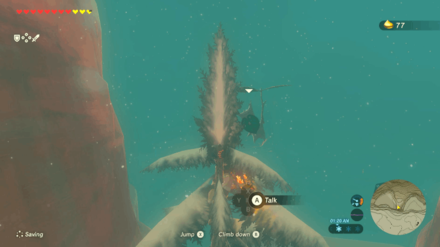 Enlarge Enlarge |
Peak Sparkles
Climb the pine tree and examine the sparkles on top to reveal the Korok. |
| 495 |
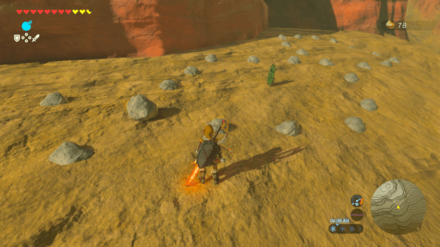 Enlarge Enlarge |
Rock Pattern
Pick up the rock in the middle of the rightmost stone circle and place it in between the leftmost and middlemost stone circles. |
| 496 |
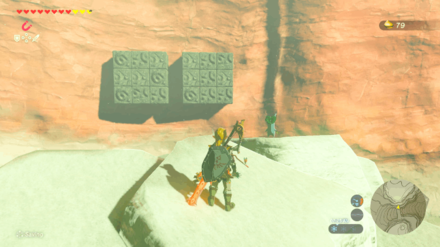 Enlarge Enlarge |
Metal Block
Use Magnesis to pick up the block and place it in the missing spot of the leftmost block pattern to match the rightmost block pattern. |
| 497 |
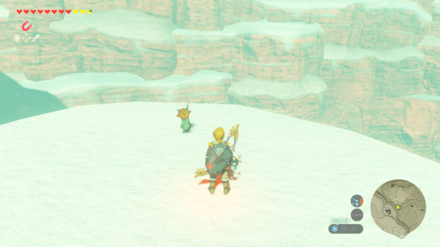 Enlarge Enlarge |
Ice Sparkles
Use a fire weapon to melt the ice chunk near the cliff edge to spawn stationary sparkles. Examine the sparkles to reveal the Korok. |
| 498 |
 Enlarge Enlarge |
Rock Pattern
Lift the rock east of the stone circle and walk along the narrow path. Place the rock on the empty spot of the stone circle to reveal the Korok. |
| 499 |
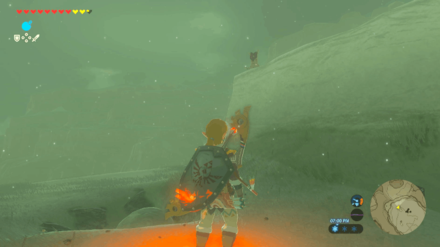 Enlarge Enlarge |
Chained Ball
Pick up the snowball and place it on the hole north of it to reveal the Korok. |
| 500 |
 Enlarge Enlarge |
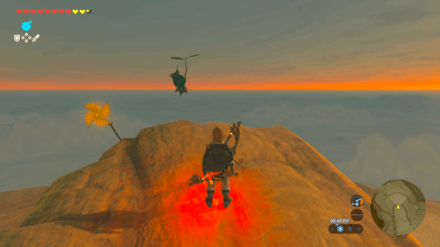
Pinwheel Balloon
Stand next to the pinwheel and use a bow and arrow to shoot the three balloons. You can use a Bomb Arrow and wait for the balloons to move close to each other to pop all of them in one hit. |
| 501 |
 Enlarge Enlarge |
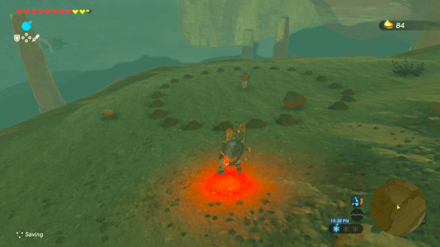
Rock Pattern
Pick up the rock north of the stone circle in between the cliff wall. Place the rock on the empty spot on the stone circle to reveal the Korok. |
| 502 |
 Enlarge Enlarge |
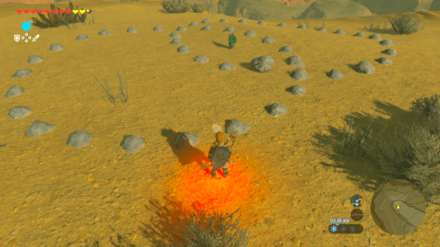
Rock Pattern
Pick up the rock near the shrubs and place it on the empty spot of the stone circle to reveal the Korok. |
| 503 |
 Enlarge Enlarge |
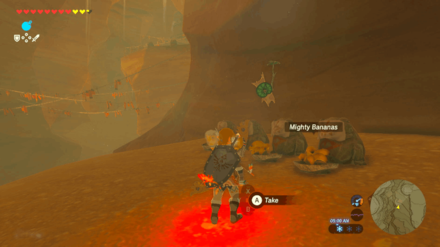
Fruit Offering
Place four Mighty Bananas on the bowls to reveal the Korok. |
| 504 |
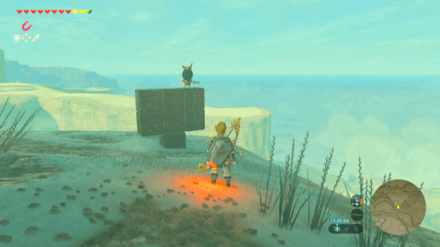 Enlarge Enlarge |
Metal Block
Climb up the tall rock formation to reach the block. Use Magnesis to pick it up and place it near the area with the block patterns. Place the block on the empty spot to match the block pattern north of it to reveal the Korok. |
| 505 |
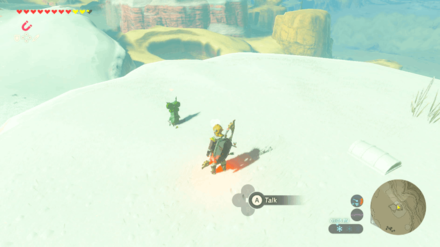 Enlarge Enlarge |
Moving Sparkles
Chase after the sparkles and examine it to reveal the Korok. |
| 506 |
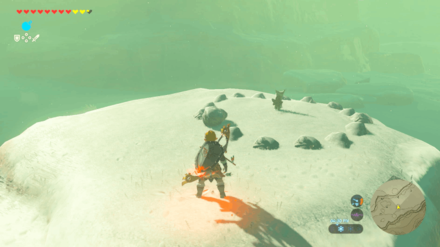 Enlarge Enlarge |
Rock Pattern
Pick up the rock on the lower ledge and climb up the top of the hill and place the rock on the empty spot to reveal the Korok. |
| 507 |
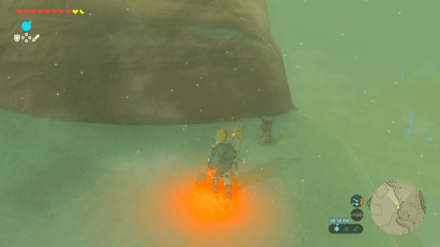 Enlarge Enlarge |
Rock
Pick up the rock to reveal the Korok |
| 508 |
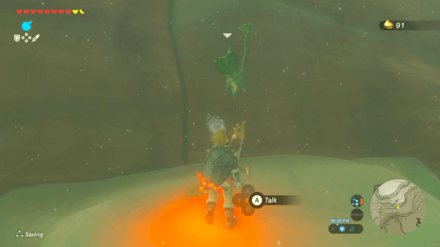 Enlarge Enlarge |
Timed Ring
Step on the stump and glide towards the updraft to reach the cliff where the dash ring is located. |
| 509 |
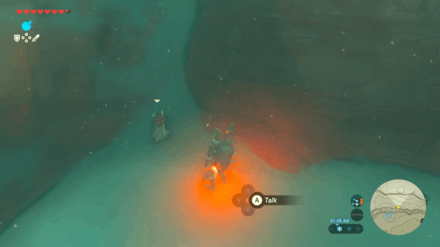 Enlarge Enlarge |
Ice Sparkles
Use a fire weapon to melt the ice chunk near the cliff edge to spawn stationary sparkles. Examine the sparkles to reveal the Korok. |
| 510 |
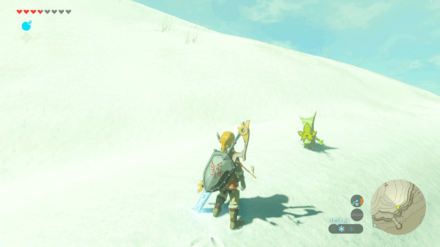 Enlarge Enlarge |
Follow the Flowers
Follow the flower as it teleports up to the tall cliff. If you do not have enough stamina to climb the cliff, you can bomb the geyser south of the starting point to help you reach the upper part of the cliff without losing much of the stamina. |
| 511 |
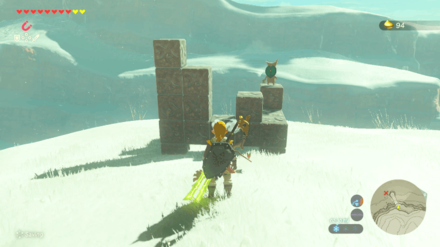 Enlarge Enlarge |
Metal Block
Find the block west of the block pattern puzzle. Defeat the Bokoblins and use Magnesis to bring the block near the puzzle location. Place the block on the empty spot to match the rightmost block pattern. |
| 512 |
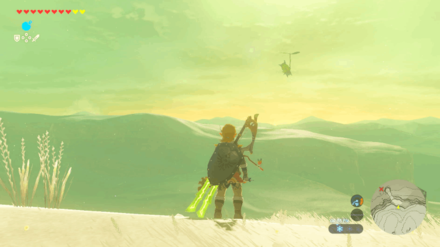 Enlarge Enlarge |
Timed Ring
Step on the stump and glide towards the updraft to reach the dash ring. |
| 513 |
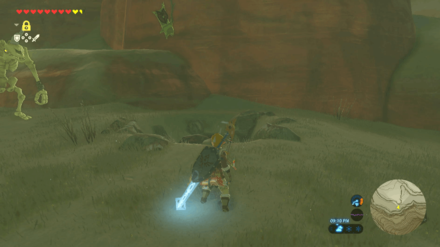 Enlarge Enlarge |
Rock Pit
Push the boulder on the smaller cliff on the right side. Drop down on the area and push the boulder uphill. If you cannot push the boulder uphill, you can use Stasis and hit it once to push it towards the hole. |
| 514 |
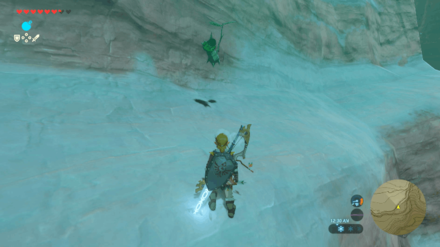 Enlarge Enlarge |
Timed Ring
Step on the stump and climb up the cliff north of it to reach the dash ring. |
| 515 |
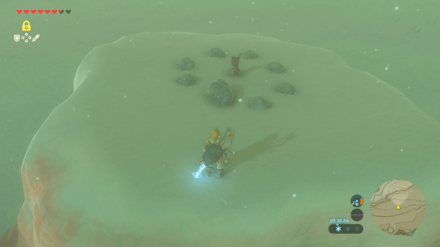 Enlarge Enlarge |
Rock Pattern
Pick up the rock north of the stone circle. Throw the rock on the elevated platform where the stone circle is and place it on the empty spot to reveal the Korok. |
| 516 |
 Enlarge Enlarge |
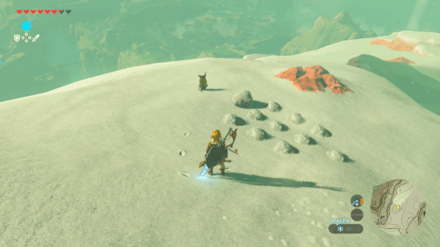
Rock Pattern
Pick up the rock from the leftmost rock pattern and place it on the northern side of the rightmost rock pattern so that both patterns match. |
| 517 |
 Enlarge Enlarge |
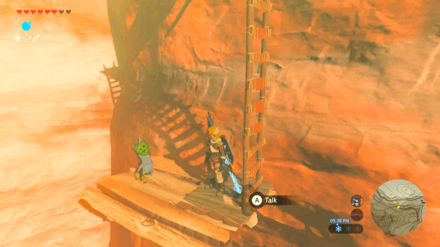
Rock
Lift the rock on the scaffolding to reveal the Korok. |
Korok Seeds Map and All Korok Seed Locations
Shrines in Woodland Tower Region
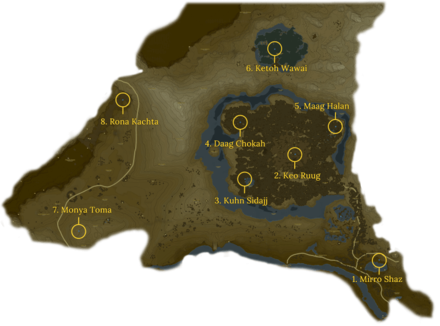
Woodland Tower Region Shrines
| Woodland Region Shrine Map |
|---|
 Enlarge EnlargeView Full Map Image |
| Shrine Number | Shrine | Overview |
|---|---|---|
| 1 |
 Enlarge Enlarge |
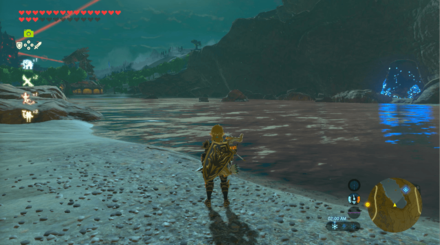
Trial: Tempered Power Location: Woodland Stable, Woodland Region Rewards: ・Iron Sledgehammer ・ Iron Sledgehammer ・ Giant Ancient Core |
| 2 |
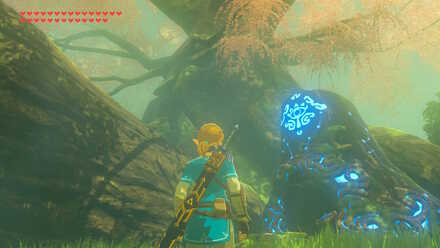 Enlarge Enlarge |
Trial: Fateful Stars Location: Korok Forest, Woodland Region Rewards: ・Knight's Claymore |
| 3 |
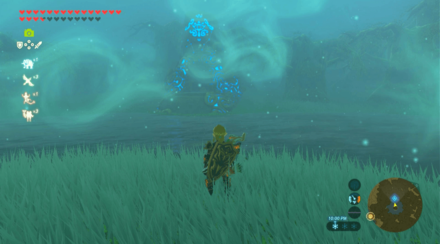 Enlarge Enlarge |
Trial: Kuhn Sidajj's Blessing Requirements: Start The Hero's Sword and The Korok Trials Shrine Quest: Trial of Second Sight Location: Lake Saria, Woodland Region Rewards: ・Giant Ancient Core |
| 4 |
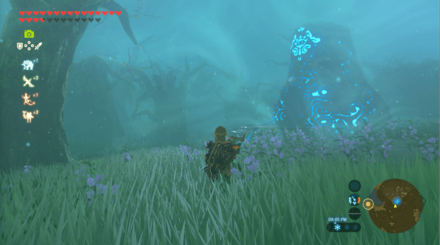 Enlarge Enlarge |
Trial: Daag Chokah's Blessing Requirements: Start The Hero's Sword and The Korok Trials Shrine Quest: The Lost Pilgrimage Location: Korok Forest, Woodland Region Rewards: ・Ancient Core |
| 5 |
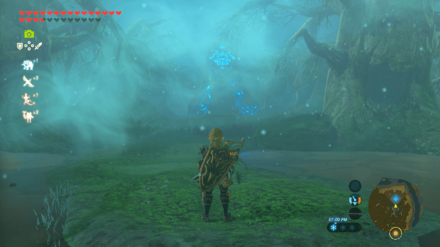 Enlarge Enlarge |
Trial: Maag Halan's Blessing Requirements: Start The Hero's Sword and The Korok Trials Shrine Quest: The Test of Wood Location: Mido Swamp, Woodland Region Rewards: ・Giant Ancient Core |
| 6 |
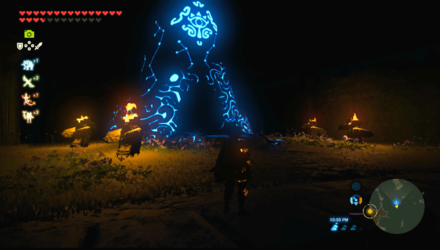 Enlarge Enlarge |
Trial: Ketoh Wawai's Blessing Shrine Quest: Shrouded Shrine Location: Typhlo Ruins, Woodland Region Rewards: ・Ancient Core |
| 7 |
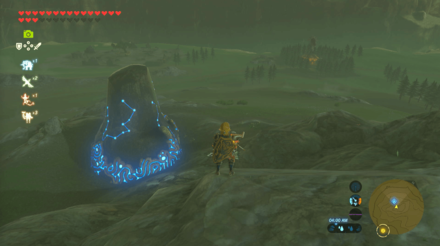 Enlarge Enlarge |
Trial: Drawing Parabolas Location: Salari Hills, Woodland Region Rewards: ・Thunderblade |
| 8 |
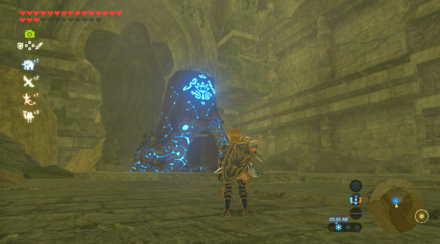 Enlarge Enlarge |
Trial: Rona Kachta's Blessing Location: Forgotten Temple, Woodland Region Rewards: ・Great Flameblade |
| ▲ Back to All Shrines by Tower Region ▲ | ||
Shrines Map and All Shrine Locations
Shrines in Gerudo Tower Region
Gerudo Tower Region Shrines
| Gerudo Region Shrine Map |
|---|
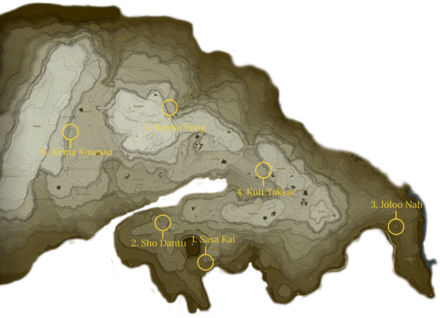 Enlarge EnlargeView Full Map Image |
| Shrine Number | Shrine | Overview |
|---|---|---|
| 1 |
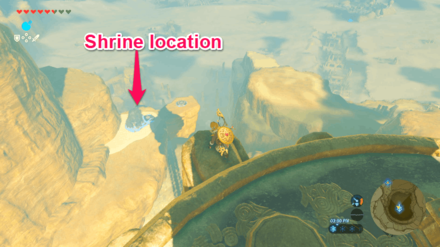 Enlarge Enlarge |
Trial: A Modest Test of Strength Shrine Quest: Sign of the Shadow Location: Birida Lookout, Gerudo Region Rewards: ・Frostblade |
| 2 |
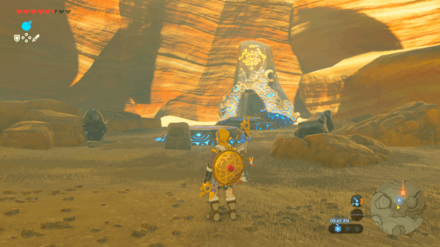 Enlarge Enlarge |
Trial: Two Bombs Location: Karusa Valley, Gerudo Region Rewards: ・Silver Rupee |
| 3 |
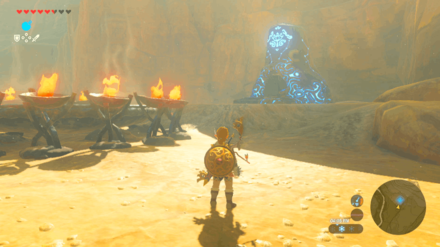 Enlarge Enlarge |
Trial: Joloo Nah Apparatus Shrine Quest: Test of Will Location: Mount Nabooru, Gerudo Region Rewards: ・Golden Claymore ・ Gerudo Spear |
| 4 |
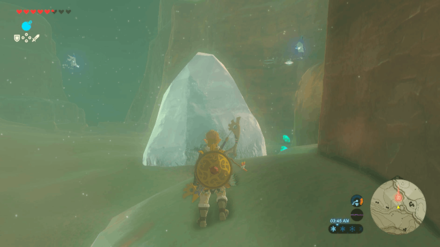 Enlarge Enlarge |
Trial: Melting Ice Hazard Location: Laparoh Mesa, Gerudo Region Rewards: ・Frostblade |
| 5 |
 Enlarge Enlarge |
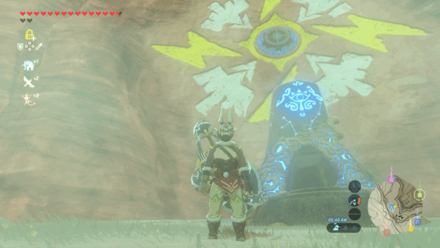
Trial: Keeha Yoog's Blessing Shrine Quest: Cliffside Etchings Location: Gerudo Summit, Gerudo Region Rewards: ・Diamond |
| 6 |
 Enlarge Enlarge |
Trial: A Major Test of Strength Location: Risoka Snowfield, Gerudo Region Rewards: ・Silver Rupee |
| ▲ Back to All Shrines by Tower Region ▲ | ||
Shrines Map and All Shrine Locations
Quests in Gerudo Tower Region
Main Quests
| No quests to display in this region. |
Side Quests
| No quests to display in this region. |
Shrine Quests
| Quest | Type | Quest Giver & Location |
|---|---|---|
| Cliffside Etchings | Shrine Quest | Geggle Tabantha Bridge Stable |
| Sign of the Shadow | Shrine Quest | Kass Gerudo Tower |
| Test of Will | Shrine Quest | Bayge Mount Nabooru |
DLC Quests
| No quests to display in this region. |
All Locations in Gerudo Tower Region
| Zirco Mesa | Vatorsa Snowfield | Taafei Hill | Statue of the Eight Heroine |
| Sapphia's Table | Rutimala Hill | Risoka Snowfield | Nephra Hill |
| Mystathi's Shelf | Mount Nabooru | Mount Agaat | Meadela's Mantle |
| Laparoh Mesa | Hemaar's Descent | Gerudo Summit | Cliffs of Ruvara |
| Birida Lookout |
Zelda: BotW Related Guides

Points of Interest
| All Maps and Locations | |
|---|---|
| Shrines | Stables |
| Great Fairy Fountains | Korok Seeds |
Tower Regions
Author
The Legend of Zelda: Breath of the Wild Walkthrough & Guides Wiki
Gerudo Tower Region: Korok Seed Map, Shrines, and Quests
Rankings
- We could not find the message board you were looking for.
Gaming News
Popular Games

Genshin Impact Walkthrough & Guides Wiki

Honkai: Star Rail Walkthrough & Guides Wiki

Umamusume: Pretty Derby Walkthrough & Guides Wiki

Pokemon Pokopia Walkthrough & Guides Wiki

Resident Evil Requiem (RE9) Walkthrough & Guides Wiki

Monster Hunter Wilds Walkthrough & Guides Wiki

Wuthering Waves Walkthrough & Guides Wiki

Arknights: Endfield Walkthrough & Guides Wiki

Pokemon FireRed and LeafGreen (FRLG) Walkthrough & Guides Wiki

Pokemon TCG Pocket (PTCGP) Strategies & Guides Wiki
Recommended Games

Diablo 4: Vessel of Hatred Walkthrough & Guides Wiki

Cyberpunk 2077: Ultimate Edition Walkthrough & Guides Wiki

Fire Emblem Heroes (FEH) Walkthrough & Guides Wiki

Yu-Gi-Oh! Master Duel Walkthrough & Guides Wiki

Super Smash Bros. Ultimate Walkthrough & Guides Wiki

Pokemon Brilliant Diamond and Shining Pearl (BDSP) Walkthrough & Guides Wiki

Elden Ring Shadow of the Erdtree Walkthrough & Guides Wiki

Monster Hunter World Walkthrough & Guides Wiki

The Legend of Zelda: Tears of the Kingdom Walkthrough & Guides Wiki

Persona 3 Reload Walkthrough & Guides Wiki
All rights reserved
© 2020 Nintendo. The Legend of Zelda, Wii U, and Nintendo Switch are trademarks of Nintendo.
The copyrights of videos of games used in our content and other intellectual property rights belong to the provider of the game.
The contents we provide on this site were created personally by members of the Game8 editorial department.
We refuse the right to reuse or repost content taken without our permission such as data or images to other sites.


![Monster Hunter Stories 3 Review [First Impressions] | Simply Rejuvenating](https://img.game8.co/4438641/2a31b7702bd70e78ec8efd24661dacda.jpeg/thumb)


