Bonny Greens Golf Adventure Walkthrough (Story Mode)
This is a guide to completing all objectives in the Bonny Greens area of Golf Adventure in Mario Golf: Super Rush. Find out how to pass each objective and clear each qualifying course to progress on your journey to becoming a pro!
| Previous Course Area | Next Course Area |
|---|---|
| - | Ridgerock Lake |
List of Contents
Bonny Greens Objectives
| No. | Objective |
|---|---|
| 1 | Meet the manager in front of the clubhouse |
| 2 | Go meet the Caddie Master |
| 3 | Take some lessons at the Practice Area |
| 4 | Try the Rookie Course |
| 5 | Play a Qualifying Round on the main course |
| 6 | Rest up in your room |
| 7 | Start Tournament at the Gate |
| 8 | Rest up in your room |
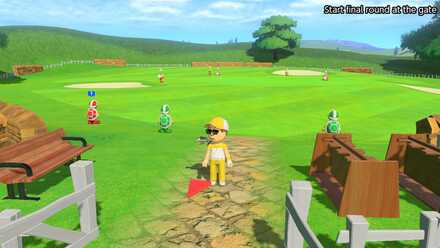
| 9 | Start final round at the gate |
| 10 | Head to Ridgerock Lake |
Bonny Greens Shop Equipment and Golf Clubs
| Item | Description | Price |
|---|---|---|
 Range Finder Range Finder
|
Allows you to use your golfwatch to determine shot distance. |
|
 Super Mushroom Driver Super Mushroom Driver
|
Generates topspin. |
|
 Banana Fade 5 Hybrid Banana Fade 5 Hybrid
|
Curves shots to the right if playing right-handed or to the left if playing left-handed. |
|
 Banana Draw 5 Hybrid Banana Draw 5 Hybrid
|
Curves shots to the left if playing right-handed or to the right if playing left-handed. |
|
 Mini Mushroom Pitching Wedge Mini Mushroom Pitching Wedge
|
Increases backspin and super-backspin power. |
|
 Stamina Attire Stamina Attire
|
Reduces stamina burn when dashing. |
|
 Grass Shoes Grass Shoes
|
Reduces speed loss in the rough. |
|
Golf Courses
Practice Courses
Practice Area Lessons |
|
| Course Conditions | |
|---|---|
| Strokes per Lessons | 10 |
| Number of Lessons | 3 |
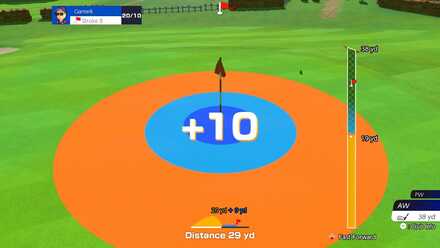
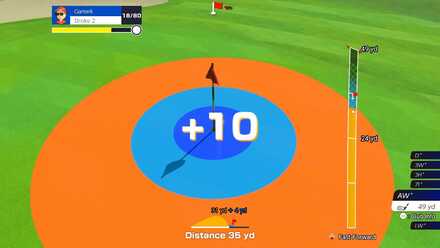
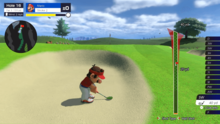
How to Clear the First Lesson
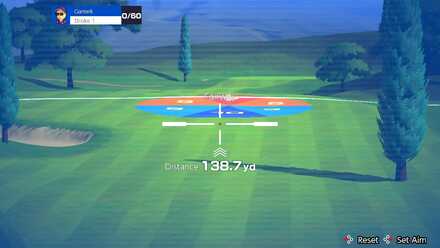
The easiest way to clear the lesson is to purchase the range finder from the Bonny Greens shop. After obtaining the range finder, aim the crosshair slightly below the blue section of the circle. The distance below the crosshair is what you should aim for when making your shot.
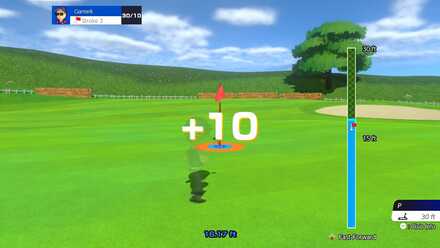
How to Clear the Second Lesson
To clear the second lesson, it is best to set your power somewhere in between the 19-yard mark and the hole. During the uphill and downhill portion of the lesson, set your power slightly higher and lower respectively.
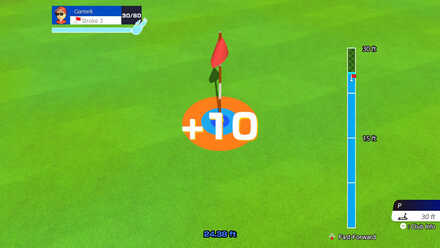
How to Clear the Third Lesson
This is an easy lesson to pass since the game automatically aims your shot before you putt. During the first part of the lesson, set your power at the exact spot of the hole in your gauge. Similar to the previous lesson, set your power slightly higher and lower during the uphill and downhill portion.
 Rookie Course Rookie CoursePractice Round |
|
| Course Conditions | |
|---|---|
| Number of Holes | 3 |
| Qualifying Score | +5 | Course Overview |
| List of All Holes and How to Unlock | |
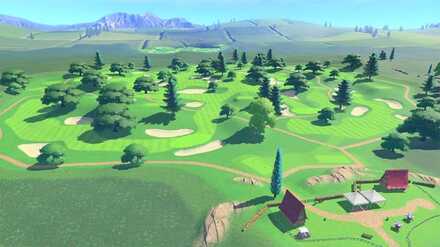
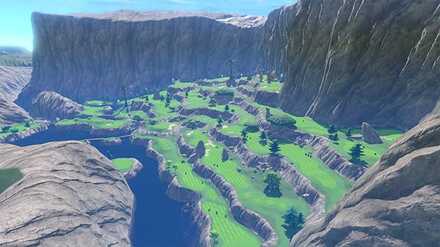
Qualifying Course
 Bonny Greens Bonny GreensQualifying Round |
|
| Course Conditions | |
|---|---|
| Number of Holes | 9 |
| Qualifying Score | +4 | Course Overview |
| List of All Holes and How to Unlock | |
How to Clear this Course

The most challenging part of the qualifying rounds of this course is maintaining your score. To clear the course, you need to have a total score of +4 or better after completing all 9 holes. The best way to keep your score low is to use as few strokes as possible during the earlier holes of the course. This will free you up to more strokes during the more difficult parts of the course.
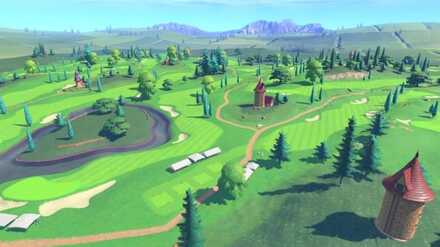
Tournament Course
| Bonny Greens Main Tournament |
|
| Badge Unlocked | Chrome Badge |
| Stage Unlocked | Ridgerock Lake |
| Course Conditions | |
|---|---|
| Number of Holes | 18 | Course Overview |
| List of All Holes and How to Unlock | |
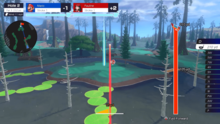
How to Clear this Course

During the Main Tournament of Bonny Greens, your score will be compared to a roster of other characters in the game. Since the scores of your opponents also matter, you can make it more difficult for them by knocking their balls into the rough or bunkers using your Special Dash.
Make sure to always keep track of the scoreboard as you go through each hole. If you see that you are starting to lag behind other players, it is best to boost up your score earlier on and maintain a high placement.
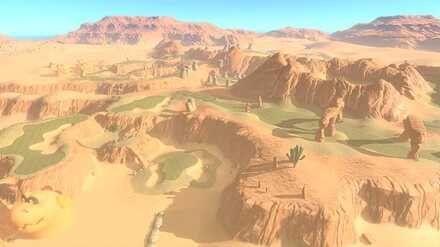
Optional Courses
| Rookie Course Qualifying Round |
|
| Course Conditions | |
|---|---|
| Number of Holes | 3 |
| Qualifying Score | +3 | Course Overview |
| List of All Holes and How to Unlock | |
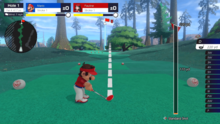
How to Clear this Course
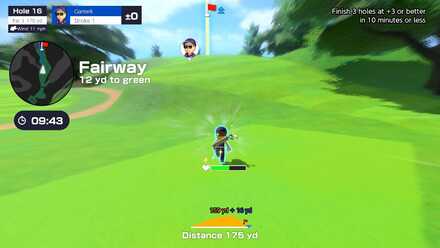
The Qualifying Rounds in the Rookie Course are easy to get through, but you may have some difficulties with the time restraints. Make sure to liberally use dashes and special dashes when you can to quickly get through the course.
|
Practice Area Challenges (Bonny Greens) |
|
| Course Conditions | |
|---|---|
| Strokes per Challenge | 9 or 10 |
| Number of Challenges | 3 |
How to Clear the Practice Area Challenges
The challenges in the Bonny Greens Practice Area are almost the same as the lessons given to the player at the start of the game. However, the game will no longer inform the player of any slope or distance changes, and you now need to earn at least 80 points to pass the challenge.
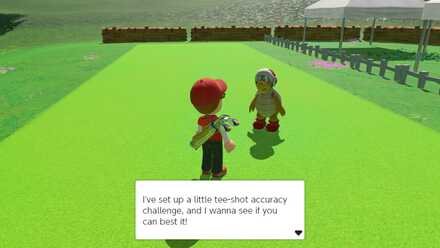
How to Clear the Tee-Shot Accuracy Challenge
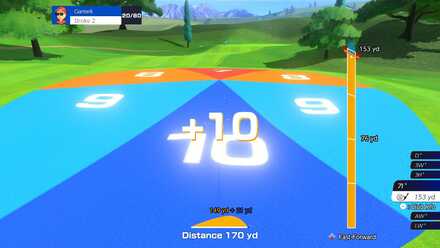
For the first five strokes, you can guarantee to get 10 points for each shot by setting your power to around 150 and giving the ball a topspin. When the target moves during the last five strokes, set your power to around 180 while also giving it a topspin.
How to Clear the Approach-Shot Challenge
For the approach-shot challenge, the easiest way to get close to the hole is by setting your power just below the marked flag on your gauge and giving the ball a backspin.
How to Clear the Putting Challenge
The putting challenge is easy to complete. For holes with an even slope, set your power level to the exact point of the marked flag on your gauge. Set it slightly higher when the hole is uphill and lower when it is downhill. However, the game will not remind you when the slope changes, so make sure to always check by using the overhead view.
Hazards and Obstacles Encountered
| Obstacles and Hazards | |
|---|---|
 Water Hazard
 |
If your shot lands in the water, your score will get a +1 in addtion to a penalty shot. Appears on hole 9, 18. |
 Trees
Trees |
Trees can stand in the way of your shot. Appears on all holes of the Bonny Greens Course. |
 Bunkers
 |
Landing in a bunker will hinder your control and will require more power in the next shot to get back out. Appears on all holes of the Bonny Greens Course. |
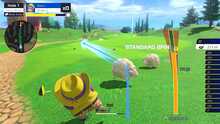 Sheep
Sheep |
Sheep can block shots if your if you land too close to them. |
List of All Hazards and Obstacles
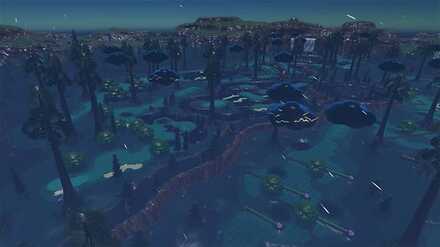
Weather Conditions
Standard Weather

Bonny Greens may experience mild winds on a few occasions, but the weather in this course is more standard compared to other courses. In Adventure Mode, you cannot experience rain in Bonny Dunes.
Weather Conditions and Effects
Recommended Equipment and Golf Clubs
| Item | Description | How to Obtain |
|---|---|---|
|
Super Mushroom Driver
|
Generates topspin. |
Price: Available in Bonny Greens shop |
This long-distance driver can be purchased in the Bonny Greens shop. It is useful for the longer couses in the area, but be careful when using it in courses with shorter lengths.
| Item | Description | How to Obtain |
|---|---|---|
|
Range Finder
|
Allows you to use your golfwatch to determine shot distance. |
Price: Available in shops of Bonny Greens/Ridgerock Lake/Balmy Dunes/Wildweather Woods/Bowser Highlands |
A useful tool for beginners as it helps you gauge the amout of power needed to reach a certain distance.
| Item | Description | How to Obtain |
|---|---|---|
|
Stamina Attire
|
Reduces stamina burn when dashing. |
Price: Available in Bonny Greens shop |
The Stamina Outfit helps during timed courses and Speed Golf rounds.
Mario Golf: Super Rush Related Guides

| Adventure Mode Walkthrough Guides | |
|---|---|
| Bonny Greens |
 Ridgerock Lake (XC Golf) Ridgerock Lake (XC Golf) |
 Balmy Dunes Balmy Dunes |
 Wildweather Woods Wildweather Woods |
 Bowser Highlands Bowser Highlands
|
- | Golf Adventure Boss Guides |
 The Great Trials The Great Trials |
 Sacred Flamebeast Sacred Flamebeast |
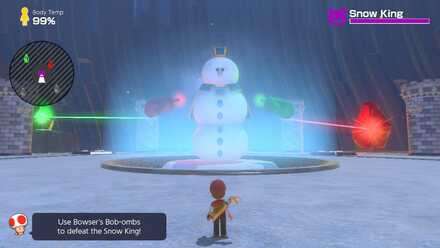 Snow King Snow King |
- |
| Related Golf Adventure Guides | |
| Shop Guide | List of Outfits |
| List of Bosses | XC Golf Guide |
| Best Equipment | - |
Author
Bonny Greens Golf Adventure Walkthrough (Story Mode)
Rankings
- We could not find the message board you were looking for.
Gaming News


![Monster Hunter Stories 3 Review [First Impressions] | Simply Rejuvenating](https://img.game8.co/4438641/2a31b7702bd70e78ec8efd24661dacda.jpeg/thumb)
Popular Games

Genshin Impact Walkthrough & Guides Wiki
Honkai: Star Rail Walkthrough & Guides Wiki
Umamusume: Pretty Derby Walkthrough & Guides Wiki
Pokemon Pokopia Walkthrough & Guides Wiki
Resident Evil Requiem (RE9) Walkthrough & Guides Wiki
Monster Hunter Wilds Walkthrough & Guides Wiki
Wuthering Waves Walkthrough & Guides Wiki
Arknights: Endfield Walkthrough & Guides Wiki
Pokemon FireRed and LeafGreen (FRLG) Walkthrough & Guides Wiki
Pokemon TCG Pocket (PTCGP) Strategies & Guides Wiki


Recommended Games
Diablo 4: Vessel of Hatred Walkthrough & Guides Wiki
Cyberpunk 2077: Ultimate Edition Walkthrough & Guides Wiki
Fire Emblem Heroes (FEH) Walkthrough & Guides Wiki
Yu-Gi-Oh! Master Duel Walkthrough & Guides Wiki
Super Smash Bros. Ultimate Walkthrough & Guides Wiki
Pokemon Brilliant Diamond and Shining Pearl (BDSP) Walkthrough & Guides Wiki
Elden Ring Shadow of the Erdtree Walkthrough & Guides Wiki
Monster Hunter World Walkthrough & Guides Wiki
The Legend of Zelda: Tears of the Kingdom Walkthrough & Guides Wiki
Persona 3 Reload Walkthrough & Guides Wiki


All rights reserved
© Nintendo / CAMELOT. Mario Golf and Nintendo Switch are trademarks of Nintendo. © 2021 Nintendo.
The copyrights of videos of games used in our content and other intellectual property rights belong to the provider of the game.
The contents we provide on this site were created personally by members of the Game8 editorial department.
We refuse the right to reuse or repost content taken without our permission such as data or images to other sites.