The Final Trials Walkthrough
★ Sequel: Tears of the Kingdom Guide here!
★ Get a head start with our Beginner's Guide
┗ The Best Recipes to Cook | Rupee Farming
★ Shrines Locations | Korok Seeds Locations
★ Explore after the story with our Post Game Guide
The Final Trials is the third and last set of challenges added in The Master Trials DLC of The Legend of Zelda: Breath of the Wild (BotW). Here are tips on how to clear all 23 floors of The Final Trials and what to expect on each floor!
| All Trial of the Sword Guides | ||
|---|---|---|
| EX Trial of the Sword | ||
| The Beginning Trials | The Middle Trials | The Final Trials |
List of Contents
The Final Trials Walkthrough
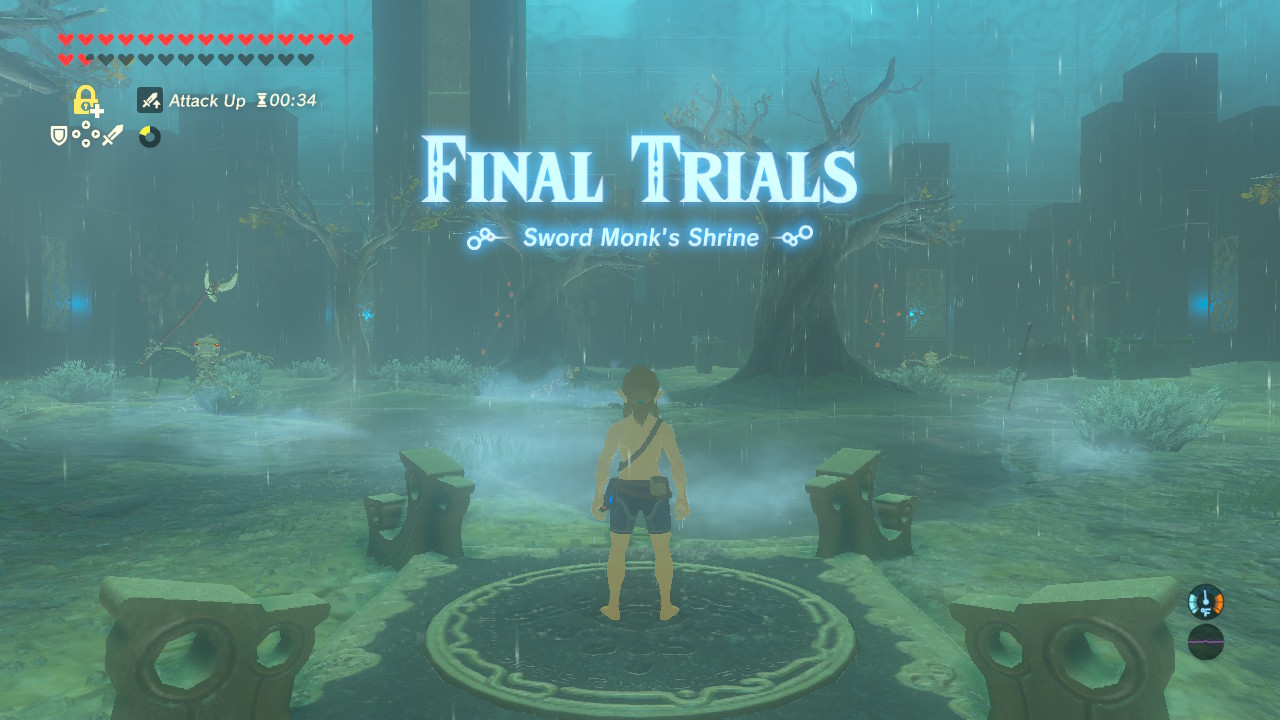
The Final Trials has a total of 24 floors with three Resting Spots. Completing the Final Trials fully awakens the Master Sword, boosting its base power from 50 to 60.
Floor 1
| Enemies |
・Stalkoblin (4) |
|---|---|
| Equipment |
・Rusty Broadsword (1) ・Spiked Boko Club (1) ・Bokoblin Arm (4) ・Rusty Claymore (1) ・Spiked Boko Bat (1) ・Rusty Halberd (1) ・Spiked Boko Spear (1) ・Spiked Boko Bow (1) ・Arrow (Multiple) ・Rusty Shield (1) ・Spiked Boko Shield (1) |
| Food & Materials | None |
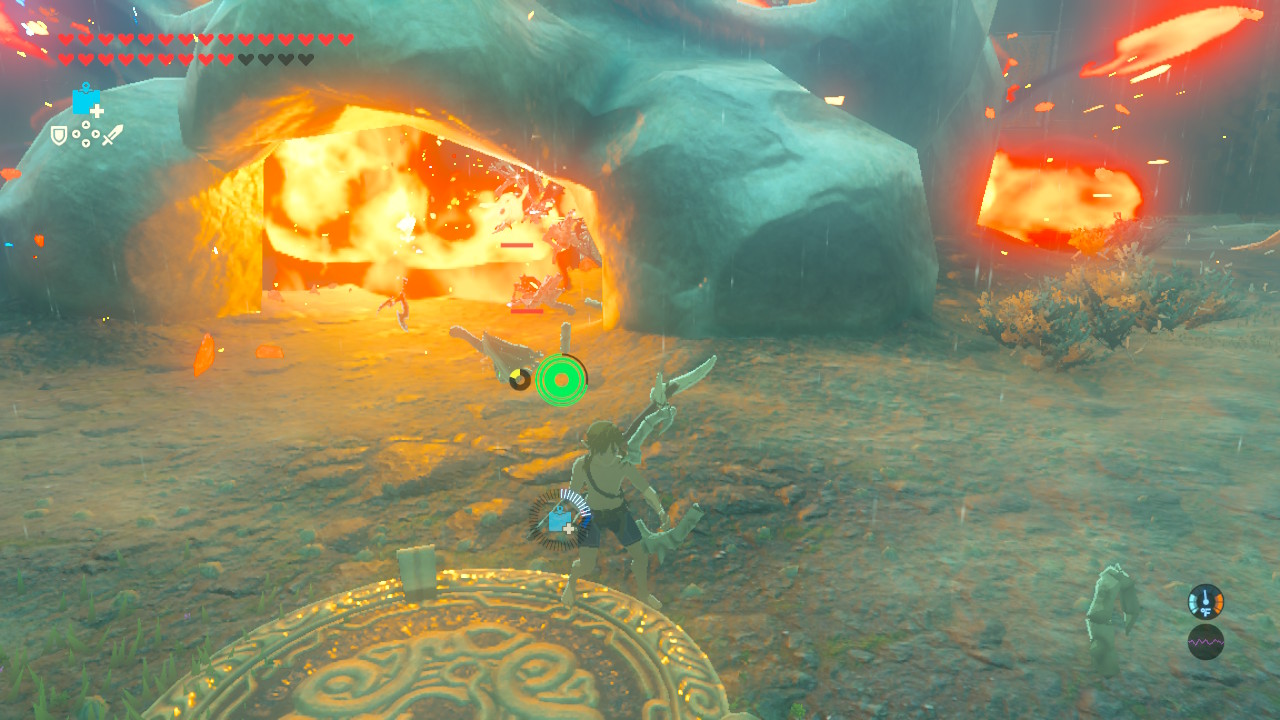
Although the Stalkoblins are fairly easy to beat, the real danger in this area is the thunderstorm. Avoid equipping metallic weapons and shields and instead use the Spiked Boko Clubs. You can also safely dispatch the enemies by using Remote Bombs.
Prioritize the Archers
Don't underestimate the Stalkoblins! The archers, in particular, can deal high damage to Link since he's not starting out with any armor upon warping. As such, prioritize dispatching the archers to conserve your health.
Gather the Metal Weapons
There are metal weapons scattered throughout the floor of this arena. These present a possible environmental danger to Link as it draws lightning from the thunderstorm.
Make it a point to gather all the metal weapons and armor you can find and place them in your inventory to reduce the chances of getting hit by lightning strikes.
Floor 2
| Enemies |
・Stalizalfos (3) ・Electric Keese (2) |
|---|---|
| Equipment |
・Lizal Forked Boomerang (1) ・Lizalfos Arm (3) ・Spiked Boko Spear (2) ・Arrow (Multiple) ・Royal Guard's Shield (1) ・Reinforced Lizal Shield (1) |
| Food & Materials |
・Various Food (Multiple) |
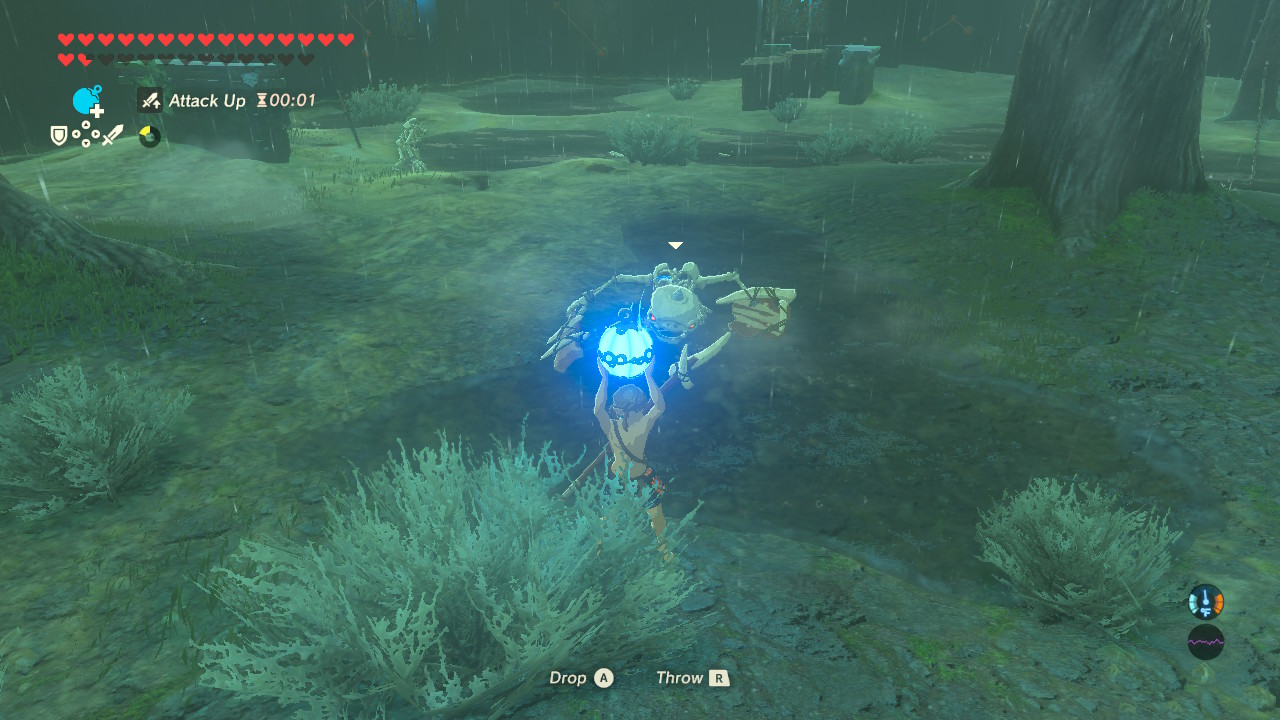
You will face Stalizalfos and some Electric Keese here and, much like the previous floor, the real danger here is the constant thunderstorm. Shoot the two Electric Keese from a distance and head into the Skull Cave.
The best way to take out these enemies safely is by using the Remote Bomb. Wait for all of the Stalizalfos to pop out of the ground and then detonate the bomb on the explosive barrel to shatter their bodies. Quickly attack of the skulls before they have a chance to reform.
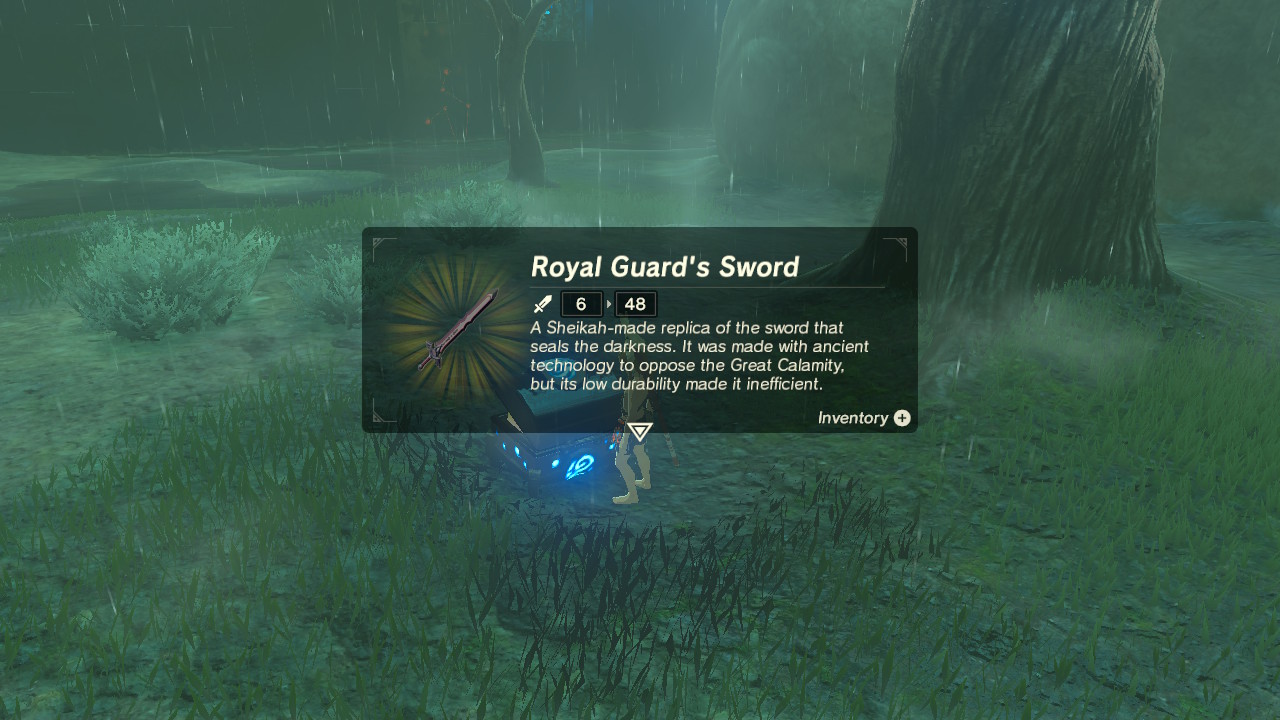
Once you defeat all the enemies, grab all the weapons and food you can find. There's a chest half-buried under the ground here that you can use Magnesis on and open to receive a Royal Guard's Sword.
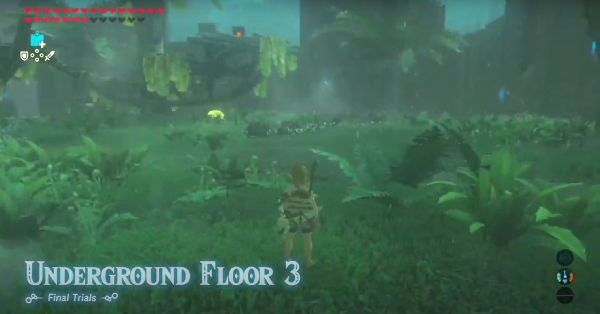
Floor 3
| Enemies |
・Stalmoblin (5) ・Electric Chuchu (2) |
|---|---|
| Equipment |
・Spiked Moblin Club (1) ・Moblin Arm (5) ・Spiked Moblin Spear (1) ・Knight's Bow (1) ・Dragonbone Boko Bow (1) ・Arrow (Multiple) ・Knight's Shield (1) |
| Food & Materials | None |
Floor 3 has two big Electric Chuchus roaming around the floor. Take them out from range as they can shock and stun Link if he gets close.

With those two out of the way, head up the platform and open the two chests to receive a Knight's Shield and Knight's Bow; the latter, you can reachy by shield surfing once you jump.
Five Stalmoblins will rise from the ground as soon as you open the chest. They are fortunately far away from each other initially, allowing you to engage them safely one-on-one.
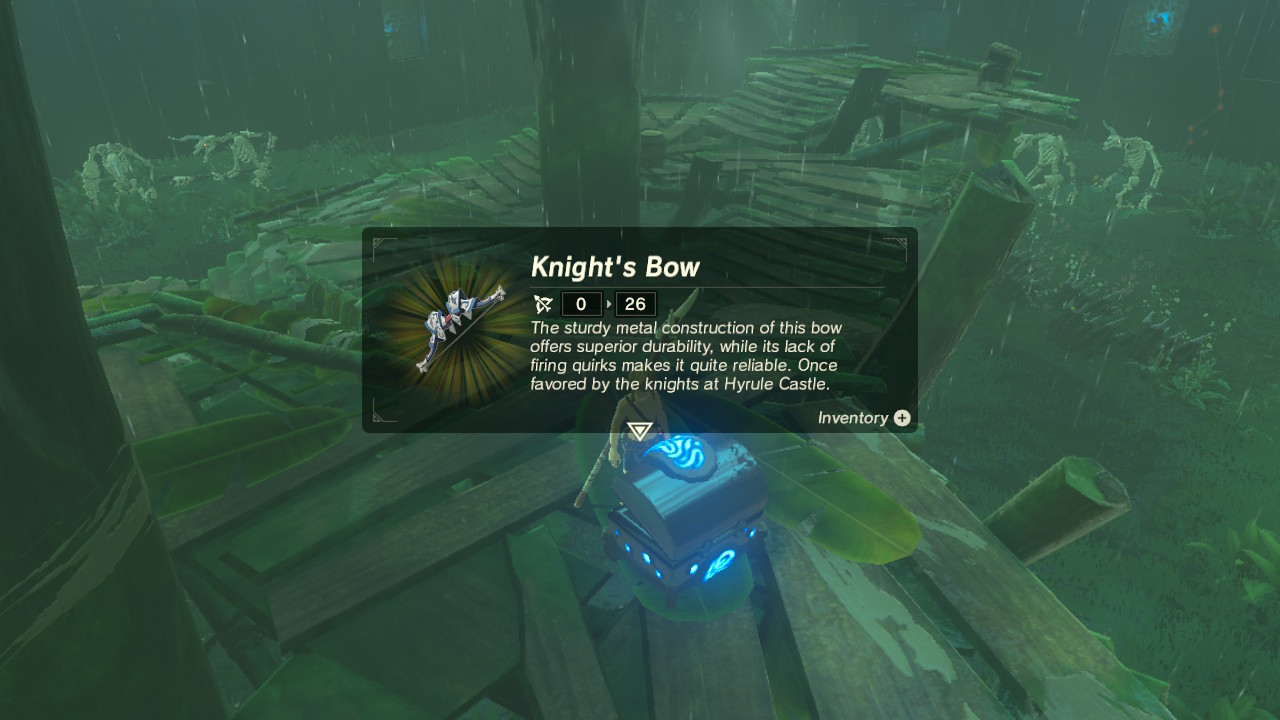
Destroy the barrels on the upper platform before warping out to receive some arrows. There's a chest that also contains a Knight's Bow.
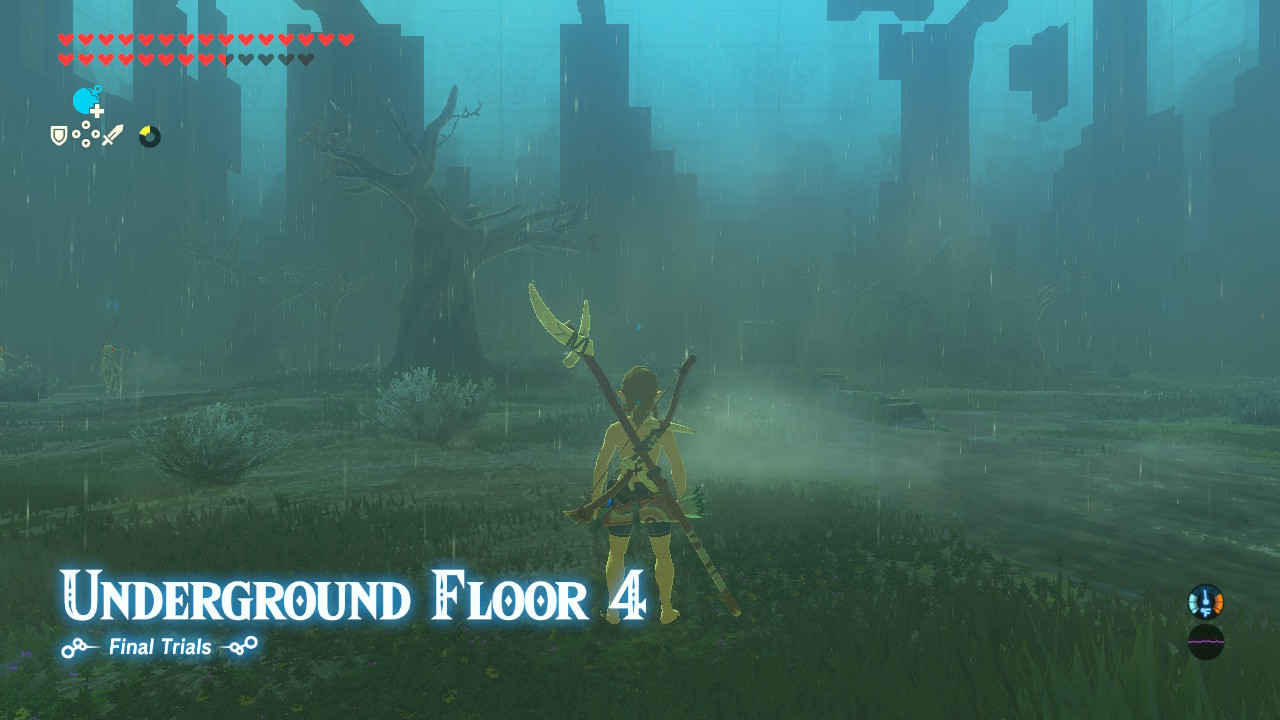
Floor 4
| Enemies |
・Stalkoblin (8) |
|---|---|
| Equipment |
・Rusty Broadsword (2) ・Dragonbone Boko Club (1) ・Bokoblin Arm (8) ・Rusty Claymore (1) ・Boko Bat (1) ・Dragonbone Boko Bat (1) ・Rusty Halberd (1) ・Boko Spear (2) ・Dragonbone Boko Spear (1) ・Spiked Boko Bow (2) ・Arrow (Multiple) ・Shock Arrow (Multiple) ・Rusty Shield (1) |
| Food & Materials | None |
As soon as you warp in. eight Salkoblins riding Stalhorses will charge at you. Keep your distance, using the bow or the Remote Bomb to knock the Stalkoblin off their mounts.
Keep moving as you engage each Stalkoblin. While waiting for your Remote Bomb to charge, you can also try sniping the enemies with a headshot to instantly defeat them.
Once all the enemies are the defeated, grab all the weapons and arrows you can carry before warping out.
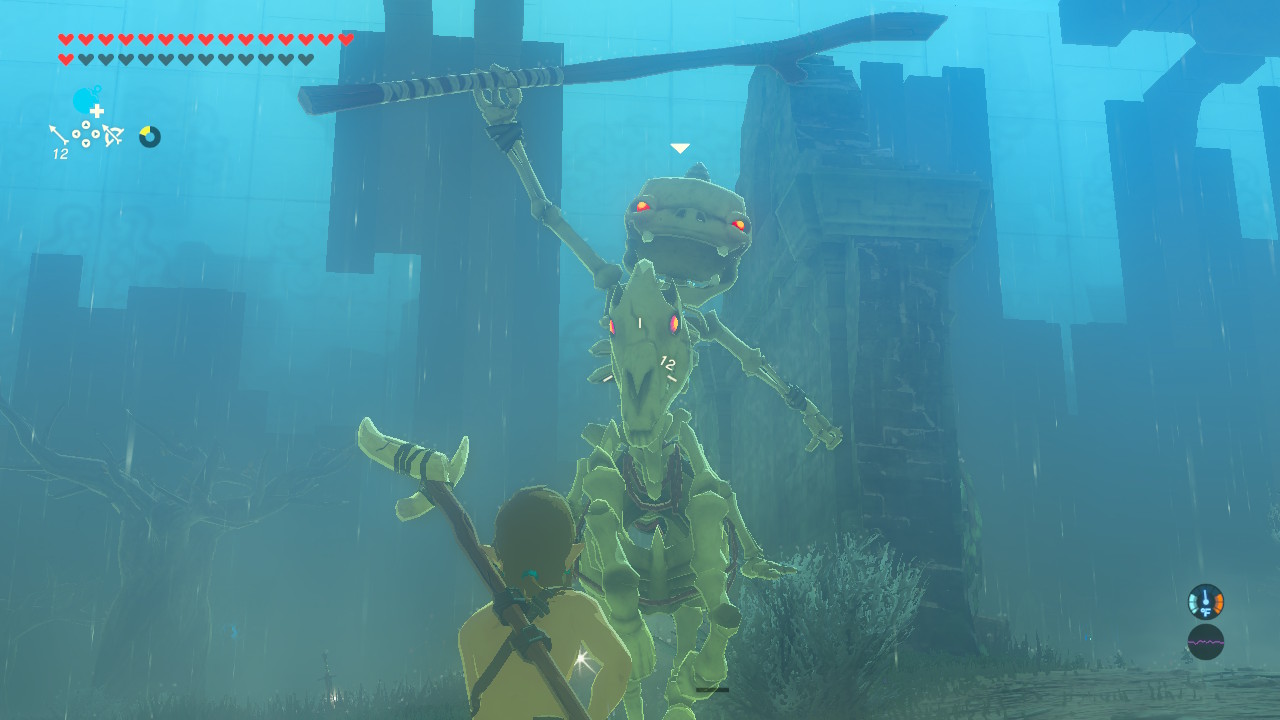
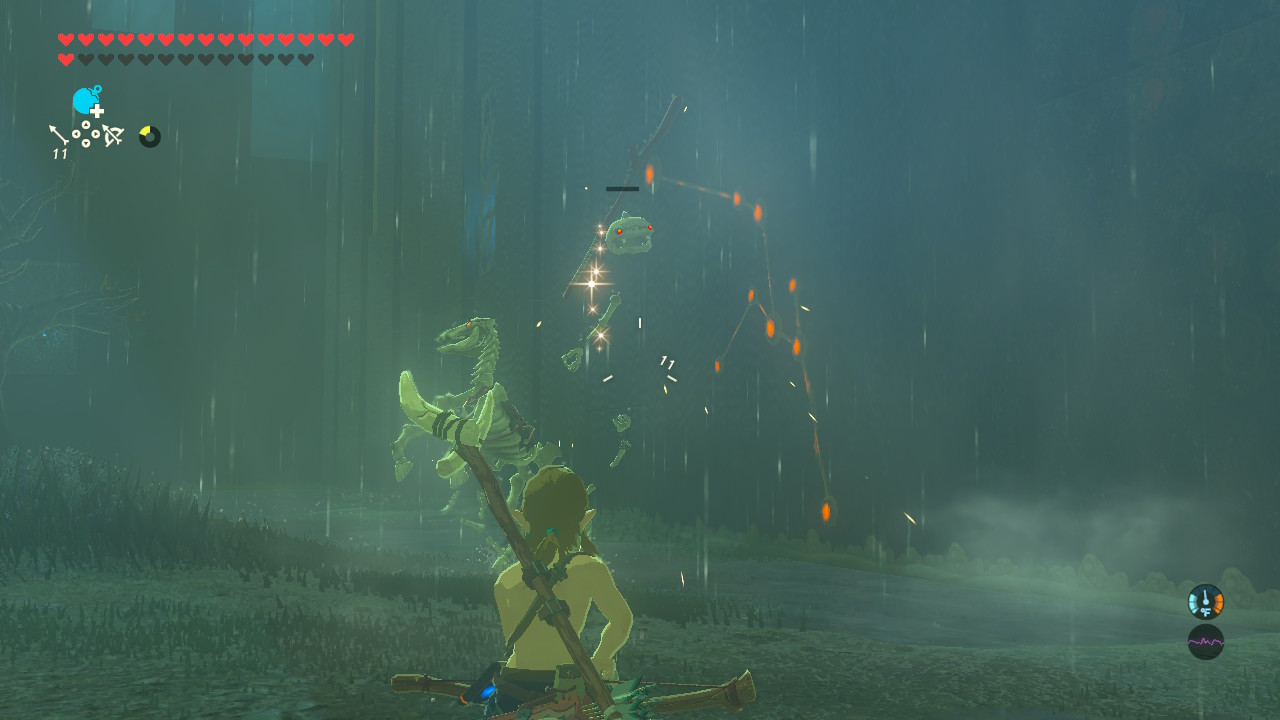
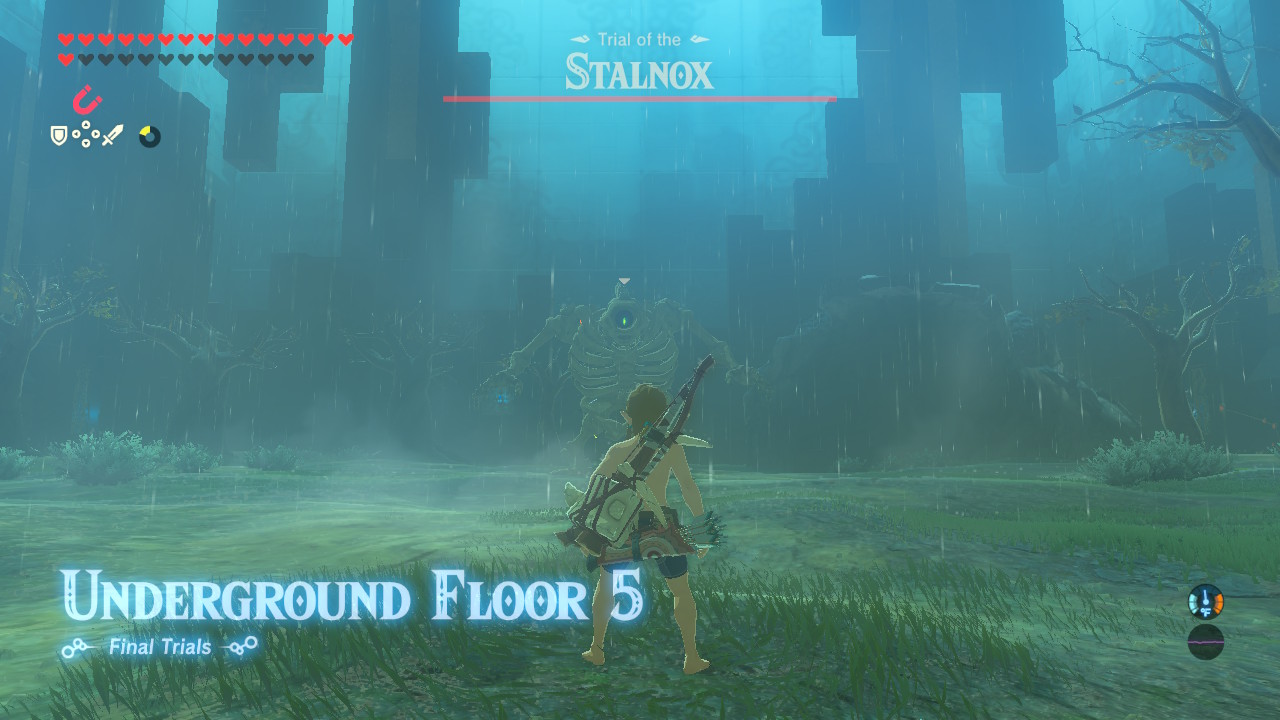
Floor 5
| Enemies |
・Stalnox (1) |
|---|---|
| Equipment |
・Thunderblade (1) ・Great Frostblade (1) ・Flamespear (1) ・Arrow (Multiple) ・Ice Arrow (Multiple) |
| Food & Materials | None |
Your first challenge for the Final Trials is a Stalnox. While the battle itself is pretty straightforward, the constant thunderstorm adds an extra risk to the battle - especially if you're using metal weapons and shields.
Defeating the Stalnox
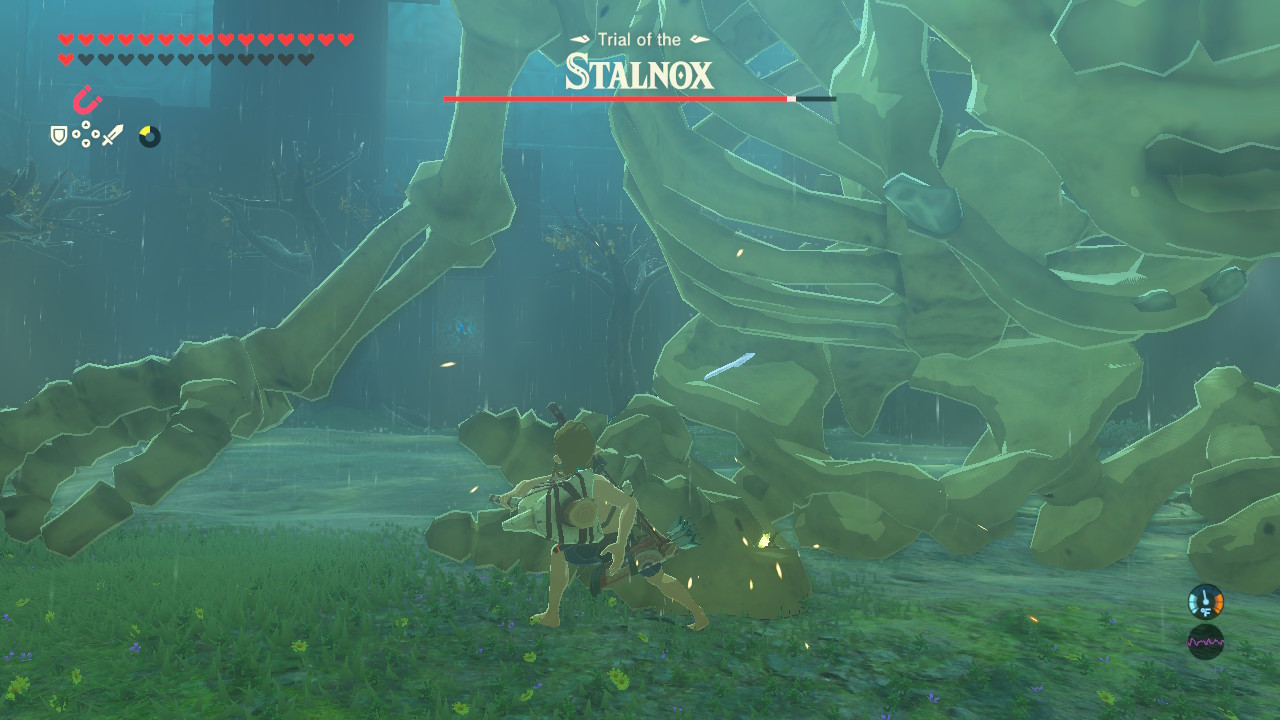
The Stalnox is already roaming around the area and will quickly spot you; shoot an arrow at its eye to stun it and knock it down. Quickly run up to it and use your strongest weapons to damage it.
Eventually, hitting the Stalnox eye causes it to pop out. When this happens, use your strongest weapon to damage the eye.
Once the Stalnox puts its eye back, it will often shield it with its hand. Use the Stasis rune when it's not blocking its eye to get a clear shot of its eye.
Find the Hidden Chest
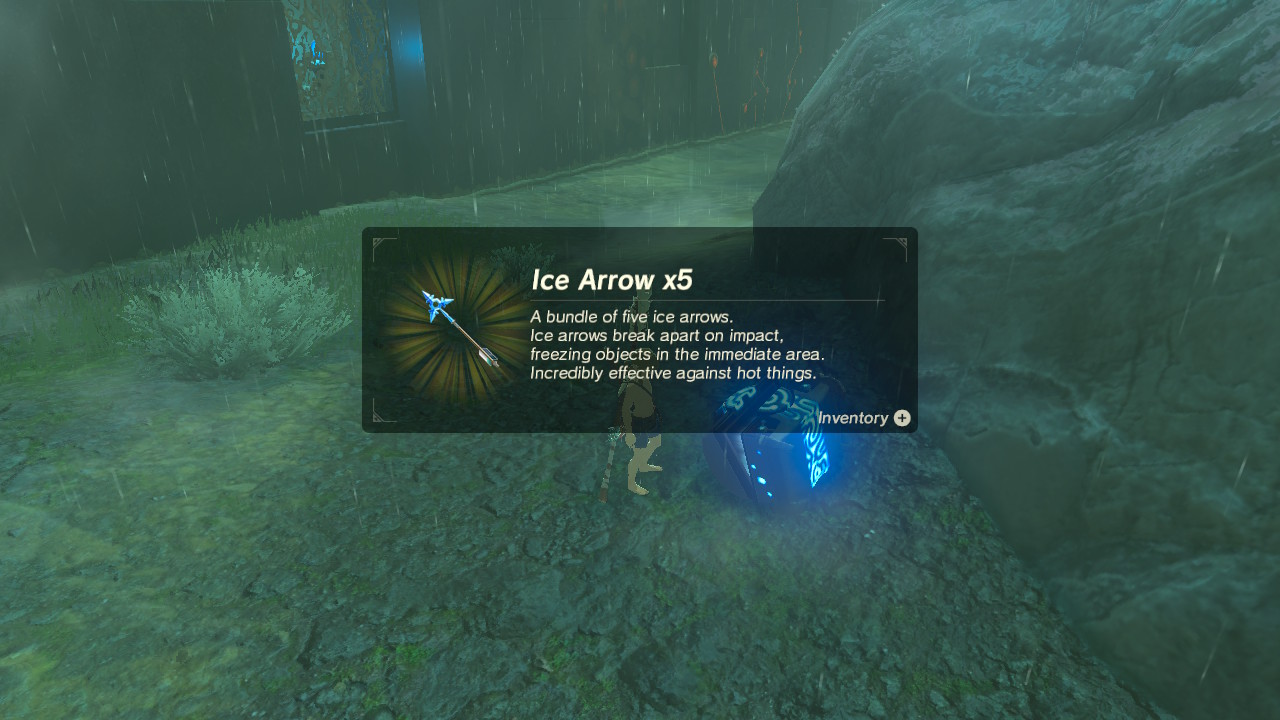
There is a hidden chest slightly buried underground at the top left part of the area, behind one of the large rocks. Use Magnesis on it to pull it out and open it to receive five Icy Arrows.
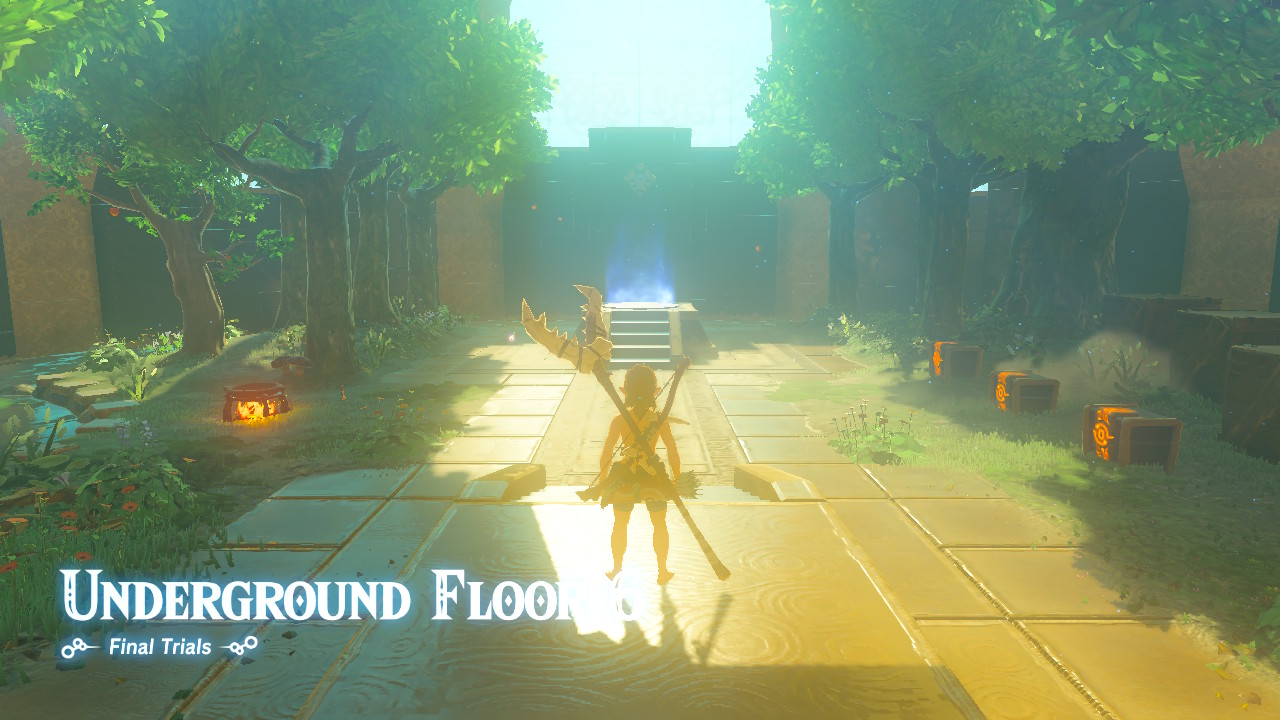
Floor 6
| Enemies | None |
|---|---|
| Equipment |
・Torch (1) ・Double Axe (1) ・Knight's Bow (1) ・Arrow (Multiple) ・Ancient Arrow (3) ・Flamebreaker Boots (1) |
| Food & Materials |
・Apple (2) ・Armored Carp (3) ・Fairy (1) ・Hearty Truffle (2) ・Razorshroom (2) ・Various Food (Multiple) |
Floor 6 is a Resting Spot. Use this opportunity to cook food and capture fairies.
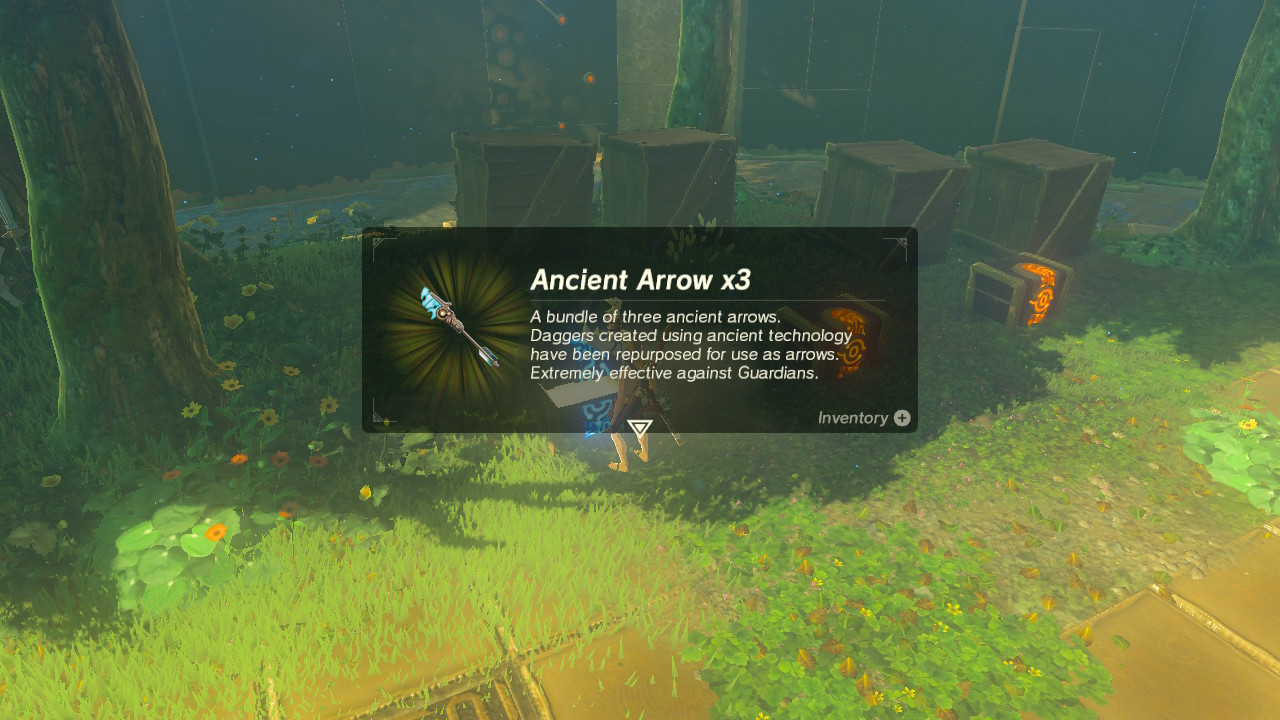
Make sure to grab the three Ancient Arrows here.
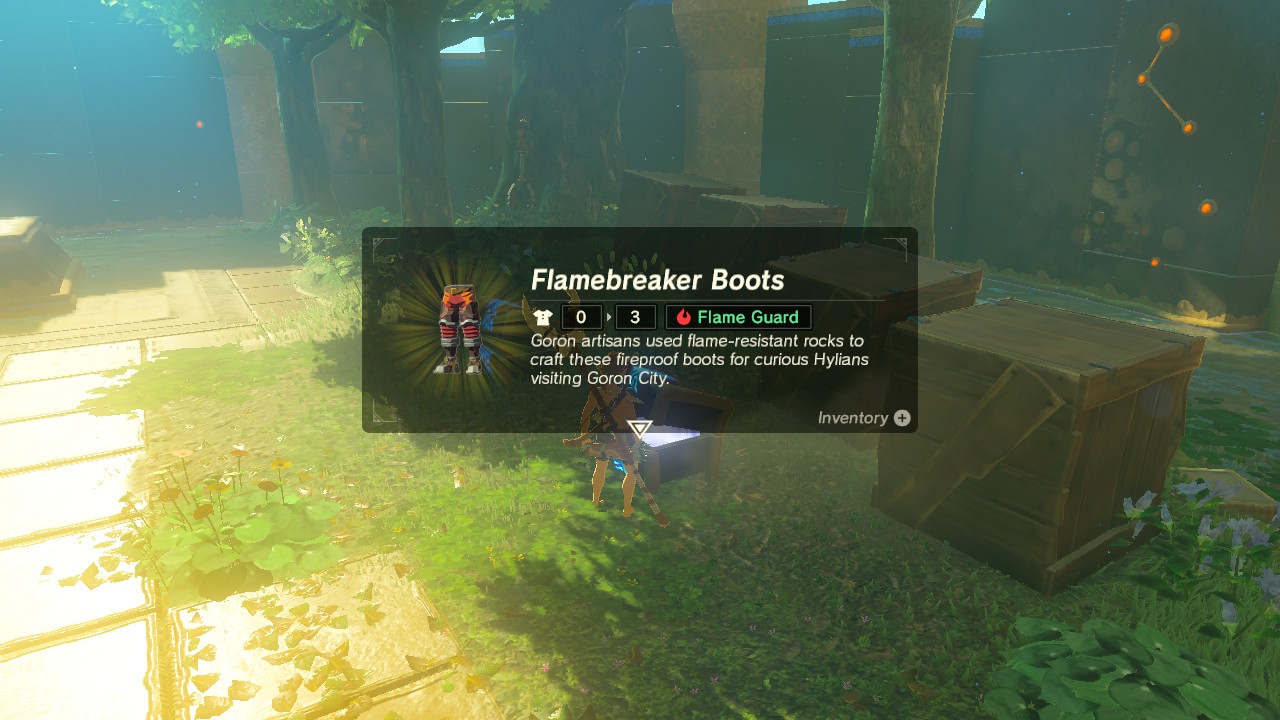
Finally, make sure to equip the Flamebreaker Boots before warping out. The succeeding floors have scorching climates that will set Link on fire if he's not protected with flame resistant armor.
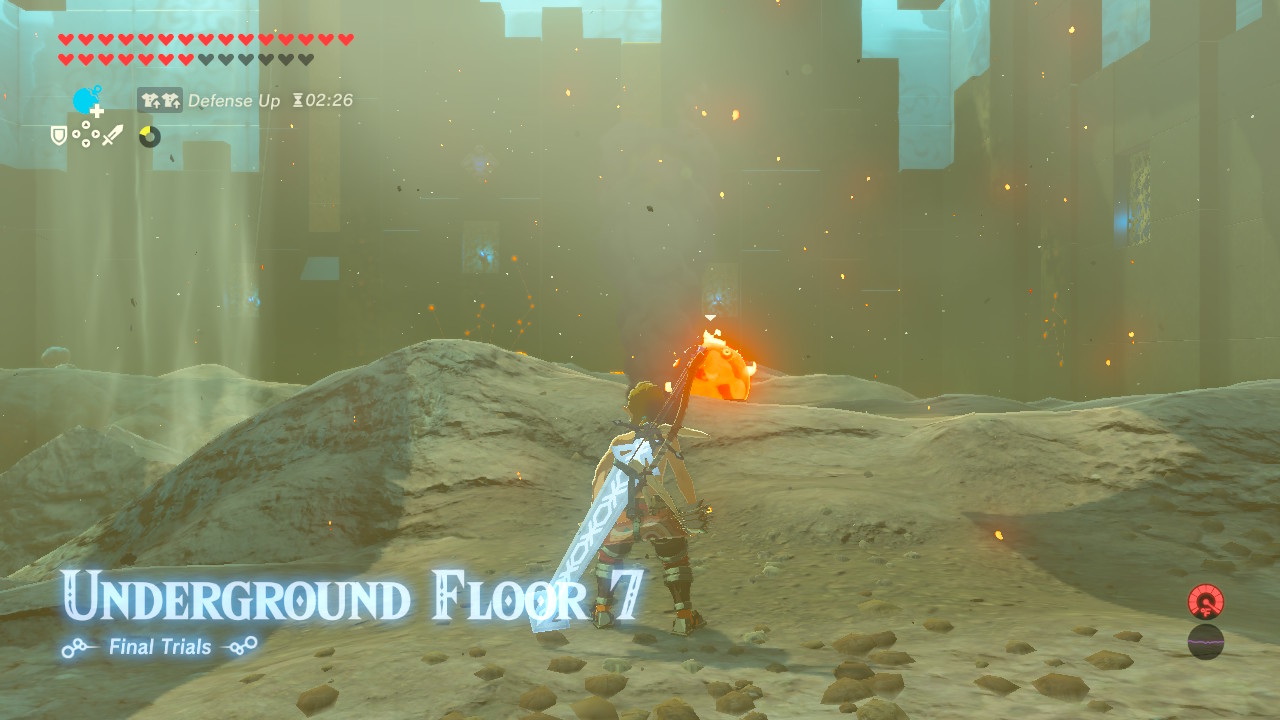
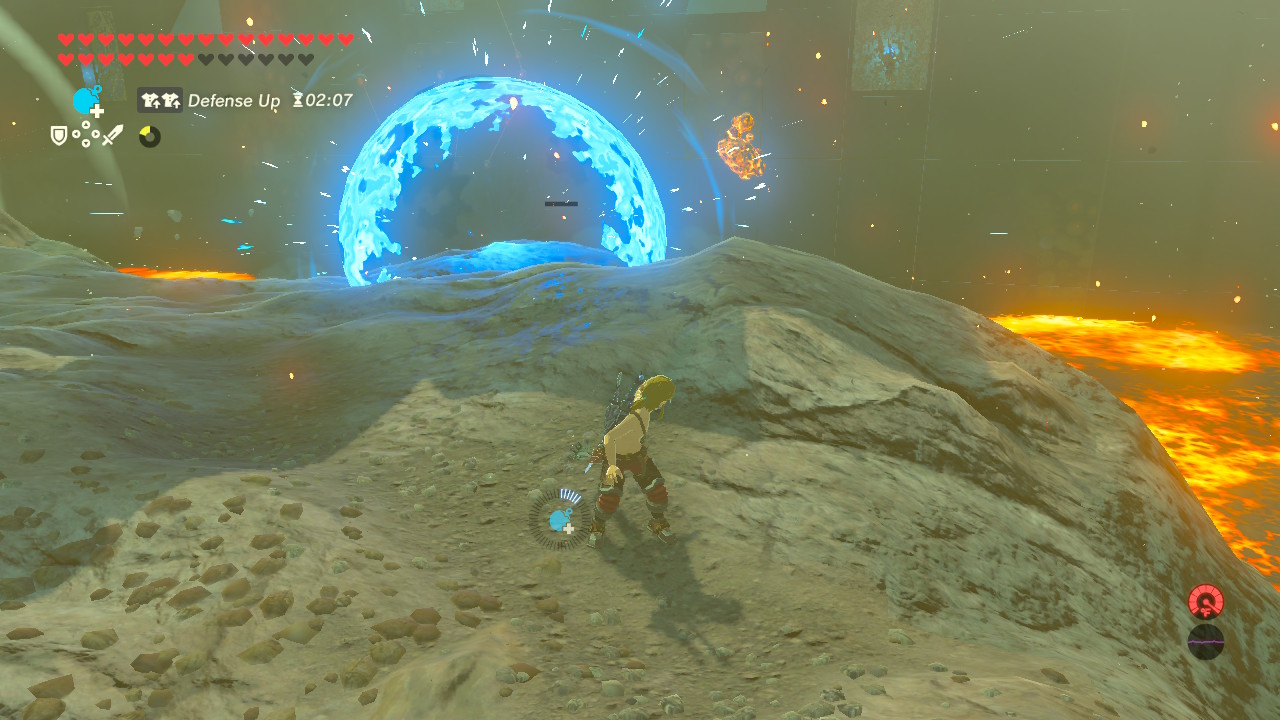
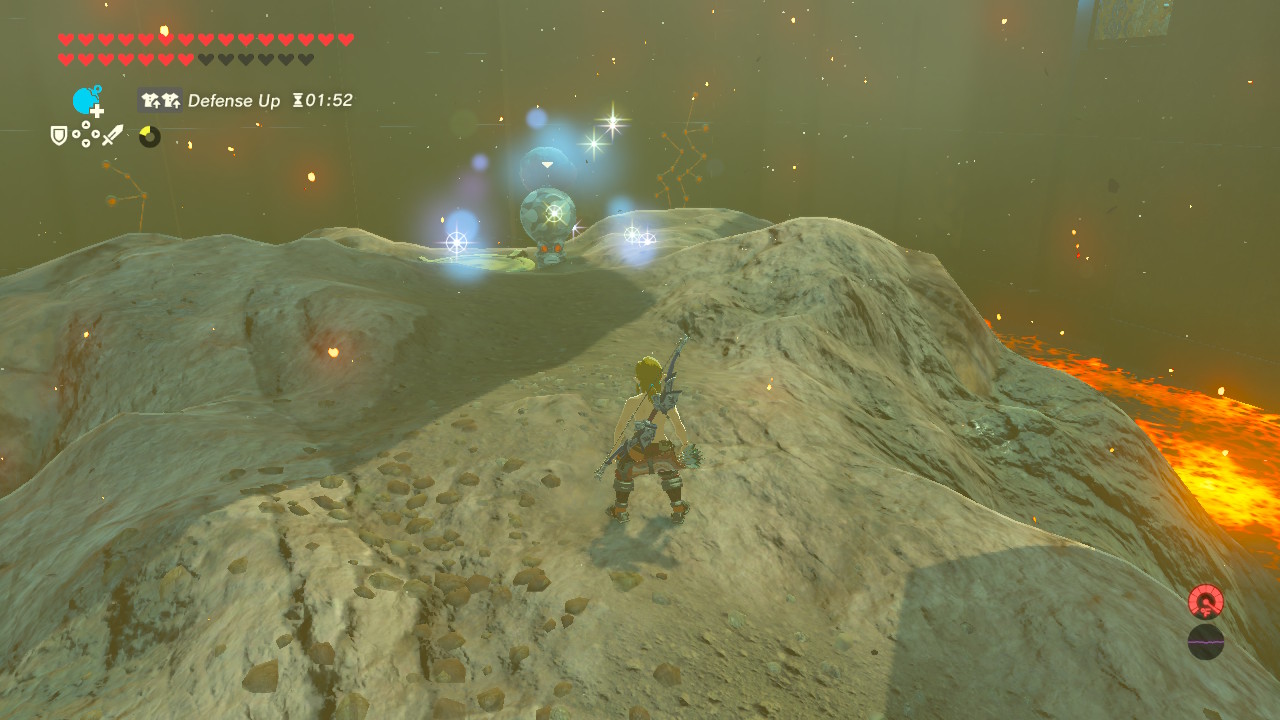
Floor 7
| Enemies |
・Igneo Pebblit (2) ・Rock Octorok (1) ・Fire Chuchu (1) |
|---|---|
| Equipment |
・Rusty Claymore (1) |
| Food & Materials | None |
This floor serves as an introductory level for the succeeding levels. Link requires at least one piece of flame resistant armor to traverse the floor safely. Additionally, avoid using wooden weapons as they will quickly catch fire.
Dealing with the Enemies
Shoot an arrow at the Fire Chuchu from a safe distance to quickly dispatch it. Once the Igneo Pebblits appear, use a Remote Bomb to destroy them.
Clean Your Rusty Weapons
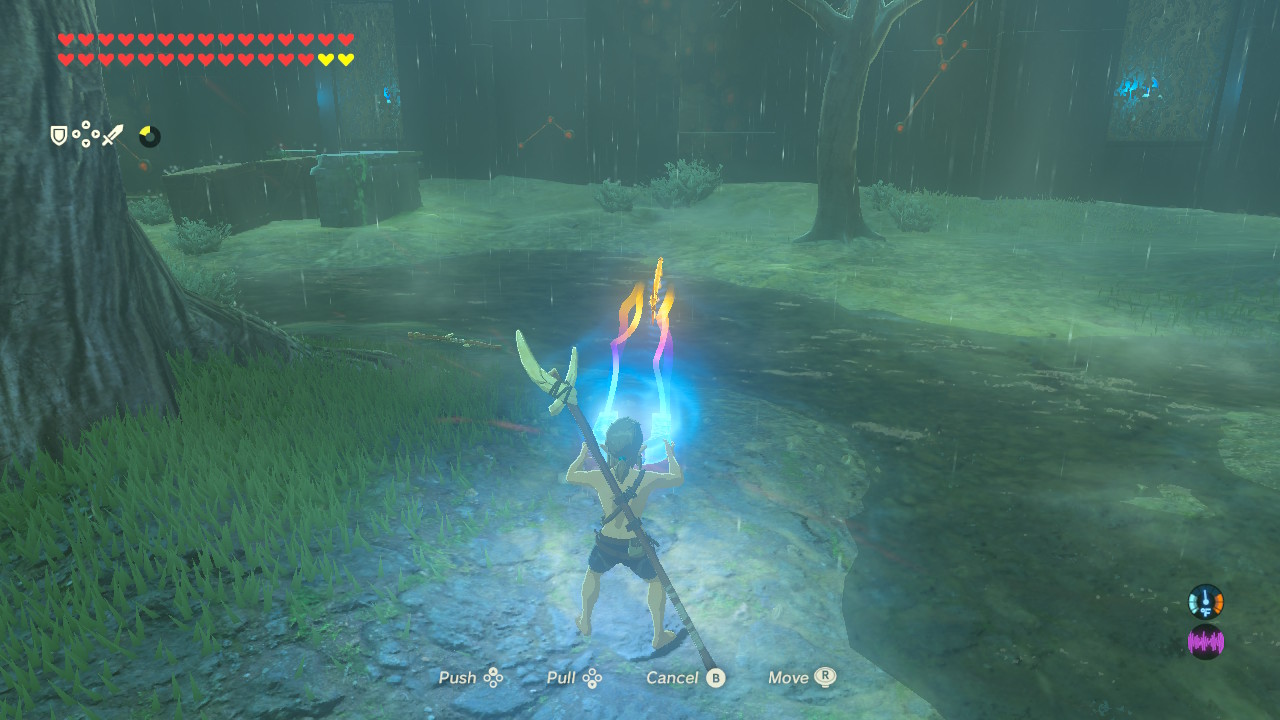
The floor has one Rock Octorock. Instead of kiling it, wait for it to start sucking air and throw your rusty weapons at its direction. When done correctly, the Rock Octorock will swallow the rusty weapon and spit it back out rust-free!
Floor 8
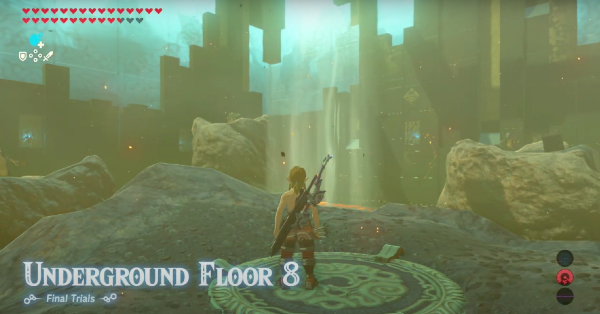
| Enemies |
・Fire-Breath Lizalfos (3) |
|---|---|
| Equipment |
・Strengthened Lizal Bow (3) ・Fire Arrow (Multiple) |
| Food & Materials |
・Various Food (Multiple) |
The next floor pits Link against three Fire-breathing Lizalfos - each one sittong on their respective rocky platform. Glide towards one of the platforms and snipe the Lizalfos safely in the air.
Once all Lizalfos are defeated, destroy all the metal crates for some Fire Arrows and food. Make sure you quickly grab the latter before they burn up!
Floor 9
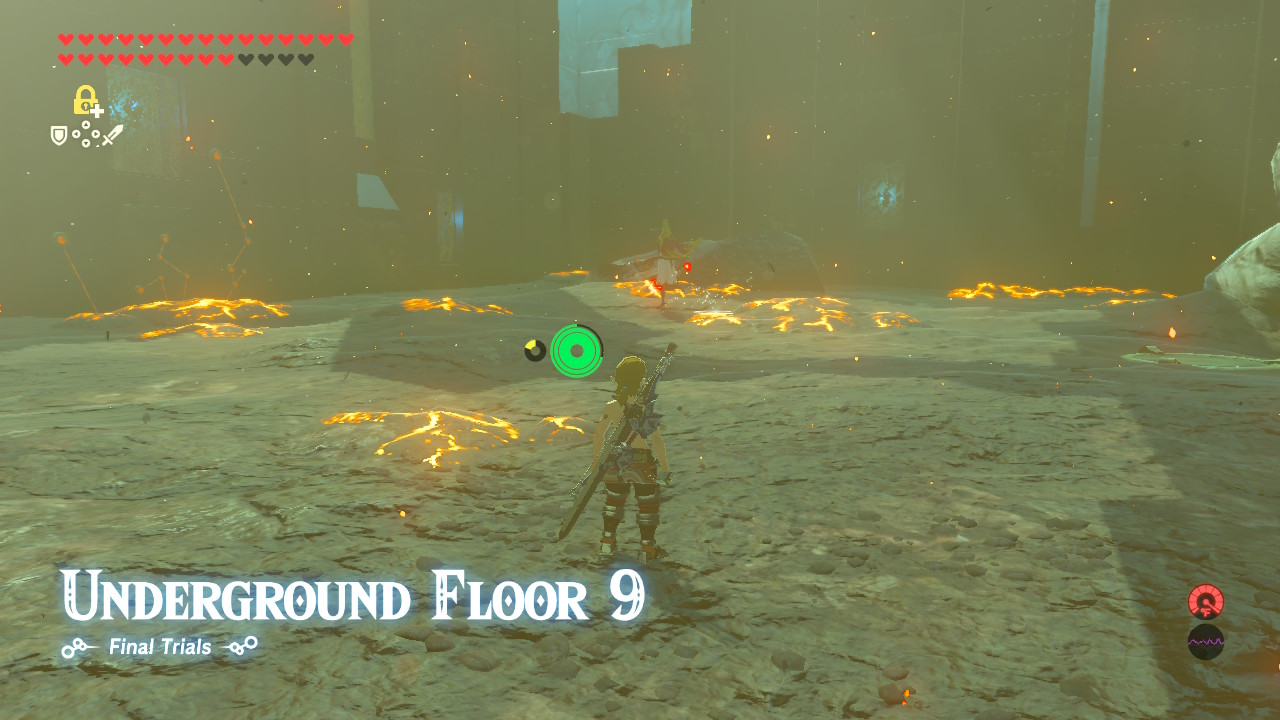
| Enemies |
・Fire-Breath Lizalfos (2) ・Blue Moblin (1) ・Meteo Wizzrobe (1) |
|---|---|
| Equipment |
・Lizal Forked Boomerang (1) ・Meteor Rod (1) ・Iron Sledgehammer (1) ・Enhanced Lizal Spear (1) ・Arrow (Multiple) ・Reinforced Lizal Shield (1) |
| Food & Materials |
・Various Food (Multiple) |
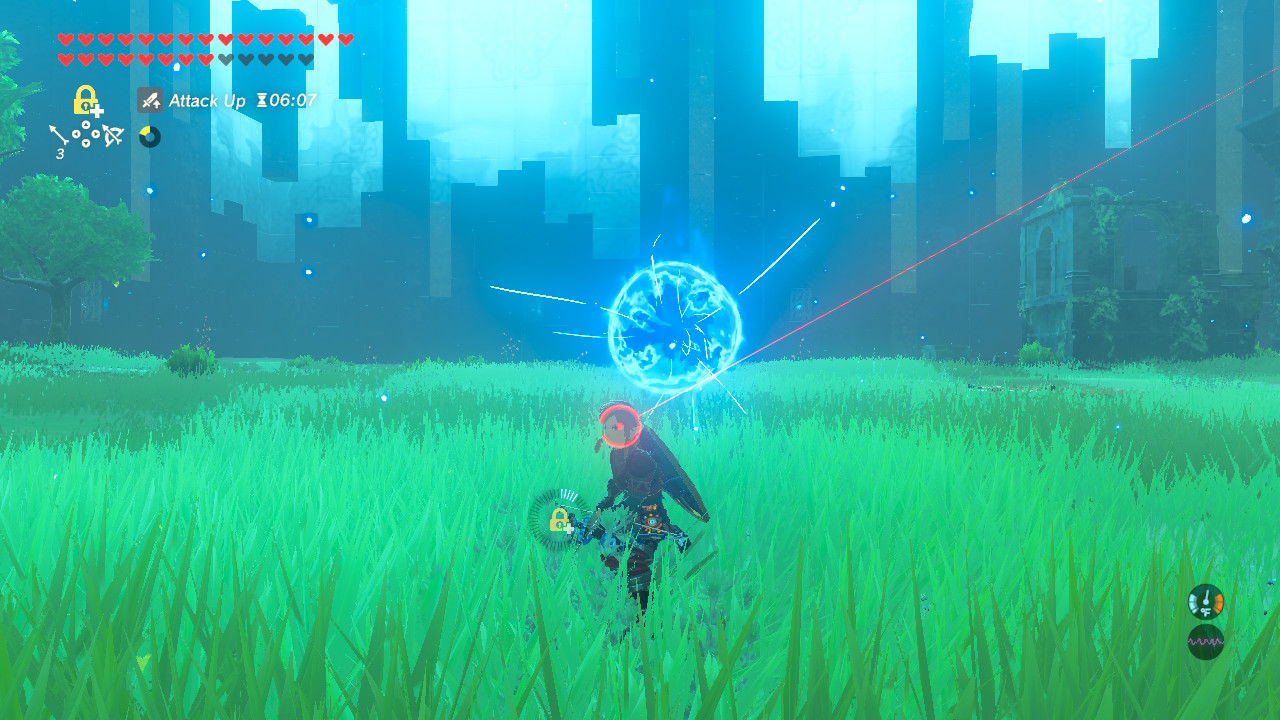
This floor pits Link against a Meteo Wizzrobe, two Fire-breathing Lizalfos, and a Blue Moblin.
Defeat the Wizzrobe
Your priority is the Meteo Wizzrobe, which will most likely spot you upon warping in. Use an arrow and hit its head to stun it, then use the Great Frostblade you got from the Stalnox to instantly defeat it.
With the Wizzrobe out of the way, head up the Skull Cave and take care of the Moblin and the two Lizalfos. You can use the Great Frostblade to instantly defeat the two Lizalfos.
Once all enemies are defeated, destroy all the metal boxes and grab as much food and weapons you can carry.
Floor 10
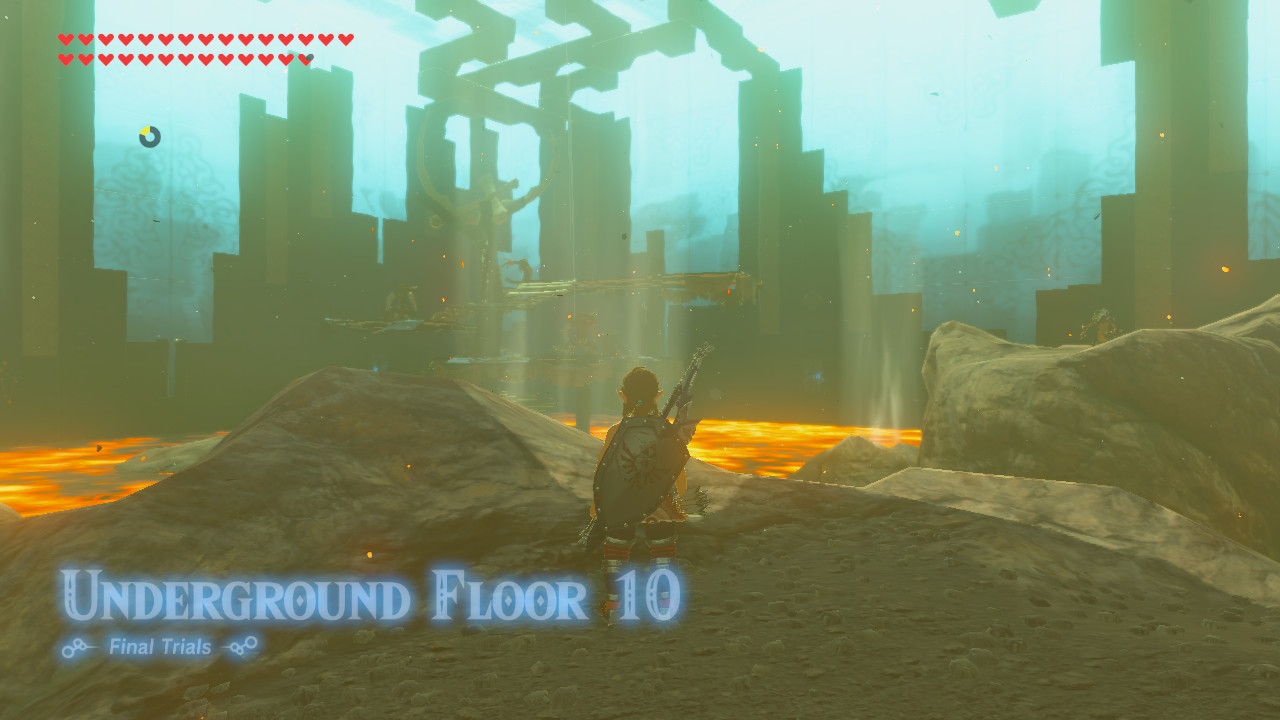
| Enemies |
・Fire-Breath Lizalfos (1) ・Black Moblin (3) |
|---|---|
| Equipment |
・Knight's Claymore (1) ・Royal Guard's Spear (1) ・Strengthened Lizal Bow (1) ・Steel Lizal Bow (1) ・Arrow (Multiple) ・Fire Arrow (Multiple) ・Ancient Arrow (3) |
| Food & Materials |
・Various Food (Multiple) |
This floor pits you against one Fire-breathing Lizalfos and three Black Moblins. As soon as you warp in, paraglide to the right rocky platform and take out the Lizalfos.
Defeat the three Moblins
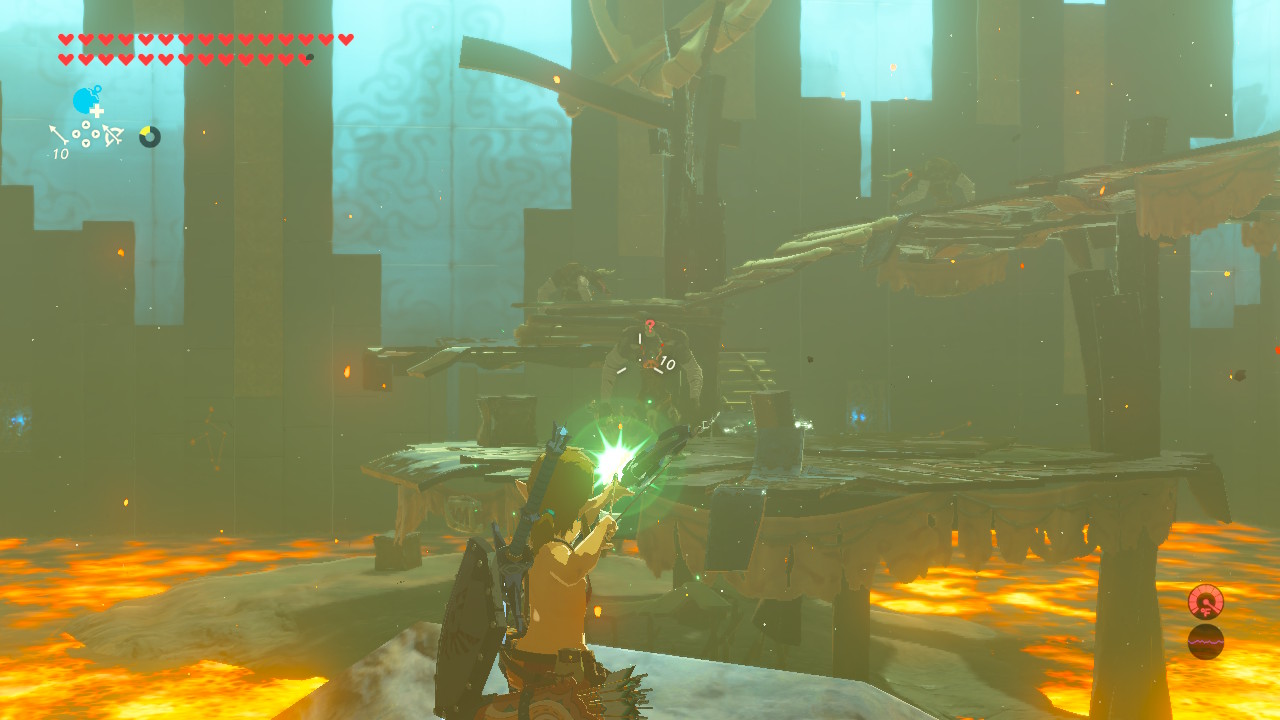
With the Lizalfos out of the way, you can safely engage the three Moblins without getting shot at. Paraglide to the wooden platform and snipe one of the Moblins. You can also use a two-handed weapon to knock them into the lava below.
The Moblins are located in different parts of the platform so it's easy to engage then one-on-one. If one of the Moblins spots you, use the Stasis rune to give you some space while you finish off the first one.
Get the Ancient Arrows
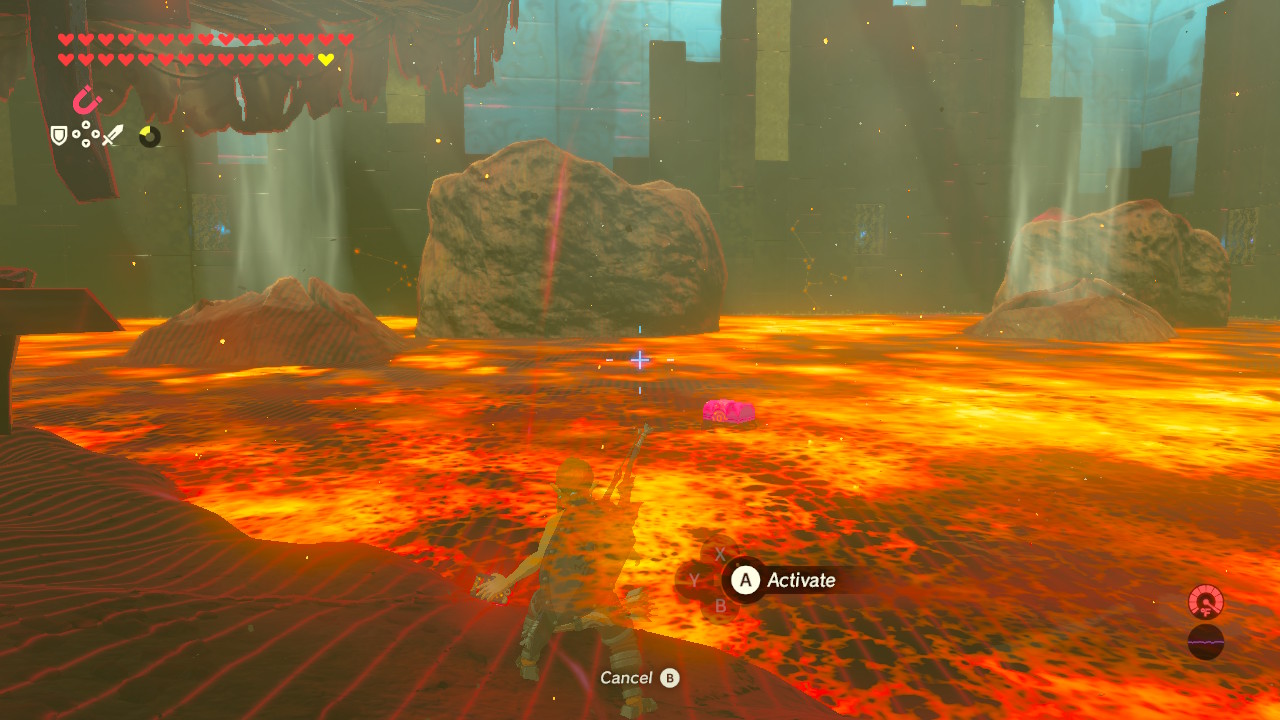
Once all enemies are defeated, carefully walk down the platform and use Magnesis to scan the lava for a chest. Grab this chest from the lava and open it to receive three Ancient Arrows.
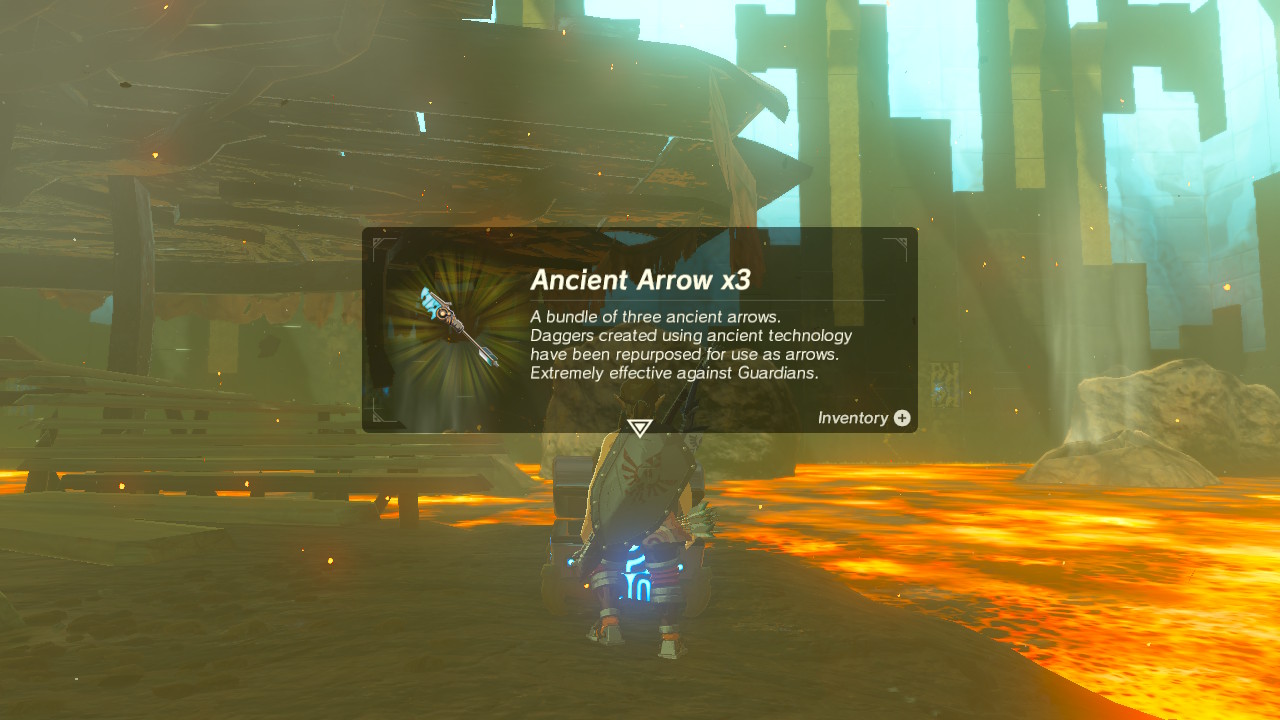
Save these arrows! You'll need them for the boss fights ahead!
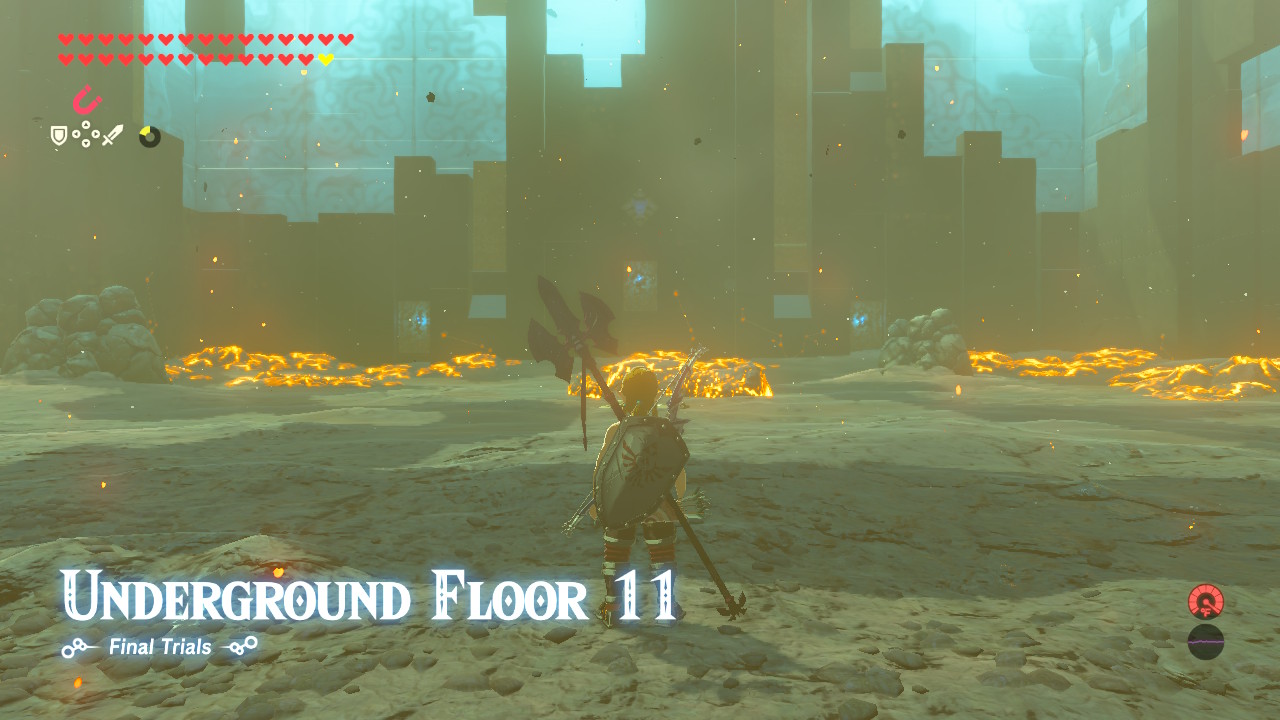
Floor 11
| Enemies |
・Igneo Talus (1) |
|---|---|
| Equipment |
・Arrow (Multiple) |
| Food & Materials |
・Apple (Multiple) |
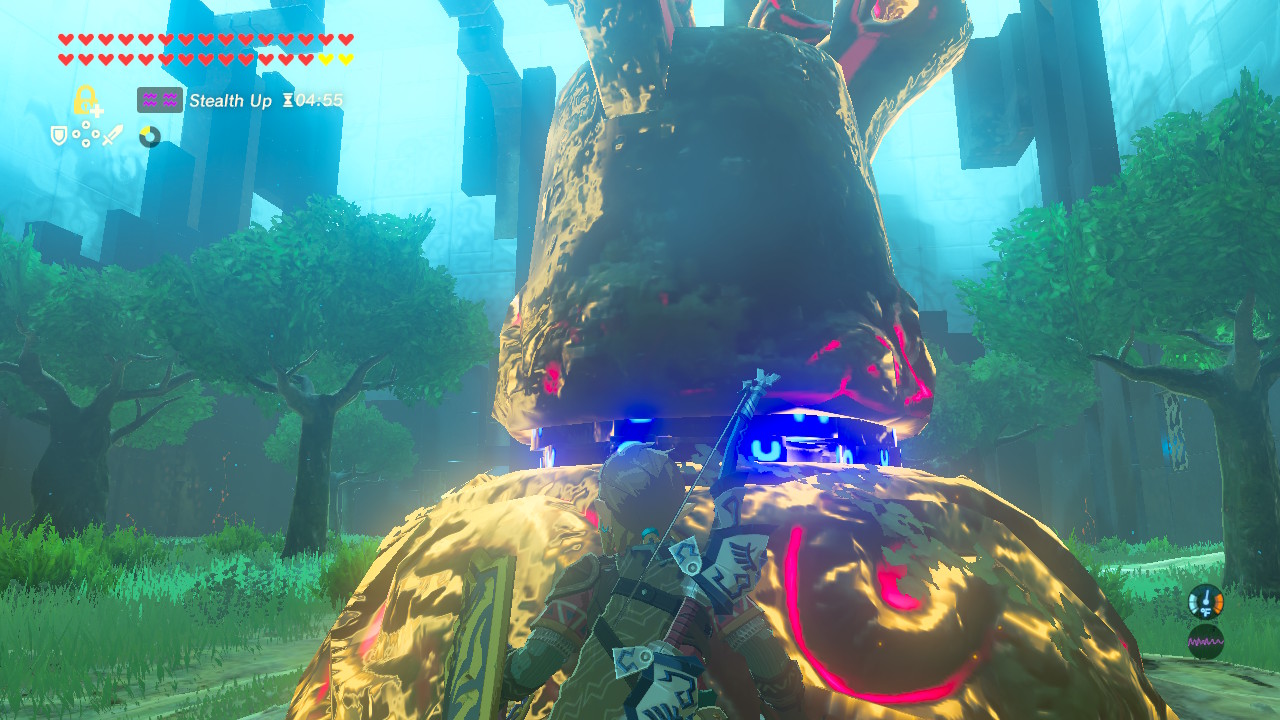
An Igneo Talus serves as the first boss for the Final Trials. As with all Taluses, this rocky titan will only awaken if you get close to it. Use this opportunity to ready your weapons and get into position.
Don't use an Ancient Arrow for this boss. Save them for the bosses later.
Defeating the Igneo Talus
As with all Taluses, it can only be damaged by hitting the rocky outcropping in its body. Shooting an arrow at this outcropping stuns the Talus, allowing you to jump on its body and hit it repeatedly with a strong weapon.
The Igneo Talus' most dangerous attack is its rock blast attack. Since the arena is relatively small, it can be difficult to run way from this attack.
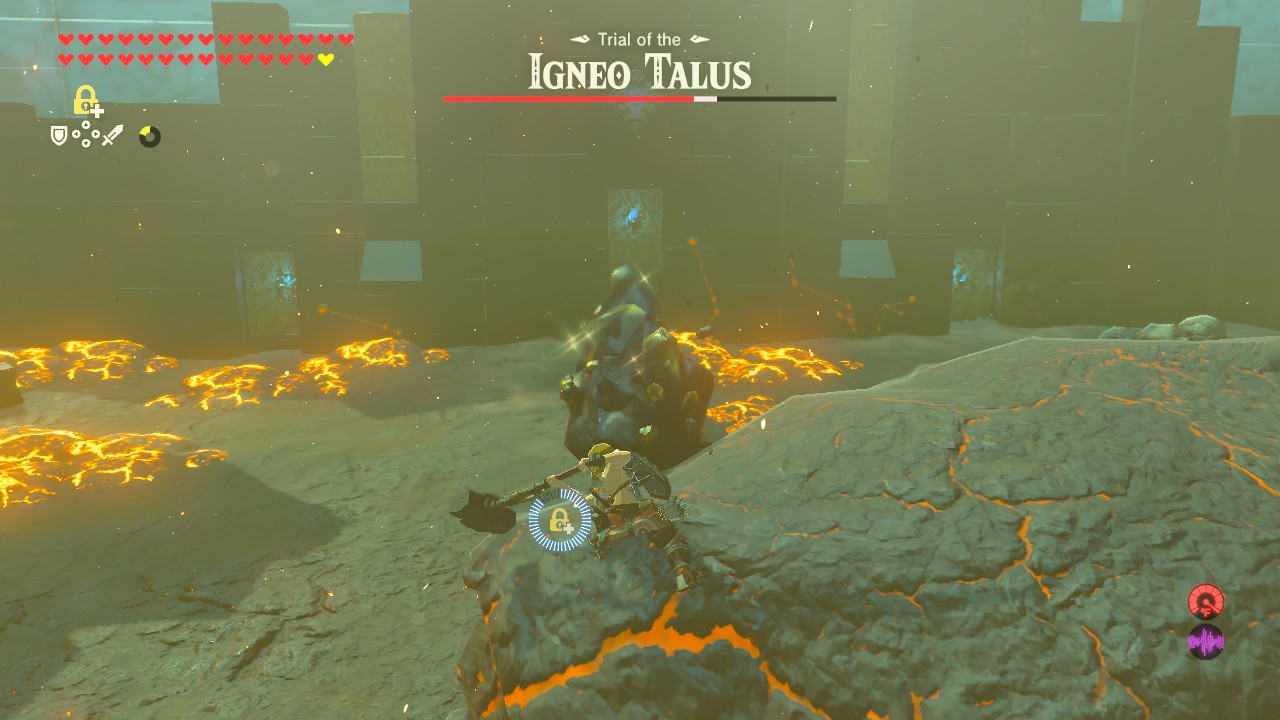
To prevent the Igneo Talus from using its powerful attacks, use a Remote Bomb to destroy its arms. This also causes it to fall over momentarily, allowing you to climb on its body or shoot its weak point with a bow.
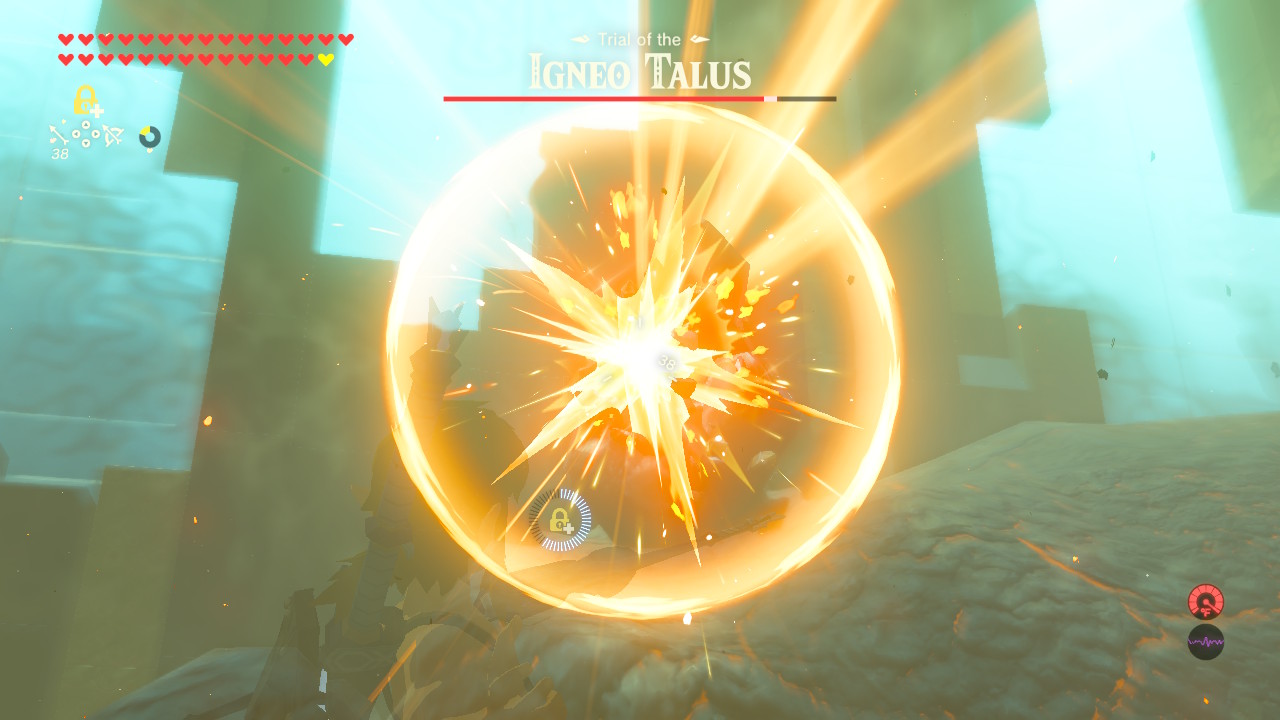
You can also shoot the Talus with an Ice Arrow. This stuns it momentarily and also allows you to climb on its body safely without getting burned. You can also use the Great Frostblade, though this requires you to get close to the Talus.
A Talus that's missing one or both of its arms also stops attacking you in an attempt to regenerate its missing limbs. You can do this repeatedly, essentially stunlocking it so that it can't attack.
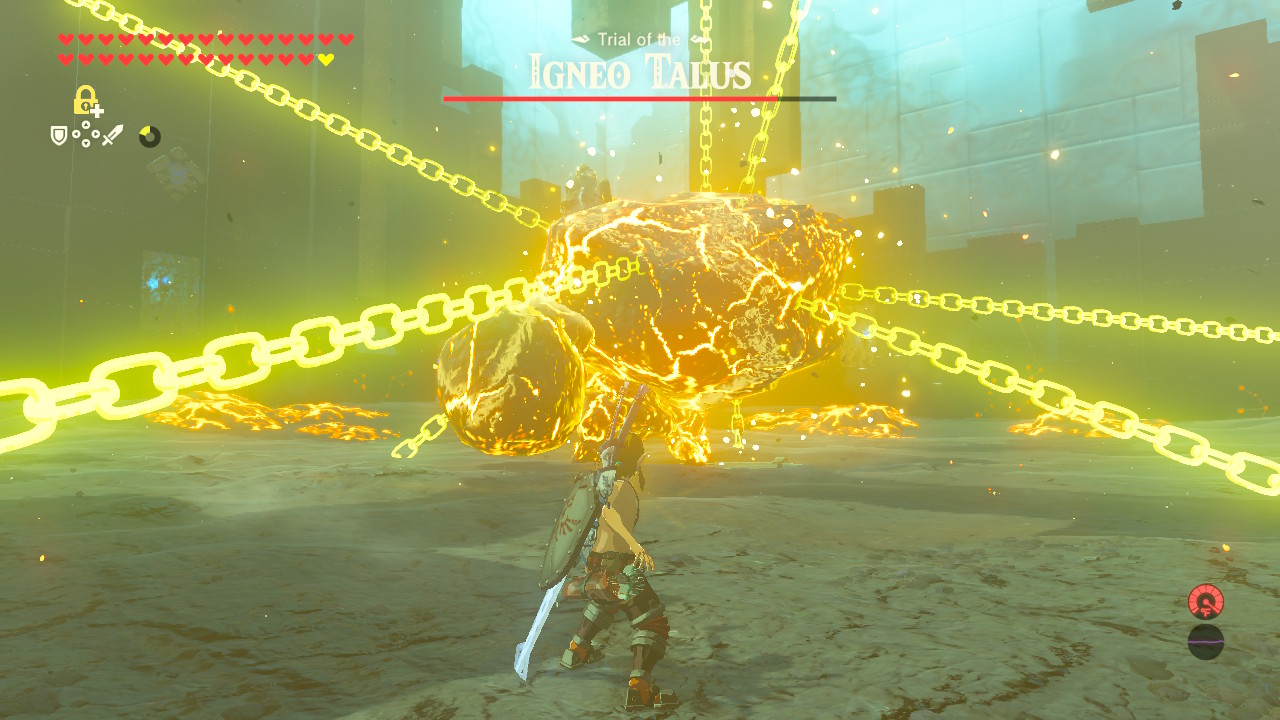
Finally, you can use the Stasis rune to freeze the Talus in place, allowing you to destroy its arms or shoot its weak point easily.
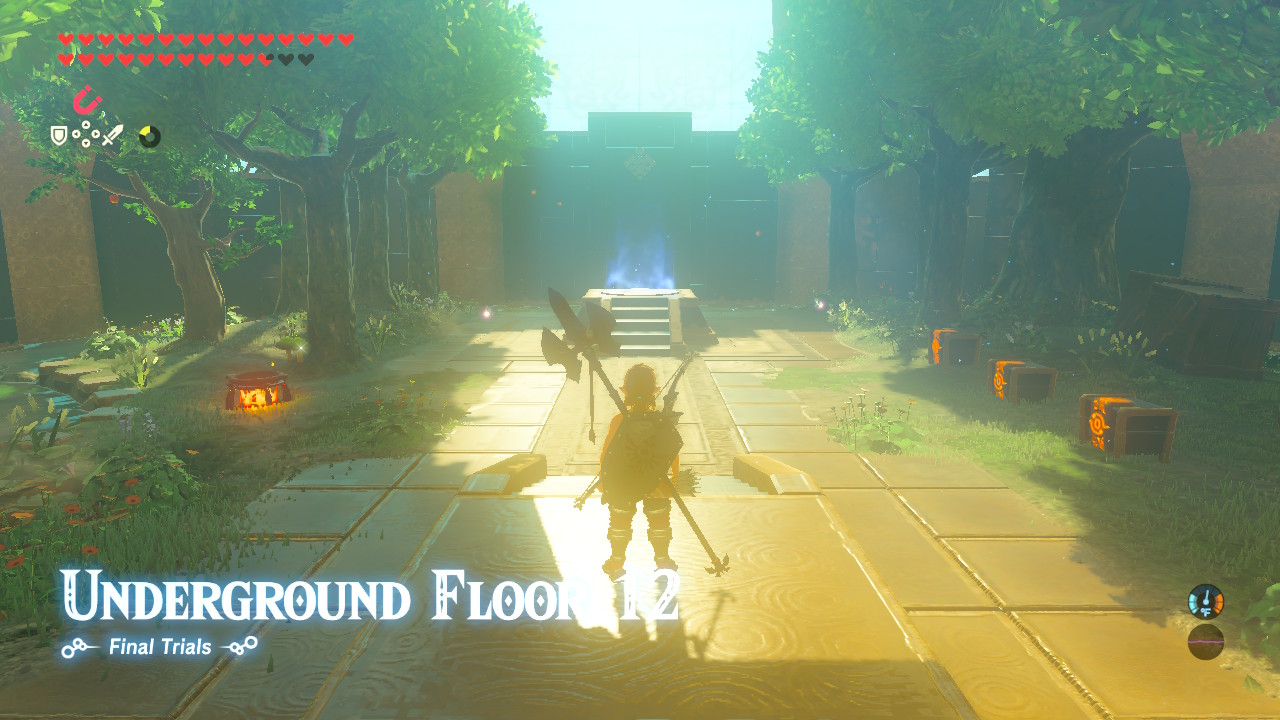
Floor 12
| Enemies | None |
|---|---|
| Equipment |
・Stone Smasher (1) ・Arrow (Multiple) ・Royal Guard's Shield (1) ・Hylian Tunic (1) |
| Food & Materials |
・Apple (2) ・Fairy (2) ・Hearty Radish (1) ・Silent Shroom (1) ・Sizzlefin Trout (3) ・Spicy Pepper (6) ・Stamella Shroom (2) ・Various Food (Multiple) |
Floor 12 is a Resting Spot. Use this opportunity to cook food and capture fairies.
It's also a good idea to destroy all the trees here and use the wood to cook Rock-Hard Food Food. While disgusting to eat, it still recovers hearts and can be invaluable in later floors once your food starts running out.
Cook Spicy Food

This resting spot contains Spicy Peppers and Sizzlefin Trouts that you can cook to create spicy dishes. The next five floors have Cold Climate that will continously drain Link's health if he isn't warmed up.
Cook the Sizzlefin Trouts and Spicy Peppers as is; avoid cooking them with other ingredients with secondary effects as the resulting dish will have no special effects at all!
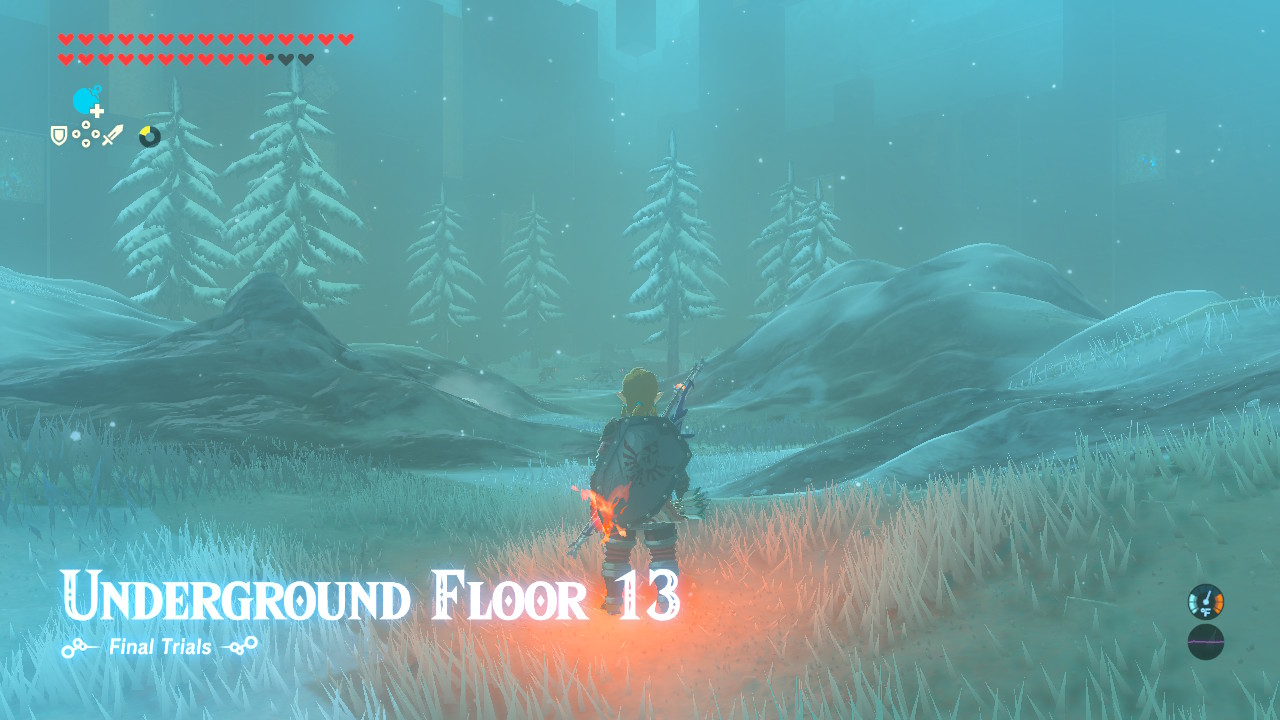
Floor 13
| Enemies |
・Frost Pebblit (2) ・Black Bokoblin (1) ・Blue Bokoblin (2) ・Ice Chuchu (1) |
|---|---|
| Equipment |
・Lizal Tri-Boomerang (1) ・Spiked Boko Spear (1) ・Spiked Boko Bow (1) ・Bomb Arrow (5) ・Steel Lizal Shield (1) |
| Food & Materials |
・Various Food (Multiple) |
This floor introduces you to the next four floors with cold weather climate. Make sure to eat a spicy dish to avoid the health drain from the cold weather. You can also equip the Flamespear you got from Floor 5 to keep you warm.
Destroy the Frost Pebblits
There are two Frost Pebblits in this stage. While slow and unassuming, their attacks can freeze Link and make him prone to attacks from the other enemies.
Once these two Plebbits appear, use a Remote Bomb to quickly dispatch them. The other enemies are easier to fight once these two are out of the way.
You can actually sneak into the camp where the two Bokoblins are resting. Prioritize the Black Bokoblin first since its attacks can deal significant damage to Link.
Cook some Food!
Once all enemies are taken care of, destroy all the boxes for some raw food. Light the cooking pot with your Flamespear and cook any uncooked ingredients into dishes. Every bit of food helps!
Melt the Icicles
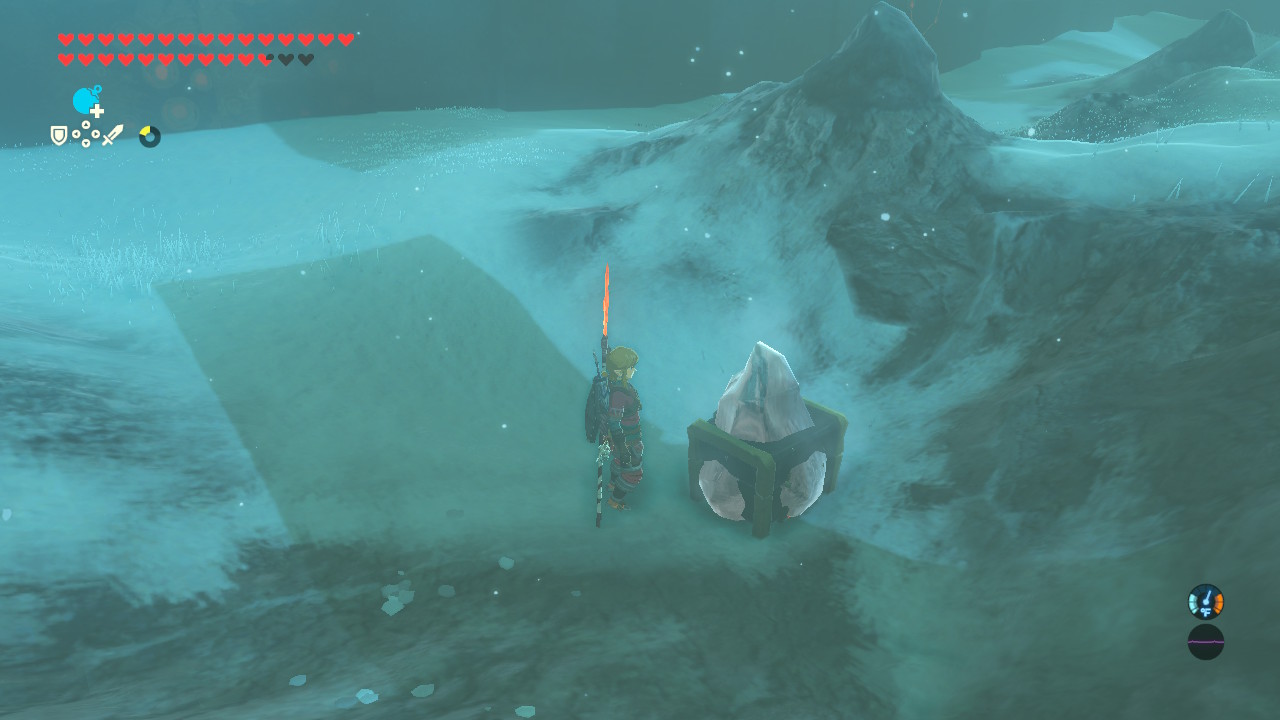
Finally, you'll want to melt the icicle hear with your fire-based weapon. You can attack it or simply stand next to it while holding the weapon.
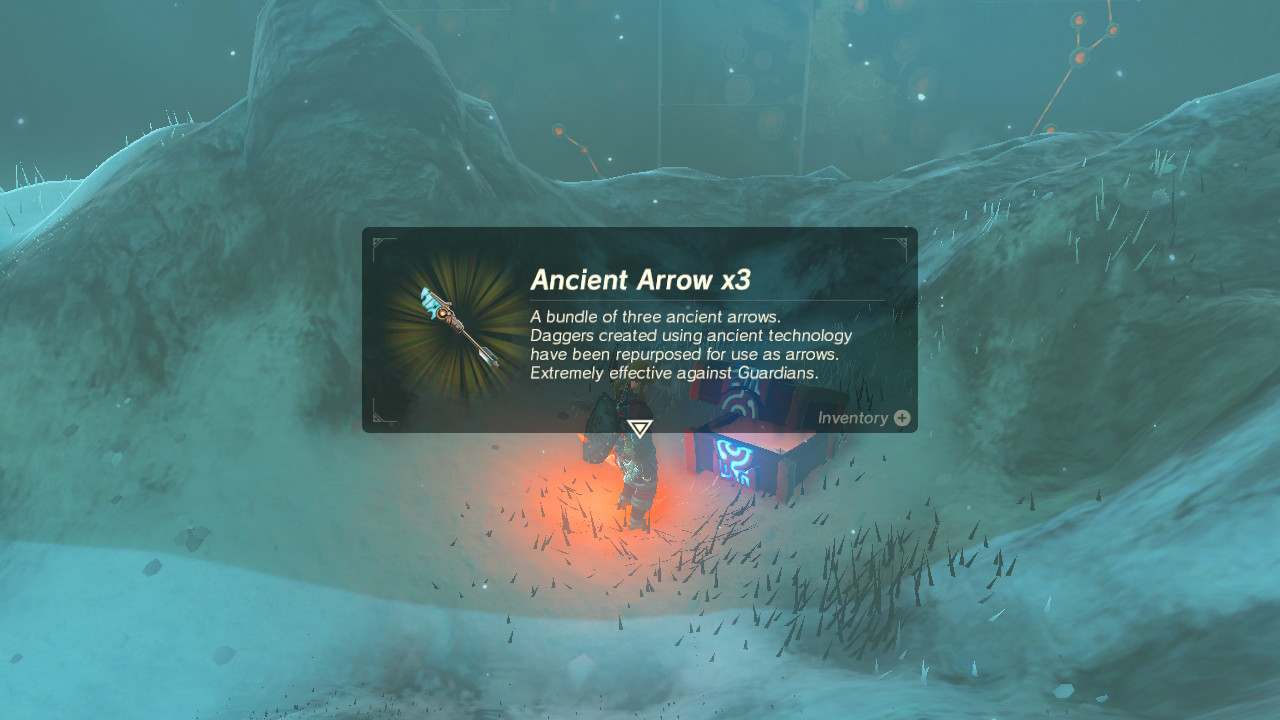
Open this chest to receive three extra Ancient Arrows.
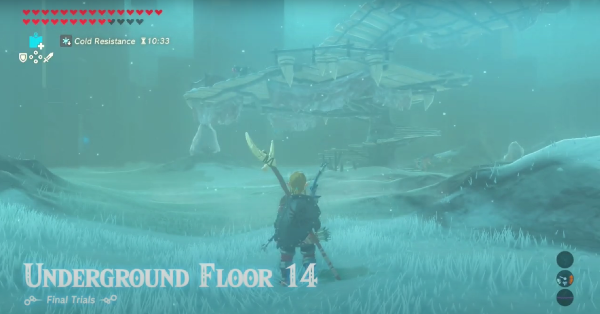
Floor 14
| Enemies |
・Ice-Breath Lizalfos (1) ・Silver Moblin (1) ・Blue Bokoblin (3) ・Ice Chuchu (2) |
|---|---|
| Equipment |
・Dragonbone Boko Club (1) ・Dragonbone Boko Bat (1) ・Dragonbone Moblin Club (1) ・Forked Lizal Spear (1) ・Dragonbone Boko Bow (1) ・Arrow (Multiple) ・Ice Arrow (Multiple) ・Ancient Arrow (3) ・Dragonbone Boko Shield (1) |
| Food & Materials | None |
As soon as you warp into the floor, use your bow to take out the two Ice Chuchus from a distance. This may alert the patrolling Ice-breathing Lizalfos, so be prepared to stab it with a Flamespear to instantly defeat it.
Next, head up the platform and quickly dispatch the three Blue Bokoblins before one of them sounds the alarm.
Defeat the Silver Moblin
A lone silver Moblin is waiting for you on top of the platform. It's weilding a two-handed weapon that can quickly deplete Link's health if you're not careful.
Use Stasis on the Moblin and pummel it with your strongest weapons. You can also shoot its head to stun it. Keep your distance while attacking and you'll eventually bring it down.
Use the Ancient Arrow

Alternatively, you can use one Ancient Arrow on the Silver Moblin. Use Stasis on it to guarantee a hit.
With the Moblin taken care of, grab all the weapons and arrows you can find and then warp to the next floor. You can also use your fire-based weapons to melt the icicles for some additional items.
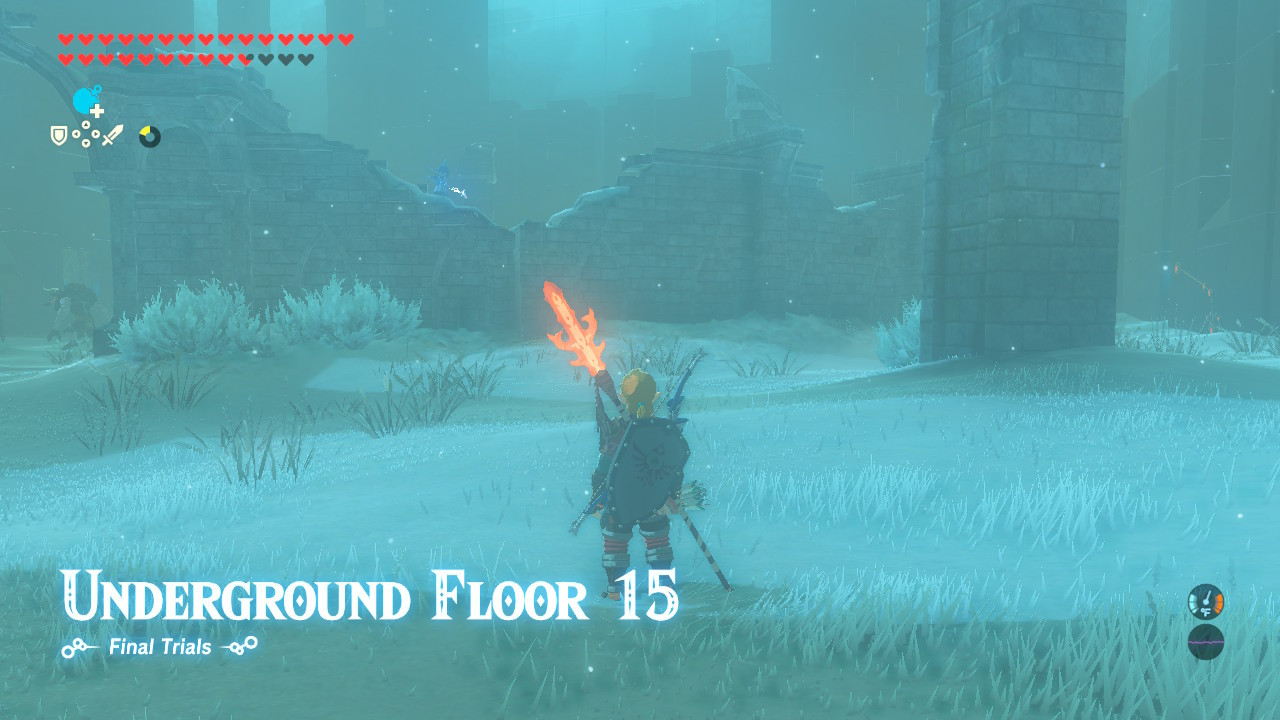
Floor 15
| Enemies |
・Black Moblin (1) ・Silver Bokoblin (1) ・Blue Bokoblin (2) ・Blizzrobe (1) |
|---|---|
| Equipment |
・Knight's Broadsword (1) ・Blizzard Rod (1) ・Knight's Halberd (1) ・Knight's Bow (1) ・Arrow (Multiple) ・Knight's Shield (1) |
| Food & Materials |
・Various Food () |
As soon as you warp into the room, climb the ruined pillar and head up to get a good look of the layout of the area. Your priority here is the roaming Blizzrobe, which you can easily defeat by shooting a Fire Arrow at it.
With the Blizzrobe out of the way, head up the other ruined platform and snipe the Bokoblins. The Silver Bokoblin may take more hits, but as long as you keep your distance, you can defeat it with the weapons you have on hand.
With all the Bokoblins taken care of, engage the remaining Black Moblin and defeat it. Grab all the weapons and food you can and warp to the next floor.
Floor 16
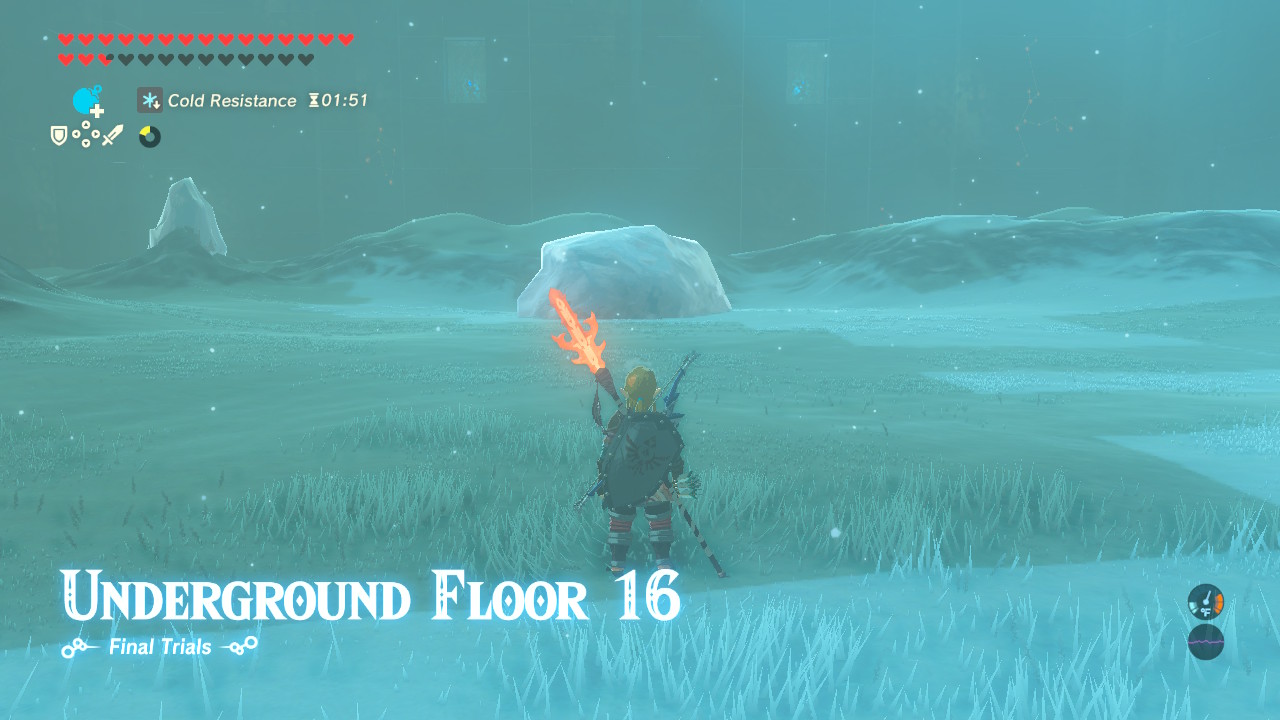
| Enemies |
・Frost Talus (1) |
|---|---|
| Equipment | None |
| Food & Materials | None |
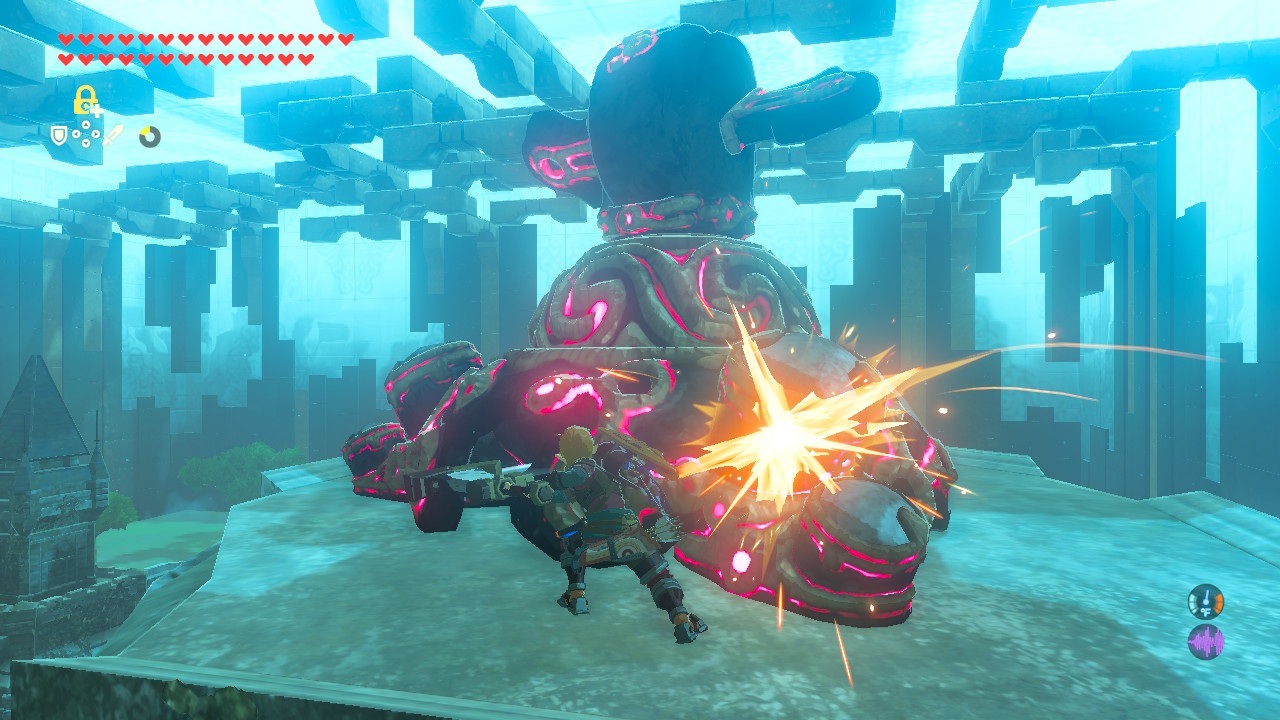
A Frost Talus serves as the second boss for the Final Trials. As with all Taluses, this rocky titan will only awaken if you get close to it. Use this opportunity to ready your weapons and get into position.
Defeating the Frost Talus
The Frost Talus can only be damaged by hitting the rocky outcropping in its body. Shooting an arrow at this outcropping stuns the Talus, allowing you to jump on its body and hit it repeatedly with a strong weapon.
The Frost Talus' most dangerous attack is its rock blast attack. Since the arena is relatively small, it can be difficult to run way from this attack.
To prevent the Frost Talus from using its powerful attacks, use a Remote Bomb to destroy its arms. This also causes it to fall over momentarily, allowing you to climb on its body or shoot its weak point with a bow.

You can also shoot the Talus with an Fire Arrow. This stuns it momentarily and also allows you to climb on its body safely without getting freezing. You can also strike it with a flame-based weapon or use a Meteor Rod on it.
A Talus that's missing one or both of its arms also stops attacking you in an attempt to regenerate its missing limbs. You can do this repeatedly, essentially stunlocking it so that it can't attack.
Finally, you can use the Stasis rune to freeze the Talus in place, allowing you to destroy its arms or shoot its weak point easily.
Floor 17
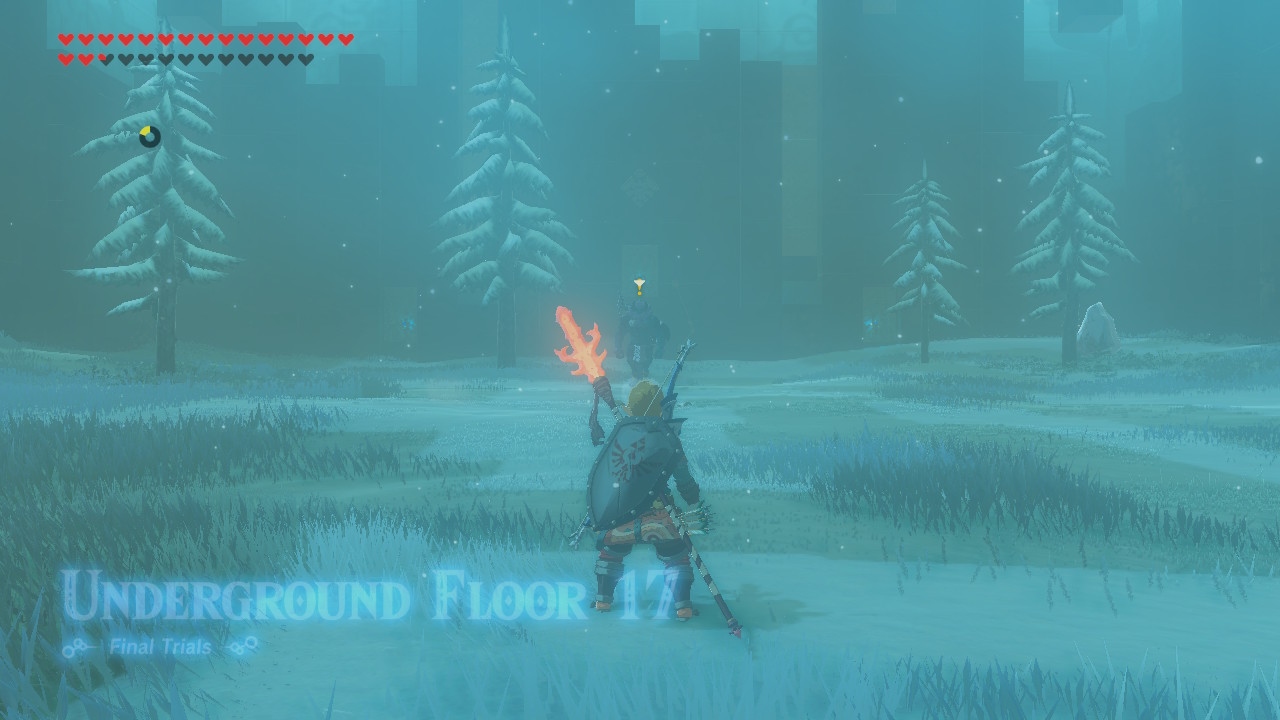
| Enemies |
・Blue-Maned Lynel (1) |
|---|---|
| Equipment |
・Mighty Lynel Sword (1) ・Mighty Lynel Bow (1) ・Bomb Arrow (5) ・Mighty Lynel Shield (1) |
| Food & Materials | None |
A Blue-Maned Lynel serves as the third boss for the Final Trials. It has the same attacks as its overland counterparts, but the smaller arena space make it more troublesome to battle.
Shoot it with an Ancient Arrow
Since Link is not completely protected by high-level and upgraded armor, the Blue-Maned Lynel can quickly deplete his health with its powerful attacks.
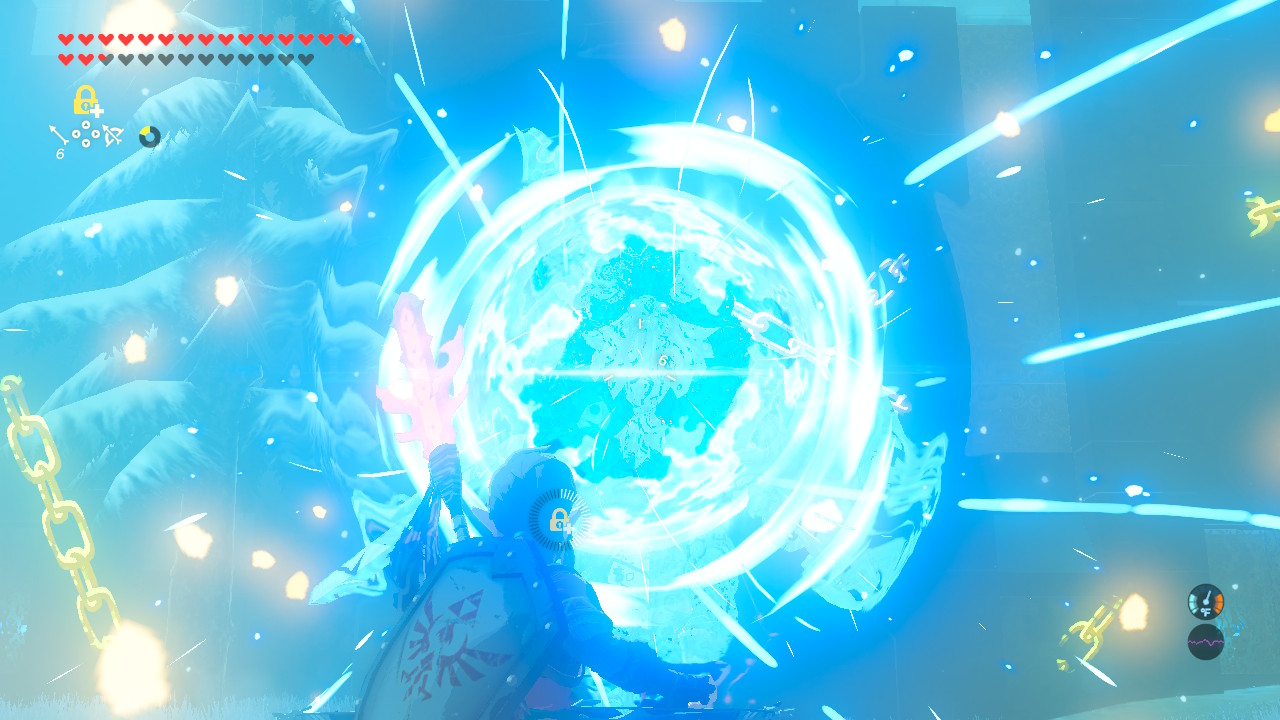
To preserve Link's health and avoid a long protracted battle, use one of the Ancient Arrows you received from Floor 14 on this Lynel to instantly defeat it.
To ensure that you don't waste an arrow, use Stasis on the Lynel when it's charging up one of its attacks or roaring to get a direct hit with your Ancient Arrow.
Floor 18
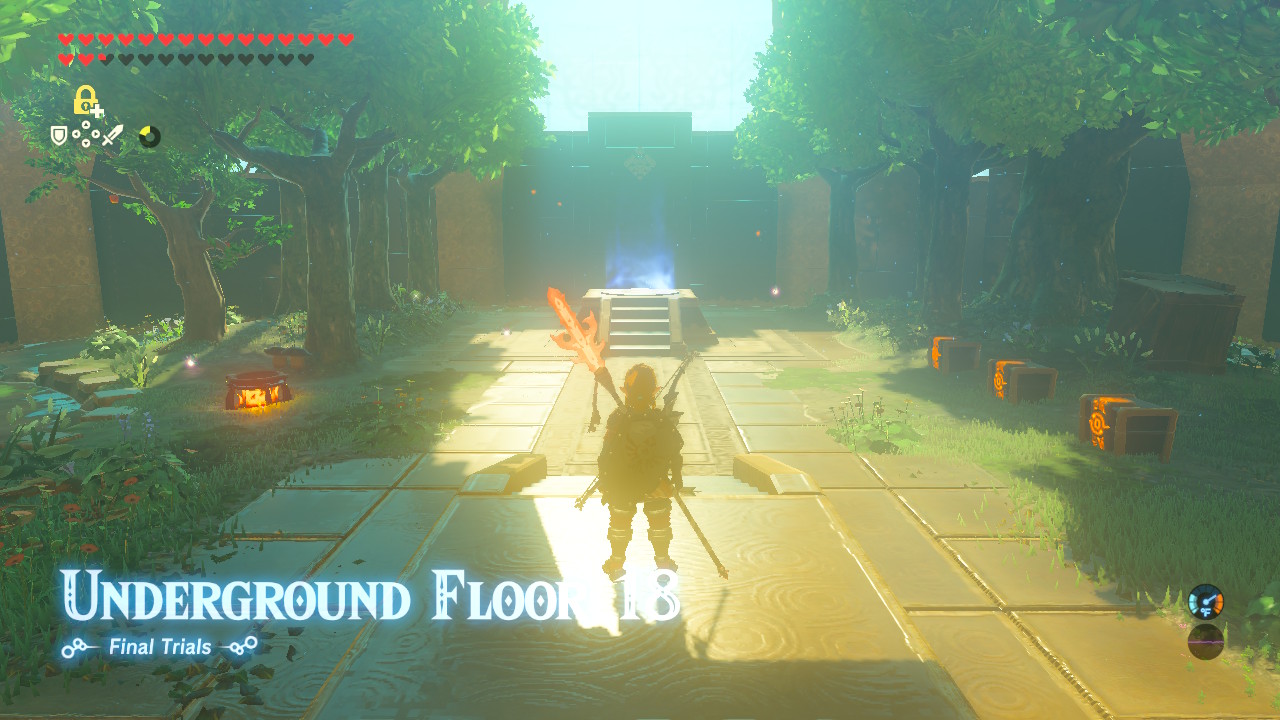
| Enemies | None |
|---|---|
| Equipment |
・Royal Broadsword (1) ・Royal Bow (1) ・Arrow (Multiple) ・Royal Shield (1) |
| Food & Materials |
・Apple (2) ・Fairy (3) ・Hearty Bass (3) ・Ironshroom (2) ・Stamella Shroom (2) ・Various Food (Multiple) |
Floor 18 is a Resting Spot. Use this opportunity to cook food and capture fairies. Cook as much Heart Dishes as you can to provide extra hearts for the next five floors.
It's also a good idea to destroy all the trees here and use the wood to cook Rock-Hard Food Food. While disgusting to eat, it still recovers hearts and can be invaluable in later floors once your food starts running out.
Floor 19

| Enemies |
・Decayed Guardian (6) |
|---|---|
| Equipment |
・Knight's Shield (1) |
| Food & Materials | None |
Floor 19 pits you against six Decayed Guardians that will, thankfully, power up one after another.
As soon as you warp in, run towards the first guardian while blocking with your shield. Even if you fail to perfect parry the laser, the shield will still cushion the damage from the attack.
Eventually, two Guardians will power up at the same time. Use Stasis on one of them while you take care of the rest. If you're still having trouble parrying the laser, just stay on the move and run towards the Guardians in a zig-zag pattern. You can also duck into the trees to avoid the laser attack.
Get Behind the Guardians
If you're having trouble parrying the laser attack, you can also just duck behind the Guardian you're attack. So long as you stun the Guardian, you can safely whittle down its health with your weapons. The Guardian also serves as a shield, blocking other Guardian attacks.
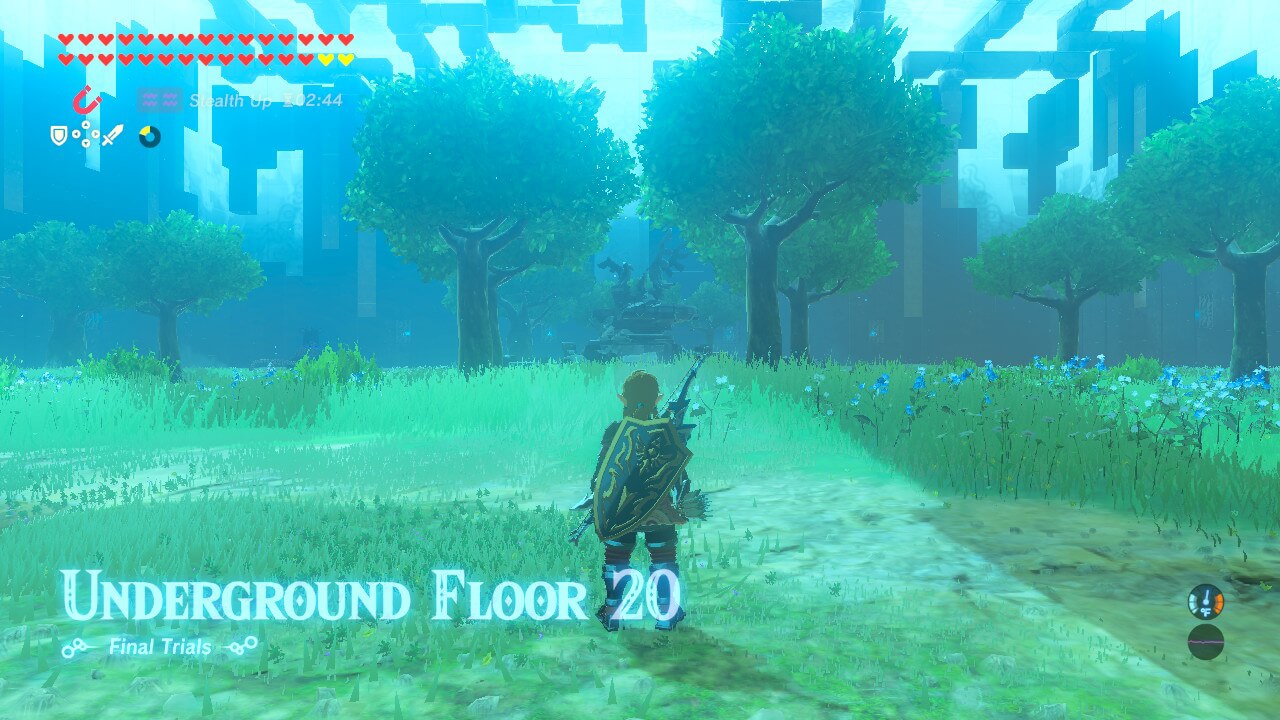
Floor 20
| Enemies |
・Guardian Stalker (1) |
|---|---|
| Equipment |
・Arrow (Multiple) |
| Food & Materials | None |
This floor pits you against a lone Guardian Stalker. While intimidating, it's less of a challenge than the previous floor.
You actually have enough space to sneak up on one of the horses to the right of the area and ride it. This allows you to quickly close your distance, preventing the Guardian from unleashing its devastating laser attacks.
Defeat the Guardian Stalker
The Guardian Stalker is fairly easy to beat. Simply shoot at its eye (you can snipe it by jumping from your horse) to stun it.
Alternatively, you can use Stasis on the Guardian Stalker. Once stunned, attack each leg until they shatter so that it can't run away from you anymore.
A Guardian Stalker with no legs is easier to attack, although it can still use its laser attack if you move too far away from them. Use Stasis on it once it starts charging its laser so that you can safely attack it with your weapons.
With the Guardian Stalker defeated, heal up, and warp to the next floor.
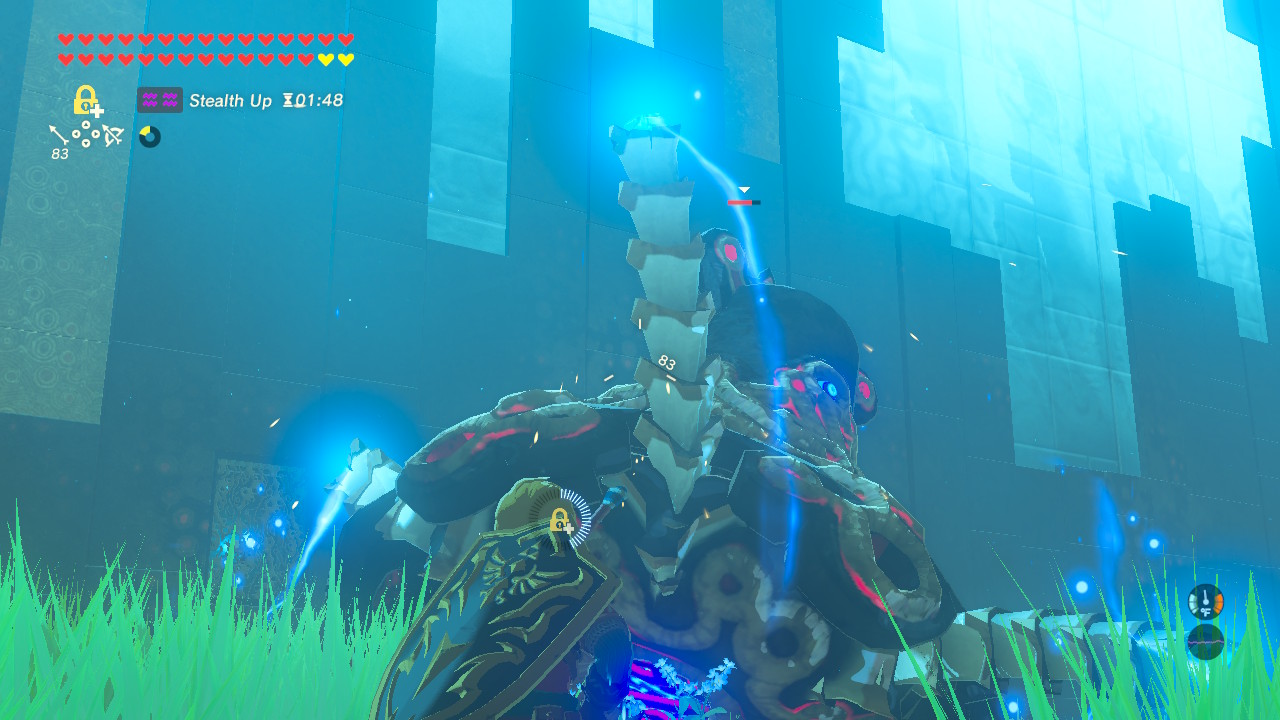
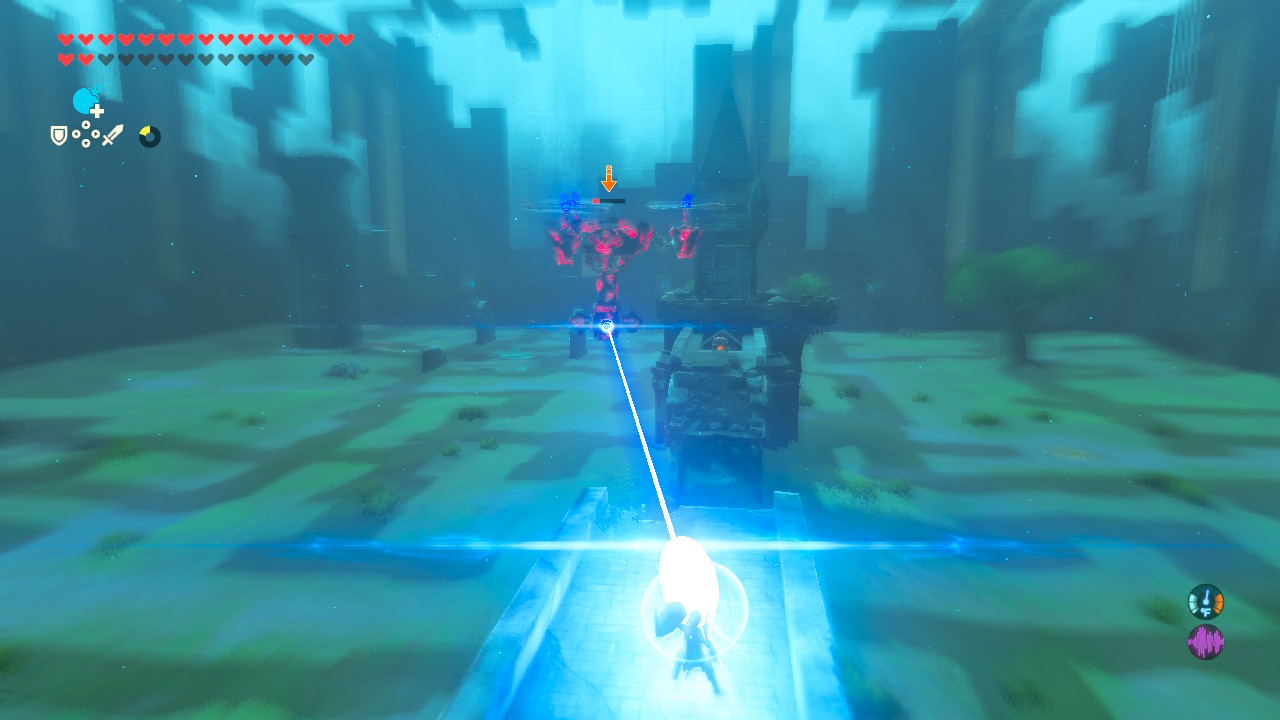
Floor 21

| Enemies |
・Guardian Skywatcher (1) |
|---|---|
| Equipment |
・Arrow (Multiple) ・Bomb Arrow (5) |
| Food & Materials | None |
This floor pits you against a roaming Guardian Skywatcher. This enemy is actually tougher than the Guardian Stalker since it flies erratically and you're forced to use ranged attacks.
Defeat the Guardian Skywatcher
Run towards the Guardian Skywatcher and try to shoot its eye. Have your shield at the ready to perfect parry its laser attack, dealing massive damage to it. It takes three perfect parries to destroy the Skywatcher.
You can also head up the central tower. On top of it is a chest that contains five bomb arrows that you can use against the Skywatcher. This central tower is a relatively safe spot since you can simply duck out of the ledge to avoid the Skywatcher's laser attacks.
Once you defeat the Skywatcher, heal up and warp to the next room.
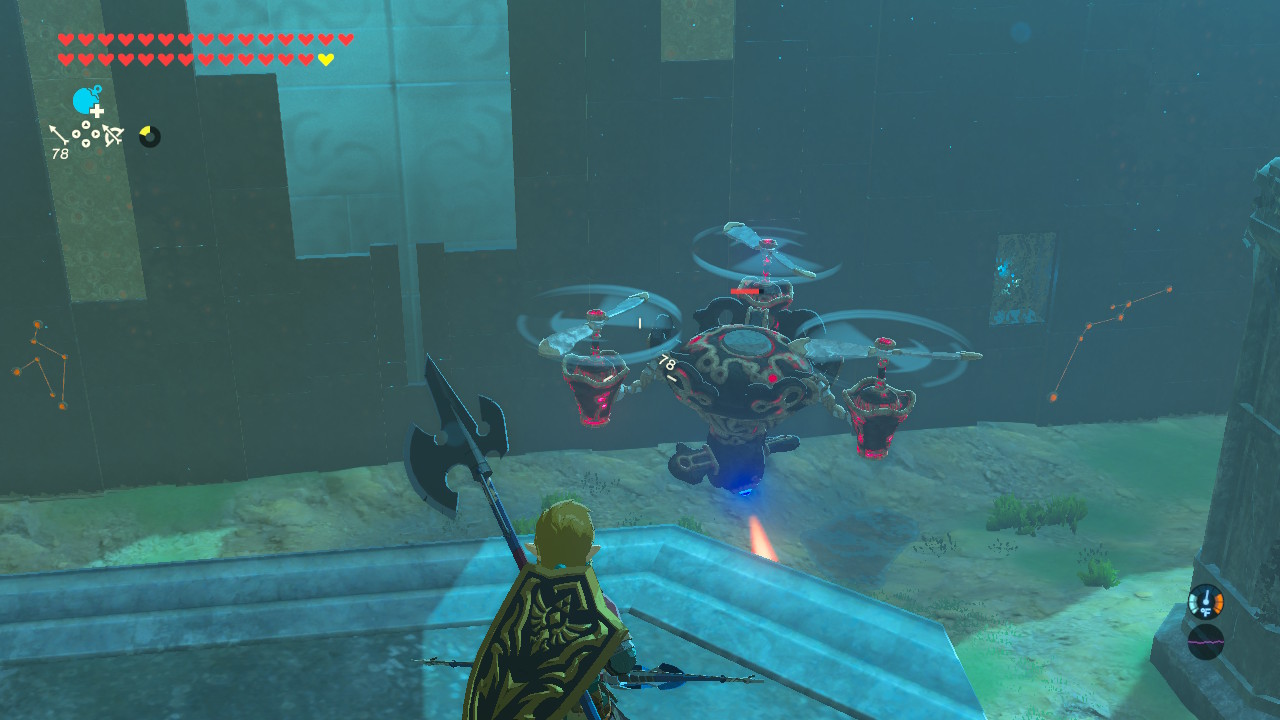
Floor 22

| Enemies |
・Guardian Turret (1) ・Guardian Skywatcher (1) ・Guardian Stalker (1) |
|---|---|
| Equipment |
・Royal Bow (1) ・Arrow (Multiple) ・Royal Shield (1) |
| Food & Materials |
・Various Food (Multiple) |
Floor 22 is a prelude of what's coming next, pitting you against one Guardian Turret, One Guardian Skywatcher, and a roving Guardian Stalker.
As with Floor 22, you can sneak up on the horses to the right of the area to better close the distance between you and the Guadians.
Head to the Guardian Turret
Quickly head to the upper right corner of the area where a Guardian Turret is sitting on top of tower. You'll most likely get the attention of the roaming Guardian Stalker, but don't panic! As long as you stay close to the base of the tower, you'll only have to worry about the Guardian Stalker.
Use the same strategy against the Guardian Stalker to defeat it. Once its taken care of, climb up the tower and destroy the Guardian Turret.
Destroy the Guardian Turret
The Guardian Turret is fairly easy to destroy. Keep shooting its eye with an arrow to stun it and pummel it with your strongest weapons. You can also use Stasis on it.
Defeat the Guardian Skywatcher
With the Guardian Stalker and Turret taken care of, you can now safely engage the roaming Skywatcher. Glide to the central ruins and grab the Royal Shield from the chest.
Shoot an arrow at the Skywatcher to get its attention, and then use one Ancient Arrow against it. To ensure a direct hit, jump from the ruins and snipe the Skywatcher's eye with the Ancient Arrow.
Perfect Parry the Laser
If you're having trouble shooting the Skywatcher's eye, you can also perfect parry the laser. Head up the right ruins and ready your shield. You need to parry the laser three times to defeat the Skywatcher.
Floor 23
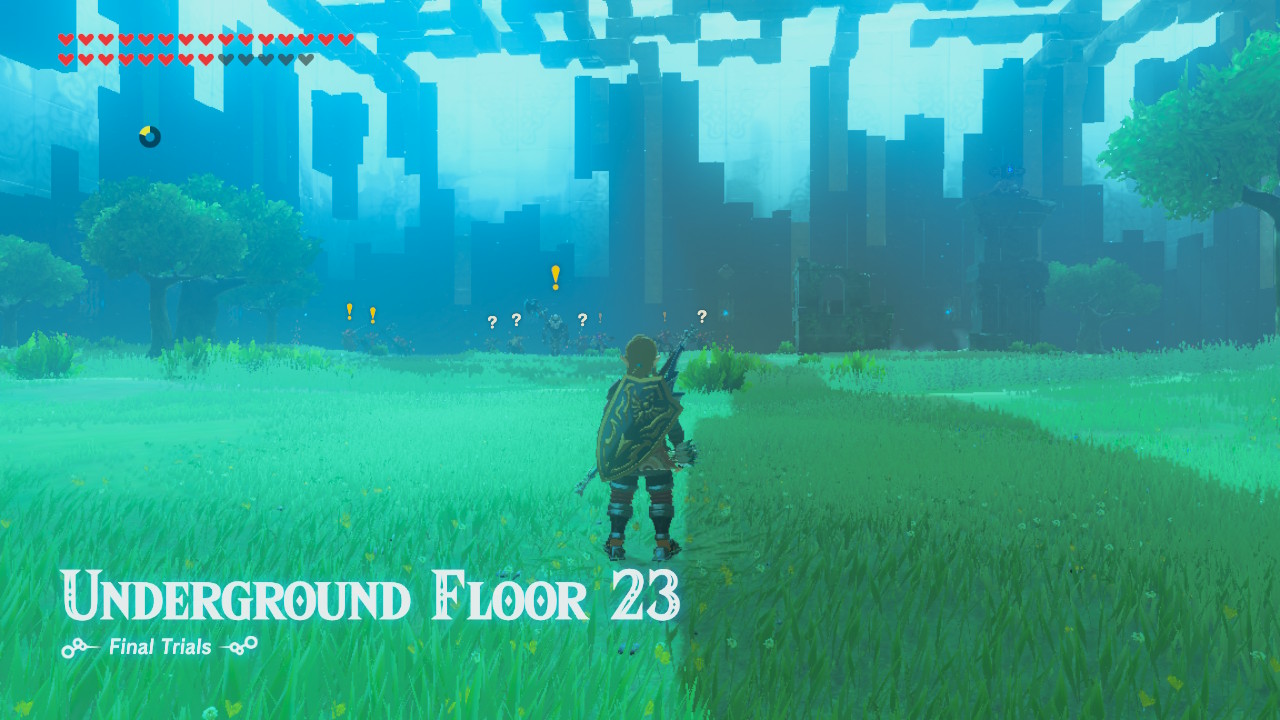
| Enemies |
・Guardian Turret (1) ・White-Maned Lynel (1) ・Bokoblin (8) |
|---|---|
| Equipment |
・Royal Broadsword (1) ・Lizal Tri-Boomerang (2) ・Knight's Claymore (1) ・Stone Smasher (1) ・Dragonbone Moblin Club (1) ・Knight's Halberd (1) ・Forked Lizal Spear (2) ・Savage Lynel Spear (1) ・Savage Lynel Bow (1) ・Bomb Arrow (5) ・Royal Shield (1) ・Steel Lizal Shield (1) |
| Food & Materials | None |
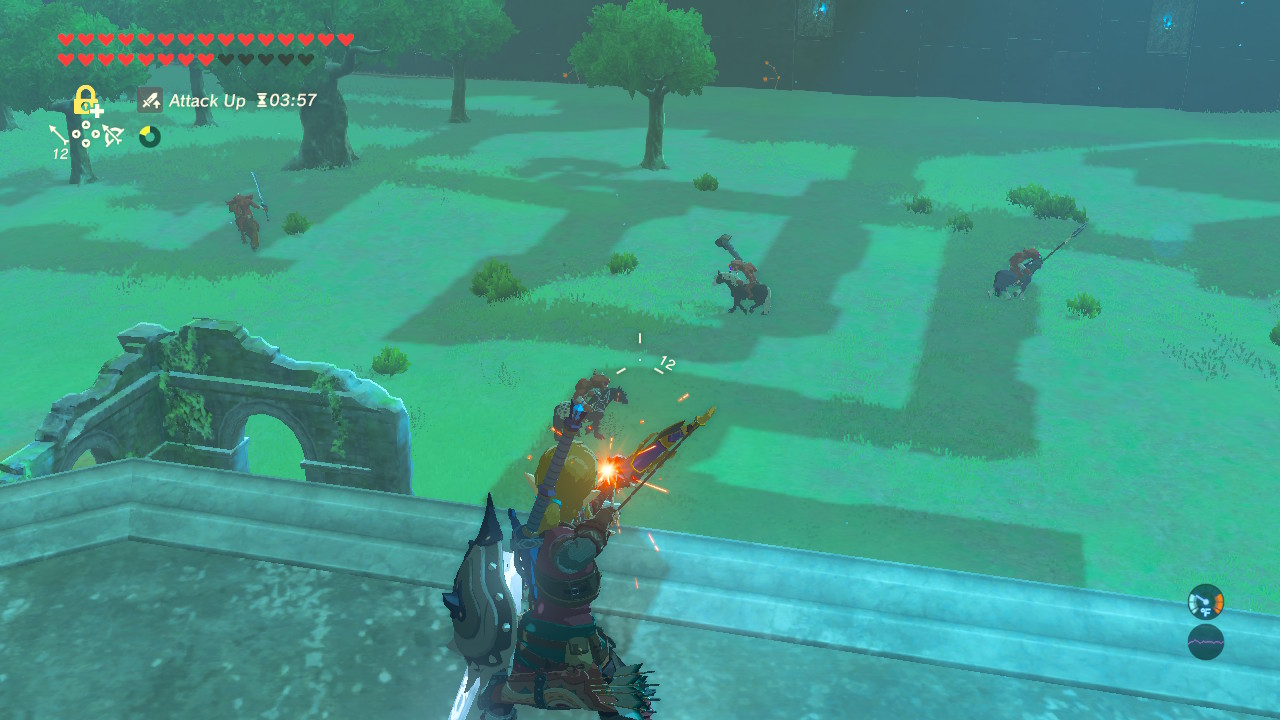
The last challenge of the Final Trials pits Link against two powerful enemies - a White-Maned Lynel and a Guardian Turret located at the far right of the room. This turret is sitting rouhgly on the same tower as the one on Floor 22.
Despite these intimidating mini-bosses, the real danger here is the eight horse-riding Bokoblins. They often charge at you as soon as you warp into the level and often get in the way when you're engaging the mini bosses.
Defeat the White-Maned Lynel
As soon as you warp into the level, shoot the White-Maned Lynel with your saved up Ancient Arrow to instantly defeat it. Use Stasis on it when it roars so that you can freeze it in place and ensure you get a direct hit with your Ancient Arrow.
Head to the Tower
The Bokoblins will start chasing after you, so head to the tower where the Guardian Turret is located. Climb the tower and dispatch the Turret. Use Stasis or shoot its eye so you can safely attack it with your strongest weapons.
Dispatch the Bokoblins
You can now safely take out the Bokoblins from a distance. Use the Bomb Arrows you've accumulated throughout the floors and snipe the Bokoblins. Prioritize the archers and the spear-wielding Bokoblins.
If you run out of bomb arrows, simply glide down to the enemies and snipe them with your regular arrows.
Floor 24

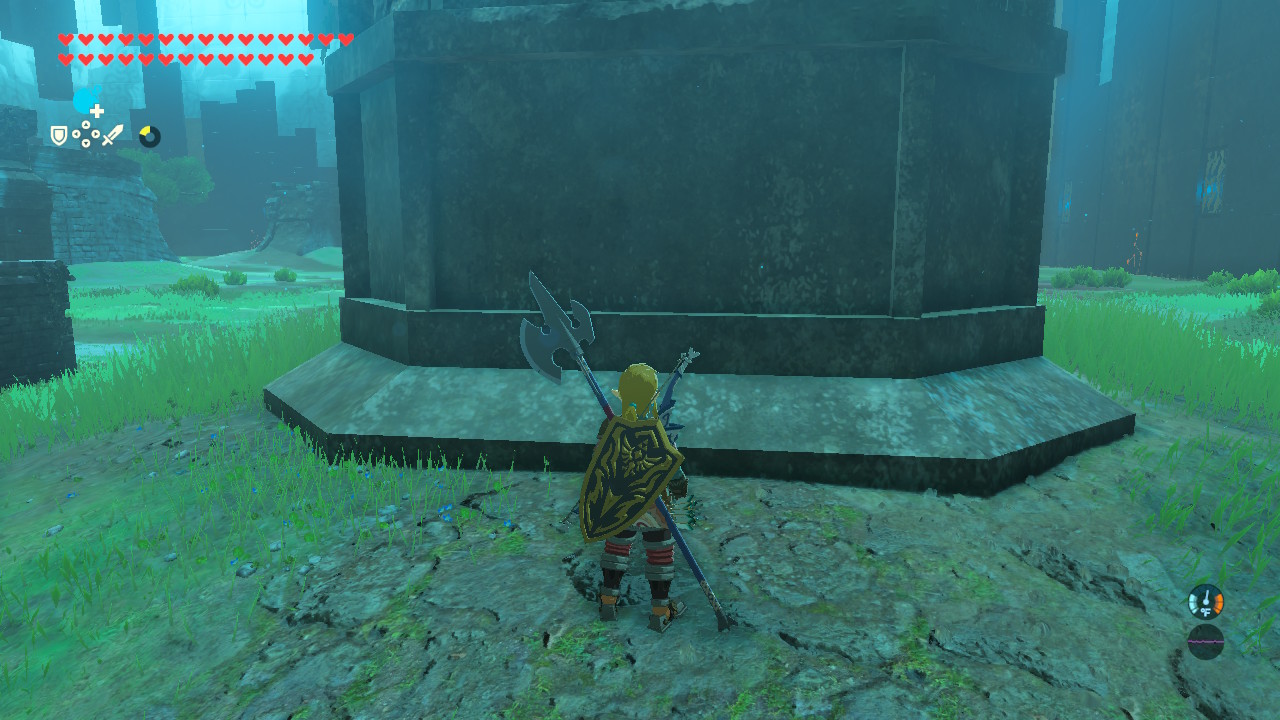
Walk up to the Master Sword to complete The Final Trials. This fully awakens the Master Sword, boosting its power from 50 to 60.
Breath of the Wild Related Guides

Trial of the Sword Guides
| All Trial of the Sword Guides | ||
|---|---|---|
| EX Trial of the Sword | ||
| The Beginning Trials | The Middle Trials | The Final Trials |
Other DLC Quests
Comment
Author

The Legend of Zelda: Breath of the Wild Walkthrough & Guides Wiki
The Final Trials Walkthrough
Rankings
- We could not find the message board you were looking for.
Gaming News


![Nova Roma Review [Early Access] | Newer, Better, and More Confusing](https://img.game8.co/4455512/2cbf8926e9a1c72a3ff056088f801ef4.png/thumb)
Popular Games

Genshin Impact Walkthrough & Guides Wiki
Umamusume: Pretty Derby Walkthrough & Guides Wiki
Crimson Desert Walkthrough & Guides Wiki
Monster Hunter Stories 3: Twisted Reflection Walkthrough & Guides Wiki
Honkai: Star Rail Walkthrough & Guides Wiki
Pokemon Pokopia Walkthrough & Guides Wiki
The Seven Deadly Sins: Origin Walkthrough & Guides Wiki
Wuthering Waves Walkthrough & Guides Wiki
Zenless Zone Zero Walkthrough & Guides Wiki
Arknights: Endfield Walkthrough & Guides Wiki


Recommended Games
Fire Emblem Heroes (FEH) Walkthrough & Guides Wiki
Diablo 4: Vessel of Hatred Walkthrough & Guides Wiki
Cyberpunk 2077: Ultimate Edition Walkthrough & Guides Wiki
Yu-Gi-Oh! Master Duel Walkthrough & Guides Wiki
Super Smash Bros. Ultimate Walkthrough & Guides Wiki
Pokemon Brilliant Diamond and Shining Pearl (BDSP) Walkthrough & Guides Wiki
Elden Ring Shadow of the Erdtree Walkthrough & Guides Wiki
Monster Hunter World Walkthrough & Guides Wiki
The Legend of Zelda: Tears of the Kingdom Walkthrough & Guides Wiki
Persona 3 Reload Walkthrough & Guides Wiki


All rights reserved
© 2020 Nintendo. The Legend of Zelda, Wii U, and Nintendo Switch are trademarks of Nintendo.
The copyrights of videos of games used in our content and other intellectual property rights belong to the provider of the game.
The contents we provide on this site were created personally by members of the Game8 editorial department.
We refuse the right to reuse or repost content taken without our permission such as data or images to other sites.