How to Make a Switch
RPG MAKER WITH allows users to create a Switch that can trigger other Events. Read on to learn more about creating a Switch and how to use it for a particular Event.

RPG MAKER WITH allows users to create a Switch that can trigger other Events. Read on to learn more about creating a Switch and how to use it for a particular Event.
List of Contents
What is a Switch?
Triggers a Separate Event on the Map
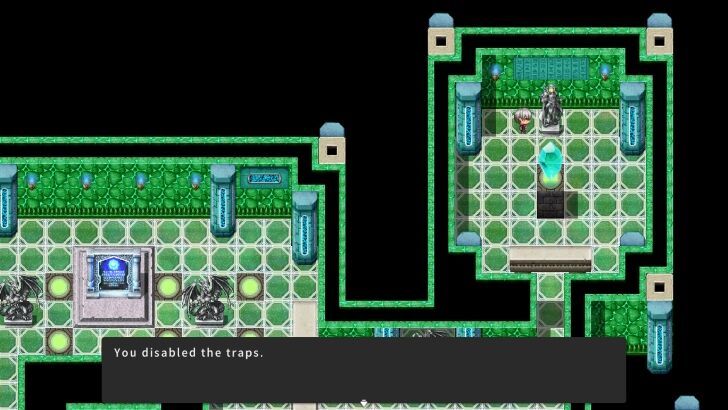
A Switch allows you to trigger a separate Event on your Map. This is useful when you want a particular object to activate something. For instance, you can set a Switch that disables all traps on your Map.
You can choose between levers and buttons with different colors to represent your Switch. However, you can also use a different image depending on your game or story. For example, a book in a library might reveal a secret staircase. Learning how to set basic Switch Events will help you make interesting puzzles in your game.
How to Make a Switch
Setting a Switch
| 1 | 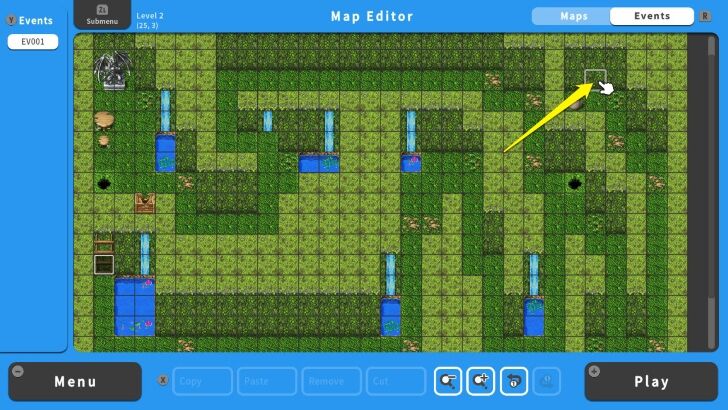 Move your cursor to the location where you want the Switch to appear. In this case, we will put it on the opposite end of the dungeon. |
|---|---|
| 2 | 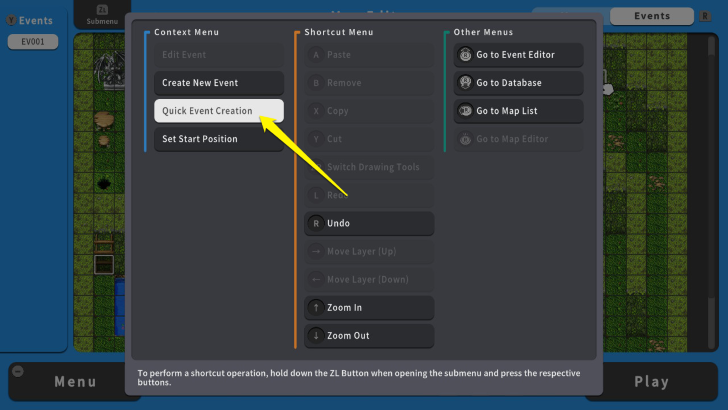 After identifying the location of the Switch, press the ZL Button and select "Quick Event Creation." |
| 3 | 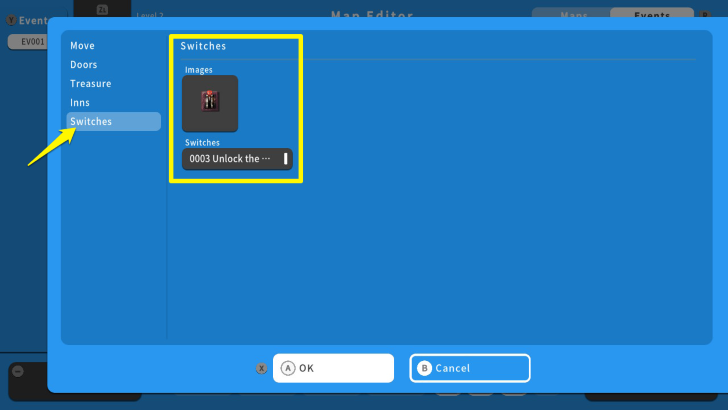 In this Menu, select "Switches." Select the Image of the Switch and assign a specific Event Switch. For this example, the Event Switch is "0003 Unlock the Door." |
| 4 | 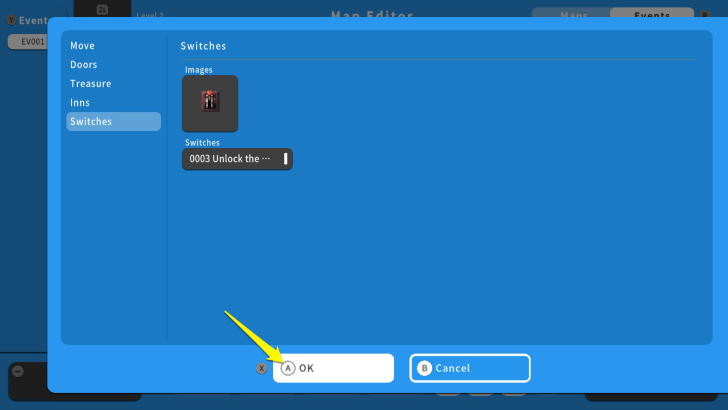 Once you selected the image and Event Switch, press the X Button and select OK. Create the Event that this Switch will trigger. |
How to Trigger Events Using a Switch
Unlocking a Door
| 1 | 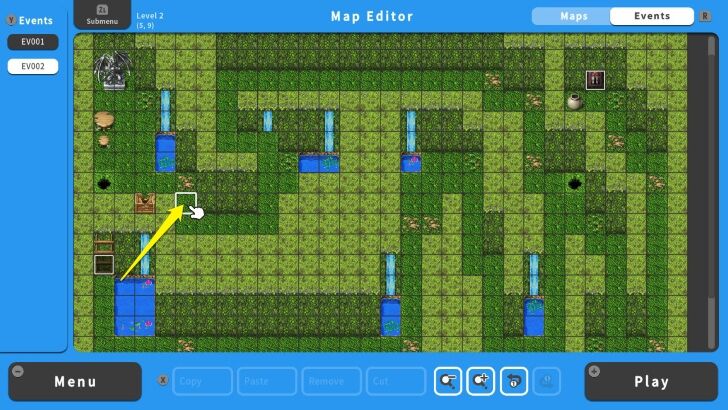 Before creating the Event, choose the location of the door. For this example, the door will block a path to a resting area. |
|---|---|
| 2 | 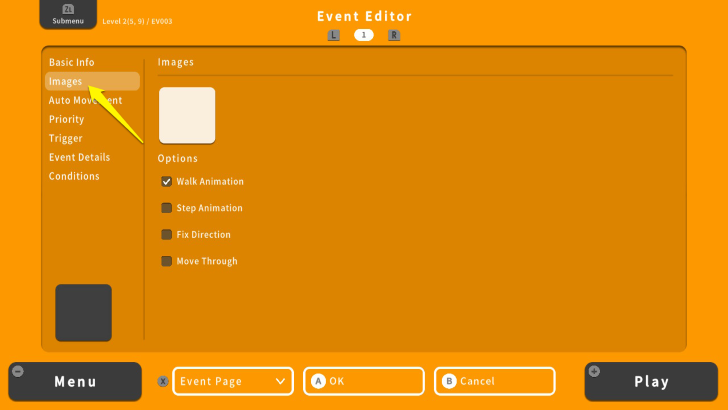 Make sure your Map Editor is set to Event Mode. Press the A Button on the chosen location and select Images. |
| 3 | 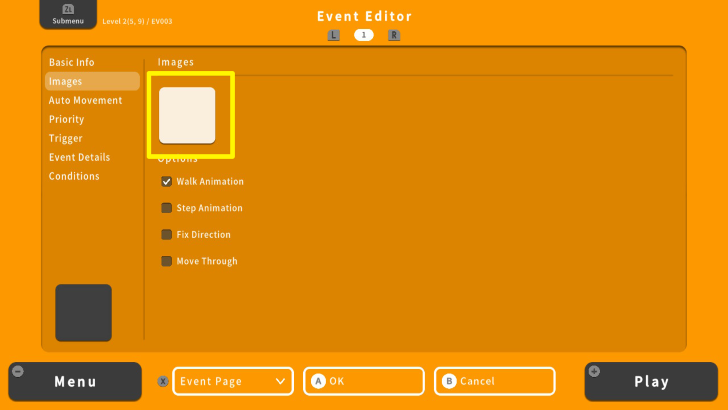 Once you are there, move your cursor to the empty box under Images and select what type of door will appear on the Map. |
| 4 | 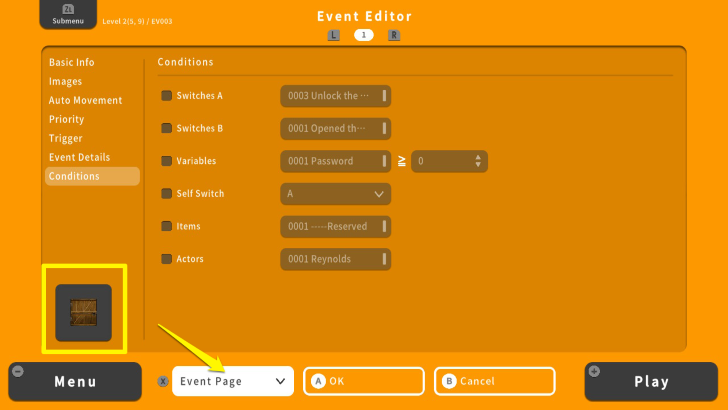 After setting the image to a wooden door. We also need to create another Event Page. To do this, press the X Button and move your cursor to Event Page. |
| 5 | 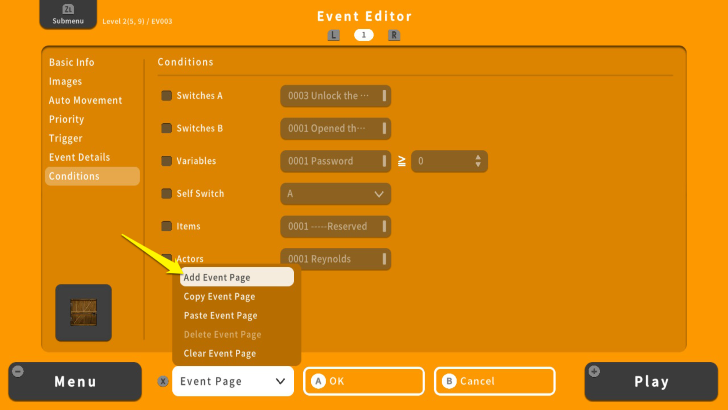 Press the A Button and select Add Event Page. Once done, you will be transferred to the second Event Page. |
| 6 | 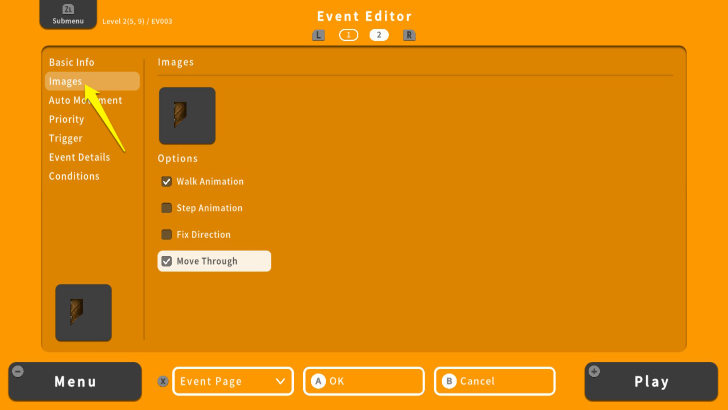 Press the X Button again to go back to the Event Editor. Move your cursor to Images again. |
| 7 | 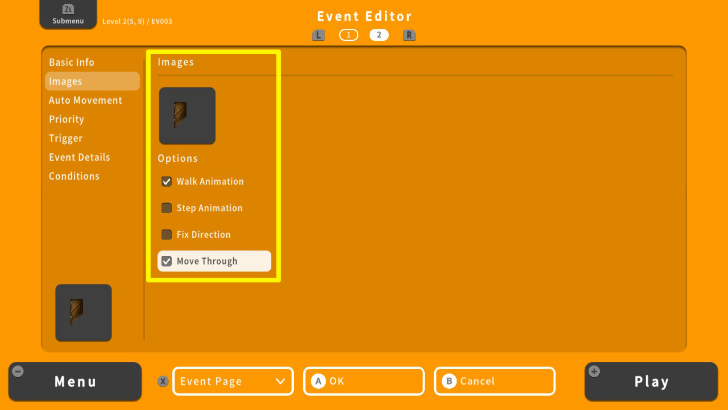 From here, select a new image. Make sure to check Move Through to allow your character to pass through this object. For this example, the image is an open wooden door. |
| 8 | 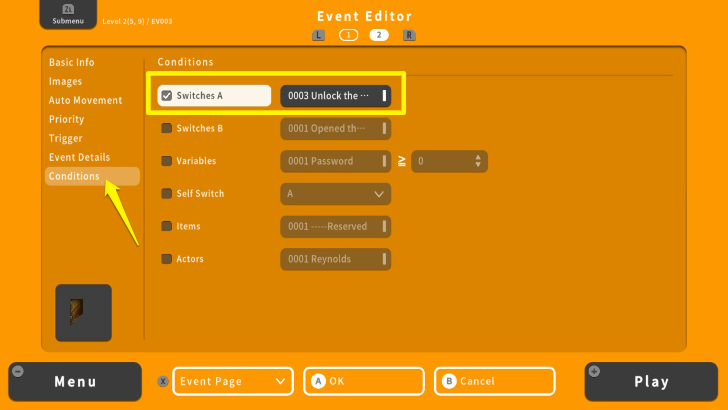 Move your cursor to Conditions and check Switches A. Then select "0003 Unlock the Door." If you interact with the lever, the locked door image will Switch to an open door. |
| 9 | 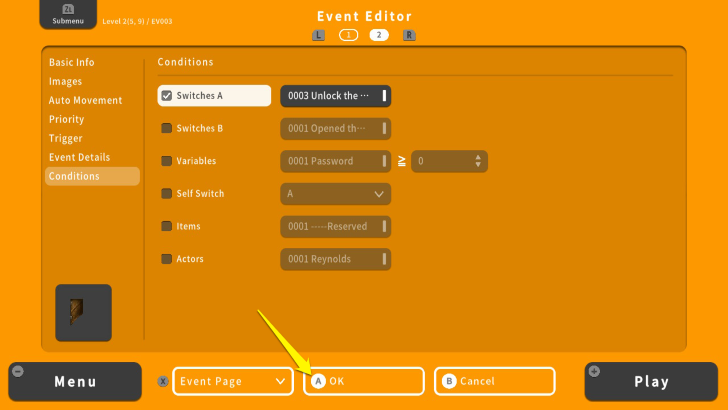 Once done, press the X Button and select OK. |
| 10 | 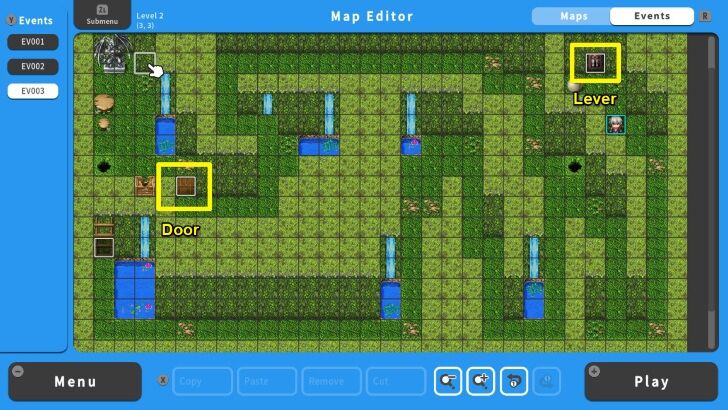 To check if the Switch is working, press the + Button. Save your changes and playtest the game. Remember to interact with the lever linked to the locked door. |
Making a Treasure Chest Appear
| 1 | 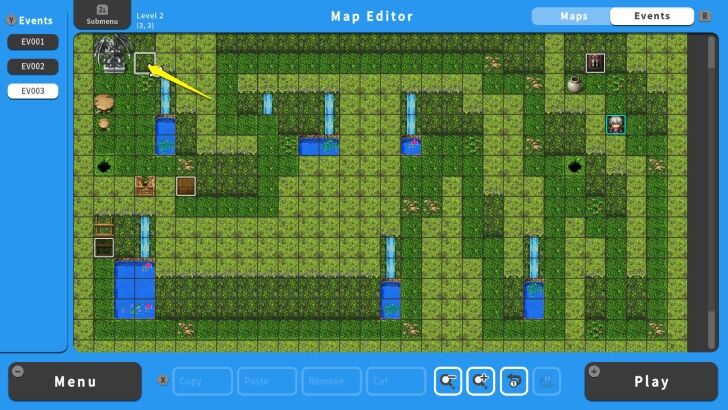 You can also use a Switch to make a treasure chest or another item to appear. For this example, we put the Switch in a room behind the locked door. |
| 2 |  Follow what we did in the "Setting a Switch" section, but this time label a new Switch by pressing the Y Button. In this example, the Switch is named "0004 Treasure Chest Appear." Once done, press the X Button and select OK. |
| 3 | 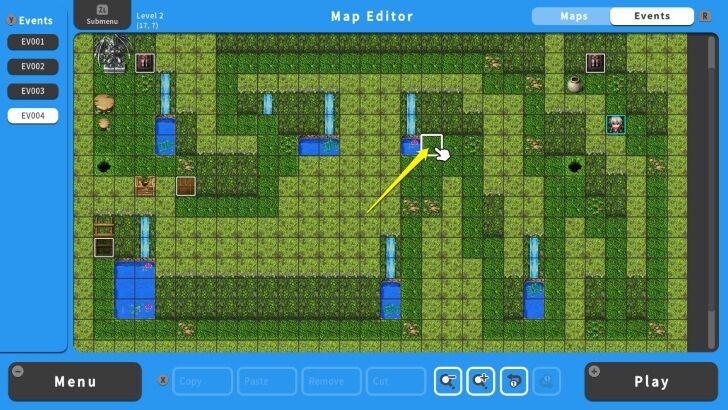 After setting the Switch, choose the location of the treasure chest and press the A Button. |
| 4 | 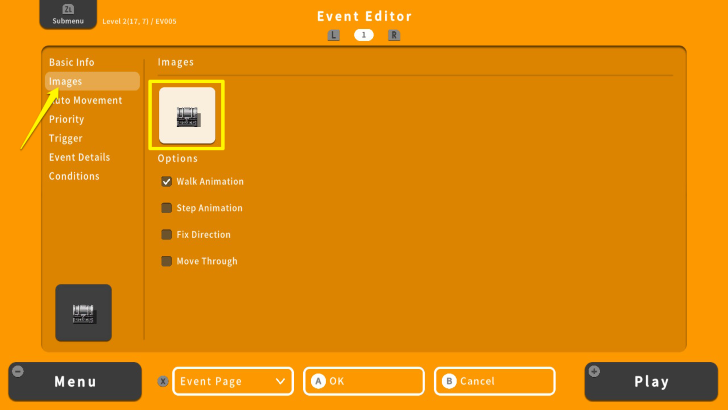 Once in the Event Editor screen, select Images and set up the image of the treasure chest. For this example, the chosen image is a metal treasure chest. |
| 5 | 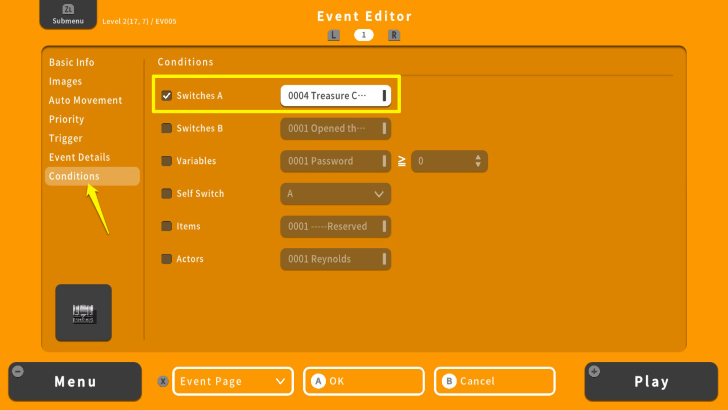 Once done, move to Conditions and check Switches A. Then select "0004 Treasure Chest Appear." |
| 6 | 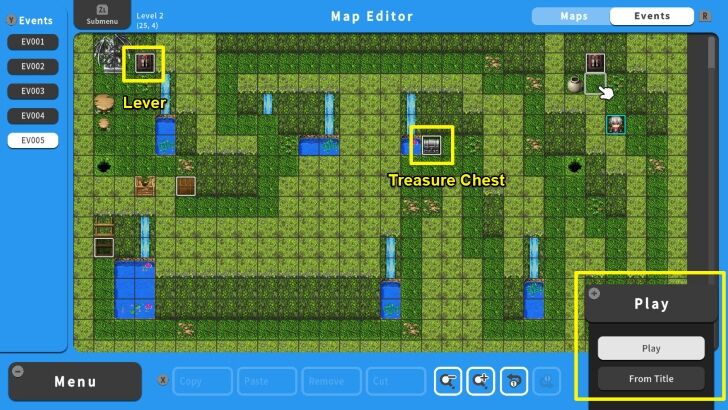 To check if the Switch is working, press the + Button. Save your changes and playtest the game. **Remember to interact with the lever linked to the treasure chest. |
Tips on Making Switches
Always Name Your Switches
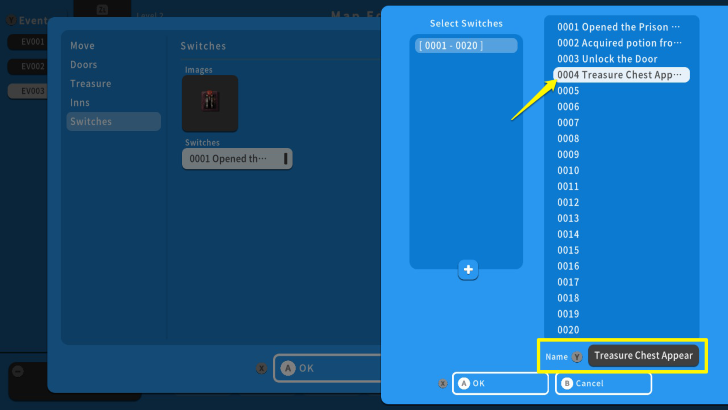
Naming Switches is important, especially when you are making a big game. This allows you to identify what lever or Button is linked to a particular Event. For example, we edited "0004" by pressing the Y Button into "0004 Treasure Chest Appear." This allows you to swiftly identify a Switch that is related to a specific Event.
Map, Event, and Switch Naming Tips
Change Your Start Position
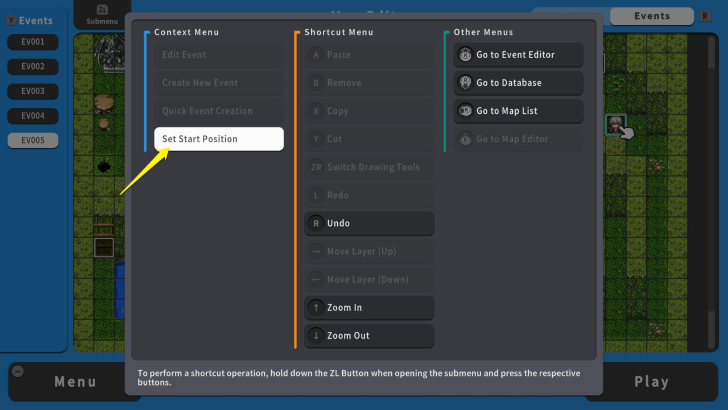
Change your start position to reduce the time for checking Switches. This allows you to easily check Switches in a specific location. For example, we set the character's start position within the dungeon by pressing the ZL Button and selecting "Set Start Position." You will choose a tile, and this is where the character will spawn when you playtest a game. This reduces the time you will spend on playtesting Switches you made in different locations.
RPG MAKER WITH Related Guides
All Intermediate Guide Articles
| Core Guides | |
|---|---|
| Intermediate Guide Part 1 |
Intermediate Guide Part 2 |
| Tips and Tricks | |
|---|---|
| How to Make a Switch | How to Use Map Foregrounds and Backgrounds |
| How to Change Event Text Color | |
| Core Guides | |
|---|---|
| Beginner's Guide Part 1 | Beginner's Guide Part 2 |
| Tips and Tricks | |
|---|---|
| Map, Event, and Switch Naming Tips | How to Use the Flood Fill Tool |
| Core Guides | |
|---|---|
| Advanced Guide Part 1 | Advanced Guide Part 2 |
Comment
Author
How to Make a Switch
Rankings
- We could not find the message board you were looking for.
Gaming News
![Neverness to Everness (NTE) Review [Beta Co-Ex Test] | Rolling the Dice on Something Special](https://img.game8.co/4414628/dd3192c8f1f074ea788451a11eb862a7.jpeg/show)


Popular Games

Genshin Impact Walkthrough & Guides Wiki
Honkai: Star Rail Walkthrough & Guides Wiki
Arknights: Endfield Walkthrough & Guides Wiki
Umamusume: Pretty Derby Walkthrough & Guides Wiki
Wuthering Waves Walkthrough & Guides Wiki
Pokemon TCG Pocket (PTCGP) Strategies & Guides Wiki
Abyss Walkthrough & Guides Wiki
Zenless Zone Zero Walkthrough & Guides Wiki
Digimon Story: Time Stranger Walkthrough & Guides Wiki
Clair Obscur: Expedition 33 Walkthrough & Guides Wiki


Recommended Games
Fire Emblem Heroes (FEH) Walkthrough & Guides Wiki
Pokemon Brilliant Diamond and Shining Pearl (BDSP) Walkthrough & Guides Wiki
Diablo 4: Vessel of Hatred Walkthrough & Guides Wiki
Super Smash Bros. Ultimate Walkthrough & Guides Wiki
Yu-Gi-Oh! Master Duel Walkthrough & Guides Wiki
Elden Ring Shadow of the Erdtree Walkthrough & Guides Wiki
Monster Hunter World Walkthrough & Guides Wiki
The Legend of Zelda: Tears of the Kingdom Walkthrough & Guides Wiki
Persona 3 Reload Walkthrough & Guides Wiki
Cyberpunk 2077: Ultimate Edition Walkthrough & Guides Wiki


All rights reserved
©Gotcha Gotcha Games
The copyrights of videos of games used in our content and other intellectual property rights belong to the provider of the game.
The contents we provide on this site were created personally by members of the Game8 editorial department.
We refuse the right to reuse or repost content taken without our permission such as data or images to other sites.