Chapter 8: Tower Walkthrough and Data Bios Locations
★Game8's Dead Space Remake is now live!
★ game8 Review of the Callisto Protocol - Is it Worth Playing?
☆ All Implant Bios Locations
★ Use the guns in our Best Weapons Guide!
☆ How to Use Contraband Pack & List of Contents
★ Clips of All Death Animations
☆ Season Pass Guide - Price and All Contents!
Tower is the last chapter of The Callisto Protocol's main story. Read on for a detailed walkthrough, list of rewards, tips for completion, Tower Data Bios Locations, as well as other strategies!
| Previous Chapter | Next Chapter |
|---|---|
| Colony | - |
Tower Walkthrough
Tower Summary
| Tower Objectives |
|---|
Tower Objectives
| Objectives | |
|---|---|
| 1 | 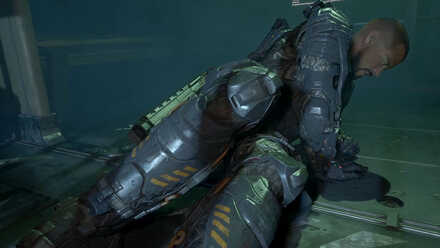 |
| 2 |  ►How to Beat the Two Head |
| 3 | 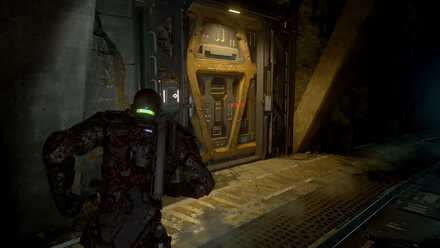 |
| 4 | 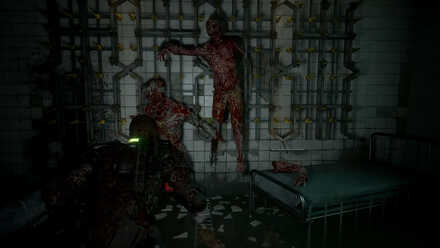 Go down the stairs at the end of the hall. More enemies will appear. Take a detour through Morgue A222. Two enemies will appear inside the Morgue, but you can use the GRP to hurl them into the spikes. When you exit the Morgue a Crawler and a Spitter will spawn the end of the room. Use the GRP to get the explosive canister and chuck it at both enemies to save time. |
| 5 | 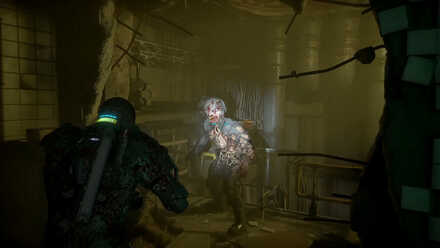 |
| 6 | 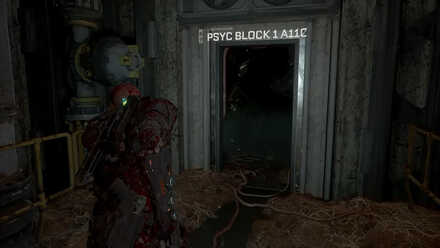 Crawl up the vents and when you get down, the Gate Fuse will be in the room to your right. Run back down the hall and use the Shiv to unlock the door. Then use the Gate Fuse to open Access Hall M150 down the hall. |
| 7 | 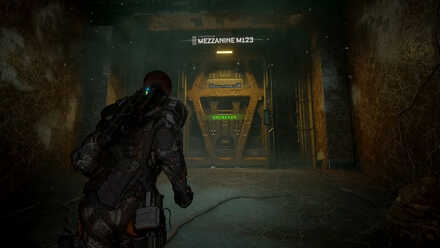 |
| 8 | 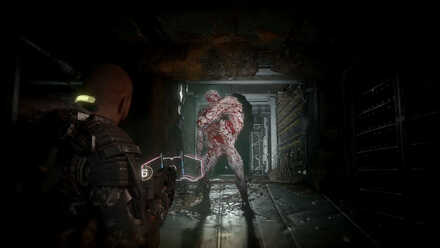 ►How to Beat the Two Head |
| 9 | 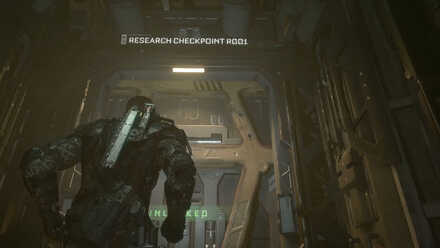 |
| 10 |  After learning that you are partially responsible for the attack on Europa, Jacob will try and rectify his mistakes by saving Dani and killing the Warden. |
| 11 | 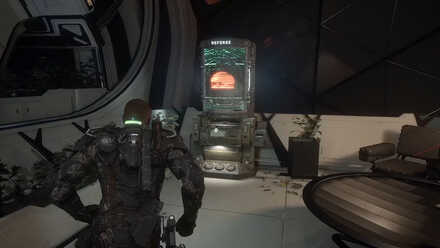 |
| 12 | 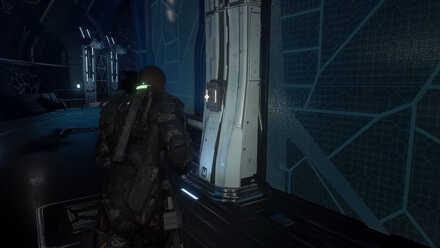 |
| 13 | |
| 14 | 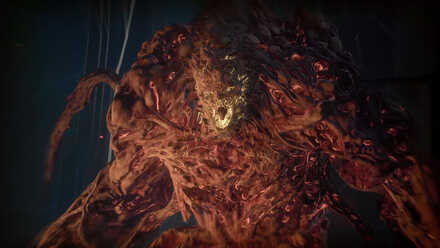 When the barrier is gone, this is the time to deal as much damage to Ferris before he screams and regenerates the barrier. Crawlers will start to spawn mid-fight. After break the barrier enough times, Ferris will go down and you can synthesize the antidote. |
| 15 |  |
Tower Obtainable Weapons
Tactical Pistol
| Tactical Pistol | |
|---|---|
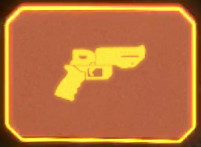 Preferred by ex-military officers for its low recoil and high rate of fire. Based on the UJC Modular Weapons Platform. |
|
| Type | Sidearm |
| Acquisition Type | Printed at the Reforge Station |
| Print Price | 600 Credits |
| Base Ammo Capacity | 10 |
If you missed the Tactical Pistol in the previous chapter, you can still pick its schematics inside the Tower. You can pick up the schematics in either in front of Cellblock 34 P340 or inside Mezzanine M123.
Tactical Pistol Upgrades and How to Get
UJC Assault Rifle
| Assault Rifle | |
|---|---|
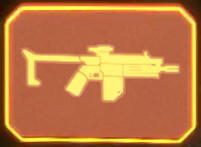 A three-round burst automatic rifle assigned only to the elite Black Iron Squad Nine. Based on the UJC Modular Weapons Platform. |
|
| Type | Primary |
| Acquisition Type | Printed at the Reforge Station |
| Print Price | 1000 Credits |
| Base Ammo Capacity | 20 |
If you missed the UJC Assault Rifle in the previous chapter you can still pick up its schematics in Access Hall M150. The only drawback to getting this at this point in the game lis that you may not have enough Callisto Credits to fully upgrade it before you face the final boss.
Assault Rifle Upgrades and How to Get
Tower Enemies Encountered
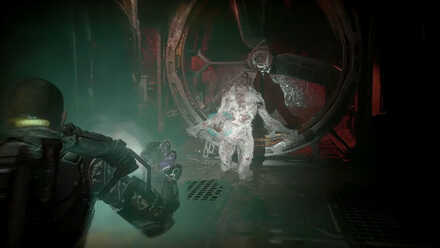
Two-Head Tips and Strategies
Anticipate Corners

When you fight the Two-Head in the Server Room, the area might feel smaller than the last encounter but this is a good thing. Create distance between you and the Two-Head and simply anticipate for either of the two heads to pop up in the corner before you take your shot.
Chuck Enemies into Hazards
In the area where you fight the second Two-Head, there will be 3 industrial fans in the area. Once the Two-Head spawns, a few enemies will sometimes spawn to flank you from other sides. Use the GRP to throw these enemies into the fans or the spikes before focusing on the Two-Head.
Alpha Ferris Tips and Strategies
Chuck Explosive Cannisters
The barrier Alpha Ferris puts up to cover his face is the main target you want to destroy to really deal some damage. There are explosive cannisters you can chuck towards the barrier making it more susceptible to gunfire.
Use the Crawlers as Bombs

While it makes sense to shoot the Crawlers the moment you see them, you can also use them to your advantage. When you run out of explosive cannisters to throw at Alpha Ferris, you can shoot the Crawlers that are close to him, triggering them to explode and dealing damage to Alpha Ferris in the process.
Ferris Boss Fight Guide: How to Beat the Final Boss
Tower Data Bio Locations
Dr. Tala Ismene: Observation (Audio Log)
| 1 | 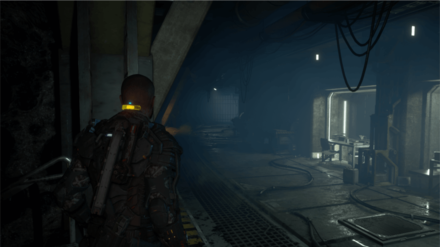 After unlocking the door to Panopticon Surveillance B330 with a Gate Fuse, head through and turn toward the hallway on the left. |
|---|---|
| 2 | 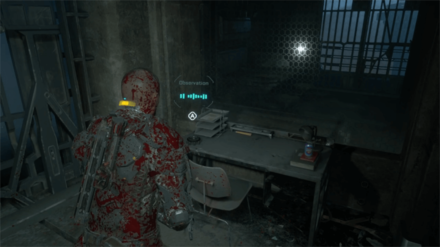 Reach the end of the hallway to find this Audio Log on top of a table. Note that two enemies will ambush you when you reach the Audio Log, so take them out first before picking it up. |
| * | 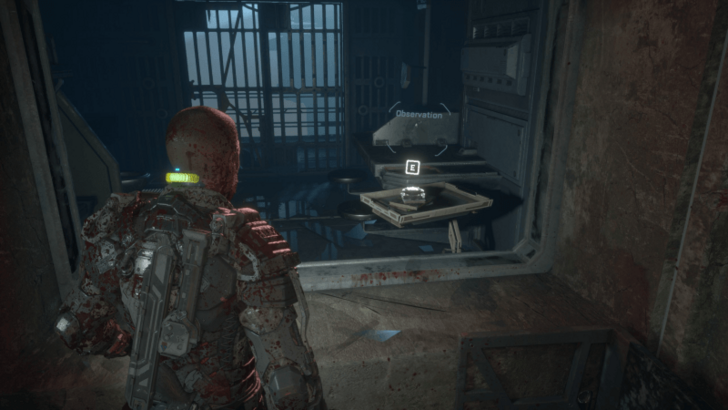 Depending on your version of the game, this Audio Log may also be on a table inside the broken window of one of the cells nearby. |
Dr. Tala Ismene: Taken (Audio Log)
| 1 | 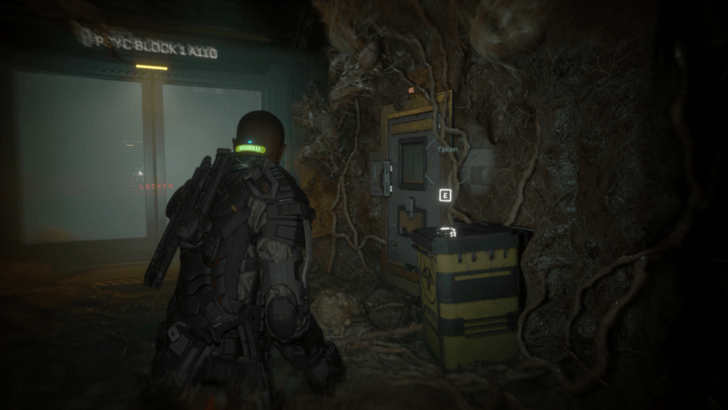 This Audio Log can be found on a biohazard container right outside the entrance to Psyc Block 1 A110. |
|---|---|
| * | 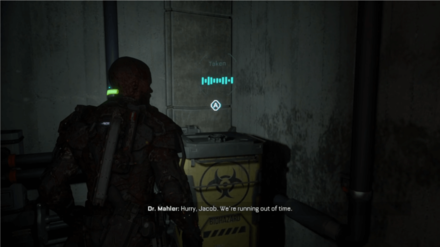 In older versions of the game, this Audio Log is located on a container up a set of stairs near the vent exit of Access Hall M150. |
Edward Bates: Experimentation (Audio Log)
| 1 | 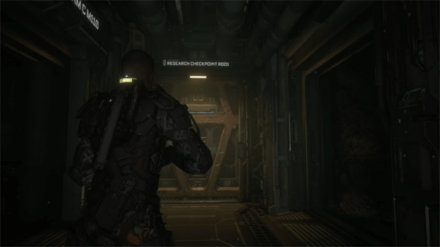 After defeating the two-head near the surgical theater, head through the door to Research Checkpoint R001. |
|---|---|
| 2 | 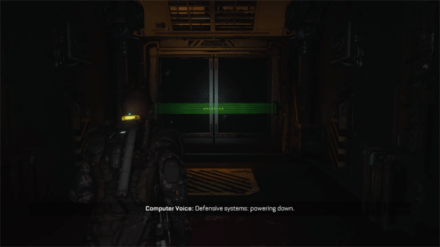 Proceed past the security checkpoint and through the doors marked "Unlocked". |
| 3 | 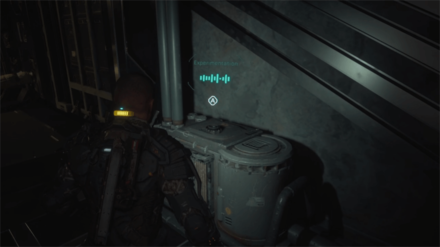 Once inside, you can find this Audio Log on a small metal structure on the right side. |
Duncan Cole: Cole’s Triumph (Audio Log)
| 1 |  After heading up the elevator with Dani, move forward to the next room. |
|---|---|
| 2 | 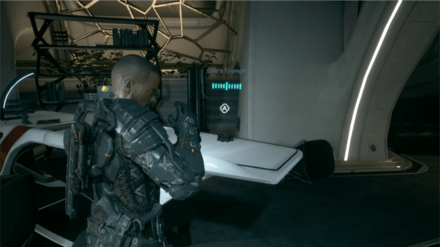 You can find this Audio Log on a table at the far left side of the room. |
The Callisto Protocol Related Guides

List of Chapters
| Chapter | Summary |
|---|---|
 Cargo Cargo
(Chapter 1) |
Jacob and Max are flying from Europa to Callisto on a standard supply run when they learn that they have been boarded by the Outer Way terrorist organization. |
 Outbreak Outbreak
(Chapter 2) |
Jacob finds himself a prisoner of Black Iron Prison. When he wakes up, Black Iron is in complete chaos. Now he has to find a way out of this hellhole. |
 Aftermath Aftermath
(Chapter 3) |
Jacob must help Elias free the one prisoner that can get them out Callisto. Jacob must venture deeper into the facility to access SHU, the maximum-security unit where that prisoner is held captive. |
 Habitat Habitat
(Chapter 4) |
Jacob has to rendezvous with Elias at the Tram Station in the Habitat Dome. These creatures have begun mutating, evolving into stronger enemies. |
 Lost Lost
(Chapter 5) |
Jacob is out of Black Iron Prison, but now he finds himself in the barren wastelands of Callisto. Dani has a plan to get to the hangar, but everything doesn't always go according to plan. |
 Below Below
(Chapter 6) |
Jacob wakes up underneath all the rubble of the fallen hangar and learns the existence of Arcas, the first colony. Now he has to bring power back to the station to use the transport platform to Arcas. |
 Colony Colony
(Chapter 7) |
Jacob arrives at the Arcas colony and learns of the truth behind the Callisto Outbreak. Now he must race back to the warden's tower or face the consequences. |
 Tower Tower
(Chapter 8) |
Jacob finds himself a prisoner of Black Iron Prison yet again. Only one thing remains: he has to race against time to save Dani and get off Callisto. |
Author
Chapter 8: Tower Walkthrough and Data Bios Locations
Rankings
- We could not find the message board you were looking for.
Gaming News

![The Liar Princess and the Blind Prince Review [PC] | Lovely to Look at but Tedious to Play](https://img.game8.co/4442586/8d95f5faf05780f1765ce7e0938bd825.jpeg/show)
![The Seven Deadly Sins: Origin [First Impressions] | A Promising Start](https://img.game8.co/4440581/584e0bfb87908f12c4eab6e846eb1afd.png/thumb)
![The Liar Princess and the Blind Prince Review [PC] | Lovely to Look at but Tedious to Play](https://img.game8.co/4442586/8d95f5faf05780f1765ce7e0938bd825.jpeg/thumb)
![Marathon Cryo Archive Map Teased as [REDACTED] on Selection Screen](https://img.game8.co/4442236/6357203e58172f6de57f1991e7c39b22.png/thumb)
Popular Games

Genshin Impact Walkthrough & Guides Wiki
Umamusume: Pretty Derby Walkthrough & Guides Wiki
Pokemon Pokopia Walkthrough & Guides Wiki
Honkai: Star Rail Walkthrough & Guides Wiki
Monster Hunter Stories 3: Twisted Reflection Walkthrough & Guides Wiki
Arknights: Endfield Walkthrough & Guides Wiki
Wuthering Waves Walkthrough & Guides Wiki
Zenless Zone Zero Walkthrough & Guides Wiki
Pokemon TCG Pocket (PTCGP) Strategies & Guides Wiki
Monster Hunter Wilds Walkthrough & Guides Wiki


Recommended Games
Diablo 4: Vessel of Hatred Walkthrough & Guides Wiki
Cyberpunk 2077: Ultimate Edition Walkthrough & Guides Wiki
Fire Emblem Heroes (FEH) Walkthrough & Guides Wiki
Yu-Gi-Oh! Master Duel Walkthrough & Guides Wiki
Super Smash Bros. Ultimate Walkthrough & Guides Wiki
Pokemon Brilliant Diamond and Shining Pearl (BDSP) Walkthrough & Guides Wiki
Elden Ring Shadow of the Erdtree Walkthrough & Guides Wiki
Monster Hunter World Walkthrough & Guides Wiki
The Legend of Zelda: Tears of the Kingdom Walkthrough & Guides Wiki
Persona 3 Reload Walkthrough & Guides Wiki


All rights reserved
© 2022 Krafton, Inc. All Rights Reserved. STRIKING DISTANCE STUDIOS and THE CALLISTO PROTOCOL are trademarks or service marks of Striking Distance Studios, Inc. KRAFTON is a registered trademark or service mark of KRAFTON, Inc.
The copyrights of videos of games used in our content and other intellectual property rights belong to the provider of the game.
The contents we provide on this site were created personally by members of the Game8 editorial department.
We refuse the right to reuse or repost content taken without our permission such as data or images to other sites.