How to Beat Two-Head Boss
★Game8's Dead Space Remake is now live!
★ game8 Review of the Callisto Protocol - Is it Worth Playing?
☆ All Implant Bios Locations
★ Use the guns in our Best Weapons Guide!
☆ How to Use Contraband Pack & List of Contents
★ Clips of All Death Animations
☆ Season Pass Guide - Price and All Contents!
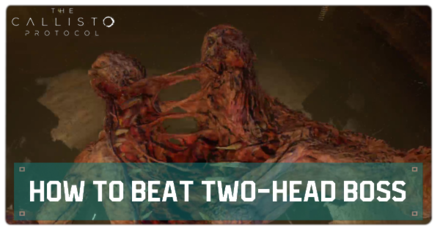
The Two-Head Boss is one of the most powerful creatures you will encounter in The Callisto Protocol during your venture. Read on to learn how to beat the Two-Head Boss and see the walkthrough guide for each encounter against it!
How to Beat the Two-Head Boss
| Tips for Beating the Two-Head Boss |
|---|
|
|
Aim for the Head!
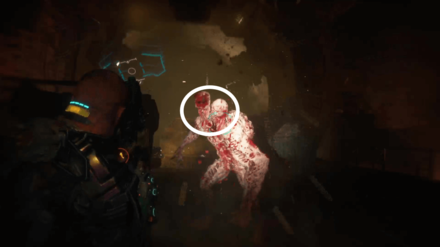
The Two-Head Boss is weak against attacks on the head, unlike any other enemies in the game. You should always aim for its head to increase the chances of staggering it on the field. It will give you some space from it using that trick or you can slip in an attack before it recovers.
Destroy One Head with Melee Once it Kneels
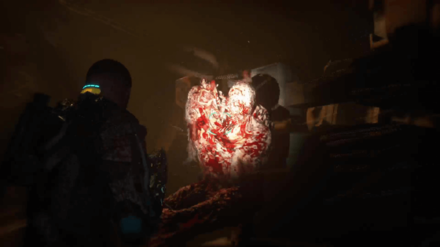
It is also possible to destroy one of its head as you fight it in the game. You will need to deal enough damage to make it kneel on the ground and be open for a consecutive hit from your melee, smashing one of its heads into pieces in the process.
Use melee attacks again the second time it falls on to its knees to finish it off completely.
Keep Some Distance by Sprinting
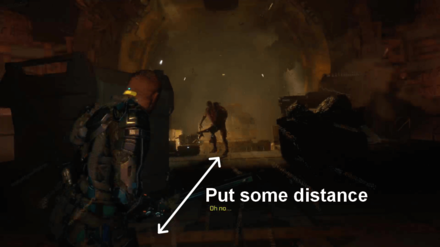
Since Sprinting is unlimited, you can always use it to run faster and avoid getting too close to the Two-Head Boss. It wouldn't be enough just to run as the boss can still catch you, but you can avoid it if you use the obstacles as cover or shoot it as you run.
Dodge Attacks When the Boss is Close
You can also dodge the attack when he gets too close and pull out a counter attack. Run and sprint away until it's safe to shoot and attack again after that.
Use the Riot Gun or Skunk Gun
Although using melee attacks do better damage, Riot Gun and Skunk Gun are still better as they will let you deal massive damage against the Two-Head Boss at a safe distance. If you land a good hit, it can also stagger the boss, which will give you some time to gain distance.
Learn to Quick Swap Weapons and Health Injectors
| How to Quick Swap Weapons | Press 2 on the Keyboard for PC Press the Left Button on D-Pad for Consoles |
|---|---|
| How to Quick Use Health Injectors | Press 3 on the Keyboard for PC Hold the Down Button on D-Pad for Consoles |
Knowing the quick swap buttons in the game would help you greatly on your fights against the Two-Head Boss. It will take up a lot of time just to open the Inventory and use the items that you need, and the Quick Swap function will help you deal with that.
Always Prepare Before the Battle
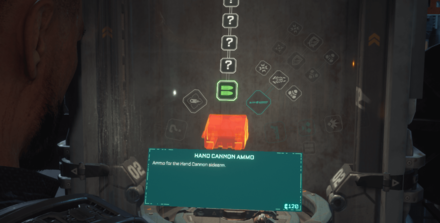
You will encounter the two-head boss multiple times in the game, but you will always have time to prepare for it. Use that time to upgrade weapons, remove unnecessary items, and stock up on supplies before heading to battle to increase your chances for survival.
Two-Head Boss Encounter Guide
| Encounter Guides (Click to Jump to a Section!) |
|
|---|---|
| First Encounter | Second Encounter |
| Third Encounter | Fourth Encounter |
First Encounter Guide
| Two-Head Boss First Encounter Guide (Chapter 6: Below) |
|
|---|---|
| 1 | Survive Incoming Enemy Waves You will face tons of enemies first before you start your battle with the Two-Head Boss. You can use your Skunk Gun and GRP to take them out quickly. Stay near the edge to make it easier to throw enemies outside the platform with the GRP. |
| 2 | 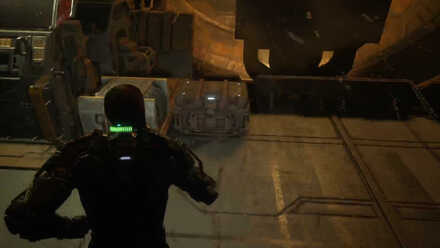 There will be chests scattered around the area as you fight enemies on the platform. Loot them when you get the chance to recover ammo and batteries to keep you going. |
| 3 | 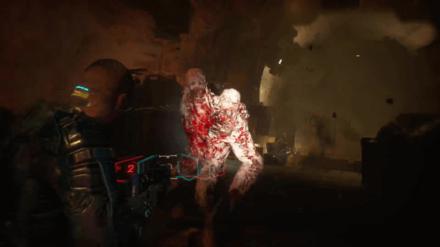 After surviving the enemy waves, the Two-Head Boss will finally make its appearance. Use your Riot Gun and Skunk Gun to deal damage while keeping a safe distance. You can also use the surrounding crates as cover to avoid getting caught by the boss. |
| 4 | Remove One of its Head Once you've accumulated enough damage, the Two-Head Boss will finally fall on its knees. Use that chance to perform consecutive melee attacks and remove one of its heads. |
| 5 | Finish the Two-Head Boss Removing one if the heads won't be enough to kill it. Use the same strategy earlier with the Riot Gun and Skunk Gun until you beat the boss. |
Back to Encounter Guide Selection
Second Encounter Guide
| Two-Head Boss Second Encounter Guide (Chapter 7: Colony) |
|
|---|---|
| 1 | 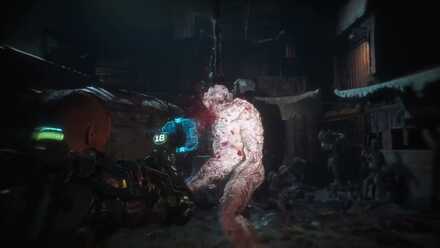 The Two-Head Boss will spawn as soon as you enter the boss's area. Shoot it while keeping a good distance to avoid getting hit by its attacks. You can use the covers around the area to outmaneuver the boss. |
| 2 | 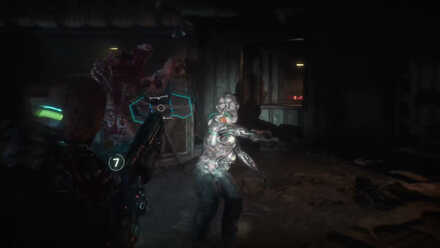 There are two weaker enemies that'll spawn and join the battle. Take them out quickly with a shot from the Riot Gun or use the GRP and spike them to the wall. |
| 3 | 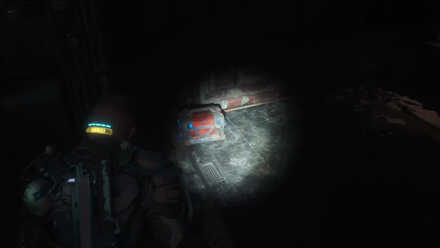 You might find yourself short on resources as the fight goes on against the boss. There will be supplies around so try to look and see if you can grab some. |
| 4 | 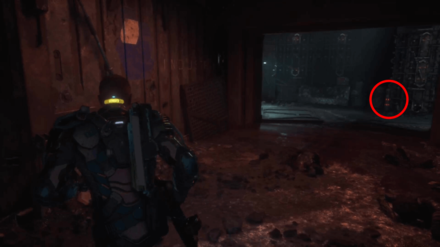 You can find an Explosive Tank inside a room near spikes on the wall in the area. Use the GRP to grab it and throw it to the Two-Head boss to immobilize it. You can then perform a melee attack that will remove one of its head. |
| 5 | 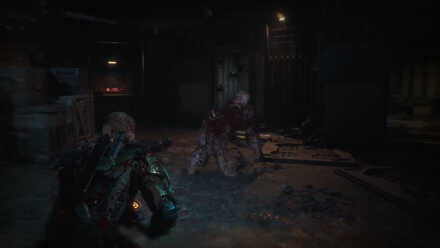 Continue attacking the boss with your guns and still keep your distance until it goes down again. Finish the boss with a good melee attack and move on to the next part of the story. |
Back to Encounter Guide Selection
Third Encounter Guide
| Two-Head Boss Third Encounter Guide (Chapter 8: Tower) |
|
|---|---|
| 1 | 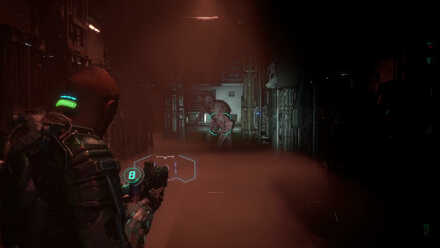 You will be able to see the Two-Head Boss standing around the corner as you enter its area. Start attacking it with your guns before he closes in for an attack. |
| 2 | Keep Shooting Until it's Down Keep on attacking until the boss is down on its knees, then take out one of its heads. Consider dodging if the boss gets too close and can reach you with its arms. |
| 3 | Switch Guns and Heal Up When Needed You will surely empty all your ammo on your current weapon mid-fight. Go around the obstacles in the area, dodge attacks if necessary, and use the Quick Swap button to switch guns quickly. You should also heal up if you're close to dying! |
| 4 | Continue Attacking and End the Boss Once you've changed guns and are back to full health, resume attacking the boss until it falls again to its knees. Perform consecutive melee attacks once it happens to finish the battle and kill it. |
Back to Encounter Guide Selection
Fourth Encounter Guide
| Two-Head Boss Fourth Encounter Guide (Chapter 8: Tower) |
|
|---|---|
| 1 | 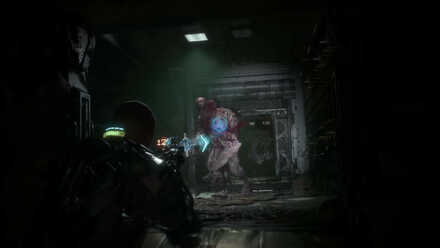 You will encounter the Two-Head Boss in the middle of the stage as you enter. Start attacking it while moving backwards to keep some distance. |
| 2 | 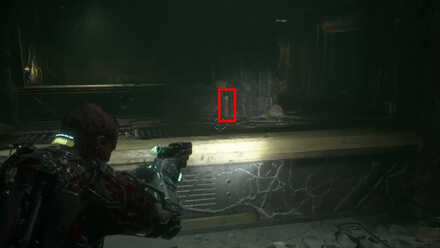 There are a few Explosive Tanks scattered around the area. Knock down the Two-Head Boss by throwing one right on its face using the GRP. Quickly follow up a melee attack to remove one of its heads. |
| 3 | 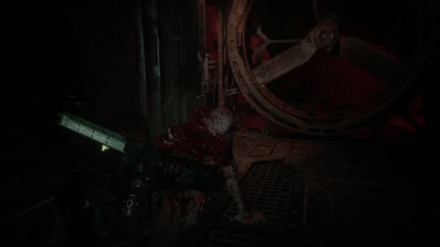 After smashing one of its heads, immediately run and look for another Explosive Tank. Throw it again on the boss to make it fall on its knee. Then end the boss with a good smack on the face using your melee weapon. |
Back to Encounter Guide Selection
Rewards for Beating the Two-Head Boss
Unlocks Two Heads Are Better Than One Trophy & Achievement
 Gold Gold
G: 50 |
|
|---|---|
| Take down the two-head. |
Beating the Two-Head Boss will unlock the Two Heads Are Better Than One trophy and achievement. You should be able to get this achievement after killing the Two-Head Boss in the first encounter in Chapter 6: Below.
Trophy List and Achievement Guide
Drops a CPU Printer
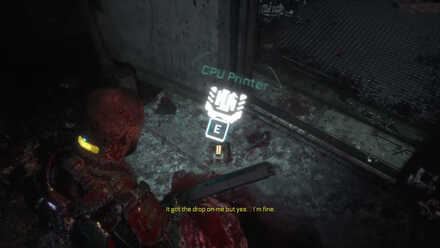
Slaying the Two-Head Boss and stomping on it after battle will get you a CPU Printer. You can sell that CPU Printer in one of the Reforge Terminal and obtain a whopping 1,000 Callisto Credits. You can use that credits then to buy new items or upgrade your weapons.
The Callisto Protocol Related Guides

All Boss and Enemy Guides
| Boss Guides | |
|---|---|
| How to Beat Two-Head Boss | Ferris Boss Fight Guide |
| Enemy Guides | |
| How to Kill Security Bots | How to Beat Biophage |
Author
How to Beat Two-Head Boss
Rankings
- We could not find the message board you were looking for.
Gaming News
Popular Games

Genshin Impact Walkthrough & Guides Wiki

Umamusume: Pretty Derby Walkthrough & Guides Wiki

Pokemon Pokopia Walkthrough & Guides Wiki

Honkai: Star Rail Walkthrough & Guides Wiki

Monster Hunter Stories 3: Twisted Reflection Walkthrough & Guides Wiki

Arknights: Endfield Walkthrough & Guides Wiki

Wuthering Waves Walkthrough & Guides Wiki

Zenless Zone Zero Walkthrough & Guides Wiki

Pokemon TCG Pocket (PTCGP) Strategies & Guides Wiki

Monster Hunter Wilds Walkthrough & Guides Wiki
Recommended Games

Diablo 4: Vessel of Hatred Walkthrough & Guides Wiki

Cyberpunk 2077: Ultimate Edition Walkthrough & Guides Wiki

Fire Emblem Heroes (FEH) Walkthrough & Guides Wiki

Yu-Gi-Oh! Master Duel Walkthrough & Guides Wiki

Super Smash Bros. Ultimate Walkthrough & Guides Wiki

Pokemon Brilliant Diamond and Shining Pearl (BDSP) Walkthrough & Guides Wiki

Elden Ring Shadow of the Erdtree Walkthrough & Guides Wiki

Monster Hunter World Walkthrough & Guides Wiki

The Legend of Zelda: Tears of the Kingdom Walkthrough & Guides Wiki

Persona 3 Reload Walkthrough & Guides Wiki
All rights reserved
© 2022 Krafton, Inc. All Rights Reserved. STRIKING DISTANCE STUDIOS and THE CALLISTO PROTOCOL are trademarks or service marks of Striking Distance Studios, Inc. KRAFTON is a registered trademark or service mark of KRAFTON, Inc.
The copyrights of videos of games used in our content and other intellectual property rights belong to the provider of the game.
The contents we provide on this site were created personally by members of the Game8 editorial department.
We refuse the right to reuse or repost content taken without our permission such as data or images to other sites.



![Monster Hunter Stories 3 Review [First Impressions] | Simply Rejuvenating](https://img.game8.co/4438641/2a31b7702bd70e78ec8efd24661dacda.jpeg/show)
![The Seven Deadly Sins: Origin [First Impressions] | A Promising Start](https://img.game8.co/4440581/584e0bfb87908f12c4eab6e846eb1afd.png/thumb)
![The Liar Princess and the Blind Prince Review [PC] | Lovely to Look at but Tedious to Play](https://img.game8.co/4442586/8d95f5faf05780f1765ce7e0938bd825.jpeg/thumb)
![Marathon Cryo Archive Map Teased as [REDACTED] on Selection Screen](https://img.game8.co/4442236/6357203e58172f6de57f1991e7c39b22.png/thumb)


