Chapter 6: Below Walkthrough and Data Bios Locations
★Game8's Dead Space Remake is now live!
★ game8 Review of the Callisto Protocol - Is it Worth Playing?
☆ All Implant Bios Locations
★ Use the guns in our Best Weapons Guide!
☆ How to Use Contraband Pack & List of Contents
★ Clips of All Death Animations
☆ Season Pass Guide - Price and All Contents!
Below is the sixth chapter of The Callisto Protocol's main story. Read on for a detailed walkthrough, list of rewards, tips for completion, Below Data Bios Locations, as well as other strategies!
| Previous Chapter | Next Chapter |
|---|---|
| Lost | Colony |
List of Contents
Below Walkthrough
Below Summary
| Below Objectives |
|---|
Below Detailed Walkthrough
| Objectives | |
|---|---|
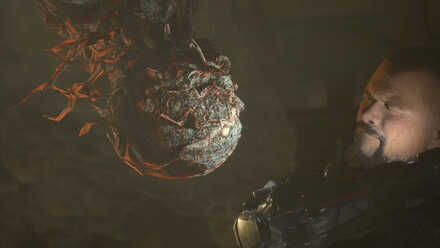
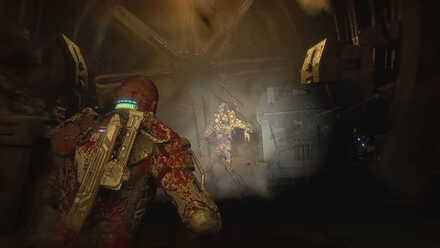
| 1 | 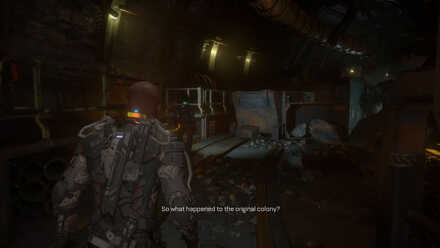 |
| 2 | 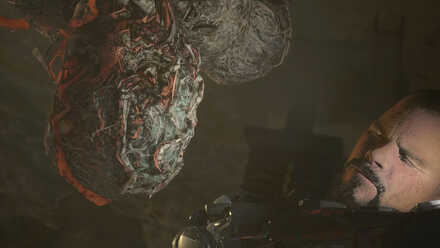 Follow the yellow light to L1 Maintenance. Drop down to the lower level and wait for the Blind to turn around before stabbing them. ▶How to Perform a Quick Kill |
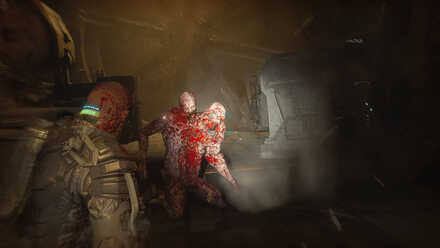
| 3 | 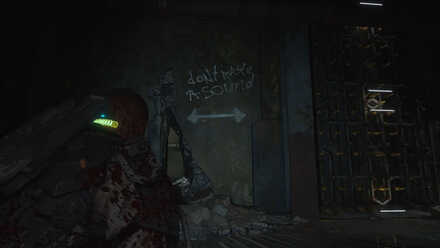 Continue on the path and encounter more Blind. You can save your ammo and just use the GRP to hurl them onto the spikes in the room. Continue until you reach W2 Workshop. Go down the ladder and a Blind will be sleeping as you turn around. This enemy will not take notice unless you attack it first. Continue to the other side of the room and down the infested cavern. |
| 4 | 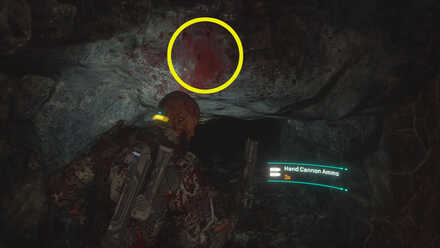 You'll know you're out of the tunnels once you see the giant rock slab with the word “Caution” etched on it. Head to Tunnel 3A, use the elevated platform to get some distance between you and the 4 Blind circling the hall. Once you're through climb up the wall following the trail of blood. |
| 5 | 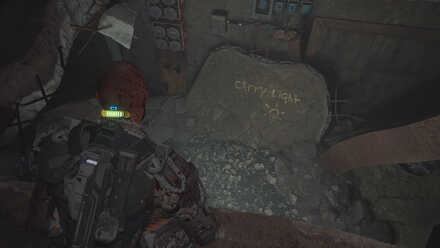 |
| 6 | 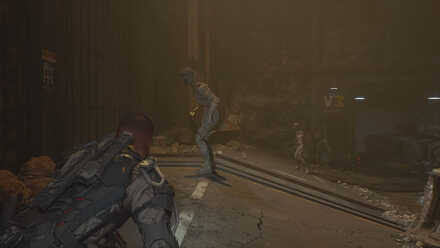 Take the path right of the Power Tunnels. There are more Blinders in this area so be quiet. Go to the Transport Platform and get the keycard from by the Platform Console. ►Tactical Pistol Upgrades and How to Get |
| 7 | 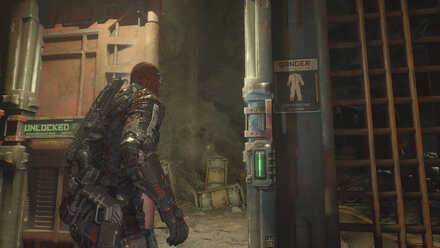 Go inside the Power Station. There will be a Reforge Station and some supplies in the room to your left. Resupply and then go up the stairs. Go to the other side of the room, following the arrows, until you reach a hole in the ground. Drop down and you'll see the sign telling you that you are going in the direction of the Power Reactor. |
| 8 | 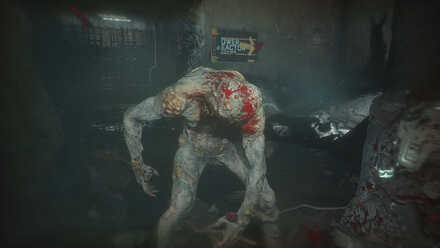 Go near the light, then squeeze through another gap in the wall, then continue forward until you see the ladder by a giant fan. Climb up this ladder to reach the Power Reactor. |
| 9 | 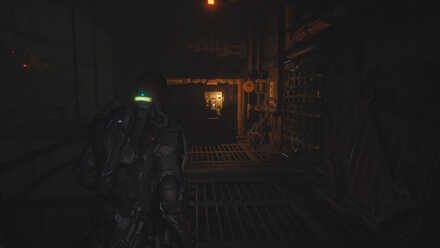 First Breaker First Breaker Go through the door on the other end of the room, continue on the walkway to reach the first breaker, then turn it back on. Afterwards, some Blind enemies will appear. 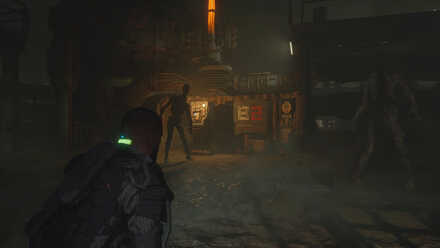 Second Breaker Second Breaker Climb down the ladder from the first breaker, and the second breaker will be directly across. There are some Blind around, but at this point, you will be used to dealing with them. 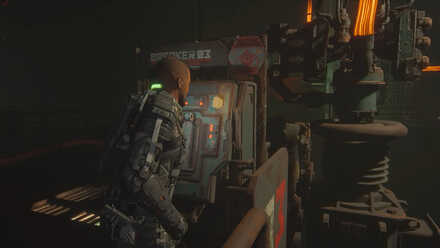 Third Breaker Third BreakerHead right from the second breaker into the room full of spikes. Use the spikes to deal with the Blind that are circling that area. reach the end of the room and follow the arrows that will lead you to the third breaker. |
| 10 | 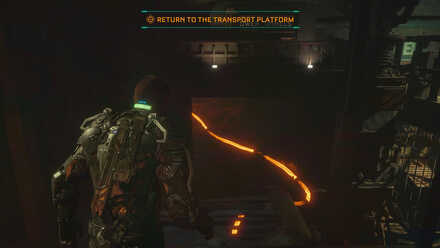 |
| 11 | 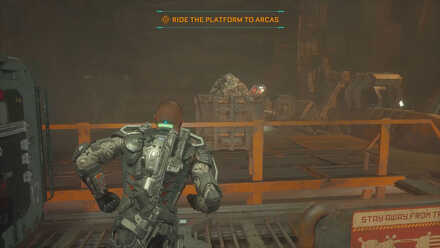 |
| 12 | 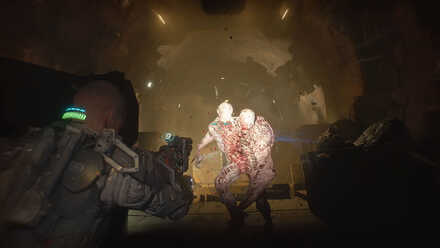 ►How to Beat the Two Head |
| Previous Chapter | Next Chapter |
|---|---|
| Lost | Colony |
Below Obtainable Weapons
Tactical Pistol
| Tactical Pistol | |
|---|---|
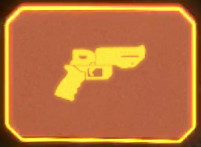 Preferred by ex-military officers for its low recoil and high rate of fire. Based on the UJC Modular Weapons Platform. |
|
| Type | Sidearm |
| Acquisition Type | Printed at the Reforge Station |
| Print Price | 600 Credits |
| Base Ammo Capacity | 10 |
A fully automatic pistol that can replace the Hand Cannon as your sidearm. The schematics for this gun can be found inside the workshop when you reach the Access Junction area.
Tactical Pistol Upgrades and How to Get
Below Enemies Encountered
The Blind
They will make up majority of the fights in this chapter. It is best to sneak around them and perform quick kills when possible.
Bloodworms
Bloodworms are easily dealt with using melee and guns. They make a distinct sound so it is fairly easy to spot them.
Spitters
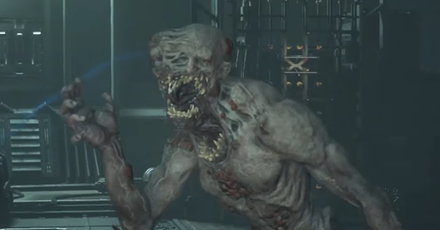
Shoot its head with the hand cannon to neutralize its ranged attacks, then eliminated it with melee attacks. Take note you can also block its ranged attacks.
Two-Head
This is the last boss for this chapter. It is extremely durable and might consume most of your ammo just to take it down. Fortunately you will have lots of ammo to loot before the platform ride leading up to this encounter.
Below Tips and Strategies
Dealing with The Blinds
Most of the areas in Below are populated with The Blind. These enemy types are reactive to sound, especially from gunfire. While you can sneak your way through this area without killing anything, it is still recommended that you take them out one at a time with the Shiv, so you have less enemies to deal with when you return to this area later on.
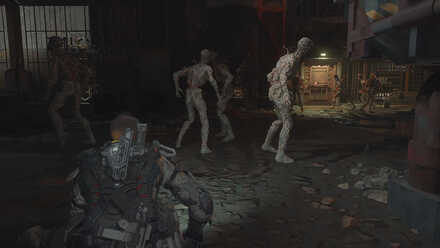
Platform to Arcas Fight
The Arcas fight is composed of 4 waves of Mutated Biophages. The first wave will come on your right, then on your left, the back of the platform, and then the front. It is easy to get overwhelmed as just one Mutated Biophage is enough to deal damage that will surely kill you, let alone 4. The best strategy to use is the GRP and the Hand Cannon.
In this fight sequence, you have two choices: Shoot the tentacles, or use the GRP. For the waves coming from the sides, it is best to use the Hand Cannon. For the waves that will spawn near the industrial fans, it is recommended to use the GRP to hurl them into the fan before they mutate.
Two-Head Fight
This fight will focus more on hit-and-run tactics. Shoot either of the heads as you move around the platform. This also counts for when you are reloading. You cannot afford to stand still while you shoot.
It is recommended that you focus on one head at a time. Use pistols for long-range hits, and shotguns for the Two-Head is staggered.
Below Data Bios Locations
Dr. Sheehan Yune: Field Log 1 (Audio Log)
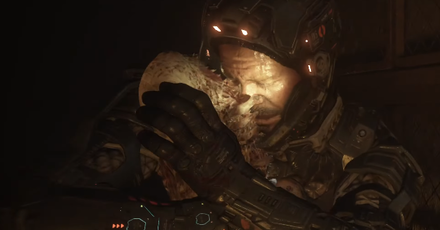
| 1 | 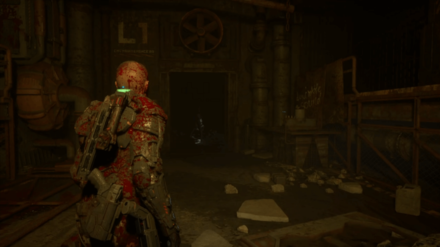 After cutting yourself free from the wires and clearing out the area, progress through the chapter until you see a doorway marked L1 CMV Maintenance 2A. |
|---|---|
| 2 |  You can find the Audio Log on top of the desk to the left of the doorway. |
Dr. Sheehan Yune: Field Log 2 (Audio Log)
| 1 | 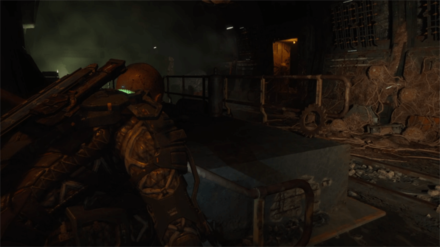 Progress through the chapter until you reach an area filled with blind enemies and a doorway with an orange glow. |
|---|---|
| 2 | 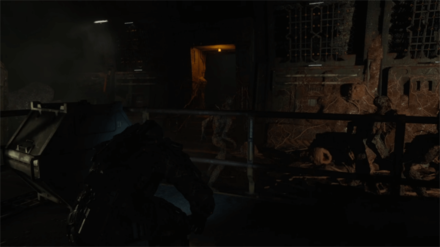 Clear out the enemies or sneak past them and go through the doorway. |
| 3 | 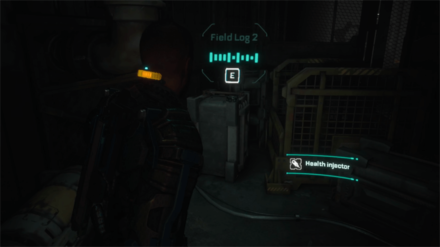 Once inside, you can find the Audio Log to the left at the end of the corridor. |
Dr. Sheehan Yune: Field Log 3 (Implant Bio)
| 1 | 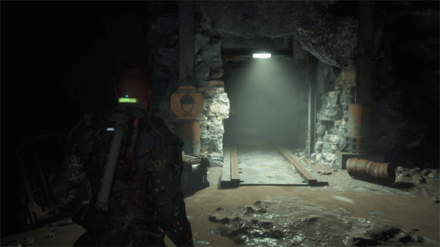 After retrieving the keycard and heading through the Access Junction, move forward until you reach a tunnel with a Hard Hat Area sign. |
|---|---|
| 2 | 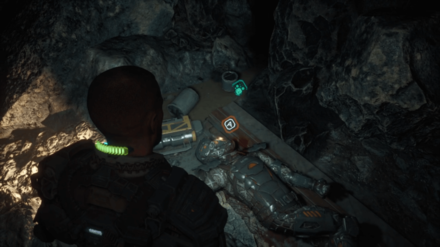 Reach the end of the tunnel to find the corpse containing this Implant Bio on the ground. |
Yannick Sage: Secret Room 2 (Audio Log)
| 1 | 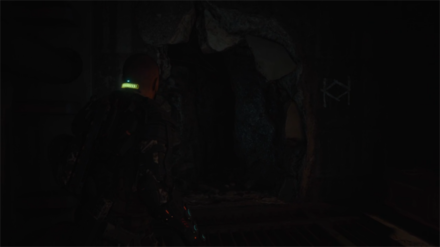 After climbing the ladder toward the Power Reactor, turn left to find a tight crevice on the wall. |
|---|---|
| 2 | 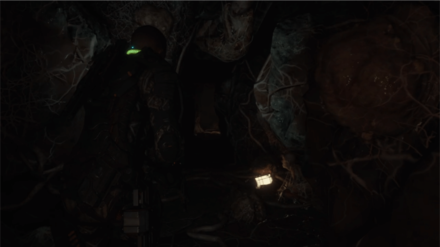 After getting past the crevice, progress through the cave and defeat the enemies along the way. |
| 3 | 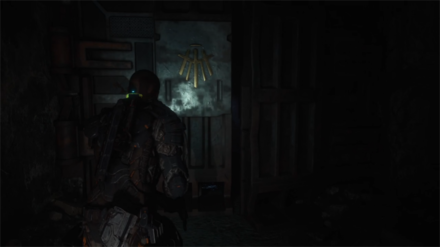 You will eventually reach a gate marked with a golden symbol. Turn right and move around the corner to get past the gate and end up in the room behind it. |
| 4 | 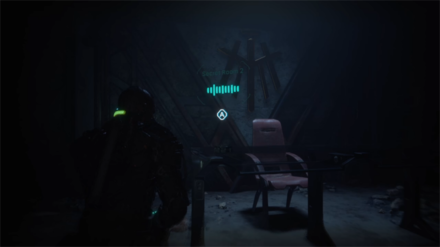 Once inside the room, take out the long-necked that ambushes you and go to the table at the far end of the hall to find this Audio Log. |
Arden Jeddha: Arcas Evacuation (Implant Bio)
| 1 |  Near the end of the chapter, you will ride a platform to the location of the old colony. |
|---|---|
| 2 | 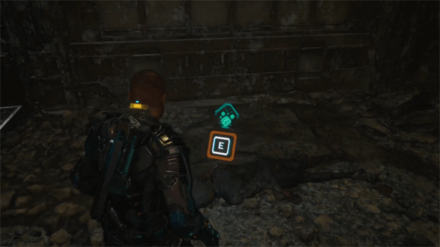 After arriving, you'll see a corpse just past the landing ramp containing the Data Bios. This corpse may also be located near the large door, depending on your version of the game. |
The Callisto Protocol Related Guides

List of Chapters
| Chapter | Summary |
|---|---|
 Cargo Cargo
(Chapter 1) |
Jacob and Max are flying from Europa to Callisto on a standard supply run when they learn that they have been boarded by the Outer Way terrorist organization. |
 Outbreak Outbreak
(Chapter 2) |
Jacob finds himself a prisoner of Black Iron Prison. When he wakes up, Black Iron is in complete chaos. Now he has to find a way out of this hellhole. |
 Aftermath Aftermath
(Chapter 3) |
Jacob must help Elias free the one prisoner that can get them out Callisto. Jacob must venture deeper into the facility to access SHU, the maximum-security unit where that prisoner is held captive. |
 Habitat Habitat
(Chapter 4) |
Jacob has to rendezvous with Elias at the Tram Station in the Habitat Dome. These creatures have begun mutating, evolving into stronger enemies. |
 Lost Lost
(Chapter 5) |
Jacob is out of Black Iron Prison, but now he finds himself in the barren wastelands of Callisto. Dani has a plan to get to the hangar, but everything doesn't always go according to plan. |
 Below Below
(Chapter 6) |
Jacob wakes up underneath all the rubble of the fallen hangar and learns the existence of Arcas, the first colony. Now he has to bring power back to the station to use the transport platform to Arcas. |
 Colony Colony
(Chapter 7) |
Jacob arrives at the Arcas colony and learns of the truth behind the Callisto Outbreak. Now he must race back to the warden's tower or face the consequences. |
 Tower Tower
(Chapter 8) |
Jacob finds himself a prisoner of Black Iron Prison yet again. Only one thing remains: he has to race against time to save Dani and get off Callisto. |
Author

Chapter 6: Below Walkthrough and Data Bios Locations
Rankings
- We could not find the message board you were looking for.
Gaming News

![Monster Hunter Stories 3 Review [First Impressions] | Simply Rejuvenating](https://img.game8.co/4438641/2a31b7702bd70e78ec8efd24661dacda.jpeg/show)
![The Seven Deadly Sins: Origin [First Impressions] | A Promising Start](https://img.game8.co/4440581/584e0bfb87908f12c4eab6e846eb1afd.png/thumb)
![The Liar Princess and the Blind Prince Review [PC] | Lovely to Look at but Tedious to Play](https://img.game8.co/4442586/8d95f5faf05780f1765ce7e0938bd825.jpeg/thumb)
![Marathon Cryo Archive Map Teased as [REDACTED] on Selection Screen](https://img.game8.co/4442236/6357203e58172f6de57f1991e7c39b22.png/thumb)
Popular Games

Genshin Impact Walkthrough & Guides Wiki
Umamusume: Pretty Derby Walkthrough & Guides Wiki
Pokemon Pokopia Walkthrough & Guides Wiki
Honkai: Star Rail Walkthrough & Guides Wiki
Monster Hunter Stories 3: Twisted Reflection Walkthrough & Guides Wiki
Arknights: Endfield Walkthrough & Guides Wiki
Wuthering Waves Walkthrough & Guides Wiki
Zenless Zone Zero Walkthrough & Guides Wiki
Pokemon TCG Pocket (PTCGP) Strategies & Guides Wiki
Monster Hunter Wilds Walkthrough & Guides Wiki


Recommended Games
Diablo 4: Vessel of Hatred Walkthrough & Guides Wiki
Cyberpunk 2077: Ultimate Edition Walkthrough & Guides Wiki
Fire Emblem Heroes (FEH) Walkthrough & Guides Wiki
Yu-Gi-Oh! Master Duel Walkthrough & Guides Wiki
Super Smash Bros. Ultimate Walkthrough & Guides Wiki
Pokemon Brilliant Diamond and Shining Pearl (BDSP) Walkthrough & Guides Wiki
Elden Ring Shadow of the Erdtree Walkthrough & Guides Wiki
Monster Hunter World Walkthrough & Guides Wiki
The Legend of Zelda: Tears of the Kingdom Walkthrough & Guides Wiki
Persona 3 Reload Walkthrough & Guides Wiki


All rights reserved
© 2022 Krafton, Inc. All Rights Reserved. STRIKING DISTANCE STUDIOS and THE CALLISTO PROTOCOL are trademarks or service marks of Striking Distance Studios, Inc. KRAFTON is a registered trademark or service mark of KRAFTON, Inc.
The copyrights of videos of games used in our content and other intellectual property rights belong to the provider of the game.
The contents we provide on this site were created personally by members of the Game8 editorial department.
We refuse the right to reuse or repost content taken without our permission such as data or images to other sites.