Chapter 5: Lost Walkthrough and Data Bios Locations
★Game8's Dead Space Remake is now live!
★ game8 Review of the Callisto Protocol - Is it Worth Playing?
☆ All Implant Bios Locations
★ Use the guns in our Best Weapons Guide!
☆ How to Use Contraband Pack & List of Contents
★ Clips of All Death Animations
☆ Season Pass Guide - Price and All Contents!
Lost is the fifth chapter of The Callisto Protocol's main story. Read on for a detailed walkthrough, list of rewards, tips for completion, Lost Data Bios Locations, as well as other strategies!
| Previous Chapter | Next Chapter |
|---|---|
| Habitat | Below |
List of Contents
Lost Walkthrough
Lost Summary
| Lost Objectives |
|---|
Lost Detailed Walkthrough
| Objectives | |
|---|---|
| 1 | 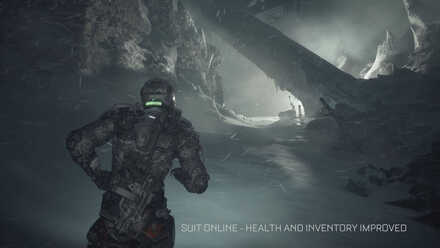 He'll send out a distress signal which will give off a faint blinking red light to let you know his position. Once you reach him, you'll see he only has a few moments left. Dani will arrive on a Snowcat, take out Elias' implant and point you in the direction of the Hangar. |
| 2 | 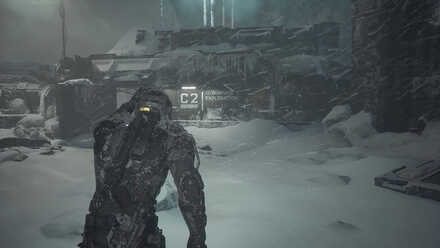 Head deeper into the building and keep on following the yellow light posts. This will take you out of the building and one step closer to the hangar. ▶All Implant Bios Locations |
| 3 | 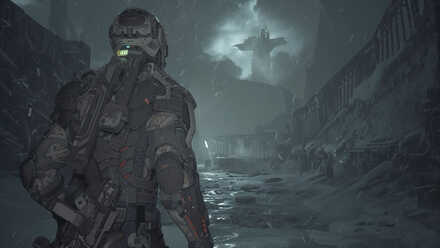 |
| 4 | 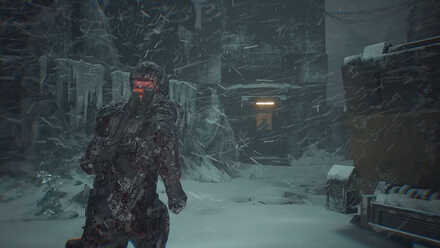 After all the enemies have been dealt with, look for a door that is giving off a faint yellow light. When you approach this door, the enemy will break down the door. The implant bios of one Richard Cids, you will need this to get to the Tunnels. Leave the room, then find the other door that gives off a faint yellow light and go down the Tunnels. |
| 5 | 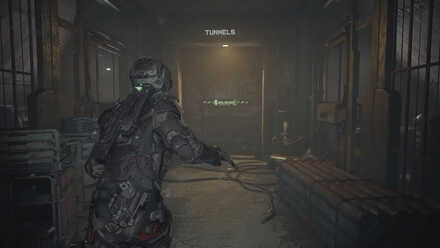 When you crawl out, go in the direction of the white light post, then make a left once you're near the light. Continue down that corridor and it will lead to a slightly more open area. If you go left, there will be some supplies including an Implant Bios in that room, once you retrieve these items, look for signs in the wall that says “Follow”. |
| 6 | 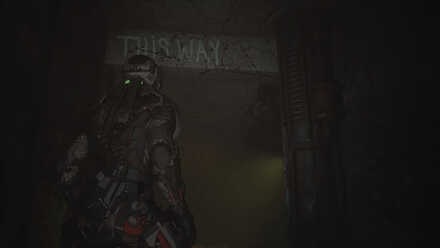 Continue on the same path until you reach the stairs, go down then turn left at the sign. Keep on moving forward, going down the catwalk and squeezing through gaps in the walls, until you reach the enemy by the stairs. Once the enemy is dead, head on up the stairs and keep following the light until it leads you to the ladder going back up the surface. |
| 7 | 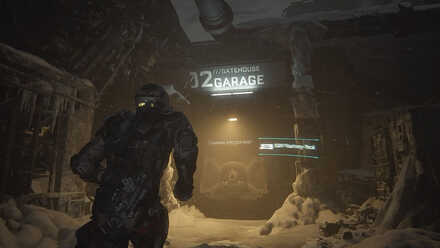 The console will require a keycode. Look around for the body of one Lt. Devon Wayne to access the console, then head to Workshop N212 and exit at Motorpool Airlock N108. ►Riot Gun Upgrades and How to Get |
| 8 | 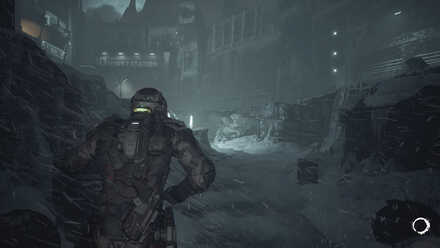 You need to get Gate S450 open. Go left and head towards Security Control S411. This room will require a Gate Fuse. Head down the steps and vault over the blue crate to retrieve the Gate Fuse. Return to the control room and open Gate S450 to get to the power station main room. |
| 9 | 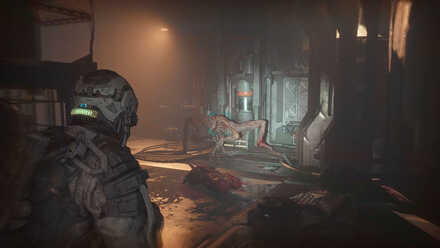 Numerous enemies will start popping up, so use your surroundings to your advantage. You can hurl enemies towards the gears or the industrial fan to save on bullets. Once the enemies are down, head into the power control room and use the keycode to open the gate. |
| 10 | 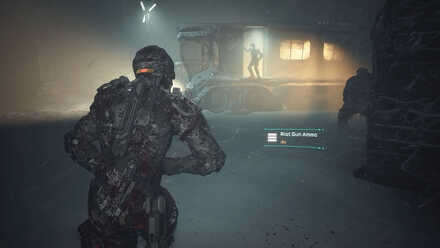 Once onboard the Snowcat, let the cutscene play as you head towards the crash site of your ship. Once your regain control, follow Dani inside. You'll find Dani inside the Cargo Hold. After another cutscene, follow Dani up to the Hangar Control Room. |
| 11 | 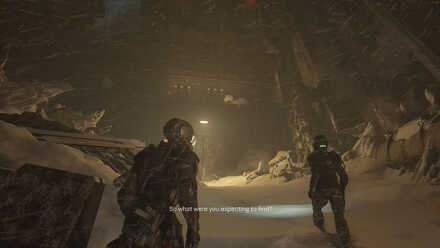 |
| 12 |  |
| Previous Chapter | Next Chapter |
|---|---|
| Habitat | Below |
Lost Obtainable Weapons
Riot Gun
| Riot Gun | |
|---|---|
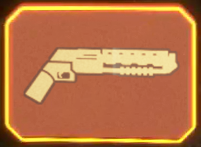 A two-handed shotgun designed for riot suppression. Developed by Jann and Lobell and based on the UJC Modular Weapons Platform. |
|
| Type | Primary |
| Acquisition Type | Story Progression |
| Base Ammo Capacity | 4 |
The Riot is the only other shotgun in the game. This pump action shot gun is useful against tankier enemies and even mutated biophages. Get this from Dani when you meet up with her in the Garage.
Riot Gun Upgrades and How to Get
Lost Enemies Encountered
Frozen Biophages
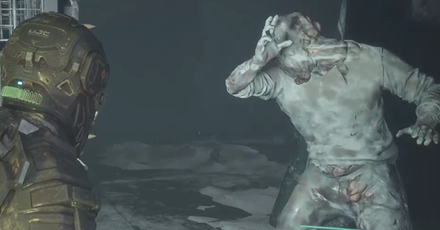
Most of them are dead, but there are some that are still alive and will attack you when you are close. Like regular Biophages, they are easily dealt with using the Stun Baton. Remember to shoot the tentacles if they appear.
Rushers
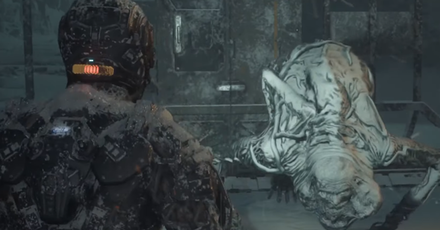
Rushers are quick and agile. It is recommended to weaken them with ranged weapons before engaging in melee combat.
Bloated Biophages
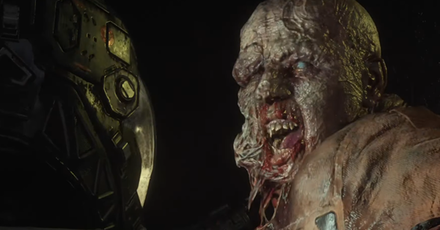
Bloated biophages can take a beating with its large health pool. Use the GRP to throw them into spikes if there are any.
Bloodworms
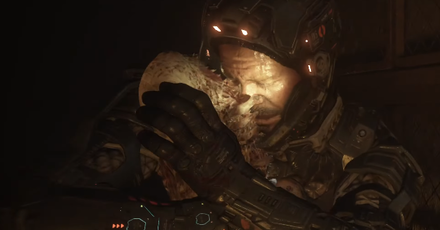
Bloodworms are easily dealt with using melee and guns. They make a distinct sound so it is fairly easy to spot them.
Spitters
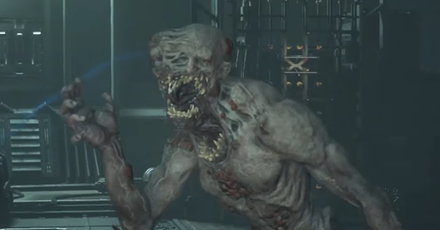
Shoot its head with the hand cannon to neutralize its ranged attacks, then eliminated it with melee attacks. Take note you can also block its ranged attacks.
Lost Tips and Strategies
Follow the Lights
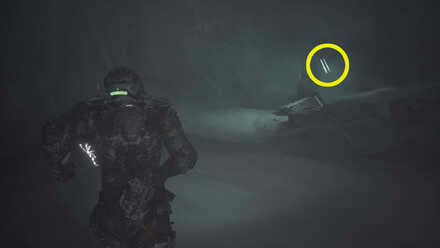
If you have trouble seeing through the storm, increase your brightness and lower the particle effect. This will require you to begin again from a checkpoint, but it will help you navigate through the storm.
Pay Attention to the Walls
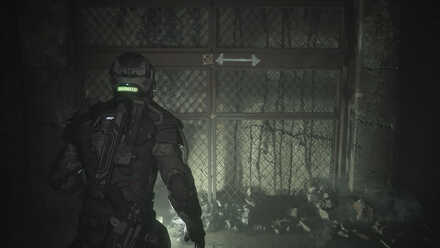
While inside the tunnels, pay attention to the writing on the walls as they will point out “This Way” and “Follow”. If the path diverges, it will also show cross marks to indicate that that path is a dead end.
Lost Data Bios Locations
Miranda Kristofich: Terraforming (Audio Log)
| 1 | 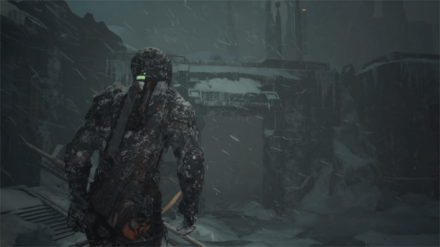 After opening the gate at the start of the chapter, go straight past the door marked C2 Surface Exploration to reach a set of buildings. Enter the building on the left. |
|---|---|
| 2 | 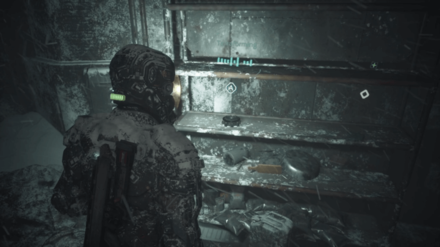 Once inside, check the shelf on the left side of the building to find this Audio Log. |
Richard Cids (Implant Bio)
| 1 | 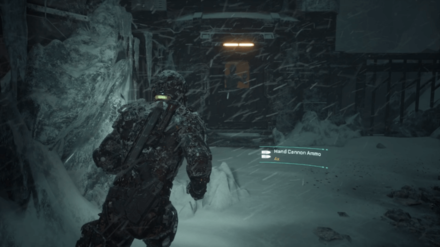 Progress through the chapter until you need to help a trapped worker. Survive the incoming horde of enemies, then head to the door with orange lights above it. |
|---|---|
| 2 | 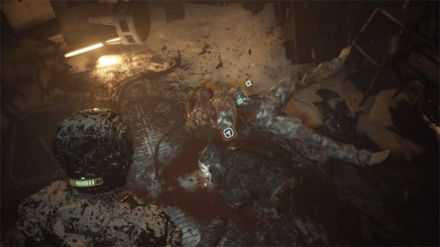 Defeat the monster as it breaks down the door, then enter the room and interact with the corpse on the ground to get this Implant Bio. |
Dr. Caitlyn Mahler: Combustors (Audio Log)
| 1 | 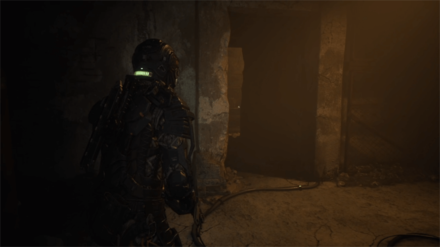 Progress through the tunnels until you reach the first intersection lit by an orange overhead light. Head through the room on the left. |
|---|---|
| 2 | 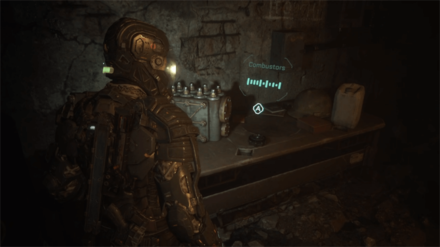 Once inside, you can find the Audio Log on top of a small table. |
Lt. Devon Wayne: Close the Gate (Implant Bio)
| 1 | 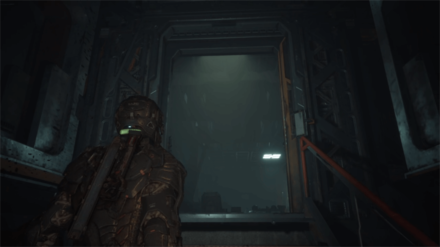 After receiving the TK4 Riot Shotgun from Dani Nakamura, head straight up the stairs and into the next room. |
|---|---|
| 2 | 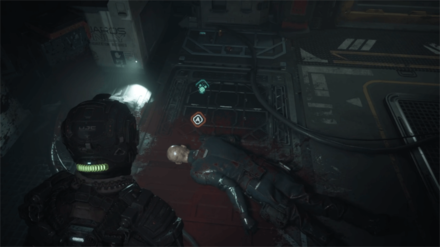 Once inside, interact with the corpse on the ground at the far end of the room to get this Implant Bio. |
Ofc. Aaron Taycho (Implant Bio)
| 1 | 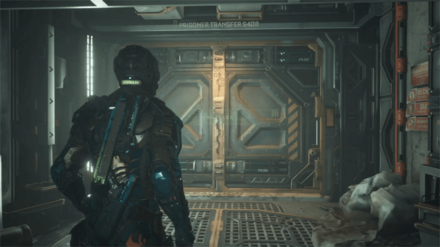 Progress through the chapter until you reach the large doorway to Prisoner Transfer S408. |
|---|---|
| 2 | 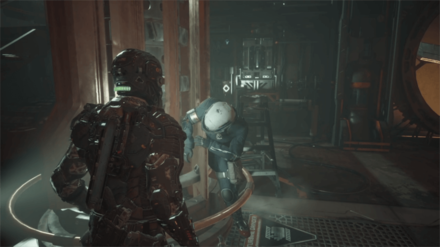 Once inside, head to the corpse stuck inside the machine at the far end of the ground floor to get this Implant Bio. Note that extracting this Implant Bio will trigger a horde of enemies. |
Max Barrow: Max’s Concern (Audio Log)
| 1 | 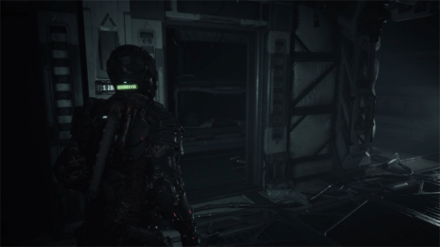 After returning to your crashed ship, head inside and go through the second doorway on your left. |
|---|---|
| 2 | 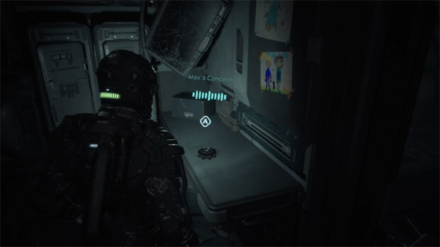 Once inside, you can find the Audio Log on top of the desk on the right side of the room. |
Sgt. Scott Dvitny: Eradication (Implant Bio)
| 1 | 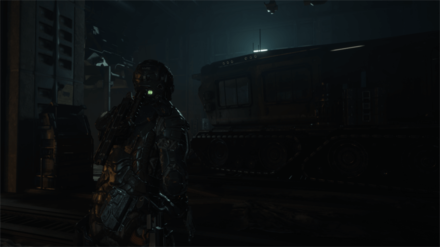 After the cutscene at the crashed ship, follow Dani through a set of narrow metal doors into a room with large vehicles on either side. |
|---|---|
| 2 | 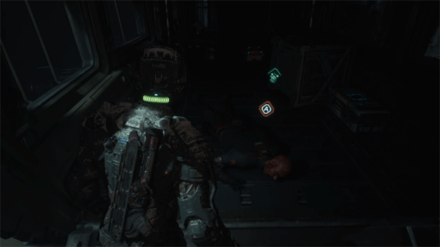 Check behind the vehicle to the left of the entrance and interact with the corpse there to get this Implant Bio. |
Dr. Caitlyn Mahler: Shipments (Audio Log)
| 1 | 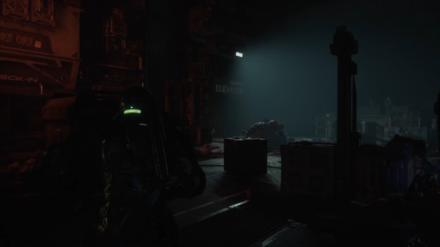 Progress through the chapter until you reach the elevator room with dying Security Unit robots. |
|---|---|
| 2 | 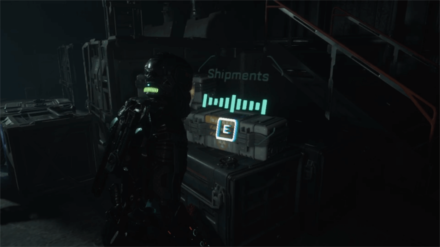 Once inside, you can find this Audio Log at the right side of the room on top of some crates. |
The Callisto Protocol Related Guides
List of Chapters
| Chapter | Summary |
|---|---|
 Cargo Cargo
(Chapter 1) |
Jacob and Max are flying from Europa to Callisto on a standard supply run when they learn that they have been boarded by the Outer Way terrorist organization. |
 Outbreak Outbreak
(Chapter 2) |
Jacob finds himself a prisoner of Black Iron Prison. When he wakes up, Black Iron is in complete chaos. Now he has to find a way out of this hellhole. |
 Aftermath Aftermath
(Chapter 3) |
Jacob must help Elias free the one prisoner that can get them out Callisto. Jacob must venture deeper into the facility to access SHU, the maximum-security unit where that prisoner is held captive. |
 Habitat Habitat
(Chapter 4) |
Jacob has to rendezvous with Elias at the Tram Station in the Habitat Dome. These creatures have begun mutating, evolving into stronger enemies. |
 Lost Lost
(Chapter 5) |
Jacob is out of Black Iron Prison, but now he finds himself in the barren wastelands of Callisto. Dani has a plan to get to the hangar, but everything doesn't always go according to plan. |
 Below Below
(Chapter 6) |
Jacob wakes up underneath all the rubble of the fallen hangar and learns the existence of Arcas, the first colony. Now he has to bring power back to the station to use the transport platform to Arcas. |
 Colony Colony
(Chapter 7) |
Jacob arrives at the Arcas colony and learns of the truth behind the Callisto Outbreak. Now he must race back to the warden's tower or face the consequences. |
 Tower Tower
(Chapter 8) |
Jacob finds himself a prisoner of Black Iron Prison yet again. Only one thing remains: he has to race against time to save Dani and get off Callisto. |
Author
Chapter 5: Lost Walkthrough and Data Bios Locations
Rankings
- We could not find the message board you were looking for.
Gaming News
Popular Games

Genshin Impact Walkthrough & Guides Wiki

Umamusume: Pretty Derby Walkthrough & Guides Wiki

Pokemon Pokopia Walkthrough & Guides Wiki

Honkai: Star Rail Walkthrough & Guides Wiki

Monster Hunter Stories 3: Twisted Reflection Walkthrough & Guides Wiki

Arknights: Endfield Walkthrough & Guides Wiki

Wuthering Waves Walkthrough & Guides Wiki

Zenless Zone Zero Walkthrough & Guides Wiki

Pokemon TCG Pocket (PTCGP) Strategies & Guides Wiki

Monster Hunter Wilds Walkthrough & Guides Wiki
Recommended Games

Diablo 4: Vessel of Hatred Walkthrough & Guides Wiki

Cyberpunk 2077: Ultimate Edition Walkthrough & Guides Wiki

Fire Emblem Heroes (FEH) Walkthrough & Guides Wiki

Yu-Gi-Oh! Master Duel Walkthrough & Guides Wiki

Super Smash Bros. Ultimate Walkthrough & Guides Wiki

Pokemon Brilliant Diamond and Shining Pearl (BDSP) Walkthrough & Guides Wiki

Elden Ring Shadow of the Erdtree Walkthrough & Guides Wiki

Monster Hunter World Walkthrough & Guides Wiki

The Legend of Zelda: Tears of the Kingdom Walkthrough & Guides Wiki

Persona 3 Reload Walkthrough & Guides Wiki
All rights reserved
© 2022 Krafton, Inc. All Rights Reserved. STRIKING DISTANCE STUDIOS and THE CALLISTO PROTOCOL are trademarks or service marks of Striking Distance Studios, Inc. KRAFTON is a registered trademark or service mark of KRAFTON, Inc.
The copyrights of videos of games used in our content and other intellectual property rights belong to the provider of the game.
The contents we provide on this site were created personally by members of the Game8 editorial department.
We refuse the right to reuse or repost content taken without our permission such as data or images to other sites.



![Monster Hunter Stories 3 Review [First Impressions] | Simply Rejuvenating](https://img.game8.co/4438641/2a31b7702bd70e78ec8efd24661dacda.jpeg/show)
![The Seven Deadly Sins: Origin [First Impressions] | A Promising Start](https://img.game8.co/4440581/584e0bfb87908f12c4eab6e846eb1afd.png/thumb)
![The Liar Princess and the Blind Prince Review [PC] | Lovely to Look at but Tedious to Play](https://img.game8.co/4442586/8d95f5faf05780f1765ce7e0938bd825.jpeg/thumb)
![Marathon Cryo Archive Map Teased as [REDACTED] on Selection Screen](https://img.game8.co/4442236/6357203e58172f6de57f1991e7c39b22.png/thumb)


