DM7 Best Loadout and Weapon Stats
Welcome to our walkthrough for Battlefield 2042!
☆Updates and Patch Notes: Update 1.05
★How to Fix All Error Codes, Bugs, and Known Issues
☆All Specialist Classes and Best Loadouts
★Best Guns in Battlefield 2042
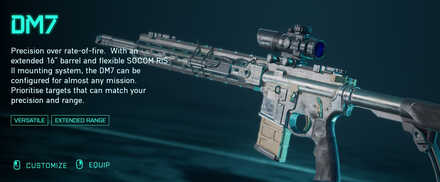
The DM7 is a Marksman Weapon in the game Battlefield 2042. Read on to learn more about the firepower, accuracy, range, and handling of this weapon, as well as the available attachments and their respective effects.
List of Contents
DM7 Latest Updates and Changes (Update #3.1)
Update #3.1 (December 09, 2021)
| DM7 Update #3.1 Patch Notes |
|---|
| • Removed bounce from Underbarrel Grenades when firing at short distances • Adjusted dispersion values for most weapons, which results in a faster dispersion decrease when tap firing or doing short bursts • Adjusted dispersion increases for most weapons. It now takes slightly longer for weapons to become overly inaccurate in sustained fire • Additional improvements to recoil control for all weapons, more specifically automatic weapons. |
Update #3 (December 02, 2021)
| DM7 Update #3 Patch Notes |
|---|
| • Fixed some issues that prevented visual hits from registering when firing on an enemy target. (Note: further improvements are still being investigated) • Fixed an issue where a soldier is unable to shoot after getting hacked while in a vehicle • Reduced switch back to weapon delay after throwing grenade • Fixed an issue where a soldier is unable to shoot after getting hacked while in a vehicle • Reduced switch back to weapon delay after throwing grenade • Fixed an exploit that allowed to have unlimited ammo and rapid-fire grenades from the 40mm Underbarrel Attachments • The 40mm AP projectile no longer incorrectly shows a proximity indicator • Ammunition can now be supplied to 40mm Underbarrel Attachments and their different ammunition types |
Update #2 (November 26, 2021)
| DM7 Patch 1.04 Notes |
|---|
| • Bullet spread has been reduced on all weapons except Shotguns. This should result in better accuracy during gameplay |
DM7 Overview
| DM7 Weapon Info and Stats | |||
|---|---|---|---|
|
|||
| Description | |||
| Precision over rate-of-fire. With an extended 16" barrel and flexible SOCOM RIS II mounting system, the DM7 can be configured for almost any mission. Prioritise targets that can match your precision and range. | |||
| Class | Rate of Fire | Mag Size | Zoom |
| Marksman | 300 | 15 | 2x |
| Firepower | Accuracy | Range | Handling | 70 | 64 | 63 | 41 |
How to Get DM7
The DM7 is automatically unlocked from the start of the game.
DM7 Best Loadouts
Complete Loadout
| Weapon Attachments | |
|---|---|
| Sight / Scope |
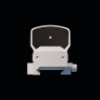 Fusion Holo
(Short-Range) Fusion Holo
(Short-Range)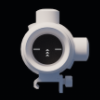 Shan 2.5x
(Mid-Range) Shan 2.5x
(Mid-Range)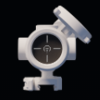 Raven 4x
(Long-Range) Raven 4x
(Long-Range) |
| Ammunition / Ammo |
 High Power
(Short-Range) High Power
(Short-Range)  High Power
(Mid-Range) High Power
(Mid-Range) High Power
(Long-Range) High Power
(Long-Range) |
| Underbarrel / Grip |
 Rattlesnake Light Grip
(Short-Range) Rattlesnake Light Grip
(Short-Range) LWG Grip
(Mid-Range) LWG Grip
(Mid-Range) ADR Bipod
(Long-Range) ADR Bipod
(Long-Range) |
| Barrel |
 Tactical Compensator
(Short-Range) Tactical Compensator
(Short-Range)  Warhawk Compensator
(Mid-Range) Warhawk Compensator
(Mid-Range) Extended Barrel
(Long-Range) Extended Barrel
(Long-Range) |
| Weapon Loadout | |
| Secondary | MP-28 |
| Throwable | Proximity Sensor |
| Gadget | SOFLAM |
Attachment Loadouts
| Type | Short | Mid | Long |
|---|---|---|---|
| Sight | Fusion Holo | Shan 2.5x | Raven 4x |
| Ammo | High Power (Default) | High Power (Default) | High Power (Default) |
| Underbarrel | Rattlesnake Light Grip | LWG Grip | ADR Bipod |
| Barrel | Tactical Compensator | Warhawk Compensator | Extended Barrel |
Best Attachments for Close to Mid-Range
The DM7 is a versatile marksman rifle that can be used effectively in close to mid-range combat. Using a combination of the Fusion Holo sight and the Rattlesnake Light Grip gives you enough mobility up-close, allowing you to use the DM7 like a semi-auto assault rifle. For mid-range combat, the Shan 2.5x is a great sight that gives you more flexibility.
Best Attachments for Long Range
Using the DM7 at long range is similar to how you would use a sniper rifle. Use a Raven 4x sight to give you the best effective range to hit distant targets. Adding an Extended Barrel and ADR Bipod also help improve your sniping capability. The next step is to find a vantage point that can take advantage of your loadout and snipe away.
Best Specialists for DM7
DM7 is a marksman weapon similar to a single fire Assault Rifle, it but packs more of a punch and has better accuracy for mid to long-range distance shootouts. It is best for Specialists who can quickly go to high ground or set up defenses to take out enemy snipers.
| Specialist | Strengths |
|---|---|
 Mackay Mackay
|
|
 Irish Irish
|
|
 Angel Angel
|
|
DM7 Attachments and How to Unlock
Muzzle & Barrel Attachments
| Attachment | Increases (+) | Decreases (-) | Effects | Unlock Req. |
|---|---|---|---|---|
 Tactical Compensator |
Horizontal Recoil Control | Vertical Recoil Control |
Acc: +2 |
180 DM7 Kills |
 Champion Muzzle Brake |
Vertical Recoil Control | Horizontal Recoil Control |
Acc: +2 |
240 DM7 Kills |
 Warhawk Compensator |
Horizontal Recoil Control | Vertical Recoil Control |
Acc: +2 |
210 DM7 Kills |
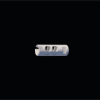 ARCOM Tactical Muzzle Brake |
Vertical Recoil Control | Horizontal Recoil Control |
Acc: +2 |
270 DM7 Kills |
 Extended Barrel |
Projectile Velocity | Rate of Fire |
Acc: +5 Rng.: +5 Hnd.: -5 |
150 DM7 Kills |
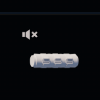 Wrapped Suppressor |
Suppresses Sound No Minimap Spotting While Firing |
Effectice Range |
FP: -5 |
60 DM7 Kills |
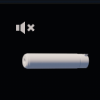 6KU Suppressor |
Suppresses Sound No Minimap Spotting While Firing |
Effectice Range |
FP: -5 |
25 DM7 Kills |
Scope Attachments
| Attachment | Increases (+) | Decreases (-) | Effects | Unlock Req. |
|---|---|---|---|---|
 K8 Holo |
Enhanced Target Visibility | N/A | Zoom: 1.25x | 240 DM7 Kills |
 Fusion Holo |
Enhanced Target Visibility | N/A | Zoom: 1.25x | 90 DM7 Kills |
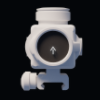 TV 2X |
Zoom Level Enhanced Target Visibility |
Aiming Down Sight Speed |
Rng.: +1 Hnd.: -1 Zoom: 2x |
0 Kills |
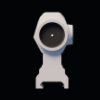 XDR Holo |
Enhanced Target Visibility | N/A | Zoom: 1.25x | 210 DM7 Kills |
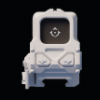 UH-1 Smart 1.5x |
Enhanced Target Visibility Target Info |
Aiming Down Sight Speed |
Hnd.: -1 Zoom: 1.5x |
150 DM7 Kills |
 Shan 2.5x |
Zoom Level Enhanced Target Visibility |
Aiming Down Sight Speed |
Rng.: +2 Hnd.: -2 Zoom: 2.5x |
30 DM7 Kills |
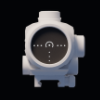 Bravo 3x |
Zoom Level | Aiming Down Sight Speed |
Rng.: +3 Hnd.: -3 Zoom: 3x |
270 DM7 Kills |
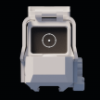 8R Holo |
Enhanced Target Visibility | N/A | Zoom: 1.5x | 5 DM7 Kills |
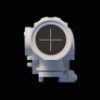 Ghost Hybrid 1.25-2.5x |
Zoom Level Toggle Optic |
Aiming Down Sight Speed |
Rng.: +3 Hnd.: -3 Zoom: 2.5x |
180 DM7 Kills |
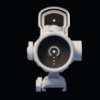 Maul Hybrid 1.5-3x |
Zoom Level Toggle Optic |
Aiming Down Sight Speed |
Rng.: +3 Hnd.: -3 Zoom: 3x |
360 DM7 Kills |
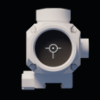 M22 3.5x |
Zoom Level | Aiming Down Sight Speed |
Rng.: +4 Hnd.: -4 Zoom: 3.5x |
120 DM7 Kills |
 Raven 4x |
Zoom Level | Aiming Down Sight Speed |
Rng.: +5 Hnd.: -5 Zoom: 4x |
60 DM7 Kills |
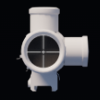 M11 6x |
Zoom Level Toggle Optic |
Aiming Down Sight Speed |
Rng.: +6 Hnd.: -6 Zoom: 6x |
150 DM7 Kills |
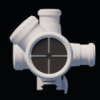 BKS 8x |
Zoom Level Toggle Optic |
Aiming Down Sight Speed |
Rng.: +7 Hnd.: -7 Zoom: 8x |
300 DM7 Kills |
Magazine and Ammo Attachments
| Attachment | Increases (+) | Decreases (-) | Effects | Unlock Req. |
|---|---|---|---|---|
 High-Power |
Ammo Capacity | Reload Speed |
FP: +5 Acc: +5 Rng.: +5 Hnd.: -5 |
210 DM7 Kills |
 Subsonic |
Tracer Visibility Muzzle Flash Visibility Reduction |
Reload Speed Projectile Velocity |
FP: -5 Rng.: -5 Hnd.: -5 |
330 DM7 Kills |
 Close Combat |
Recoil Control Reload Speed Rate of Fire |
Effective Range |
FP: -5 Acc: -5 Rng.: -5 Hnd.: +5 |
30 DM7 Kills |
 Armor Piercing |
Penetrate Vehicle Armor Penetrates Light Materials |
Infantry Damage Reload Speed |
Hnd.: -5 |
120 DM7 Kills |
Grip & Underbarrel Attachment
| Attachment | Increases (+) | Decreases (-) | Effects | Unlock Req. |
|---|---|---|---|---|
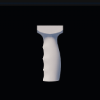 Cobra Grip |
Accuracy while Static | Accuracy while Moving |
Acc: +5 Rng.: +2 |
90 DM7 Kills |
 BCG Light Grip |
Accuracy while Static | Accuracy while Moving |
Acc: +5 Rng.: +2 |
15 DM7 Kills |
 Rattlesnake Light Grip |
Accuracy while Static | Accuracy while Moving |
Acc: +5 Rng.: +2 |
60 DM7 Kills |
 LWG Grip |
Accuracy while Static | Accuracy while Moving |
Acc: +5 Rng.: +2 |
120 DM7 Kills |
 Flashlight |
Blinding Effect | Detectable | 330 DM7 Kills | |
 LS-1 Laser Sight |
Hipfire Accuracy | Detectable |
Acc: +10 |
360 DM7 Kills |
 ADR Bipod |
Allows deployment Sway Stability While Deployed |
Immobile While Deployed |
Acc: +5 Rng.: +5 |
90 DM7 Kills |
 40mm HE |
Fragmentation Grenade Launcher | Aiming Down Sight Speed |
Hnd.: -10 |
300 DM7 Kills |
 40mm Smoke |
Smoke Grenade Launcher | Aiming Down Sight Speed |
Hnd.: -10 |
240 DM7 Kills |
 40mm Incendiary |
Incendiary Grenade Launcher | Aiming Down Sight Speed |
Hnd.: -10 |
Using the DM7's Underbarrel Grenade Launcher: 50 Kills |
DM7 Skins
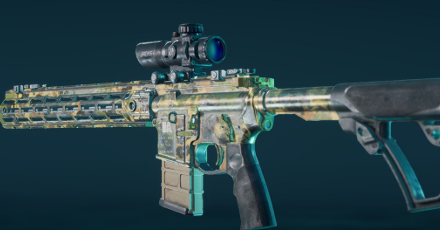 Enlarge EnlargeHow to Unlock: Reach Level 93 |
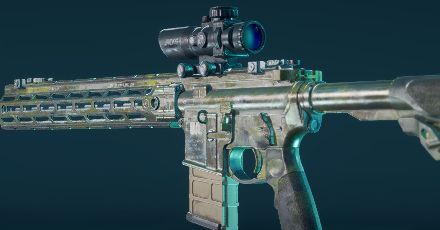 Enlarge EnlargeHow to Unlock: Reach Level 8 |
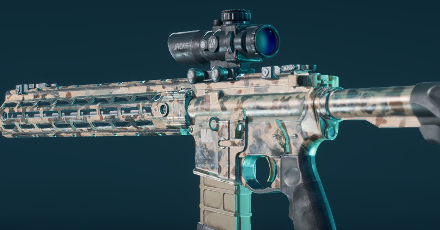 Enlarge EnlargeHow to Unlock: Reach Level 71 |
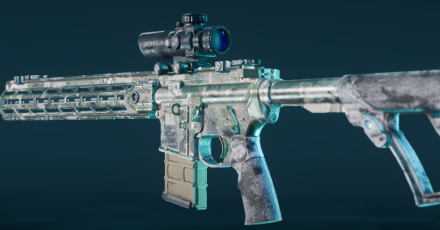 Enlarge EnlargeHow to Unlock: Reach Level 65 |
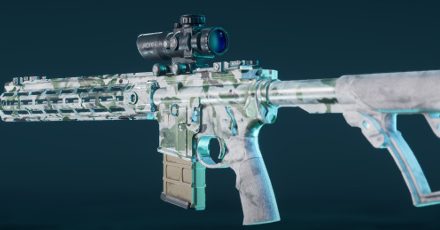 Enlarge EnlargeHow to Unlock: Reach Level 78 |
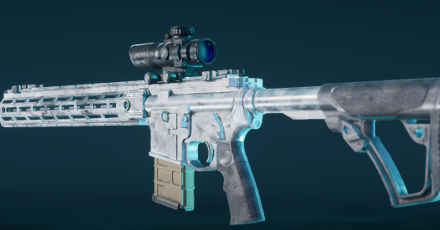 Enlarge EnlargeHow to Unlock: Reach Level 13 |
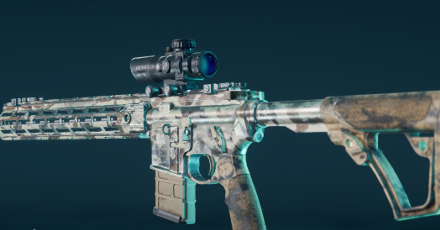 Enlarge EnlargeHow to Unlock: Reach Level 86 |
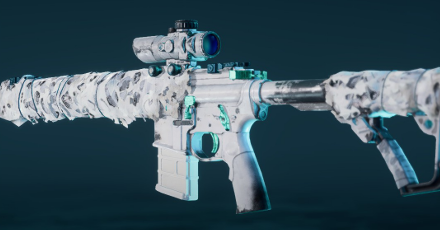 Enlarge EnlargeHow to Unlock: Pre-Order Edition Reward. |
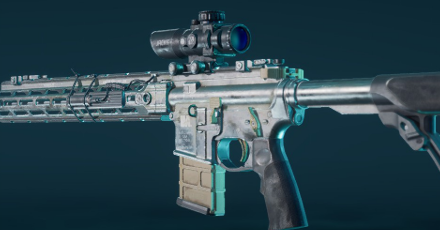 Enlarge EnlargeHow to Unlock: Default Weapon Skin. |
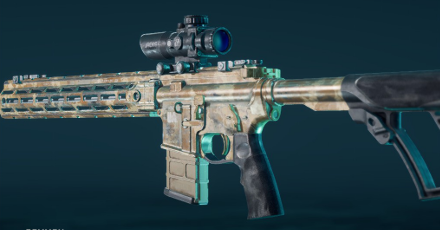 Enlarge EnlargeHow to Unlock: Reach Level 59 |
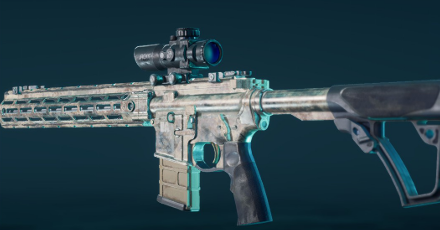 Enlarge EnlargeHow to Unlock: Reach Level 19 |
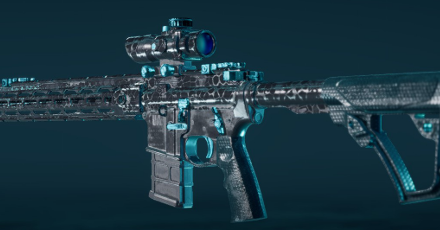 Enlarge EnlargeHow to Unlock: 30 DM7 Kills |
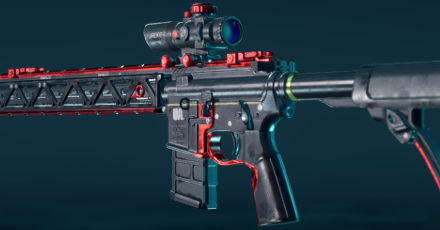 Enlarge EnlargeHow to Unlock: 1200 DM7 Kills |
Battlefield 2042 Related Guides

Battlefield 2042 Weapon Classes
| All Weapons | ||
|---|---|---|
 Assault Assault |
 Marksman Marksman |
 Sniper Sniper |
 SMGs SMGs |
 LMGs LMGs |
 Utility Utility |
 Secondary Secondary |
||
Battlefield Portal Weapons
| Battlefield Portal Weapons | ||
|---|---|---|
 Battlefield 1942 Battlefield 1942 |
 Battlefield Bad Company 2 Battlefield Bad Company 2 |
 Battlefield 3 Battlefield 3 |
All Marksman Weapons
 DM7 DM7
|
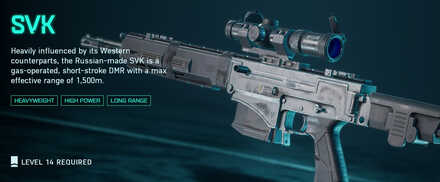 SVK SVK
|
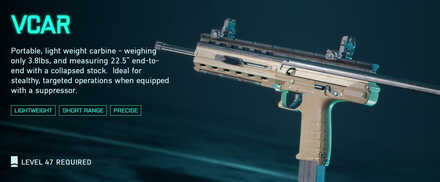 VCAR VCAR
|
Author
DM7 Best Loadout and Weapon Stats
improvement survey
03/2026
improving Game8's site?

Your answers will help us to improve our website.
Note: Please be sure not to enter any kind of personal information into your response.

We hope you continue to make use of Game8.
Rankings
- We could not find the message board you were looking for.
Gaming News
Popular Games

Genshin Impact Walkthrough & Guides Wiki

Honkai: Star Rail Walkthrough & Guides Wiki

Umamusume: Pretty Derby Walkthrough & Guides Wiki

Pokemon Pokopia Walkthrough & Guides Wiki

Resident Evil Requiem (RE9) Walkthrough & Guides Wiki

Monster Hunter Wilds Walkthrough & Guides Wiki

Wuthering Waves Walkthrough & Guides Wiki

Arknights: Endfield Walkthrough & Guides Wiki

Pokemon FireRed and LeafGreen (FRLG) Walkthrough & Guides Wiki

Pokemon TCG Pocket (PTCGP) Strategies & Guides Wiki
Recommended Games

Diablo 4: Vessel of Hatred Walkthrough & Guides Wiki

Cyberpunk 2077: Ultimate Edition Walkthrough & Guides Wiki

Fire Emblem Heroes (FEH) Walkthrough & Guides Wiki

Yu-Gi-Oh! Master Duel Walkthrough & Guides Wiki

Super Smash Bros. Ultimate Walkthrough & Guides Wiki

Pokemon Brilliant Diamond and Shining Pearl (BDSP) Walkthrough & Guides Wiki

Elden Ring Shadow of the Erdtree Walkthrough & Guides Wiki

Monster Hunter World Walkthrough & Guides Wiki

The Legend of Zelda: Tears of the Kingdom Walkthrough & Guides Wiki

Persona 3 Reload Walkthrough & Guides Wiki
All rights reserved
© 2021 Electronic Arts Inc.
The copyrights of videos of games used in our content and other intellectual property rights belong to the provider of the game.
The contents we provide on this site were created personally by members of the Game8 editorial department.
We refuse the right to reuse or repost content taken without our permission such as data or images to other sites.


![Monster Hunter Stories 3 Review [First Impressions] | Simply Rejuvenating](https://img.game8.co/4438641/2a31b7702bd70e78ec8efd24661dacda.jpeg/thumb)


