Explore! The Swordsmith Ruins Quest Guide
Hey, Stylists! We regret to inform everyone that we will no longer be updating Infinity Nikki as of Version 1.6. The Friend Code Sharing board will still be kept open, but keep in mind that most guides past Version 1.5 are not up-to-date. Thank you for your support!
Explore! The Swordsmith Ruins is the fifth subquest of Chapter 7: Secret of the Grand Tree in Infinity Nikki 1.0. See how to complete the Swordsmith Ruins, how to unlock the quest, its walkthrough, and the complete rewards here in this guide!
| Chapter 7: Secret of the Grand Tree | ||
|---|---|---|
| Find the Wish Master | Recommendation Letters | Rescue at the Wishball Field |
| Save Giroda | Explore! The Swordsmith Ruins | Showdown with Chigda! |
List of Contents
Explore! The Swordsmith Ruins Quest Location
Go to Wishing Woods
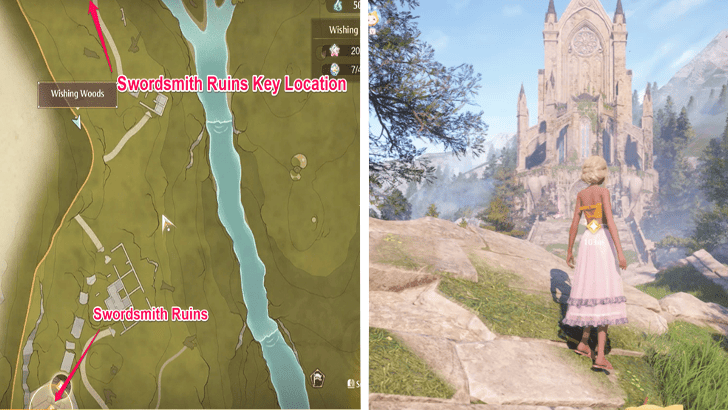
Explore! The Swordsmith Ruins is located at Wishing Woods, in the region of Heartcraft Kingdom. The ruins is located south from where you got the key near the Swordsmith Ruins Entrance Warp Spire
Wishing Woods Map and Exploration Guide
How to Unlock Explore! The Swordsmith Ruins
Complete the Prerequisites
| Quest Unlock Requirements | |
|---|---|
 |
|

|
Save Giroda |
The Explore! The Swordsmith Ruins main quest can be unlocked after completing the Save Giroda quest. The quest will start after the cutscene with Giovanni.
Explore! The Swordsmith Ruins Walkthrough
Find the Key at the Swordsmith Ruins
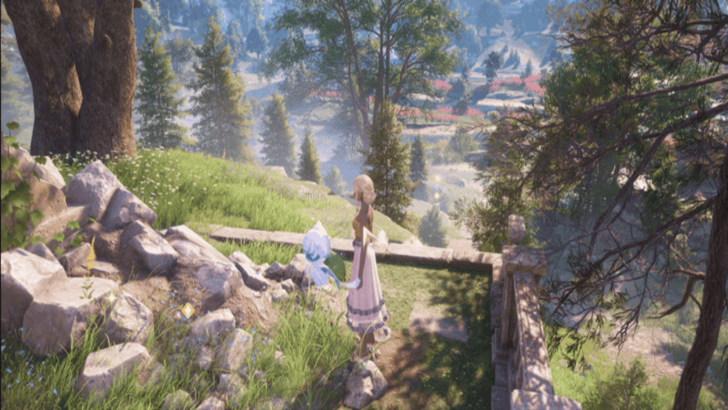
After rescuing Giroda and speaking to Giovanni in the Desperation Orb basement, proceed to the quest marker where Giroda awaits.
Examine the rubble beside him to find the key needed for the Swordsmith Ruins.
Meet Up With Giroda and Enter the Swordsmith Ruins
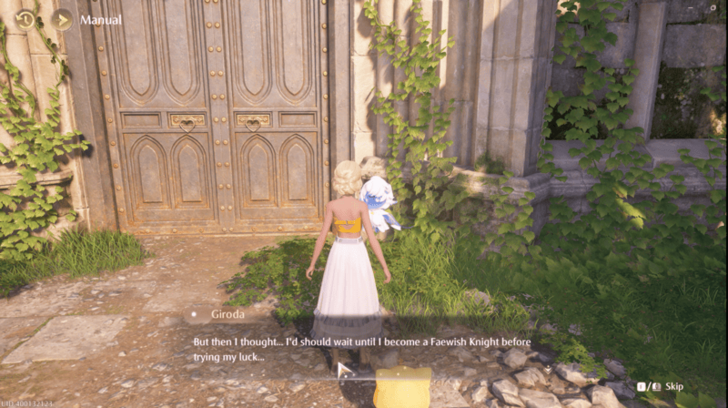
Travel south to the Swordsmith Ruins. Activate the Swordsmith Ruins Gate Warp Spire and talk to Giroda at the entrance.
After your conversation, use the key to unlock the ruins.
Explore the Swordsmith Ruins
| Swordsmith Ruins Dungeon Walkthrough | |
|---|---|
| 1 | 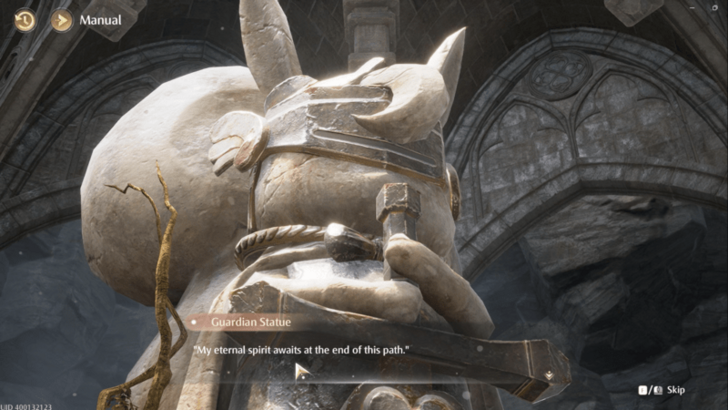 Upon entering the ruins, head straight ahead. A nearby statue will initiate a conversation with Nikki, asking for help at the end of the ruins. |
| 2 | Move to the next room on the left. Use Nikki's Starlet Burst outfit to shrink and take control of Momo. Traverse the area, using air vents for Momo's flotation, until reaching the Ventilation Tunnel checkpoint. |
| 3 | Enter the Ventilation Tunnel, navigating the tunnels while avoiding wind gusts from fans, as they can push Momo into nearby water. Timing is crucial here so wait for the fans to stop before proceeding. |
| 4 | 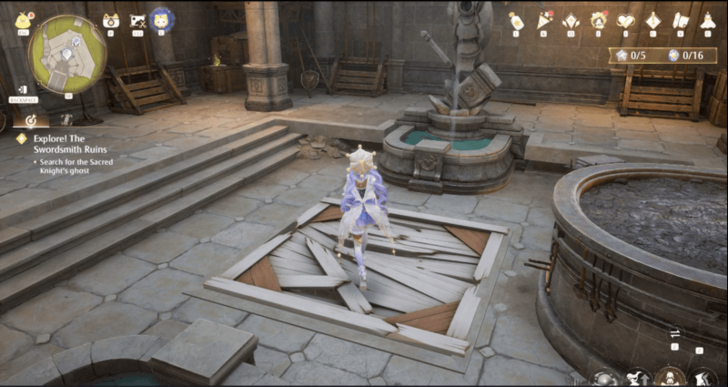 After exiting the area, transform back into Nikki. Perform a Plunging Attack on the wooden floor to reveal a hidden passage leading to the Forge Tower. |
| 5 | In the Forge Tower, shrink into Momo and jump onto the two air vents on the left to begin your ascent. Be sure to wait until the air wave reaches its peak before moving to the next vent. Jumping too early can cause you to miss the path and fall, requiring you to restart the climb. Once you reach the top of these vents, ride the horizontal air vent to a platform nearby, allowing it to carry Momo safely. |
| 6 | After reaching the platform, jump onto the air vent to the side and float to its peak. From there, aim to land on the horizontal air vent nearby, which will push Momo toward another vertical air vent. Follow the air currents as they guide you in whichever direction. The path may appear confusing at first, but it is completely linear, simply follow the direction of the air to progress. |
| 7 | Ride the air vent adjacent to the one you’re currently on, using Momo's double jump ability to ensure a safe landing. Let the horizontal air vents carry you into another vertical vent, which will guide you to the last upward vent until you land on to the next area. |
| 8 | 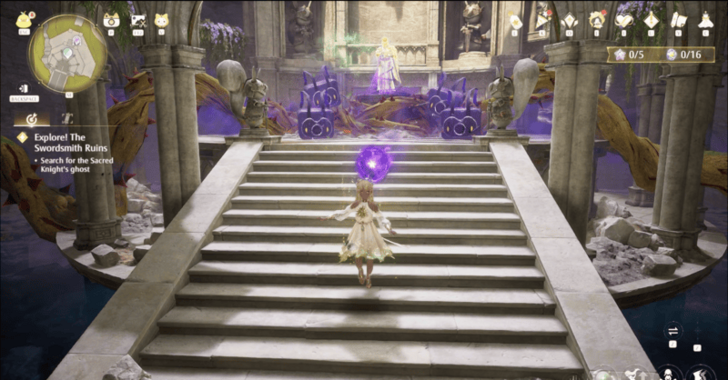 At the top, reach the Sword Sanctuary checkpoint. Transform back into Nikki and meet the Sacred Knight, Heurta, who is trapped by vines. A cutscene will trigger, followed by a battle with Trick-o-Bag Esselings. ▶ Combat Guide: How to Fight |
| 9 | 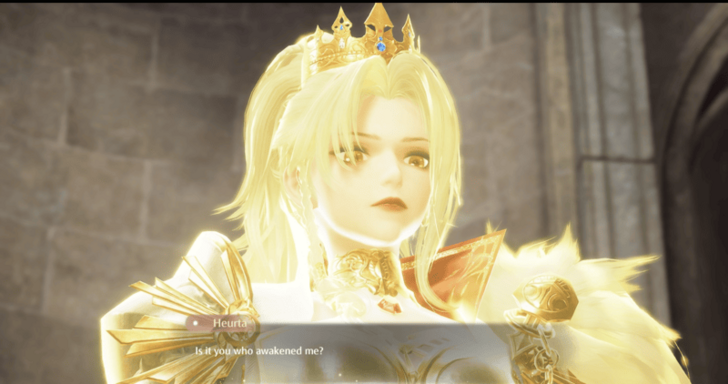 After defeating and purifying all enemies, another cutscene will play where Heurta is freed. You will automatically exit the ruins after this. |
Explore! The Swordsmith Ruins Rewards
Total Quest Rewards
| Total Quest Rewards |
 Thread of Purity x120 |
 Shiny Bubbles x100 |
 Mira EXP x1000 |
|---|---|---|
 Diamond x50 |
 Bling x20,000 |
|
No Special Rewards
There are no special rewards acquired during this quest.
Infinity Nikki Related Guides

All Main Quest Guides
Comment
Author
Explore! The Swordsmith Ruins Quest Guide
improvement survey
03/2026
improving Game8's site?

Your answers will help us to improve our website.
Note: Please be sure not to enter any kind of personal information into your response.

We hope you continue to make use of Game8.
Rankings
- We could not find the message board you were looking for.
Gaming News
Popular Games

Genshin Impact Walkthrough & Guides Wiki

Honkai: Star Rail Walkthrough & Guides Wiki

Umamusume: Pretty Derby Walkthrough & Guides Wiki

Pokemon Pokopia Walkthrough & Guides Wiki

Resident Evil Requiem (RE9) Walkthrough & Guides Wiki

Monster Hunter Wilds Walkthrough & Guides Wiki

Wuthering Waves Walkthrough & Guides Wiki

Arknights: Endfield Walkthrough & Guides Wiki

Pokemon FireRed and LeafGreen (FRLG) Walkthrough & Guides Wiki

Pokemon TCG Pocket (PTCGP) Strategies & Guides Wiki
Recommended Games

Fire Emblem Heroes (FEH) Walkthrough & Guides Wiki

Diablo 4: Vessel of Hatred Walkthrough & Guides Wiki

Yu-Gi-Oh! Master Duel Walkthrough & Guides Wiki

Super Smash Bros. Ultimate Walkthrough & Guides Wiki

Pokemon Brilliant Diamond and Shining Pearl (BDSP) Walkthrough & Guides Wiki

Elden Ring Shadow of the Erdtree Walkthrough & Guides Wiki

Monster Hunter World Walkthrough & Guides Wiki

The Legend of Zelda: Tears of the Kingdom Walkthrough & Guides Wiki

Persona 3 Reload Walkthrough & Guides Wiki

Cyberpunk 2077: Ultimate Edition Walkthrough & Guides Wiki
All rights reserved
© Infold Games ALL RIGHTS RESERVED
The copyrights of videos of games used in our content and other intellectual property rights belong to the provider of the game.
The contents we provide on this site were created personally by members of the Game8 editorial department.
We refuse the right to reuse or repost content taken without our permission such as data or images to other sites.





![Slay the Spire 2 Review [Early Access] | Still the Deckbuilder to Beat](https://img.game8.co/4433115/44e19e1fb0b4755466b9e516ec7ffb1e.png/thumb)

![Resident Evil Village Review [Switch 2] | Almost Flawless Port](https://img.game8.co/4432790/e1859f64830960ce4248d898f8cd38d9.jpeg/thumb)


