Wood Side Apartments Walkthrough and Guide
★ Complete all Story Chapters to get New Game+
☆ Solve all Puzzles and see all Codes
★ Get all Endings and explanations
☆ Beat all Bosses, like Pyramid Head
★ Collect all Weapons and Items
☆ Read our Beginner's Guide for tips
Here's a full walkthrough for Wood Side or Woodside Apartments in the Silent Hill 2 remake. Check out our guide for all Woodside Apartments maps and puzzle solutions!
| ◀︎ Previous Area | Next Area ▶︎ |
|---|---|
| Eastern South Vale | Blue Creek Apartments |
List of Contents
Wood Side Apartments Walkthrough
- Enter Wood Side Apartments
- Obtain a Flashlight
- Access the Courtyard
- Collect the 2F Hallway Key
- Get a Handgun
- Open the Room 206 Safe
- Access the Third Floor
- Obtain the Woman Coin
- Obtain the Snake Coin
- Solve the Coin Cabinet Puzzle
- Leave Wood Side Apartments
Enter Wood Side Apartments
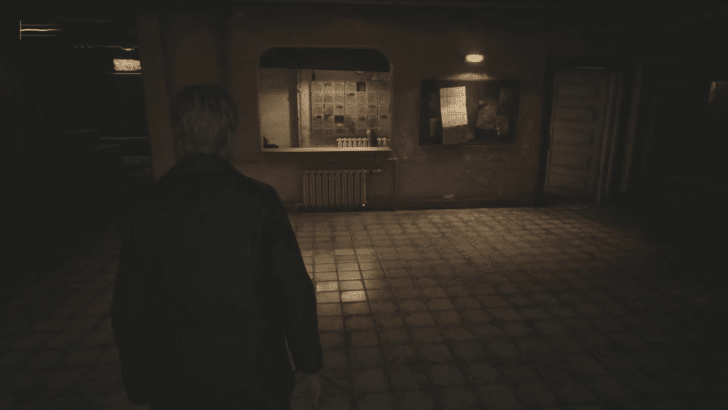
Once inside, grab a map of the apartment complex on the lobby's bulletin board. You can also find a save point behind the reception desk, so be sure to save your progress here. By going further back to the reception office, you will find the coin puzzle cabinet covered under a white cloth. Come back to this later once you have gathered all the coins needed to solve the puzzle.
Coin Puzzle Solution and Locations
Obtain a Flashlight
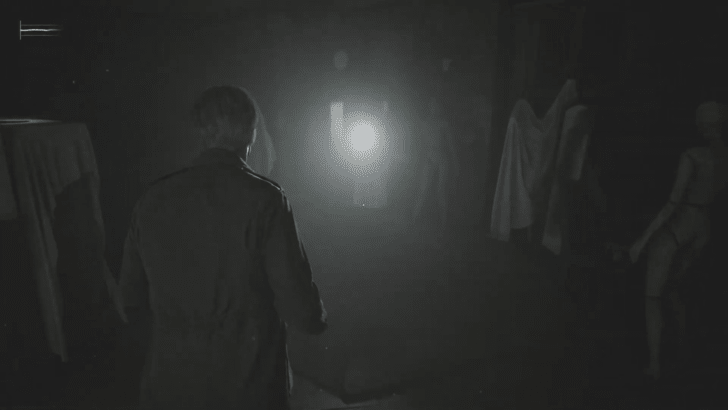
Make your way to the second floor of Wood Side apartments and walk down the hallway to your right. Enter Room 202 through the open door on your left, where a dress form mannequin stands in the middle of the room dressed in familiar clothes. Obtain the Flashlight from its lapel and fight a Mannequin that appears behind it. Find a Chute Courtyard Key inside a desk drawer behind the mannequin and exit the room.
Access the Courtyard
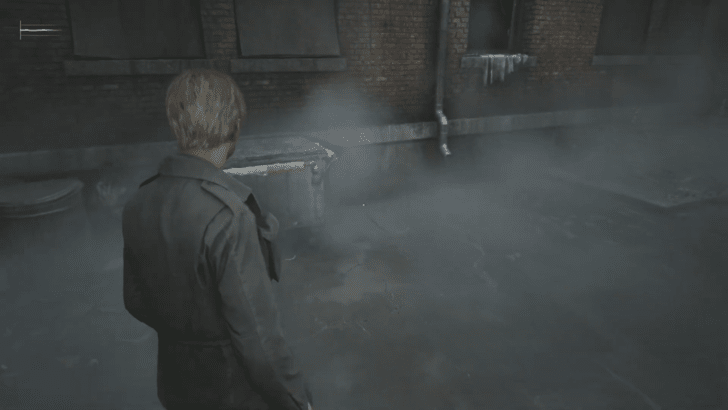
Go back to the first floor and use the Chute Courtyard Key on the brown double doors located at the right side of the reception. Once in the courtyard, align a garbage disposal to an open window, then climb through it to Room 112. Exit through the apartment door, then head down the hallway to the right.
You may enter the open room in the hallway as it contains supplies like Handgun Ammo, but beware of the Mannequin inside. Otherwise, continue down the hallway until you reach a metal gate. Attempt to reach for a key on the other side to trigger a cutscene where you meet Laura, then exit through the metal door on your right.
Collect the 2F Hallway Key
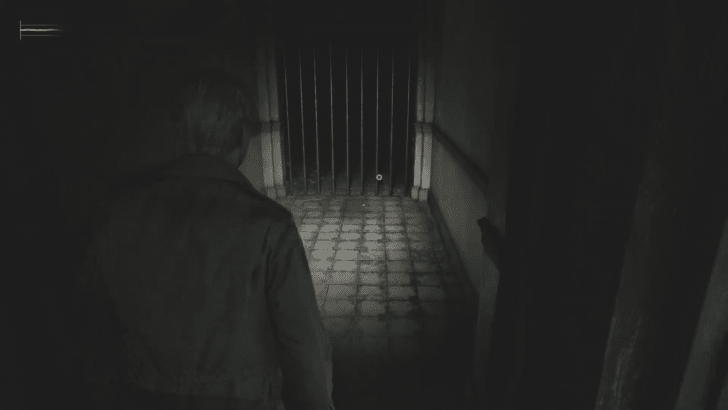
Return to the apartment's main lobby and make your way toward the eastern wing. At the end of the hallway, enter Room 108 to collect the Golden Apple Handle from the dresser. After exiting, proceed down the hallway until you reach the area behind the steel bars to pick up the 2F Hallway Key.
Get a Handgun
After unlocking the green double doors with the 2F Hallway Key, walk toward Room 213. If you walk past the door to this room, you can spot Pyramid Head at the end of the hallway through the metal bars; coming across him here is optional, though it is a subtle warning of his presence that rewards player exploration.
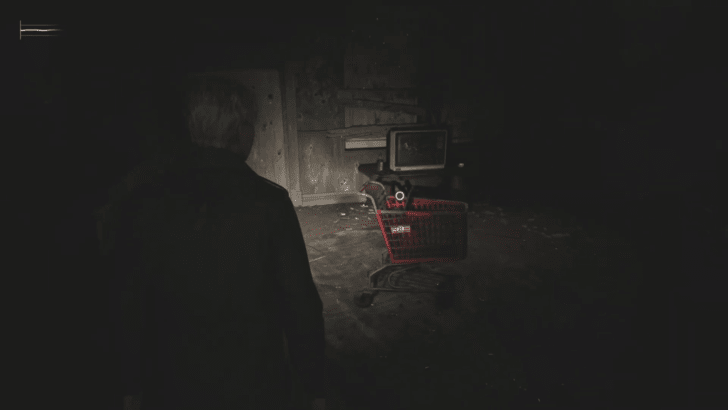
Inside Room 213, squeeze through a crack in the wall and reach Room 217 to collect a Handgun from a shopping cart. After hearing a scream, return to Room 213, where you will find a dead person in front of a TV and the Apartment 212 Key on the table beside them.
Open the Room 206 Safe
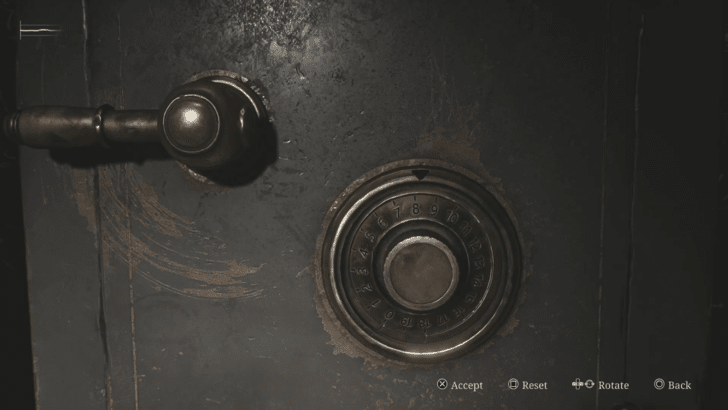
Enter Room 212 and cross over to Room 210 by using the balcony, and fight a Mannequin found inside the room. Exit into a hallway where you will encounter two Lying Figures as you reach a dead end. Enter Room 208, the last door to your right at the end of the hallway, and use the Golden Apple Handle on the dresser in the living room.
Afterward, move the dresser to access Room 206 and open the safe using the code 13-7-11 (Standard and Hard) or 15-11-13 (Light) to obtain a Coin (Man) and Steel Key.
Access the Third Floor
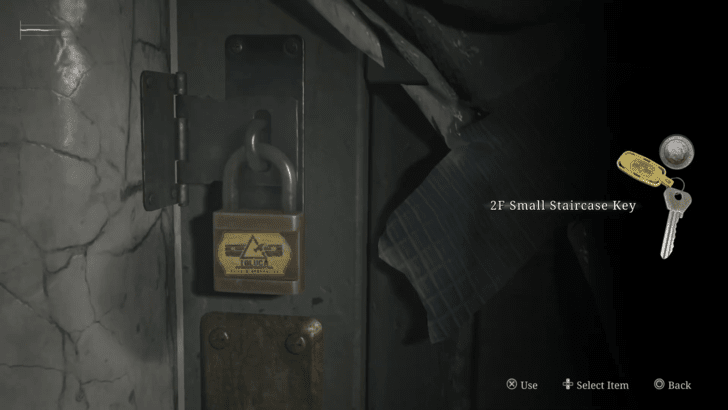
After exiting room 206 with the Steel Key, enter the Room 205 where you will find the 2F Small Staircase Key on a chair, then go back to the door at the end of the hallway next to Room 215 and unlock the door to the stairway. You will encounter a save point on the left wall.
Obtain the Woman Coin in the Garbage Chute
Walk up the stairs to the third floor and head to the hallway on your left. Beware of Mannequins as they will appear frequently on this floor. After squeezing through a narrow opening in the wall to enter Room 311, proceed through another gap into Room 309 and exit into the hallway through another crack. Then, immediately enter Room 310 via the wall crack directly in front of you.
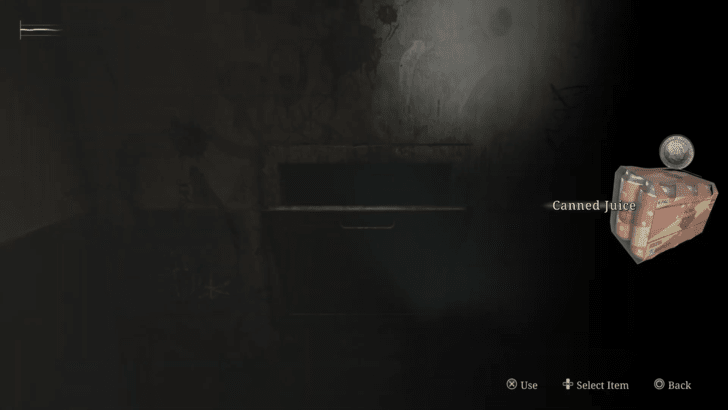
Afterward, cross over to Room 312 via the balcony, and crawl through a small vent inside the room behind the wall where you find a Sinister Note. Pick up the Canned Juice on the table and throw it down the disposal chute where a cutscene will play. Head back down to the first floor courtyard and collect the Woman Coin.
Obtain the Snake Coin From the Pool
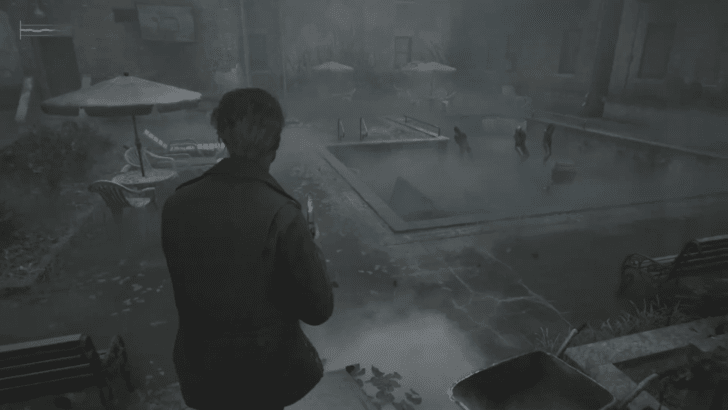
Head through the double doors behind the garbage disposal and proceed left down the hallway, where James will hear someone coughing and retching. Enter the only open door at the end of the hall to Room 116 and inspect a dead man by the kitchen. In the bathroom, you will meet and talk to Eddie.
After the conversation, exit through the window to access the pool area, where three lying figures circle a baby stroller. You can either defeat or evade them strategically to retrieve the Snake Coin from the stroller.
Solve the Coin Cabinet Puzzle
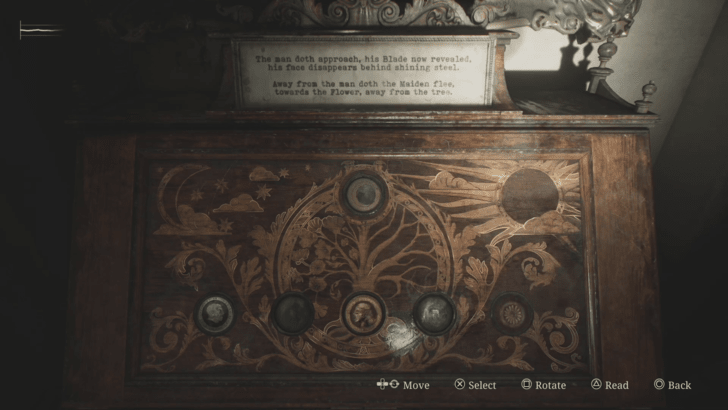
Head back to the reception office at the first floor and solve the coin cabinet puzzle to obtain the 201 Apartment Key, which you will need in order to access the way to Blue Creek Apartments. To do this, you must have collected all three coins: Man, Woman, and Snake, then rearrange them according to the rhyme shown on top of the machine. Note that the answers differ depending on your puzzle difficulty.
Coin Puzzle Solutions and Locations
Leave Wood Side Apartments
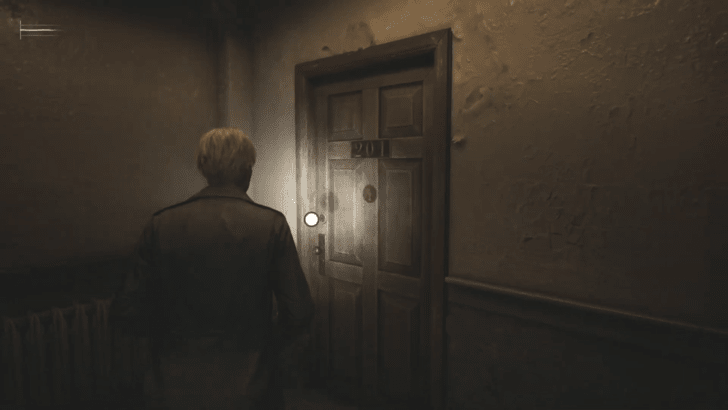
Head over to room 201 at the far western side of building's second floor. After unlocking the door, interact with a handkerchief on the desk in the room to trigger a cutscene where James first comes across Pyramid Head, then exit the room through a wooden door on the left to access Blue Creek Apartments.
Blue Creek Apartments Walkthrough
Wood Side Apartments Map
All Wood Side Apartment Maps
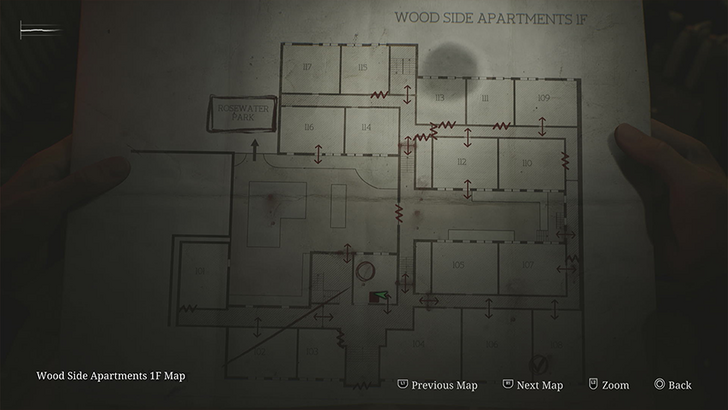 1F |
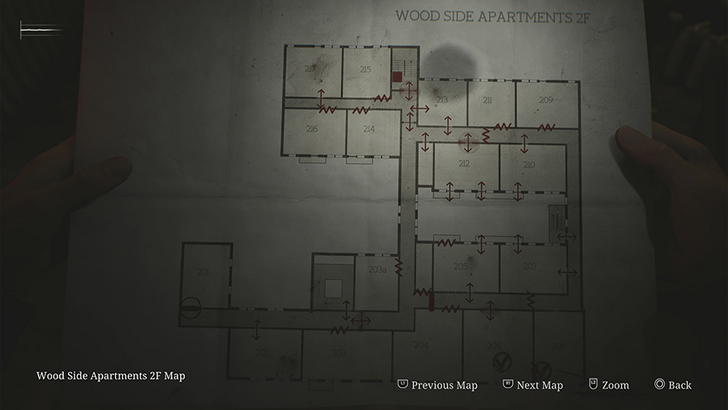 2F |
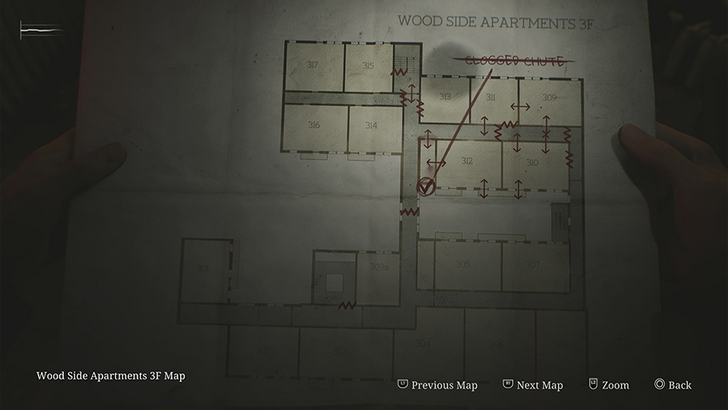 3F |
Wood Side Apartments Puzzles
All Wood Side Apartments Puzzles
| Coin Puzzle | Apartment Safe |
Silent Hill 2 Remake Related Guides

Story Walkthrough and All Chapters
All Story Chapters
| Story Walkthrough Chapters | ||
|---|---|---|
| Eastern South Vale | Wood Side Apartments | Blue Creek Apartments |
| Western South Vale | Brookhaven Hospital | Brookhaven Hospital Otherworld |
| South Vale Otherworld | Historical Society | Toluca Prison |
| Labyrinth | Lakeview Hotel | Lakeview Hotel Otherworld |
Comment
Author
Wood Side Apartments Walkthrough and Guide
improvement survey
03/2026
improving Game8's site?

Your answers will help us to improve our website.
Note: Please be sure not to enter any kind of personal information into your response.

We hope you continue to make use of Game8.
Rankings
- We could not find the message board you were looking for.
Gaming News
Popular Games

Genshin Impact Walkthrough & Guides Wiki

Honkai: Star Rail Walkthrough & Guides Wiki

Umamusume: Pretty Derby Walkthrough & Guides Wiki

Pokemon Pokopia Walkthrough & Guides Wiki

Resident Evil Requiem (RE9) Walkthrough & Guides Wiki

Monster Hunter Wilds Walkthrough & Guides Wiki

Wuthering Waves Walkthrough & Guides Wiki

Arknights: Endfield Walkthrough & Guides Wiki

Pokemon FireRed and LeafGreen (FRLG) Walkthrough & Guides Wiki

Pokemon TCG Pocket (PTCGP) Strategies & Guides Wiki
Recommended Games

Diablo 4: Vessel of Hatred Walkthrough & Guides Wiki

Cyberpunk 2077: Ultimate Edition Walkthrough & Guides Wiki

Fire Emblem Heroes (FEH) Walkthrough & Guides Wiki

Yu-Gi-Oh! Master Duel Walkthrough & Guides Wiki

Super Smash Bros. Ultimate Walkthrough & Guides Wiki

Pokemon Brilliant Diamond and Shining Pearl (BDSP) Walkthrough & Guides Wiki

Elden Ring Shadow of the Erdtree Walkthrough & Guides Wiki

Monster Hunter World Walkthrough & Guides Wiki

The Legend of Zelda: Tears of the Kingdom Walkthrough & Guides Wiki

Persona 3 Reload Walkthrough & Guides Wiki
All rights reserved
©2024 Konami Digital Entertainment
The copyrights of videos of games used in our content and other intellectual property rights belong to the provider of the game.
The contents we provide on this site were created personally by members of the Game8 editorial department.
We refuse the right to reuse or repost content taken without our permission such as data or images to other sites.





![Monster Hunter Stories 3 Review [First Impressions] | Simply Rejuvenating](https://img.game8.co/4438641/2a31b7702bd70e78ec8efd24661dacda.jpeg/thumb)


