What to Do When Stuck In An Area
★ Story Walkthrough | Upgrades and Abilities
☆ Characters | Bosses | Puzzles
★ Viewros Map: Energy Tank | Missile Expansion | Shot Expansion
★ Game Details: amiibo Unlocks | How Long to Beat | Switch Edition Differences
This is a guide on what to do when stuck in Metroid Prime 4: Beyond. Read on to know how to progress and how to avoid getting stuck in the future here!
List of Contents
What to Do If You Get Stuck
| What To Do If You Get Stuck |
|---|
|
|
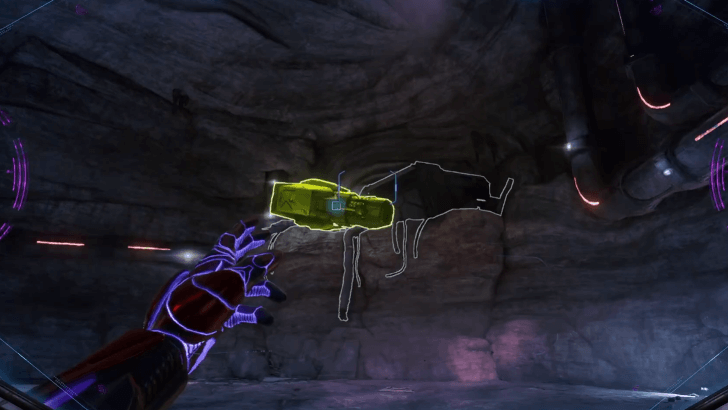
Use the Scan Visor for Clues
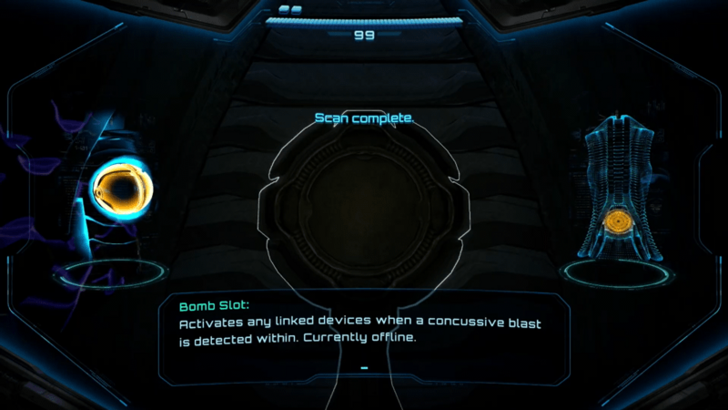
When stuck, use the Scan Visor to search for clues in your current area. Certain objects provide hints to what you should be doing, such as doors, pedestals, and collectible materials. Furthermore, filling up your logbook unlocks better endings for the game!
List of Logbooks and Scans Guide
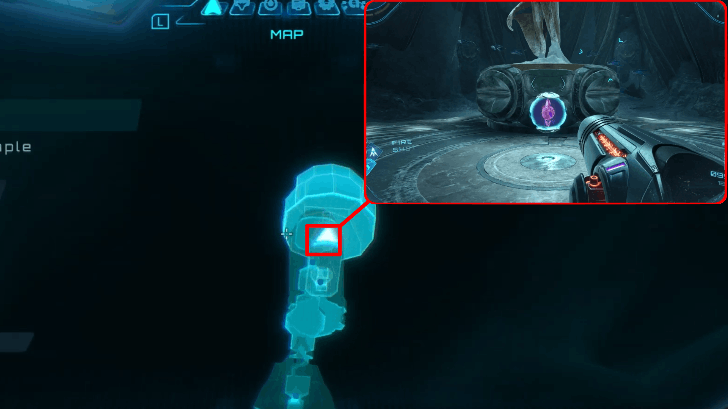
Check the Map for Objectives
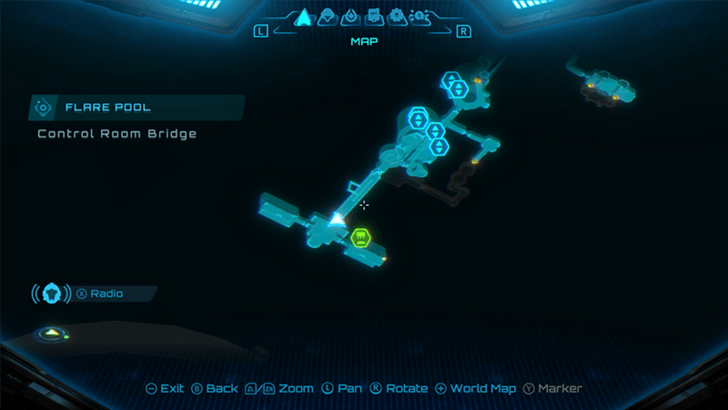
The Map often shows objectives or points-of-interest that you can use as guides to progress through the game.
Viewros (Sol Valley) Interactive Map
Skip Areas That Require Certain Tools

Some areas are soft-locked when you first encounter them, as they will require certain upgrades that you must collect first. Skip them for now and check for other routes you can follow.
List of All Upgrades and Psychic Abilities
Backtrack and Explore Other Paths
Once you collect new upgrades, make sure to head back to previously locked areas. Check for doors you've skipped and see if there are collectibles in the area.
Complete Story Walkthrough and Progression Guide
Stuck in Fury Green
Retrieve the Psychic Glove First
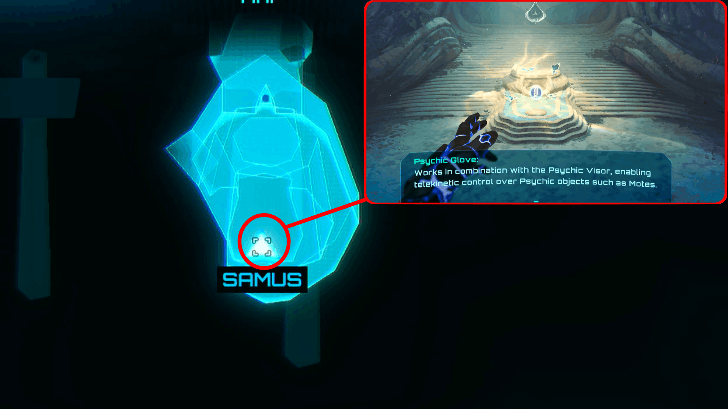
Your first goal in Fury Green is to retrieve the Psychic Glove. This is located in the Arboreal Chapel which you can access by rolling past the roots just to the left of the Psychic Door.
Fury Green 100% Exploration Guide
Encounter Miles MacKenzie
Once you retrieve the Psychic Glove, continue exploring the area and look for a trooper that sent a distress signal. He can be found in the north eastern part of Fury Green, where you will have to free him from the vines above.
After saving him, you can get the Missile Launcher from inside the container.
Mackenzie Character Info and How to Unlock
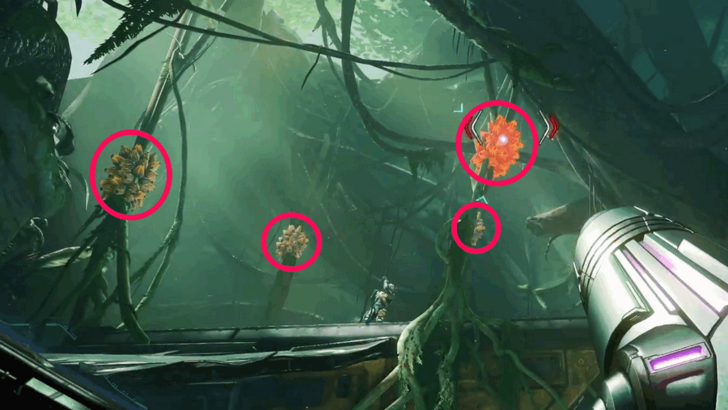
Get the Teleporter Key from Carvex
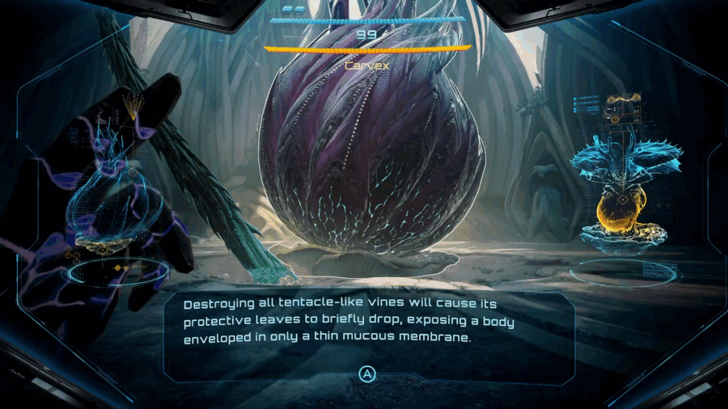
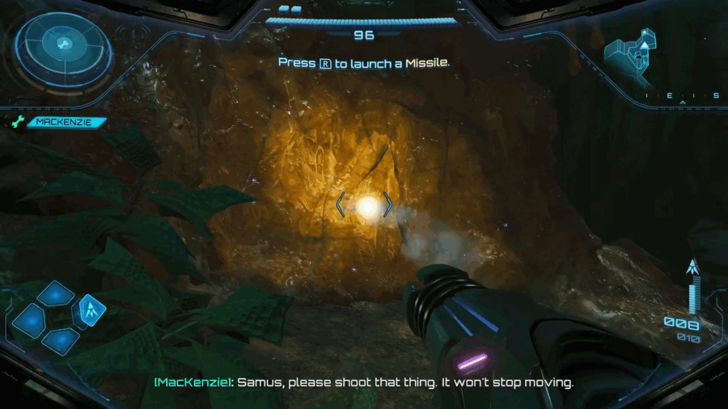
Carvex is the main boss of the area and will be your primary goal in Fury Green. Follow the path of Viewros Ambers and destroy them with the Missile Launcher.
You will have to pass through an open bridge and defeat some enemies to get to the boss arena. Along the way, you'll also receive the Control Beam as a requirement to open the door to the area.
Stuck in Volt Forge
Activate the Generator in Tower 1
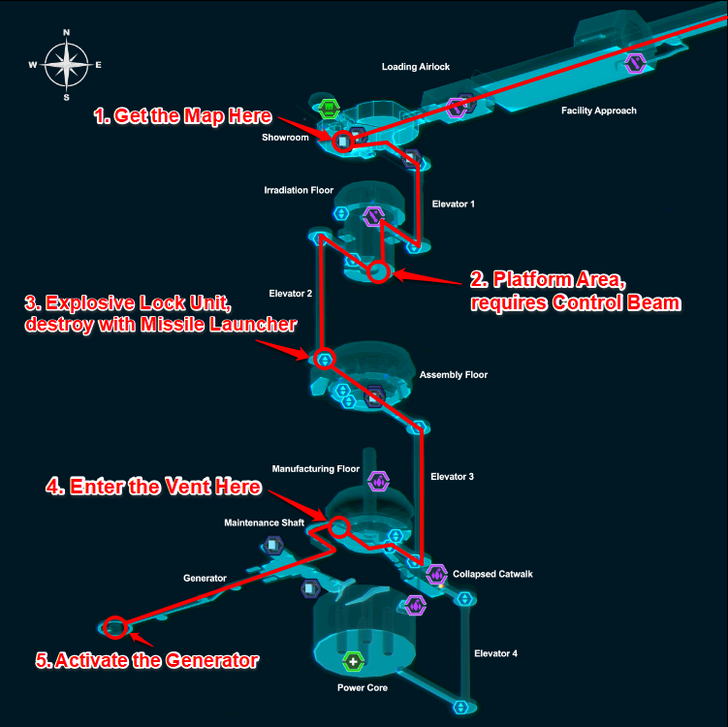
Your first objective in Volt Forge is to reactivate the generators found in Tower 1. This lets you gain access to Vi-O-La and the rest of the towers. To get there, use the three elevators going down.
You'll encounter a minor platforming puzzle that requires you to use the Control Beam, a large room with dozens of rats roaming around, and a manufacturing room with an open vent leading to the generator.
How to Unlock Vi-O-La and Controls
Activate the Generator in Tower 2

Tower 2 is quite linear in design, as you only need to follow the path. While doing so, you'll face off against waves of enemies per room, so make sure to be prepared for it and have full health! As a tip, collect Energy Tanks if you can to increase health.
Prepare for Two Boss Fights
| Volt Forge Tower 2 Bosses | |
|---|---|
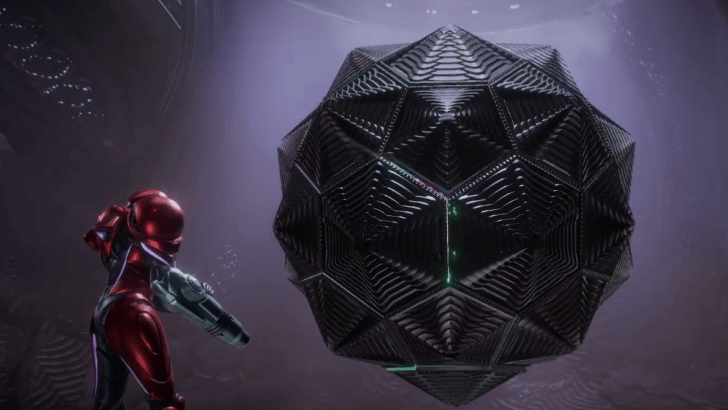
 Flight Drone MCU Flight Drone MCU
|
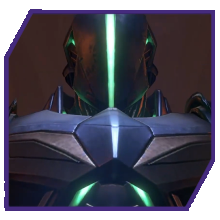 Sylux (1st Encounter) Sylux (1st Encounter)
|
You will fight against the Flight Drone MCU mini-boss and have an encounter with Sylux on the way to Tower 3.
Defeat Xelios in Tower 3 for the Key
After you head to Tower 3 and finish the Vi-O-La Driving Test, your main goal is to get the Teleporter Key from the area's main boss, Xelios. Defeating it will reward you with the Psychic Boots.
Stuck in Ice Belt
Where to Go After Psychic Boots

Once you get the Psychic Boots from Xelios, head to Flare Pool to get the Fire Chip for MacKenzie. Then, return to Fury Green to receive the Fire Shot upgrade.
Obtain the Psychic Lasso
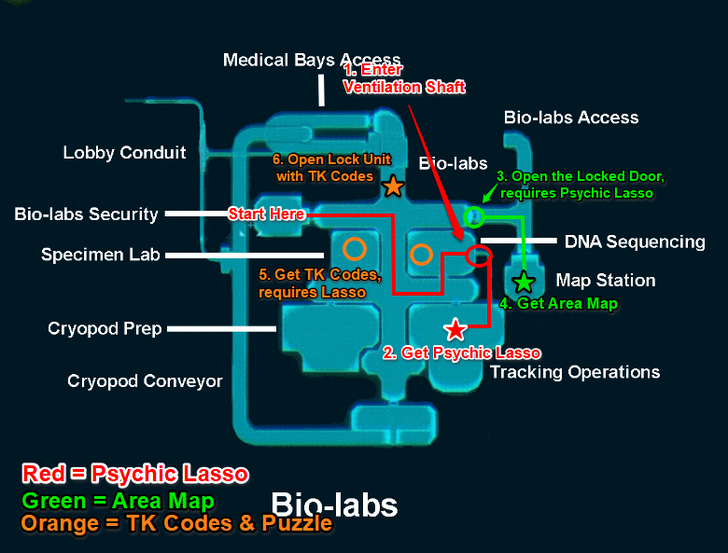
After entering the Ice Belt facility, search for the Psychic Lasso in one of the rooms of the Bio-Labs. This is needed for you to access the TK Codes and move past the area.
Psychic Lasso How to Unlock and Effects
Some Doors Require Certain Tools
In Ice Belt, you will encounter various doors that require you to use Samus' different upgrades to open them.
Where to Go After Ice Chip
Return to Volt Forge
Once you get the Ice Chip and turn it in with MacKenzie, head back to Volt Forge. You must do so to get the Vi-O-La IC Suit.
Vi-O-La IC Suit How to Unlock and Effects
Where to Go After Vi-O-La IC Suit
Cross the Flare Pool Lava
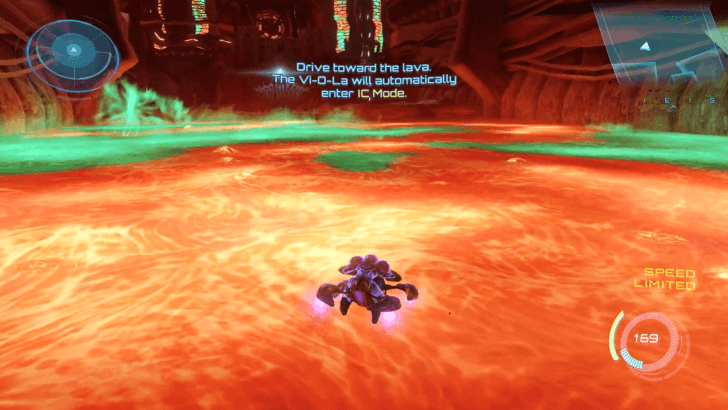
Head to Flare Pool and cross the lava pool with the newly upgraded Vi-O-La suit. This eventually leads you to Phenoros, the holder of the 4th Teleporter Key and the Psychic Grapple upgrade.
Psychic Grapple How to Unlock and Effects
Where to Go After Psychic Grapple
Head to Volt Forge
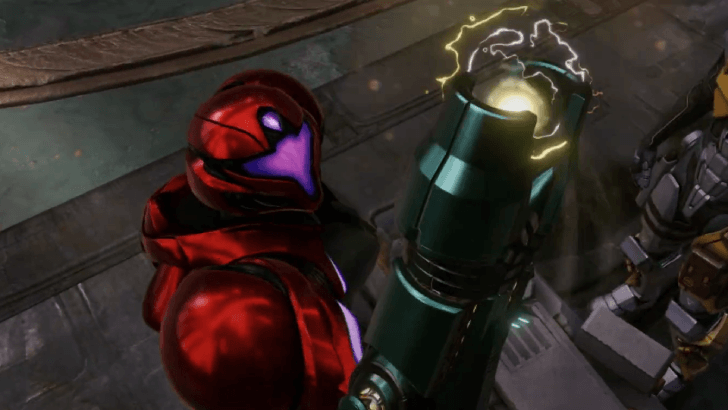
Return once again to Volt Forge for the third time to retrieve the Thunder Chip for MacKenzie. Here, you will fight with Sylux again so make sure to be prepared for the fight!
How to Beat Sylux (2nd Encounter)
Where to Go After Thunder Chip
Revisit Ice Belt
After turning in the Thunder Chip and getting the Thunder Shot upgrade, revisit Ice Belt to get the Psychic Spider Ball necessary to explore the Great Mines.
Psychic Spider Ball How to Unlock and Effects
Where to Go After Psychic Spider Ball
Head to the Great Mines

Go to the Great Mines, where you can get the 5th Teleporter Key from Omega Griever. After this, head to Sol Valley and meet with Tokabi near the Flare Pool Entrance.
Where to Find Tokabi: All Tokabi Locations and Rewards
Where to Go After Teleporter Chip
Explore Sol Valley for Mech Parts and Green Crystals

The last step after receiving the Teleporter Chip from Tokabi is to get the remaining Green Crystals and Mech Parts before heading back to Chrono Tower.
Chrono Tower Walkthrough and Guide
Search for the Six Mech Parts
To progress the story, you must search for six mech parts to activate the large mecha in Fury Green and remove the force field in Chrono Tower. These are scattered across Viewros, with one of them being inside Varmis!
Find All 100% Green Crystals
Green Crystals are necessary to finish the story. You must fill up the crystal in the mission menu once in green to finish the game. Take note that this is different from collecting all 100% of the crystals in the game.
How to Farm Green Crystals and Rewards
Metroid Prime 4: Beyond Related Guides

Beginner's Guide: Tips and Tricks to Get Started
All Tips and Tricks
Comment
Author

What to Do When Stuck In An Area
Rankings
- We could not find the message board you were looking for.
Gaming News

![The Liar Princess and the Blind Prince Review [PC] | Lovely to Look at but Tedious to Play](https://img.game8.co/4442586/8d95f5faf05780f1765ce7e0938bd825.jpeg/show)
![Monster Hunter Stories 3 Review [First Impressions] | Simply Rejuvenating](https://img.game8.co/4438641/2a31b7702bd70e78ec8efd24661dacda.jpeg/thumb)
![The Seven Deadly Sins: Origin [First Impressions] | A Promising Start](https://img.game8.co/4440581/584e0bfb87908f12c4eab6e846eb1afd.png/thumb)

Popular Games

Genshin Impact Walkthrough & Guides Wiki
Umamusume: Pretty Derby Walkthrough & Guides Wiki
Pokemon Pokopia Walkthrough & Guides Wiki
Honkai: Star Rail Walkthrough & Guides Wiki
Monster Hunter Stories 3: Twisted Reflection Walkthrough & Guides Wiki
Arknights: Endfield Walkthrough & Guides Wiki
Wuthering Waves Walkthrough & Guides Wiki
Zenless Zone Zero Walkthrough & Guides Wiki
Pokemon TCG Pocket (PTCGP) Strategies & Guides Wiki
Monster Hunter Wilds Walkthrough & Guides Wiki


Recommended Games
Diablo 4: Vessel of Hatred Walkthrough & Guides Wiki
Cyberpunk 2077: Ultimate Edition Walkthrough & Guides Wiki
Fire Emblem Heroes (FEH) Walkthrough & Guides Wiki
Yu-Gi-Oh! Master Duel Walkthrough & Guides Wiki
Super Smash Bros. Ultimate Walkthrough & Guides Wiki
Pokemon Brilliant Diamond and Shining Pearl (BDSP) Walkthrough & Guides Wiki
Elden Ring Shadow of the Erdtree Walkthrough & Guides Wiki
Monster Hunter World Walkthrough & Guides Wiki
The Legend of Zelda: Tears of the Kingdom Walkthrough & Guides Wiki
Persona 3 Reload Walkthrough & Guides Wiki


All rights reserved
© Nintendo. Metroid and Nintendo Switch are trademarks of Nintendo.
The copyrights of videos of games used in our content and other intellectual property rights belong to the provider of the game.
The contents we provide on this site were created personally by members of the Game8 editorial department.
We refuse the right to reuse or repost content taken without our permission such as data or images to other sites.