Fury Green Walkthrough and Guide
★ Story Walkthrough | Upgrades and Abilities
☆ Characters | Bosses | Puzzles
★ Viewros Map: Energy Tank | Missile Expansion | Shot Expansion
★ Game Details: amiibo Unlocks | How Long to Beat | Switch Edition Differences

This is a guide for the Fury Green area in Metroid Prime 4: Beyond. Check out how to progress through Fury Green, as well as guides for any puzzles and bosses in the Fury Green area here.
| Fury Green Guides | |
|---|---|
| Walkthrough | Exploration Map |
List of Contents
| ◀ Previous Area | Next Area ▶︎ |
|---|---|
| UTO Research Center | Volt Forge |
Fury Green Map
Fury Green 100% Exploration Guide
Fury Green Main Walkthrough
| Note: If you are aiming for a 100% completion, visit our All Missables and Points of No Return page. |
| Fury Green Main Objectives | |
|---|---|
| 1 | Explore Chrono Tower |
| 2 | Obtain Psychic Glove |
| 3 | Obtain Missile Launcher |
| 4 | Obtain Control Beam |
| 5 | Obtain Psychic Bomb ┗ Boss Battle: Carvex |
| 6 | Exit Fury Green |
Explore Chrono Tower
| Objectives | |
|---|---|
| 1 |
 Make Your Way Through Chrono Tower Make Your Way Through Chrono TowerOnce you reach Chrono Tower, make your way forward. The way onwards will be straightforward, as the drone following you will activate bridges for you. Once you reach a circular area with sealed doors, head down the side path to find a new drone, which will open the way for you. |
| 2 |
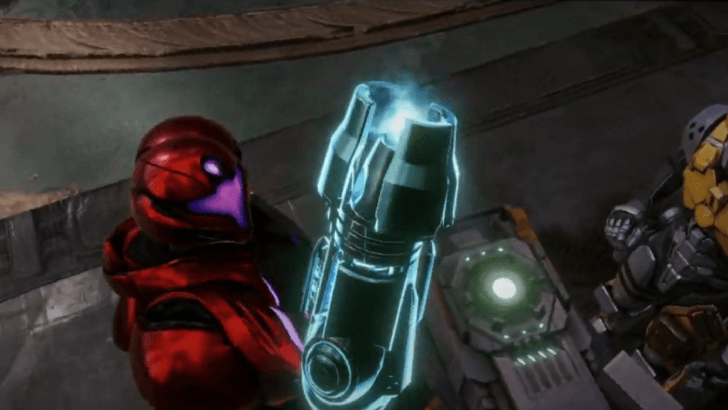
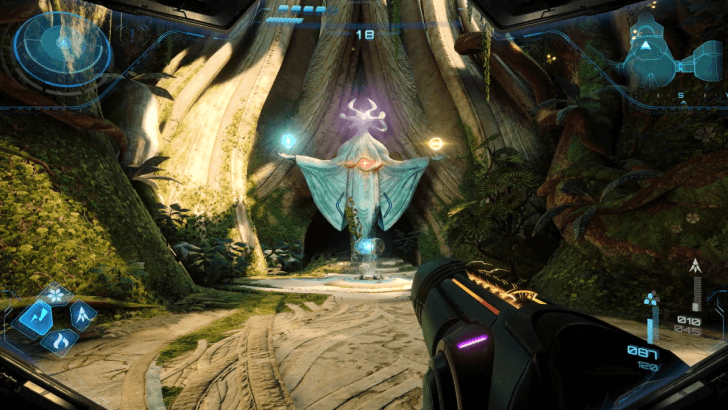
 Follow Drone into the Light Follow Drone into the LightAfter talking to some large statues, you will be transported to an ethereal blue area. Follow the drone into the shining light at the end to view a cutscene, where Samus acquires a Psychic Crystal. ┗ Learn How to Use Psychic Powers ▶︎ List of All Upgrades and Psychic Abilities |
| 3 |
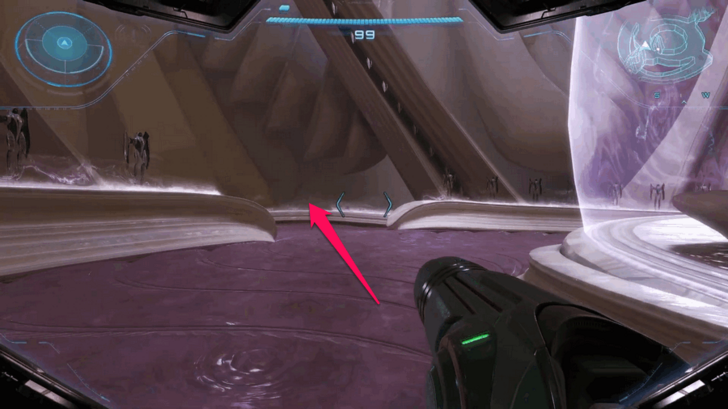
 Once you obtain Psychic Powers, you can move about on your own. Scan the yellow objects across gaps to activate bridges and shoot blue doors to open them. Head straight into the shielded dome in the center. |
| 4 |
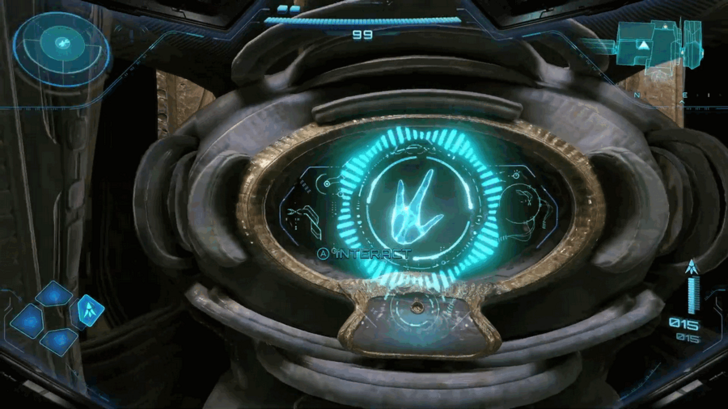
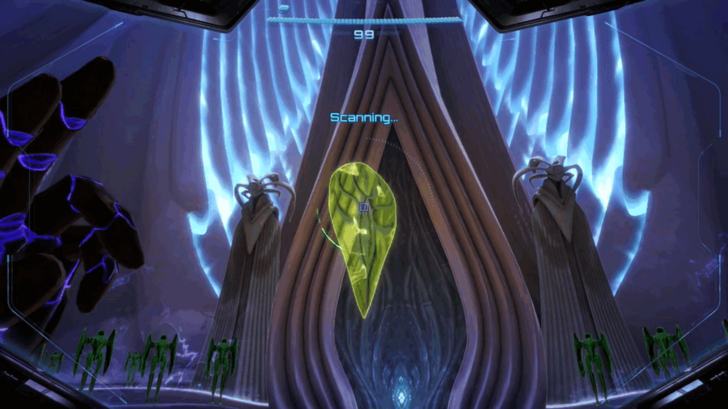 Scan Floating Symbol Scan Floating SymbolScan the glowing hologram inside the dome. This activates the elevator. Touch the hologram after scanning to take the elevator upwards. When you reach the top, scan the statue for a cutscene, where you learn you must collect five keys to access the Master Teleporter. |
Learn How to Use Psychic Powers
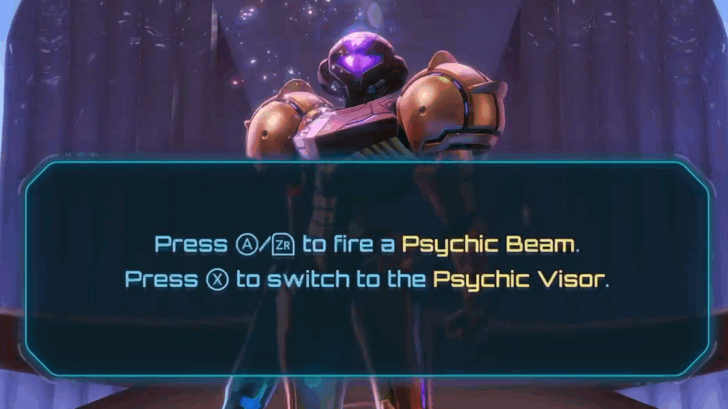
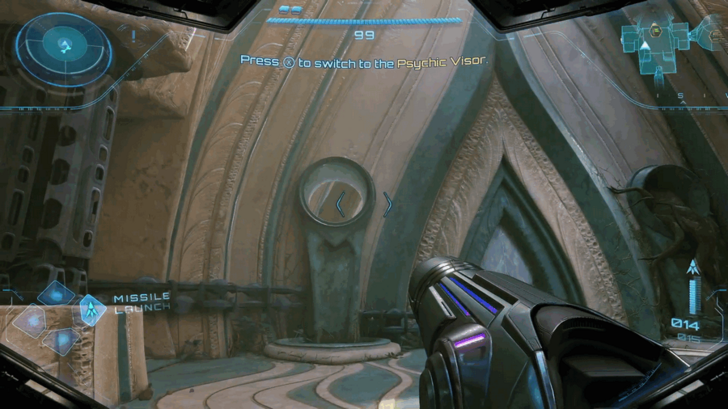
Press A or ZR to fire a Psychic Beam, and press X to switch to your Psychic Visor. This functions similarly to the Power Beam and Scan Visor Samus used in the Prologue.
List of All Upgrades and Psychic Abilities
Obtain Psychic Glove
| Objectives | |
|---|---|
| 1 |
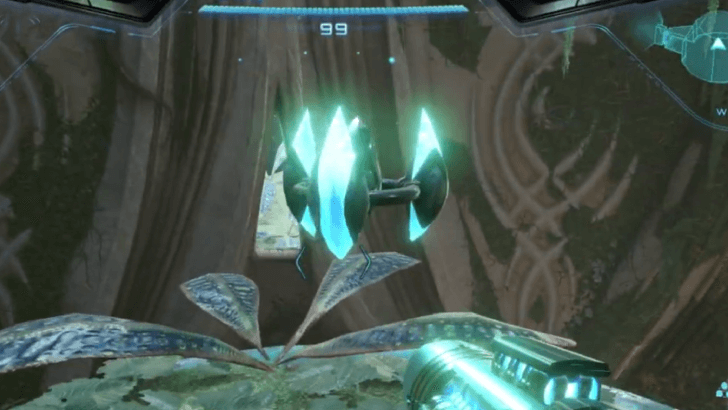
 Pass Through Giant Spiral Pass Through Giant SpiralYou will enter your first area: Fury Green. Opening the map shows you your destination: Obtain the Teleporter Key at the end of the level. So, start moving forward, shoot and pass through a glowing orb called a Giant Spiral, at the center of a tree. ┗ Scan Everything for Information ▶︎ List of Logbooks and Scans Guide |
| 2 |
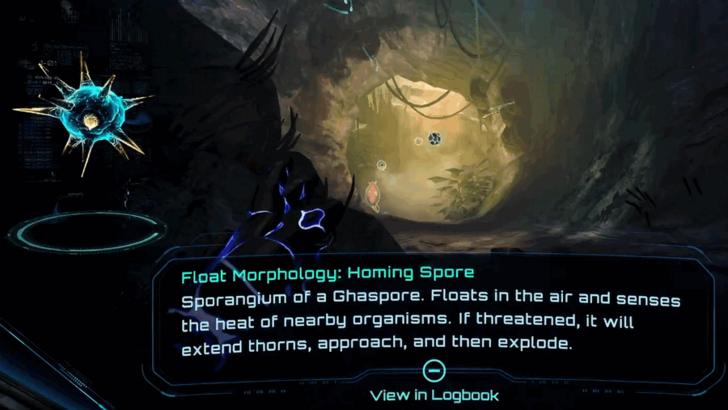 You will encounter a few new enemies while moving on through the area. You can ignore them, but it is recommended to defeat them as you proceed. Encountered Enemies: ・Homing Spores: Simply shoot them down before they can come at you with their spikes. ・Glottagropper: Reptiles that bounce around and shoot projectiles at you. Lock on and always stay moving and strafing so you don't get hit. ・Rootspur: Plants that ambush and attack you in muddy areas. Use charged shots to defeat them. ・Bristlewort: A Plant that shoots spikes. Fire charged shots when its shell is open to deal damage. |
| 3 |
 There will be locked doors and Mote Receptacles on the way that require the Psychic Glove, as well as platforms that require Psychic Boots. You can ignore these for now and head into the nearby unlocked blue doors. |
| 4 |
 Roll Past Roots Then Scan Door Roll Past Roots Then Scan DoorContinue on and find roots that you can easily get past with the Morph Ball. Then, you'll come across a locked door you can open by scanning the receptacle on top. |
| 5 |
 Obtain Psychic Glove Obtain Psychic GloveBehind the door, obtain the Psychic Glove. Then, grab the Mote on the statue and place it into the Mote Socket on the large door to unlock it. ┗ How to Use Psychic Glove ▶︎List of All Upgrades and Psychic Abilities |
Scan Everything for Information
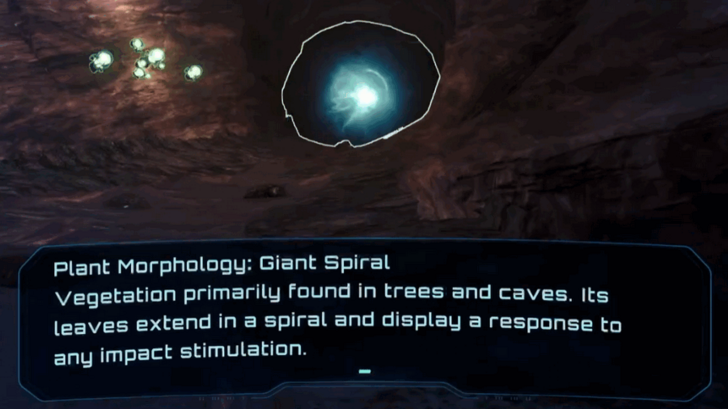
It is vital to scan objects around you, as you can learn new ways to interact with your surroundings. For example, scanning the Giant Spiral tells you that this orb reacts to anything touching it.
List of Logbooks and Scans Guide
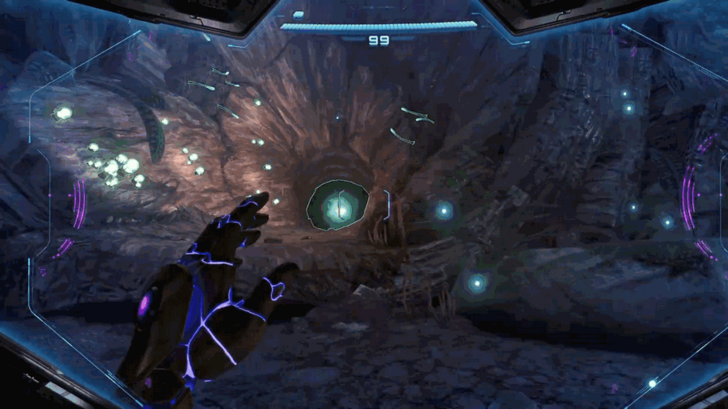
How to Use Psychic Glove
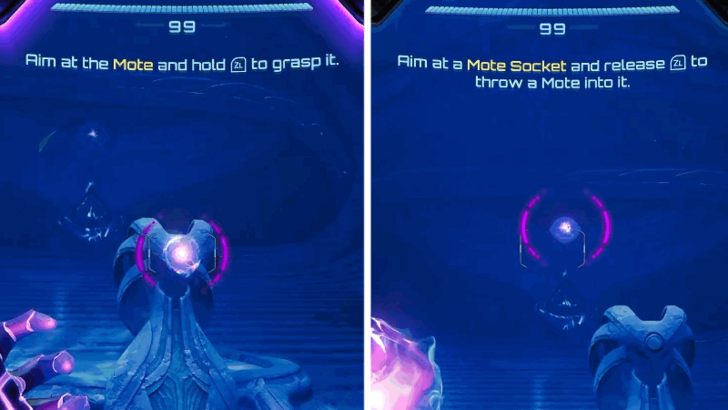
To use the Psychic Glove, switch to the Psychic Visor with X, then hold ZL to grasp Motes, which are purple balls of energy.
Obtain Missile Launcher
| Objectives | |
|---|---|
| 1 |
 Use Two Motes to Unlock Door Use Two Motes to Unlock DoorHead back to the area you were previously in, with the locked door and two Mote Sockets. Grab the Motes from the two nearby statues and use them on the two sockets to open the door. |
| 2 |
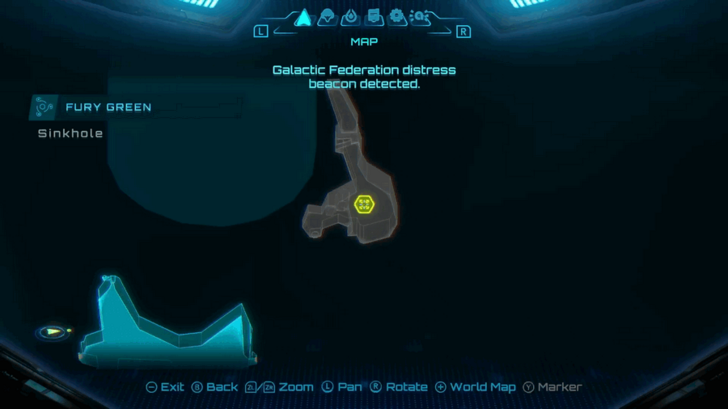 First, open the Psychic Container in the room to grab the Energy Tank inside, which increases your max Energy by 100. Then move on to the next area, where you will be alerted to a distress beacon. Encountered Enemies: ・Shren: Flying insects that shoot acid at you. Dodge its attacks by strafing. You can ignore these, as the Shren Hives make them respawn endlessly. ┗ How to Open Psychic Containers ▶︎ All Energy Tank Locations |
| 3 |
Save Game at Save Point Upon receiving your new objectives, enter the door to the North to find a Save Point and a Viewros Amber that you can't interact with yet. Use your Psychic Glove to open the door to the save point and save your game inside. Then, continue to the left side of the map. |
| 4 |
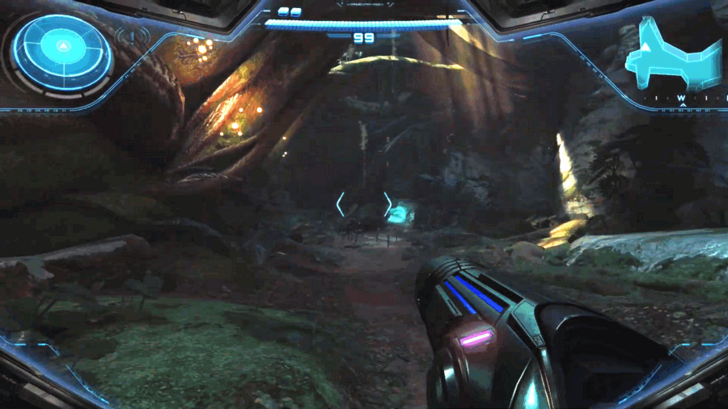 Enter Hole via Morph Ball Enter Hole via Morph BallOn the left side of the Grove of the Sacred Tree, there is a small hole you can get into via the Morph Ball ability. Follow this path forward, chasing after a scurrying bug. Use charged shots on hives that block your path until you reach an open area with a cutscene. This is where you meet your first companion, Miles McKenzie. ▶︎ List of All Characters and Companions |
| 5 |
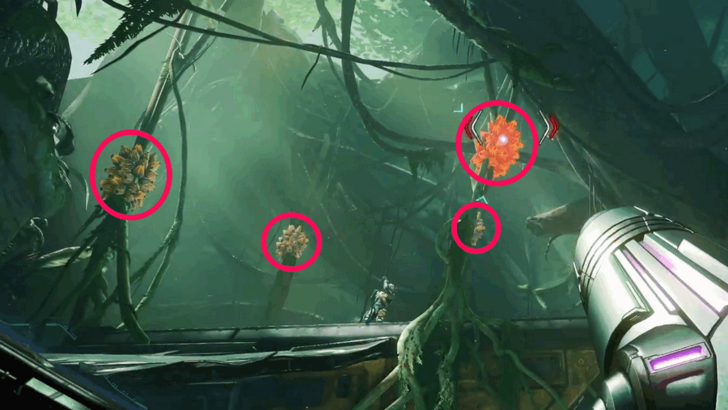 Shoot Vine Growths Shoot Vine GrowthsShoot the four vine growths to help McKenzie down. However, shooting two of these will trigger an enemy ambush. Defeat all Jungle Grievers and continue helping McKenzie down. Encountered Enemies: ・Jungle Griever: Aggressive and ferocious beasts. Keep your distance, backpedal while shooting, and dodge their attacks when they get too close. Each one dies easily with a single charged shot. |
| 6 |
 Shoot Hatch Hinges Shoot Hatch HingesHelp McKenzie open the hatch to the ship by shooting the hinges on the other side. |
| 7 |
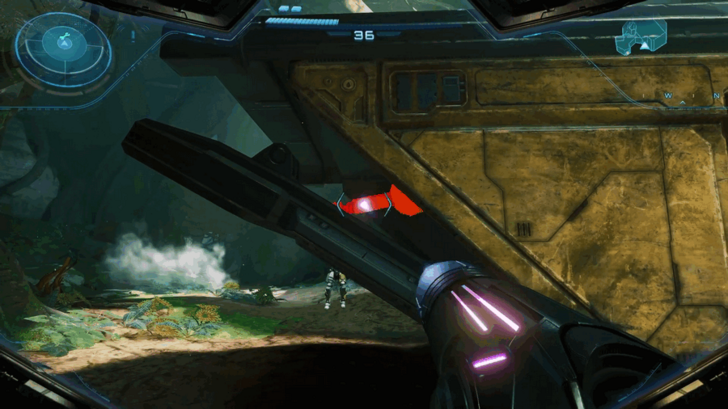
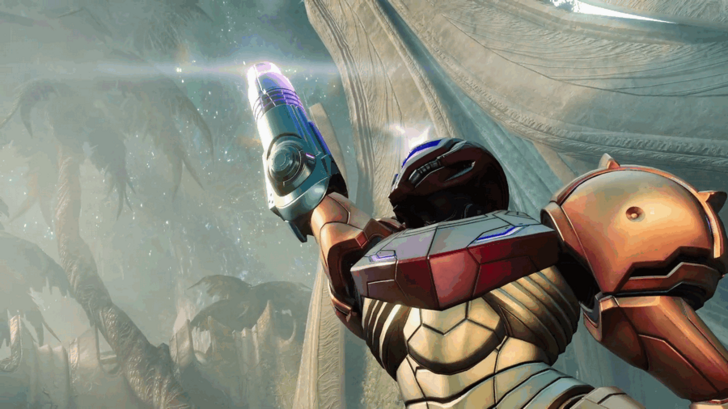
 Obtain Missile Launcher Obtain Missile LauncherObtain the Missile Launcher inside for a new weapon. ┗ How to Use Missile Launcher ▶︎ All Missile Expansion Locations |
How to Open Psychic Containers
To open Psychic Containers, open your Psychic Visor with X, grasp the glowing purple node, then drag it along the path until it reaches the end.
How to Use Missile Launcher
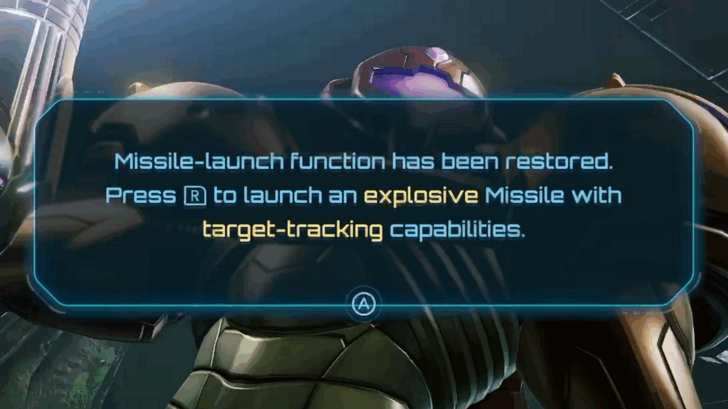
Press R to shoot heat-seeking missiles at enemies. You can also use a missile to break the Viewros Amber walls. You start with only 10 max ammo, but get more upgrades called Missile Expansions along the way.
Missile Launcher How to Unlock and Effects
Obtain Control Beam
| Objectives | |
|---|---|
| 1 | 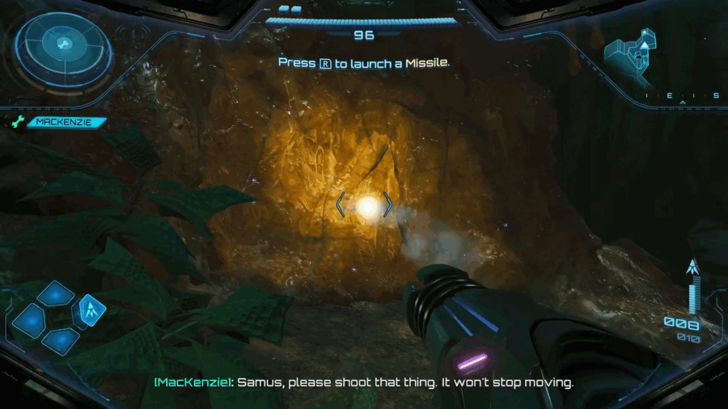 Use Missiles to Break Viewros Amber Use Missiles to Break Viewros AmberHop onto the ship, then onto the nearby ledge. Use the Missile Launcher to break the Viewros Amber (the yellow wall) blocking your path. Continue heading up Resin Creek, using missiles to break more Viewros Amber. At the end of this path, you'll end up back at the Save Point. |
| 2 | 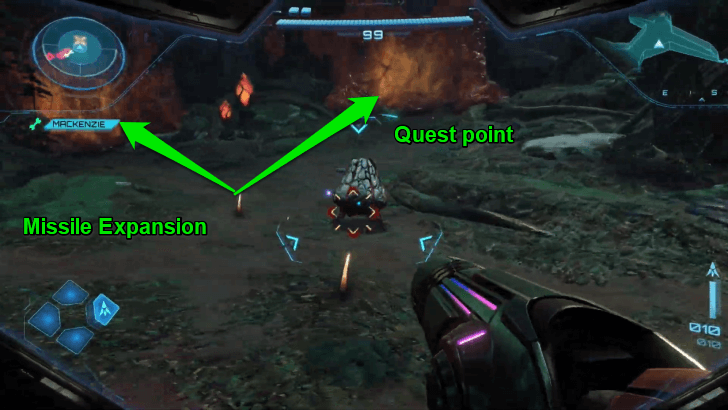 Break Amber South of Save Area Break Amber South of Save AreaHead to the Southern part of the Grove of the Sacred Tree. There are two Viewros Amber walls here: One reveals a Missile Expansion upgrade, and the other leads to your quest destination. Head onward until you reach a sealed door. |
| 3 | 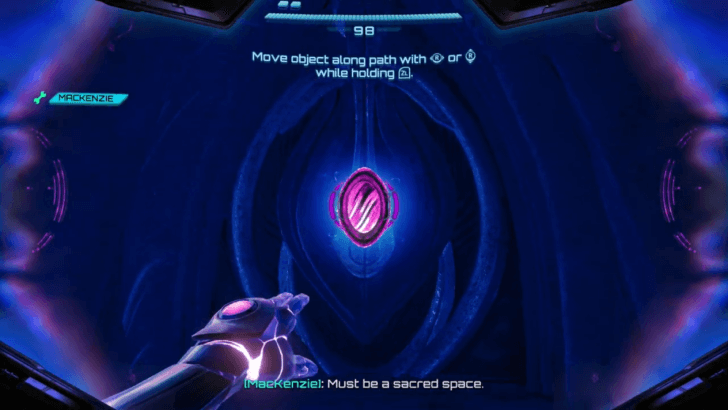 Open Psychic Door and Defeat Ambush Open Psychic Door and Defeat AmbushUse your Psychic Glove to drag the purple PK stone to the center of the door. Pass through the door and watch a cutscene unfold. Defeat all the Jungle Grievers that appear. Remember to keep your distance and use charged shots. |
| 4 | 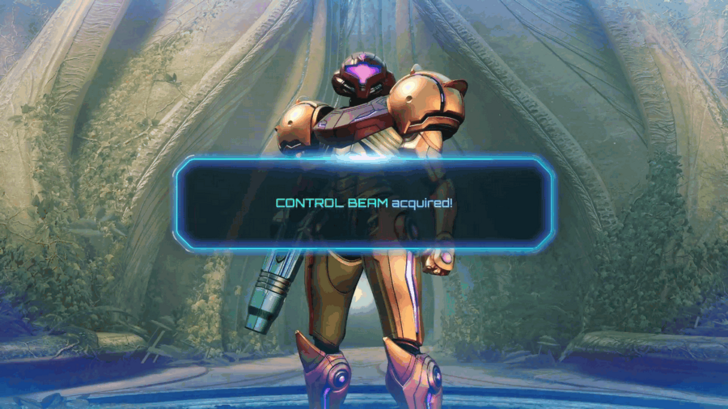 Obtain Control Beam Obtain Control BeamContinue along the bridge and up some steps until you reach a plant-like sculpture. First, use a missile to break rocks on the right side of the room. Then, scan the two Psychic Sensors on both sides of the room. Scanning the Psychic Sensors will reveal two Motes that you can stick into the sculpture. Doing so will reveal the Control Beam. ┗ How to Use Control Beam ▶︎List of All Upgrades and Psychic Abilities |
| 5 |
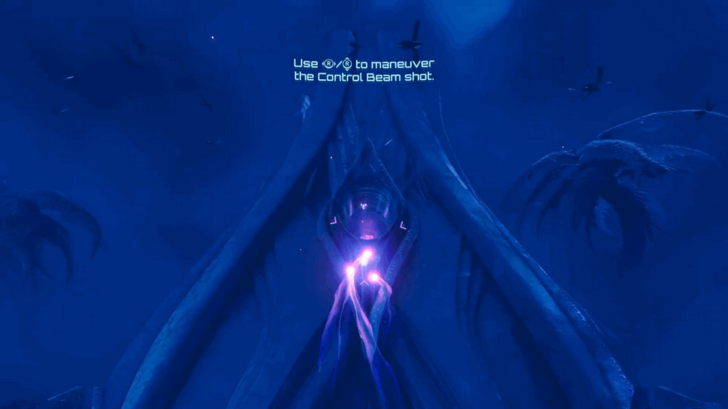 Shoot Control Switch Above Door Shoot Control Switch Above DoorOnce you've acquired the new ability, bring up your Visor, charge up a shot, then release it to fire a Control Beam. Use the right analog stick to control the direction of the beam mid-flight. Allow the beam to fly upward and into the hole above the door, where the switch is. This will open the door that you can enter. |
How to Use Control Beam
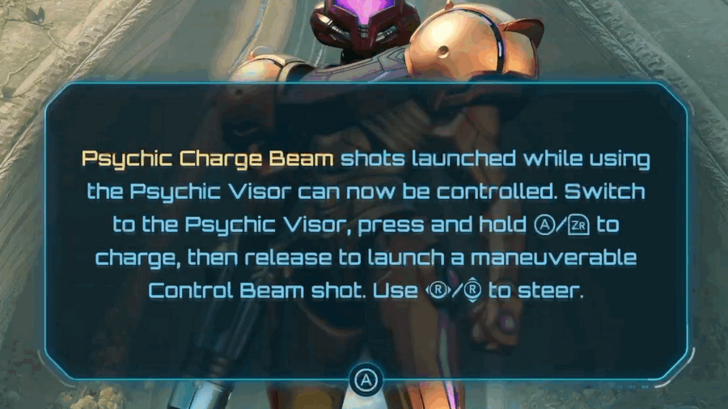
Bring up your Psychic Visor, and hold A or ZR to charge up a shot. Release it to fire a beam that you can control mid-flight with the right analog stick. Use this ability to hit switches that are hidden around corners.
Control Beam How to Unlock and Effects
Defeat Carvex
| Objectives | |
|---|---|
| 1 |
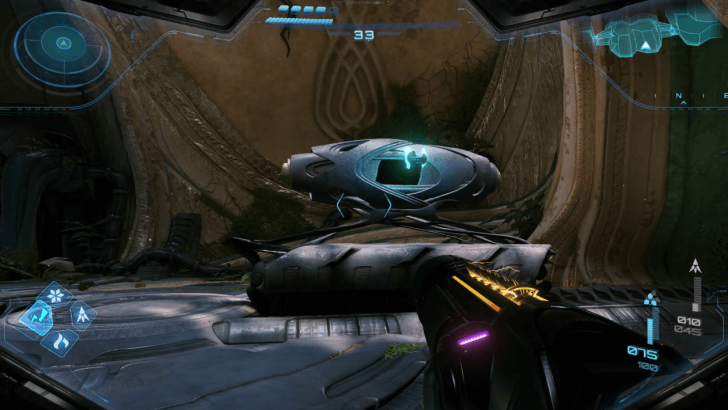
 Interact With Control System Interact With Control SystemContinue onward until you find a room with a control system, which McKenzie will try to operate. Note that there is a Save Point in the connecting room to the west. Interact with the terminal to trigger a cutscene. |
| 2 |
 Fire Control Beam Into Hole in the Wall Fire Control Beam Into Hole in the WallAfter the cutscene, fire a Control Beam into the hole in the wall. Once the beam enters the next room, turn around so the beam hits the back of the locked door. This will open it so you can pass through. Fire a missile at the Viewros Amber inside and then Morph Ball into the gap. |
| 3 |
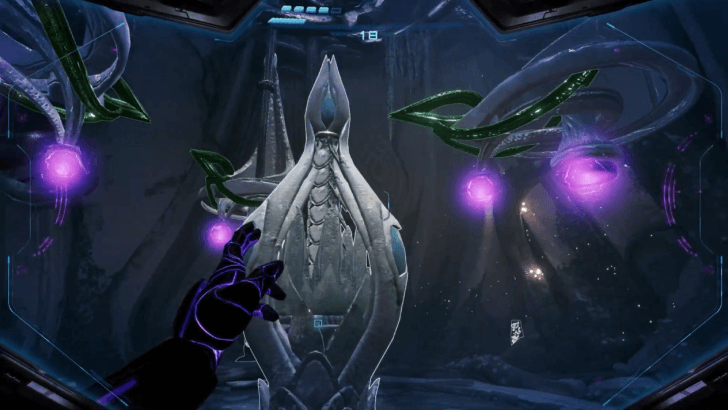
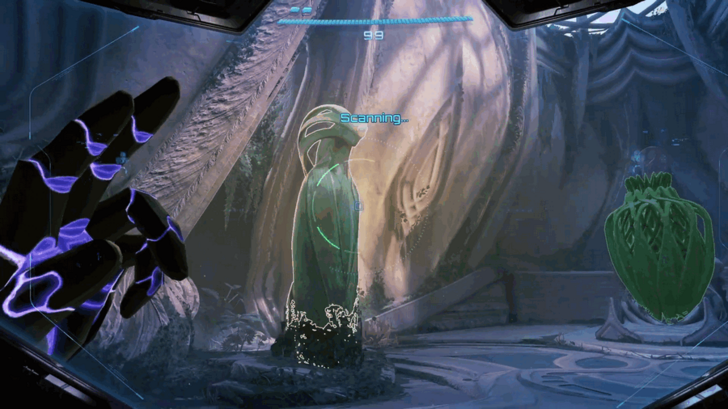 Scan Statue to Trigger Cutscene Scan Statue to Trigger CutsceneYou will enter an area with two statues. Scan one to trigger a cutscene, where you're told you need to obtain Green Energy Crystals. After the cutscene, head into the next room. |
| 4 |
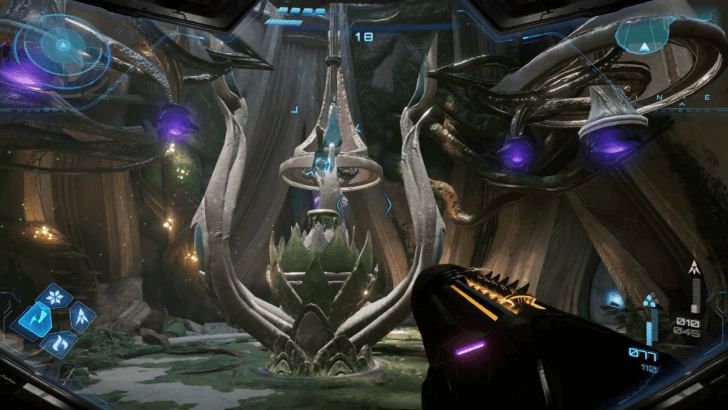
Solve Ceremonial Chamber Puzzle The puzzle in the Ceremonial Chamber can be solved by first stepping onto the platform, which reveals all 3 Control switches. Then, while on the platform, fire your Control Beam and hit all three in one go. Enter through the newly opened door. ▶︎ Ceremonial Chamber Door Puzzle Solution |
| 5 |
 Use Psychic Glove to Open Door Use Psychic Glove to Open DoorUpon reaching the next locked door, use your Psychic Glove to bring the purple crystal to the center of the door, then pass through to finally meet the boss of this area. |
| 6 |
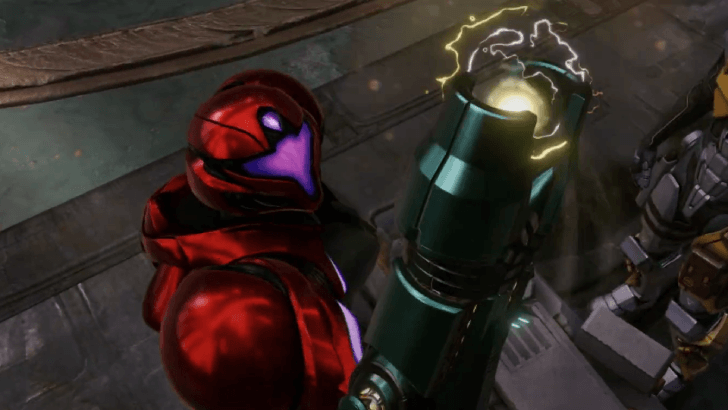
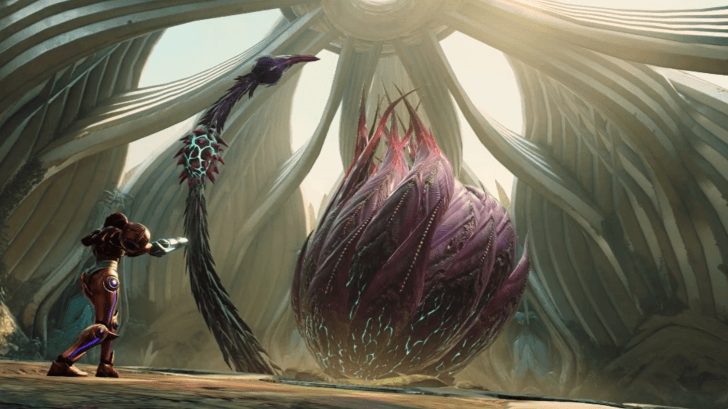
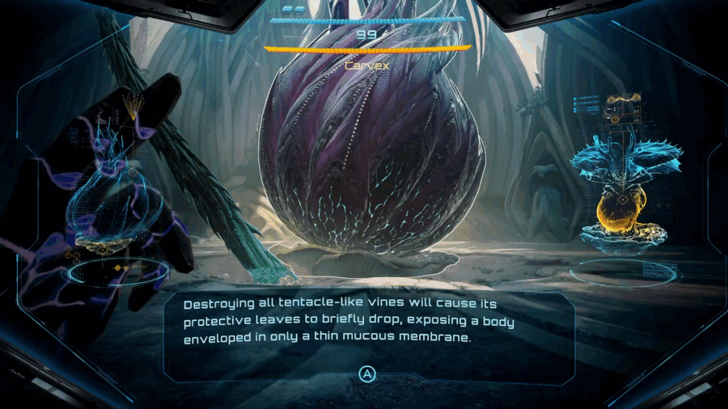 Defeat Carvex Defeat CarvexEnter a cutscene and prepare to fight the boss Carvex. Use Control Beam to destroy all arms at the same time, after you've removed the armor on each arm. When it reveals its body, focus fire on its belly to deal massive damage. Repeat this until it dies. ▶︎ How to Beat Carvex |
| 7 |
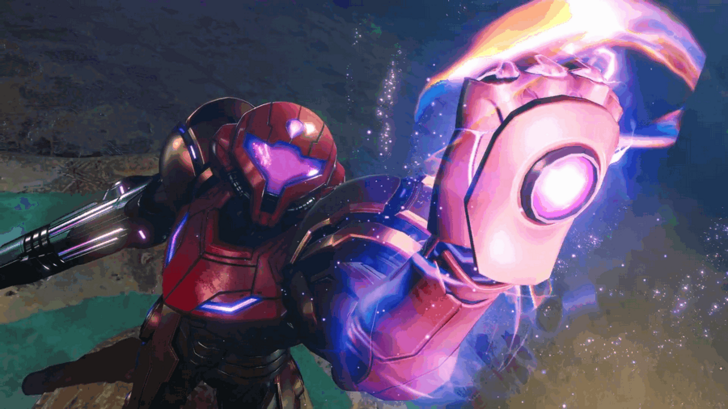
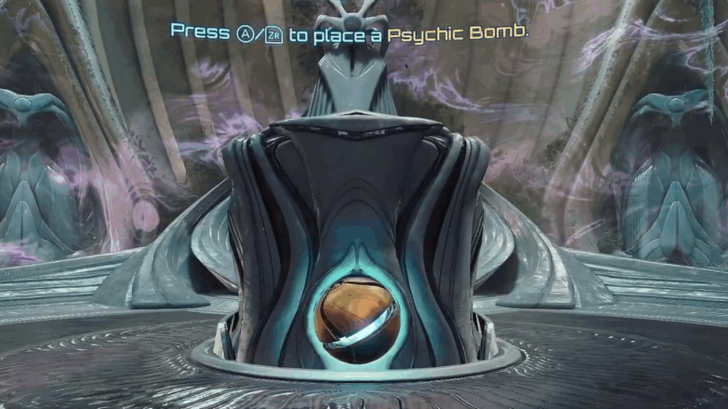 Use Psychic Bomb on Pedestal Use Psychic Bomb on PedestalCarvex drops the Psychic Bomb ability when defeated. Obtain it, turn into a Morph Ball, enter the circle at the base of the pedestal, then plant a bomb there to activate it. ┗ How to Use Psychic Bombs |
| 8 |
 Obtain Master Teleporter Key Obtain Master Teleporter KeyObtain the Master Teleporter Key, and you can now proceed to the next area. Use your newfound ability to return to where McKenzie is. |
How to Use Psychic Bombs

While in Morph Ball mode, press A or ZR to place down bombs. You can use this ability to turn on switches that are circular and close to the ground. If you place a bomb right where you are, you can use it to make short jumps to reach higher ledges. You can also hold the button to launch a bomb into the air.
Psychic Bomb How to Unlock and Effects
Exit Fury Green
| Objectives | |
|---|---|
| 1 |
 Psychic Bomb on Door Psychic Bomb on DoorIn the same room where McKenzie was, use the Psychic Bomb to launch yourself into the air to reach this slot in the door. |
| 2 |
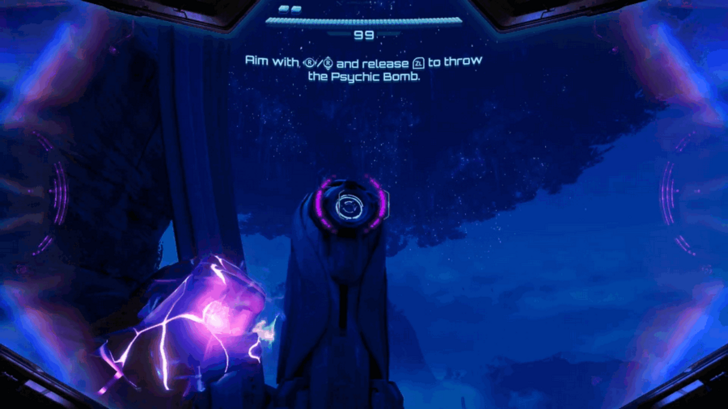 Activate Cargo Launcher. Activate Cargo Launcher.When you reach the Cargo Launcher, you will need to enter Morph Ball mode, hold A / ZR to float a bomb into the air, and then grab the bomb with your Psychic Glove. Finally, throw the bomb into the device that activates the Cargo Launcher, which will bring you to the next area. |
| Next Section: |
|---|
| Volt Forge Walkthrough and Guide |
Fury Green Revisit (Part 1)
| Note: The following walkthrough covers the section of the game after obtaining the Fire Chip from Flare Pool. |
| Fury Green Revisit (Part 1) Main Objectives | |
|---|---|
| 1 | Bring Fire Chip to Base Camp |
Bring Fire Chip to Base Camp
| Objectives | |
|---|---|
| 1 |
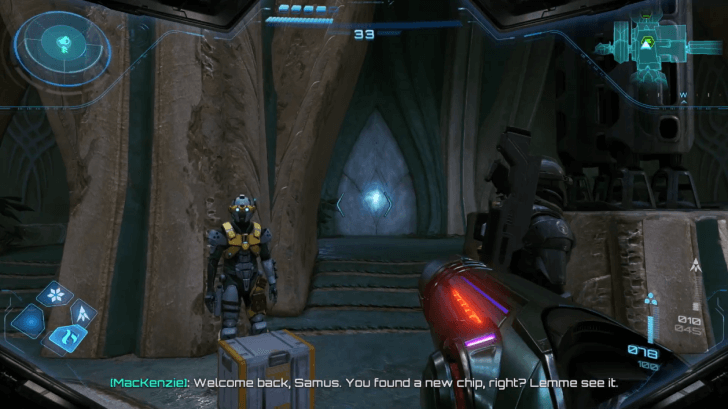
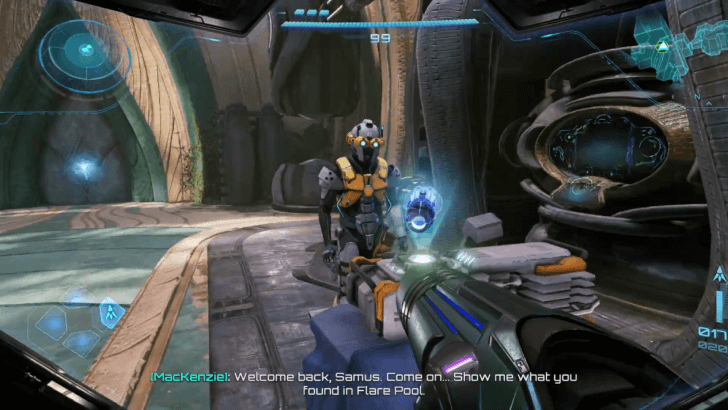 Take the Fire Chip to MacKenzie. Take the Fire Chip to MacKenzie.After obtaining the Fire Chip from Flare Pool, travel back to the Base Camp in Fury Green. Give the Fire Chip to MacKenzie. |
| 2 |
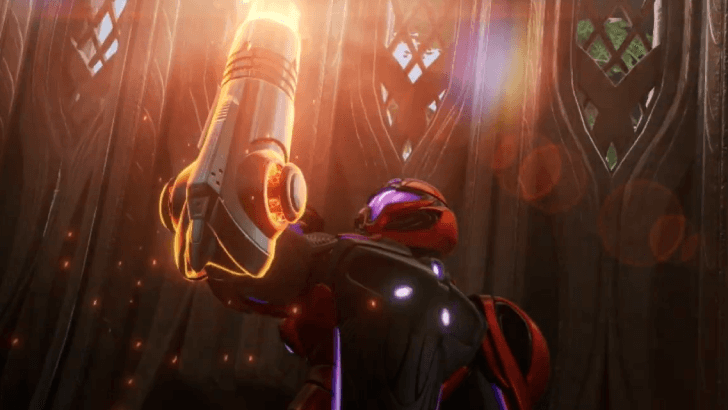 Acquire Fire Shot. Acquire Fire Shot.MacKenzie will tinker around the Fire Chip to make a Fire Shot upgrade. This will let you deal with fire elemental damage to your targets. ▶︎ Fire Shot Effects: Where to Use Fire Chip |
| Next Section: |
|---|
| Ice Belt Walkthrough and Guide |
Fury Green Revisit (Part 2)
| Note: The following walkthrough covers the section of the game after obtaining the Ice Chip from Ice Belt. |
| Fury Green Revisit (Part 2) Main Objectives | |
|---|---|
| 1 | Bring Ice Chip to Base Camp |
| 2 | Get Shot Expansion in Fountain of Tranquility |
Bring Ice Chip to Base Camp
| Objectives | |
|---|---|
| 1 |
 Take the Ice Chip to MacKenzie. Take the Ice Chip to MacKenzie.After obtaining the Ice Chip from Ice Belt, head back to Fury Green and give this to MacKenzie. MacKenzie will tinker around with this to turn this into an upgrade. |
| 2 |
 Acquire Ice Shot. Acquire Ice Shot.MacKenzie will modify the Ice Chip into an Ice Shot. You can now deal with ice elemental damage to your targets. ▶︎ Ice Shot Effects: Where to Use Ice Chip |
Get Shot Expansion in Fountain of Tranquility
| Objectives | |
|---|---|
| 1 |
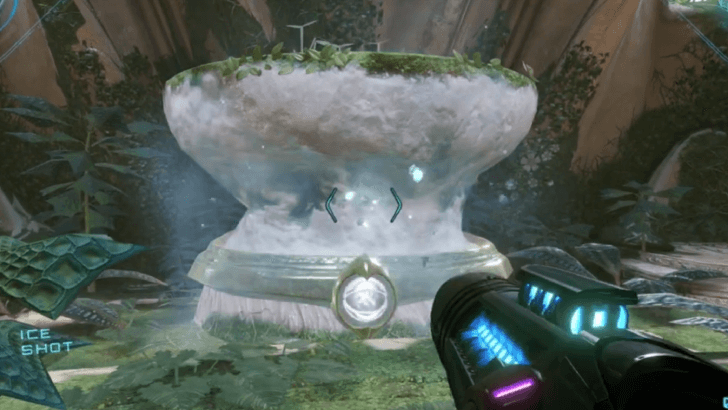 Visit the Fountain of Tranquility. Visit the Fountain of Tranquility.Visit the Fountain of Tranquility area. Look for a platform carried by a fountain. Aim it with Ice Shot to freeze this and take the mote from its socket with the Psychic Glove. ▶︎ Psychic Glove How to Unlock and Effects |
| 2 |
 Climb the Platforms for the Shot Expansion. Climb the Platforms for the Shot Expansion.Aim the mote to the socket on the right to blast a higher fountain. Freeze this with Ice Shot, then jump on the succeeding platforms to get the Shot Expansion on the ceiling. |
| Next Section: |
|---|
| Flare Pool Walkthrough and Guide |
Fury Green Revisit (Part 3)
| Note: The following walkthrough covers the section of the game after obtaining the Thunder Chip from Volt Forge Revisit (Part 2). |
| Fury Green Revisit (Part 3) Main Objectives | |
|---|---|
| 1 | Bring Thunder Chip to Base Camp |
| 2 | Solve Puzzle Areas for Upgrades |
Bring Thunder Chip to Base Camp
| Objectives | |
|---|---|
| 1 |
 Give the Thunder Chip to MacKenzie. Give the Thunder Chip to MacKenzie.After obtaining the Thunder Chip from Volt Forge, bring this to MacKenzie to get a new upgrade. |
| 2 |
 Acquire the Thunder Shot. Acquire the Thunder Shot.Acquire a new weapon upgrade, the Thunder Shot. You can now deal with thunder elemental damage to enemies and objects. ▶︎ Thunder Shot Effects: Where to Use Thunder Chip |
Solve Puzzle Areas for Upgrades
| Objectives | |
|---|---|
| 1 |
 Search for the Lamorn Storage Locker. Search for the Lamorn Storage Locker.There is a Lamorn Storage Locker found inside the Base Camp. Shoot each end with Thunder Shot to take the Shot Expansion inside. |
| 2 |
 Visit the Rods of Transference Area. Visit the Rods of Transference Area.Go to the Rods of Transference room. There will be some movable rods attached above the room. Switch to your Psychic Visor and arrange these rods towards the plant device in the middle of the room. |
| 3 |
 Take Shot Expansion. Take Shot Expansion.Shoot each rod with your Thunder Shot to open the plant device. Take the Shot Expansion in it. |
| 4 |
 Visit the Sacred Flame Ceremony. Visit the Sacred Flame Ceremony.Enter the Sacred Flame Ceremony area. Take the Energy Tank in front of the Lamorn statue. |
| Next Section: |
|---|
| Ice Belt Revisit Walkthrough and Guide |
All Fury Green Bosses
Carvex Boss Fight
| Boss Overview | |
|---|---|
| |
| Map | Fury Green |
| Area | Garden of Remembrance |
| Required Upgrade | Control Beam |
| Weak Point | |
| ・Tendril Node ・Main Body |
|
How to Beat Aberax: Quick Boss Tips
- Break the armor of each tendril node.
- Use Control Beam to hit all exposed nodes.
- Be ready to jump and dodge sweeping attacks
- Destroy summoned enemies
All Fury Green Unlocks
Psychic Glove
The Psychic Glove allows Samus to grab Motes from statues and use them on Mote Sockets to unlock doors.
List of All Upgrades and Psychic Abilities
Missile Launcher

This Missile Launcher returns. Press R to fire heat-seeking missiles at enemies. You start with only 10 max ammo, but get more upgrades along the way.
Missile Launcher How to Unlock and Effects
Control Beam
The Control Beam is a power-up that allows you to fire a beam that you can control mid-flight with the right analog stick. This is used to access switches that are hidden from view.
Control Beam How to Unlock and Effects
Psychic Bomb

While in Morph Ball mode, press A or ZR to place down bombs. You can also use this ability to turn on switches that are circular and close to the ground. If you place a bomb right where you are, you can use it to make short jumps to reach higher ledges. You can also hold the button to launch a bomb into the air.
Psychic Bomb How to Unlock and Effects
Metroid Prime 4: Beyond Related Guides

Complete Story Walkthrough and Guide
All Walkthrough Guides
| Story Walkthrough | |
|---|---|
| Prologue Walkthrough | Fury Green Walkthrough |
| Volt Forge Walkthrough | Ice Belt Walkthrough |
| Flare Pool Walkthrough | Great Mines Walkthrough |
| Chrono Tower Walkthrough | - |
Comment
Author

Fury Green Walkthrough and Guide
Rankings
- We could not find the message board you were looking for.
Gaming News

![The Liar Princess and the Blind Prince Review [PC] | Lovely to Look at but Tedious to Play](https://img.game8.co/4442586/8d95f5faf05780f1765ce7e0938bd825.jpeg/show)
![Monster Hunter Stories 3 Review [First Impressions] | Simply Rejuvenating](https://img.game8.co/4438641/2a31b7702bd70e78ec8efd24661dacda.jpeg/thumb)
![The Seven Deadly Sins: Origin [First Impressions] | A Promising Start](https://img.game8.co/4440581/584e0bfb87908f12c4eab6e846eb1afd.png/thumb)

Popular Games

Genshin Impact Walkthrough & Guides Wiki
Umamusume: Pretty Derby Walkthrough & Guides Wiki
Pokemon Pokopia Walkthrough & Guides Wiki
Honkai: Star Rail Walkthrough & Guides Wiki
Monster Hunter Stories 3: Twisted Reflection Walkthrough & Guides Wiki
Arknights: Endfield Walkthrough & Guides Wiki
Wuthering Waves Walkthrough & Guides Wiki
Zenless Zone Zero Walkthrough & Guides Wiki
Pokemon TCG Pocket (PTCGP) Strategies & Guides Wiki
Monster Hunter Wilds Walkthrough & Guides Wiki


Recommended Games
Diablo 4: Vessel of Hatred Walkthrough & Guides Wiki
Cyberpunk 2077: Ultimate Edition Walkthrough & Guides Wiki
Fire Emblem Heroes (FEH) Walkthrough & Guides Wiki
Yu-Gi-Oh! Master Duel Walkthrough & Guides Wiki
Super Smash Bros. Ultimate Walkthrough & Guides Wiki
Pokemon Brilliant Diamond and Shining Pearl (BDSP) Walkthrough & Guides Wiki
Elden Ring Shadow of the Erdtree Walkthrough & Guides Wiki
Monster Hunter World Walkthrough & Guides Wiki
The Legend of Zelda: Tears of the Kingdom Walkthrough & Guides Wiki
Persona 3 Reload Walkthrough & Guides Wiki


All rights reserved
© Nintendo. Metroid and Nintendo Switch are trademarks of Nintendo.
The copyrights of videos of games used in our content and other intellectual property rights belong to the provider of the game.
The contents we provide on this site were created personally by members of the Game8 editorial department.
We refuse the right to reuse or repost content taken without our permission such as data or images to other sites.