Hospital - Story Walkthrough
☆ The Resident Evil 4 Remake Wiki is now live!
★ Resident Evil 3 Remake 100% Walkthrough Guides
┣ All Records Guide
┣ Story Walkthrough
┣ List of Nemesis Battle Walkthroughs
┗ Location of Mr. Charlie Dolls

This walkthrough will take you through the Hospital area of Resident Evil 3 Remake (RE3 Remake). For tips and strategies, as well as a list of items and Mr. Charlie Dolls that can be found, read on.
| Prev Walkthrough | Next Walkthrough |
|---|---|
| ◀ Subway Tunnel to Clock Tower | Underground Storage ▶︎ |
List of Contents
Hospital - Walkthrough
Hospital - Walkthrough
| Hospital 1F |
|---|
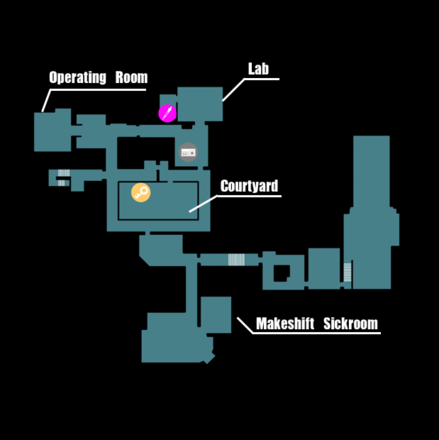 Enlarge Enlarge |
| Hospital 2F |
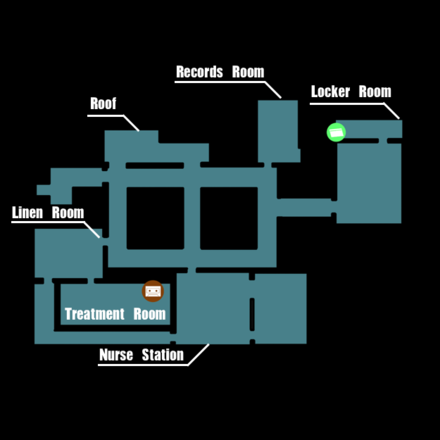 Enlarge Enlarge |
| Clear Time: 60 minutes | |
|---|---|
| 1 | Find the Cure for Jill in the Hospital. |
| 2 | Obtain the Tape Player in the Laboratory Reception. |
| 3 | Go to the 2nd Floor and drop down to the Courtyard. |
| 4 | Get the Key on the Courtyard and go back to the 2nd Floor. |
| 5 | Find the Hospital ID Card in the lockers beside the Staff Room. |
| 6 | Go to the Nurse Station and use the Hospital ID Card. |
| 7 | Get the Tape and combine it with the Cassette Player. |
| 8 | Enter the locked door in the Lab Reception. |
| 9 | Get the Vaccine. |
| 10 | Deliver the Vacine to Jill. |
| 11 | Defend Jill from the zombies. |
| 12 | Destroy the Pillar. |
| 13 | Get the G18 Handgun on the desk. |
| 14 | Go to the 2nd Floor and jump down the couryard. |
| 15 | Get the Magnum inside the large box. |
| 16 | Go back to the Reception and lock pick the door. |
| 17 | Go to the Underground Strage |
Dealing with Enemies
 Game8 Team Game8 Team |
Use Hand Grenades and Flashbangs to efficiently deal with groups of zombies and Hunter Betas. This can help you get rid of the enemies faster by stunning them or instantly killing them. |
|---|
Things to Do in the Hospital
Get the Tape Player
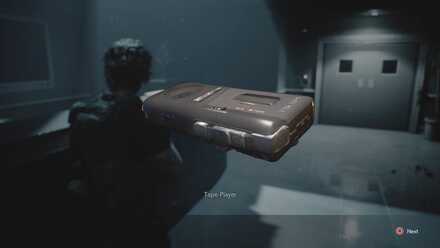
You can find the Cassette Player near the entrance of the Hospital. This is a key item that you will need to proceed in the game.
Get the Key
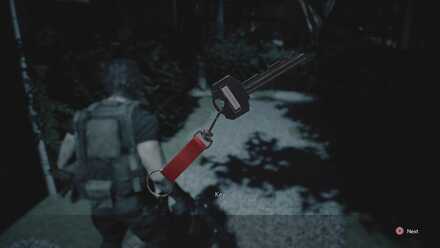
You can find the Key in the Courtyard after dropping down from the second floor.
Get the Hospital ID
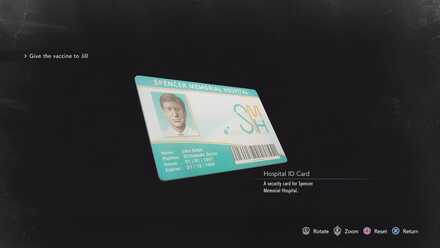
Get the Hospital ID Card inside the lockers, north of the Nurse Station on the 2nd Floor.
Get the Assault Rifle Upgrades
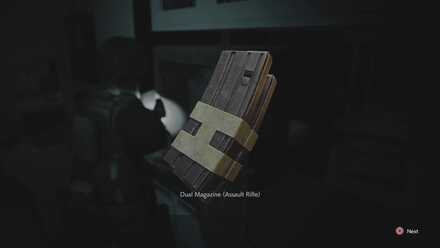
You can get two upgrades for your Assault Rifle in this area: Improved Grip and Dual Magazine. You can find the Tactical Grip in the Courtyard, near the Key. Dual Magazine can be obtained from the vault in the Nurse Station by entering 9 (clockwise) then 3 (counter-clockwise).
Get the Tape
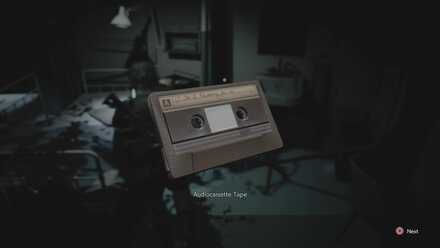
You can get the tape inside the Linen Room on the 2nd Floor. You will have to fight two Hunter Betas in this location.
Get the Vaccine
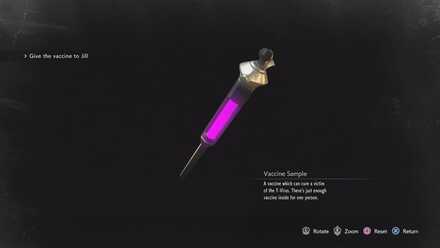
After the cutscene with the computer inside the voice activated room, you will be able to find the Vaccine on the cabinet.
Get the Hip Pouch
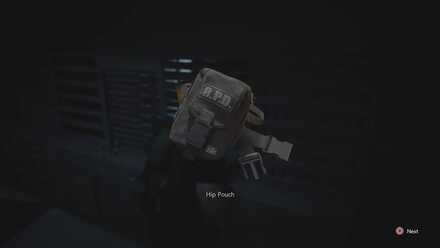
While defending Jill, the door behind the reception will open and a Hunter Beta will come out. Defeat the Hunter Beta and pick up the Hip Pouch inside the room.
Get the Detonator
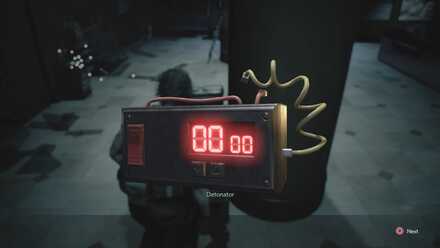
Pick up the Detonator beside the pillar. This will be used to detonate the C4 and collapse the ceiling to kill the remaining zombies.
Get the .44 AE Lightning Hawk
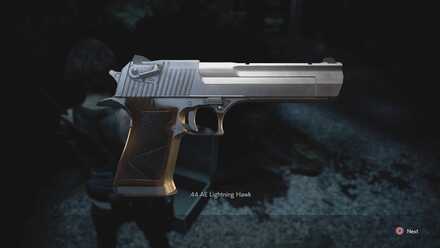
You can get the Magnum over at the courtyard by jumping down the 2nd Floor Window. This window can only be accessed by Jill. This window can be located behind a obstacle with a small opening that only Jill can go through.
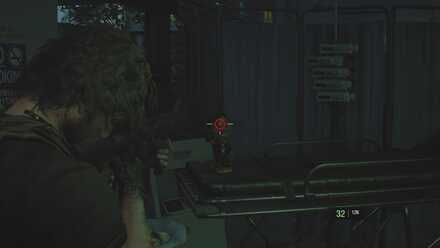
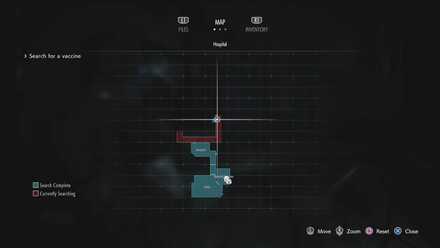
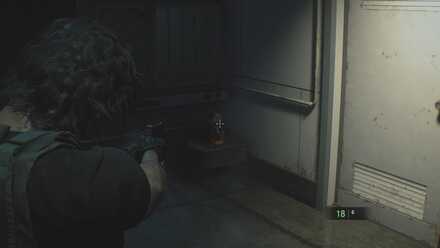
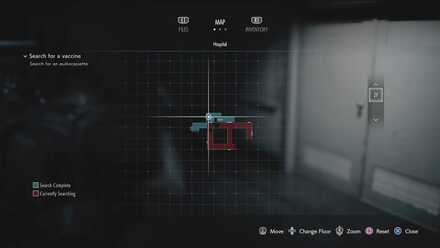
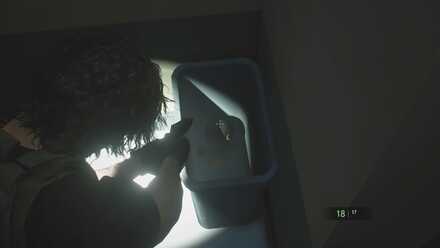
Location of Mr. Charlie Dolls in the Hospital
| Location | Map |
|---|---|
 Enlarge Enlarge |
 Enlarge Enlarge |
| ★ Location: On top of the bed in the 1F Hallway. | |
| Location | Map |
 Enlarge Enlarge |
 Enlarge Enlarge |
| ★ Location: Beside the big door at the Roof. | |
| Location | Map |
 Enlarge Enlarge |
 Enlarge Enlarge |
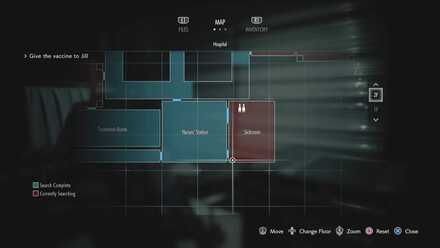
| ★ Location: Inside the trash can behind the door in the Sick Room. | |
Location of All Mr. Charlie Dolls
Available Items and Trophies in the Hospital
List of Available Items
| Item | Location |
|---|---|
| TBD | TBD |
Enemies in the Hospital
How to Beat Hunter Beta
| Hunter Beta | |
|---|---|
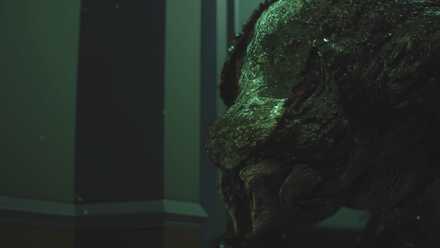 |
Location: Hospital |
| Recommended Weapon: Assault Rifle |
|
Related Links
| Prev Walkthrough | Next Walkthrough |
|---|---|
| ◀ Police Station ~ Clock Tower | Underground Storage ▶︎ |
| No. | Walkthrough Section | Clear Time |
|---|---|---|
| ① | Opening | 15 minutes |
| ② | Downtown | 20 minutes |
| ③ | Substation ~ Subway Office | 40 minutes |
| ④ | Sewers ~ Subway | 40 minutes |
| ⑤ | Police Station | 30 minutes |
| ⑥ | Subway Tunnel ~ Clock Tower | 15 minutes |
| ⑦ | Hospital | 70 minutes |
| ⑧ | Underground Storage | 25 minutes |
| ⑨ | Nest 2 | 40 minutes |
| ★ | 100% Walkthrough After Clearing Story | |
Comment
It's also kinda confusing when I got there. And when I got the place memorized, those hunter betas showed.
Author
Hospital - Story Walkthrough
improvement survey
03/2026
improving Game8's site?

Your answers will help us to improve our website.
Note: Please be sure not to enter any kind of personal information into your response.

We hope you continue to make use of Game8.
Rankings
- We could not find the message board you were looking for.
Gaming News
Popular Games

Genshin Impact Walkthrough & Guides Wiki

Honkai: Star Rail Walkthrough & Guides Wiki

Umamusume: Pretty Derby Walkthrough & Guides Wiki

Pokemon Pokopia Walkthrough & Guides Wiki

Resident Evil Requiem (RE9) Walkthrough & Guides Wiki

Monster Hunter Wilds Walkthrough & Guides Wiki

Wuthering Waves Walkthrough & Guides Wiki

Arknights: Endfield Walkthrough & Guides Wiki

Pokemon FireRed and LeafGreen (FRLG) Walkthrough & Guides Wiki

Pokemon TCG Pocket (PTCGP) Strategies & Guides Wiki
Recommended Games

Diablo 4: Vessel of Hatred Walkthrough & Guides Wiki

Cyberpunk 2077: Ultimate Edition Walkthrough & Guides Wiki

Fire Emblem Heroes (FEH) Walkthrough & Guides Wiki

Yu-Gi-Oh! Master Duel Walkthrough & Guides Wiki

Super Smash Bros. Ultimate Walkthrough & Guides Wiki

Pokemon Brilliant Diamond and Shining Pearl (BDSP) Walkthrough & Guides Wiki

Elden Ring Shadow of the Erdtree Walkthrough & Guides Wiki

Monster Hunter World Walkthrough & Guides Wiki

The Legend of Zelda: Tears of the Kingdom Walkthrough & Guides Wiki

Persona 3 Reload Walkthrough & Guides Wiki
All rights reserved
©CAPCOM CO., LTD. 1999, 2020 ALL RIGHTS RESERVED.
The copyrights of videos of games used in our content and other intellectual property rights belong to the provider of the game.
The contents we provide on this site were created personally by members of the Game8 editorial department.
We refuse the right to reuse or repost content taken without our permission such as data or images to other sites.


![Monster Hunter Stories 3 Review [First Impressions] | Simply Rejuvenating](https://img.game8.co/4438641/2a31b7702bd70e78ec8efd24661dacda.jpeg/thumb)


They're just serving the desert before they bring the main dish lol. I'm talking about the defend your position with Carlos in the hospital.