Walkthrough Part 5: Dragonlord's Castle and Final Boss
This is a walkthrough guide for the Dragonlord's Castle and final boss of Dragon Quest 1 HD-2D Remake (DQ1). Read on for a full walkthrough guide to each area, including all enemies and bosses, sparkly spot locations, secret spots, and mini medal locations!
| ◀ Previous Guide | Next Guide ▶︎ |
|---|---|
| Preparations Before the Final Dungeon | List of All Endings |
List of Contents
 Attention! Attention! |
This page contains major spoliers for Dragon Quest 1 HD-2D Remake! Continue reading on at your own risk. |
|---|
Dragonlord's Castle and Final Boss Walkthrough Guide
Dragonlord's Castle
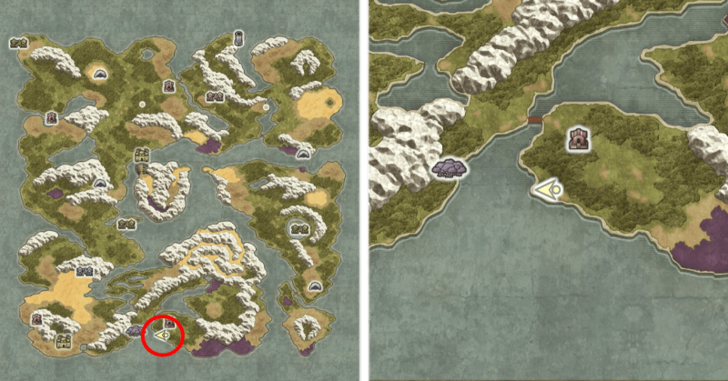
| 1 | 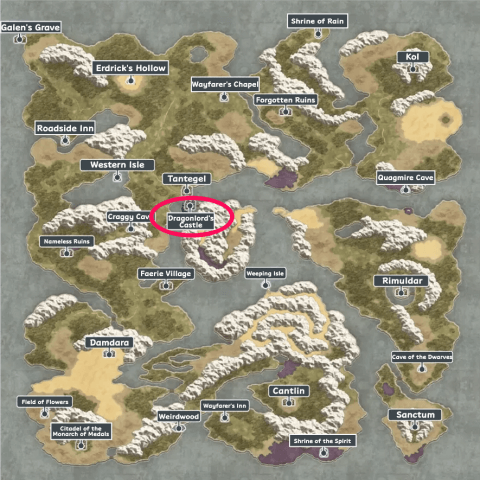 Teleport to Rimuldar and head northwest until you reach a small area that's close to the island where the Dragonlord's Castle is. After a short cutscene, you will now be able to cross to the island to reach the castle. |
|---|---|
| 2 | When you're ready, head inside the Dragonlord's Castle to face the final dungeon of the game. If you're feeling weak, it's recommended to take some time to farm enemies at the entrance, especially Liquid Metal Slimes, so you can level up a bit. ▶︎ Dragonlord’s Castle Dungeon Guide |
| 3 | 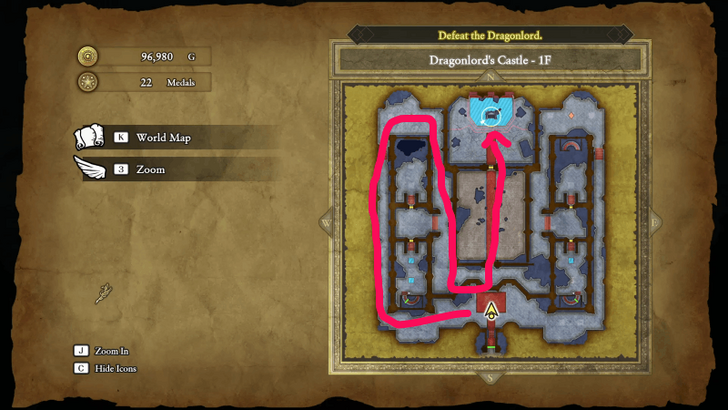 Head through the left side of the dungeon and make your way around to the throne room at the back. To open the way forward, head around to the back of the throne and inspect it to open up a hidden passageway. Also, as a note, make sure that you're wearing Erdrick's Armour for this part of the dungeon so that you don't take damage from the floor tiles. |
| 4 | 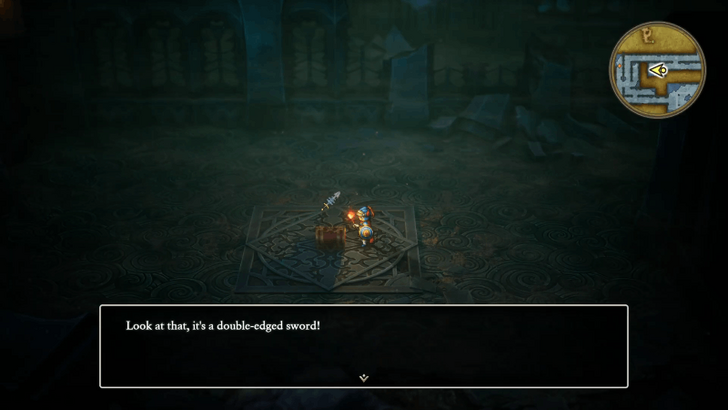 Continue exploring the dungeon and picking up any treasures you find until you reach B4. When you arrive here, make sure to go through the two staircases in the center for some of the most important items in the dungeon. |
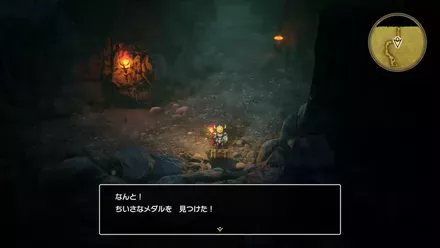
| 5 | 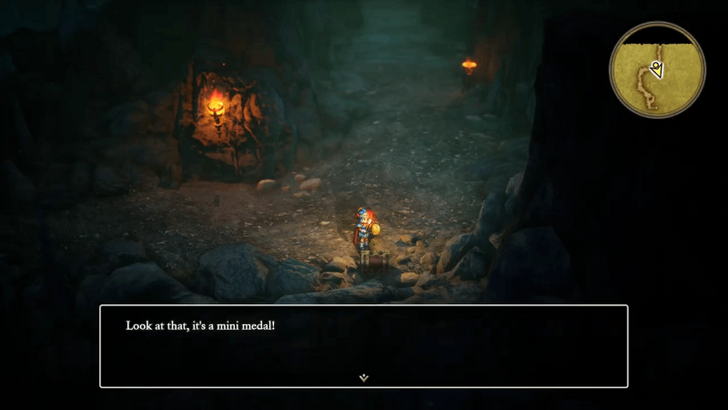 Start by going through the right staircase, which will lead you to an area with the Mini Medal. Once you've got it, make sure to exit back through the south exit, since taking the north exit will lead you to an infinite loop. ▶︎ All 40 Mini Medal Locations and Rewards |
| 6 | 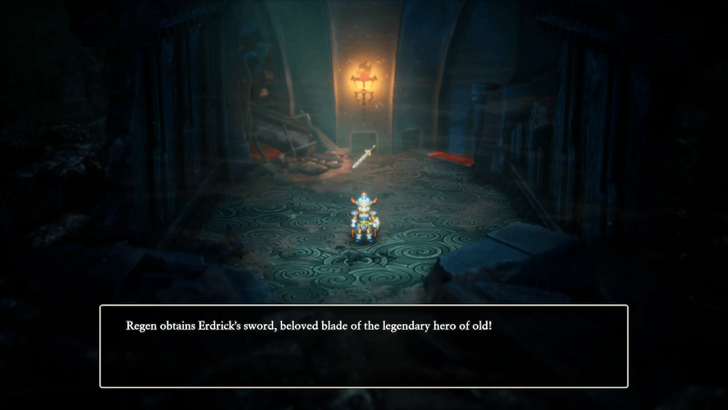 Next, take the left staircase and follow the path until you reach B1. At the end, you will see a sword stuck in the ground, and interacting with it will grant you Erdrick's Sword. This lets you complete Erdrick's Equipment Set, and equipping all 5 pieces will change the Hero's appearance. However, as a note, it's still recommended to use the Duplic Hat instead of the full Erdrick's set. ▶︎ Best Weapons and Armor |
| 7 | 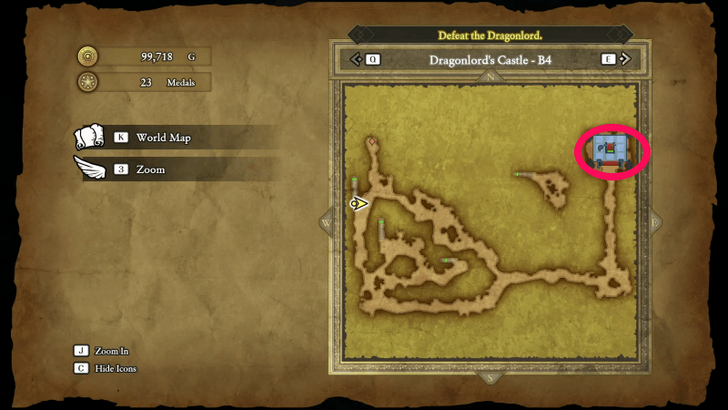 Once you've gotten the Sword, head back to B4 and make your way down the top right staircase to continue through the dungeon. |
| 8 | 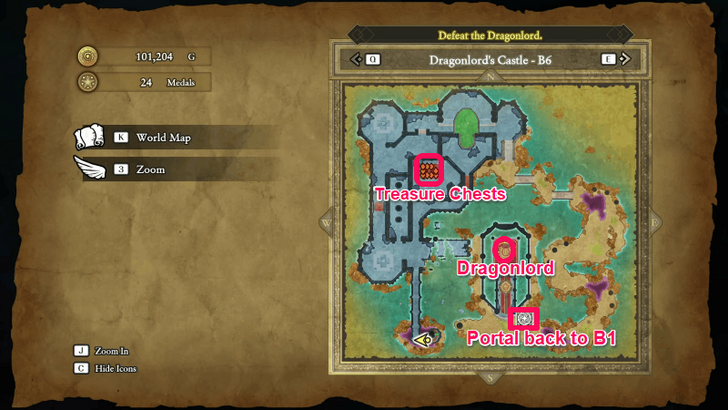 Make your way down to B6, while picking up any items you come across, and step through the teleportal before the final boss. This will open up a shortcut to the entrance of the dungeon, allowing you to freely leave the dungeon or return to the final boss as you please. |
| 9 | 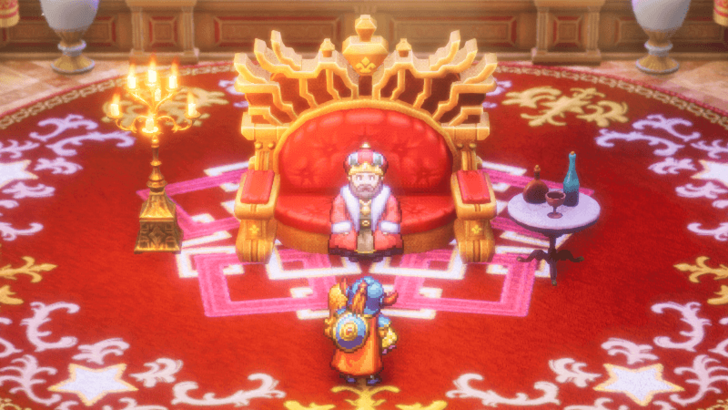 Before facing the final boss, it's recommended to tie up any loose ends first. Leave the dungeon and pick up any Scrolls or Mini Medals, as well as visit Secret and Sparkly Spots, that you may have missed. |
| 10 | Also, if you need to farm EXP, it's recommended to do so in the Dragonlord's Castle B6, since Liquid Metal Slimes have a higher chance of spawning here. ▶︎ EXP Farm: How to Level Up Fast |
| 11 |  Rest at an inn and make a save before heading back down to B6 of the Dragonlord's Castle. When you're ready, approach the end of the hall to face the final boss, the Dragonlord. |
| 12 | 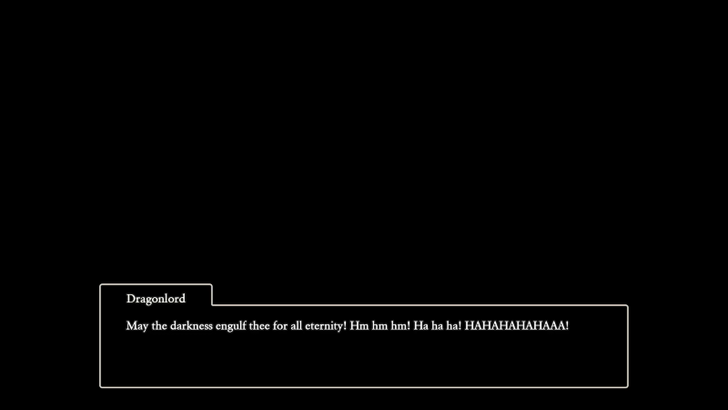 If you're aiming to complete all achievements, it's recommended to accept the Dragonlord's offer to experience the bad ending and unlock the respective trophy. You don't have to worry about anything bad happening since you'll just respawn at an inn afterwards. ▶︎ Trophy Guide: How to Get Platinum |
| 13 |  After getting the trophy, you can now deny his offer to finally face him in battle. You'll want to equip as much fire-resistant gear as possible, and make sure to preserve MP for the second phase of the fight. ▶︎ How to Beat the Dragonlord |
| 14 | 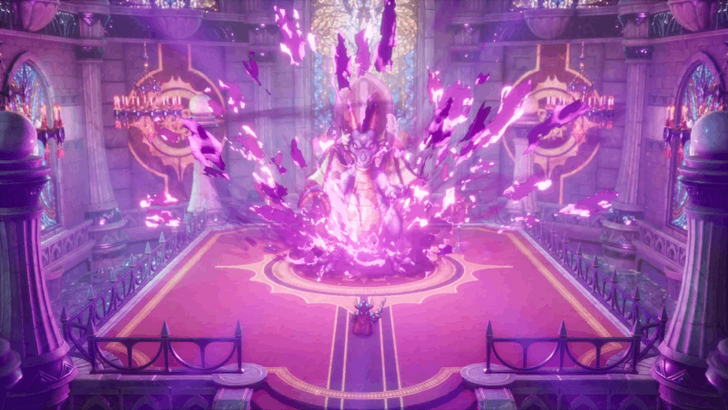 Once you've defeated his initial form, phase 2 will start, and you'll now need to take down his dragon form. This is the final fight of the game, so make sure to use everything that you've got! |
| 15 | With the Dragonlord gone, you have successfully saved the world! Before going back to Tantegel, it's recommended to visit other areas in the game, like Damdara or the Shrine of Rain, to listen to the new dialogue from NPCs. |
| 16 | 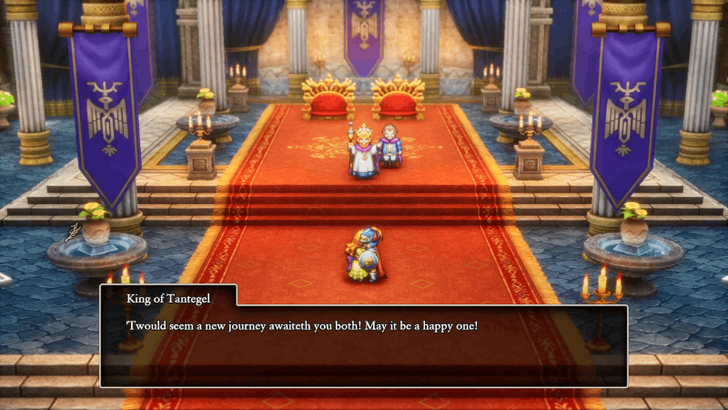 If you're satisfied with listening to the new NPC conversations, head back to Tantegel and talk to the king to beat the game. With that being said, you're now free to either reload your completed save and return to Tantegel, or move on to this game's sequel, Dragon Quest 2! ▶︎ Is There Post-Game Content? |
Encounterable Enemies and Bosses
Enemies
 Dragon Zombie Dragon Zombie
|
 Skeleton Swordsman Skeleton Swordsman
|
 Chasmonaught Chasmonaught
|
 Treevil Treevil
|
 Great Troll Great Troll
|
 One-Man Army One-Man Army
|
 Eyelasher Eyelasher
|
List of All Monsters and Enemies
Dragonlord
 Dragonlord Dragonlord |
|
| Recommended Level | Boss HP |
|---|---|
| Level 40 | ~3200 |
The Duplic Hat doubles your spell casts, making it a game-changer here. Kazap is the most effective spell against Dragonlord's first form, so make full use of it while your MP lasts.
Dragonlord's True Form
 Dragonlord's True Form Dragonlord's True Form |
|
| Recommended Level | Boss HP |
|---|---|
| Level 40 | ~4800 |
Once the second form appears, Dragonlord becomes resistant to Kazap, so magic’s off the table. Instead, use the Wild Side + Dragon Slash combo (or its souped up version, Double Dragon Slash) for multiple attacks per turn, Dragonlord is especially weak to this combo since he is a dragon type enemy.
How to Beat Dragonlord's True Form
All Sparkly Spot Locations
| Location | Rewards |
|---|---|
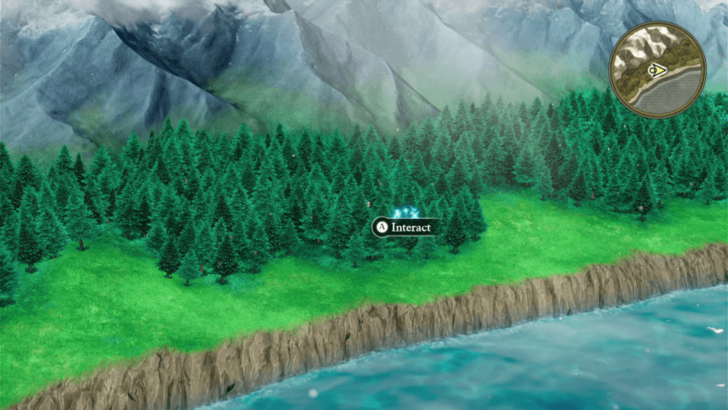
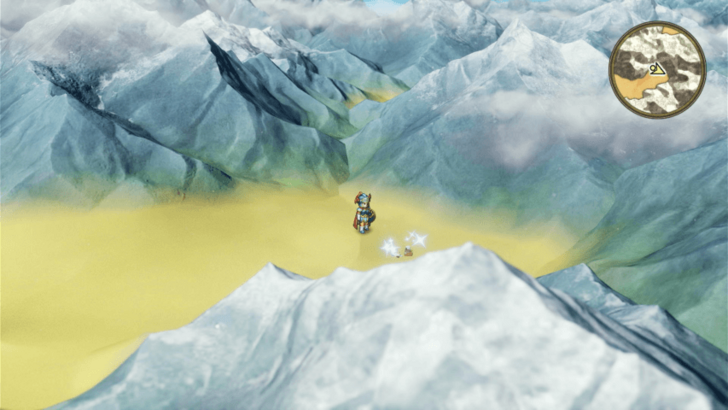
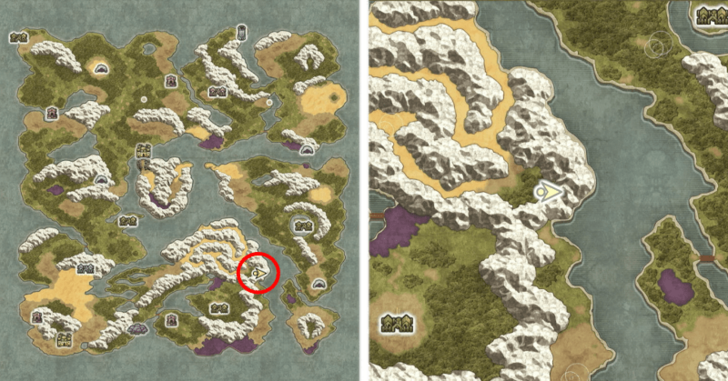
  Found in a bunch of trees just south of the Wayfarer's Inn. |
• Antidotal Herb x1 • Dazzle-me-not x1 • Medicinal Herb x2 |
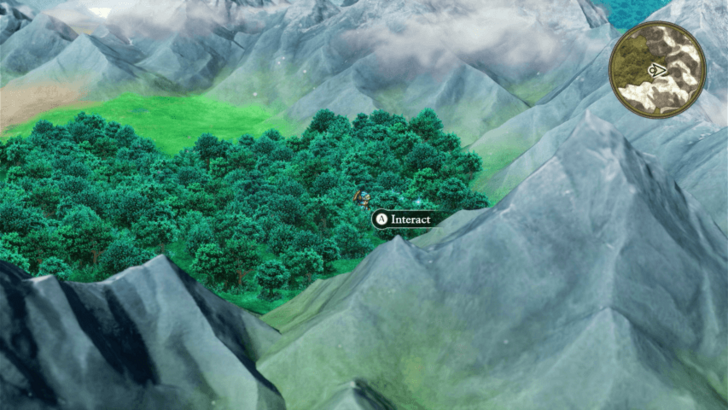
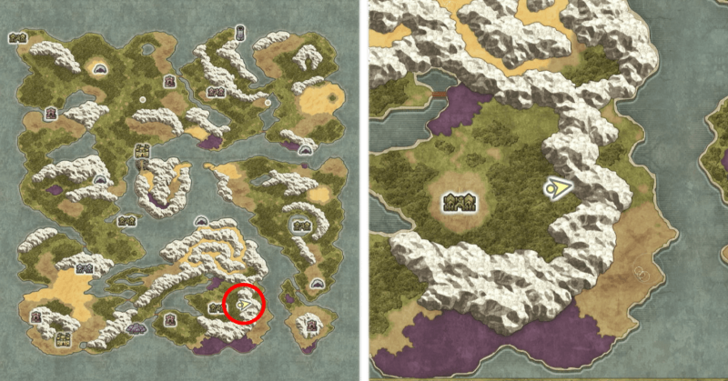
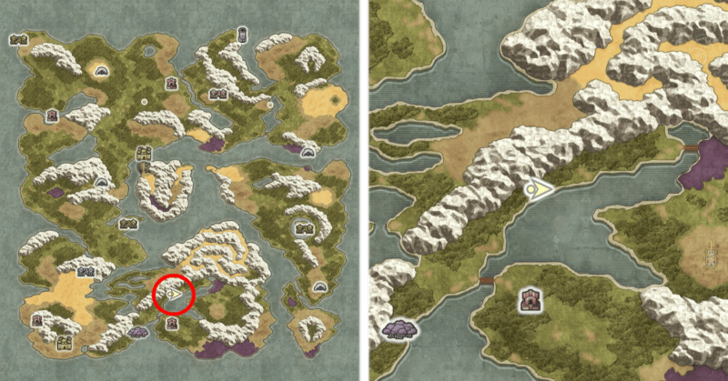  Found in a bunch of trees between a mountain and the ocean just north of the Wayfarer's Inn. |
• Strong Medicine x1 • Seed of Defence x1 |
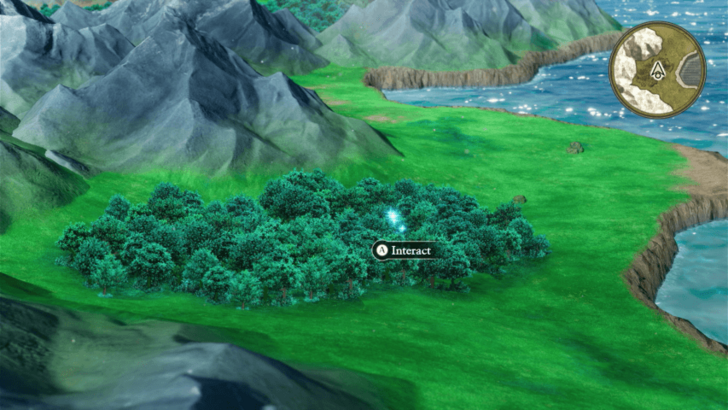
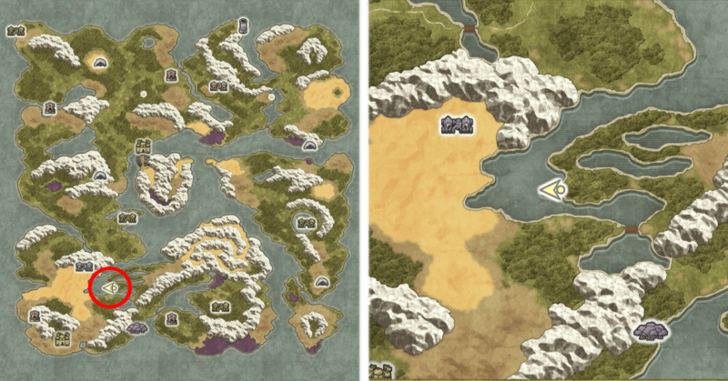
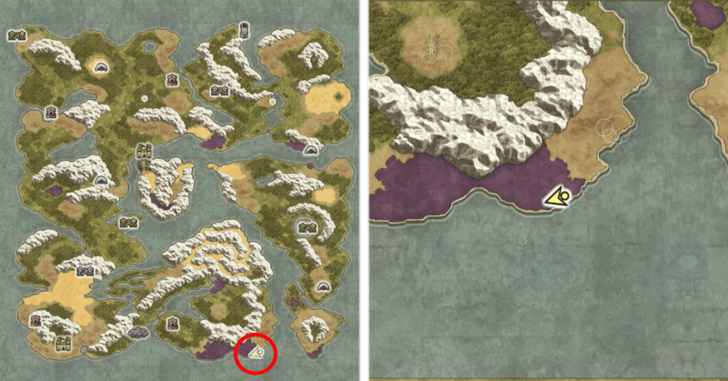 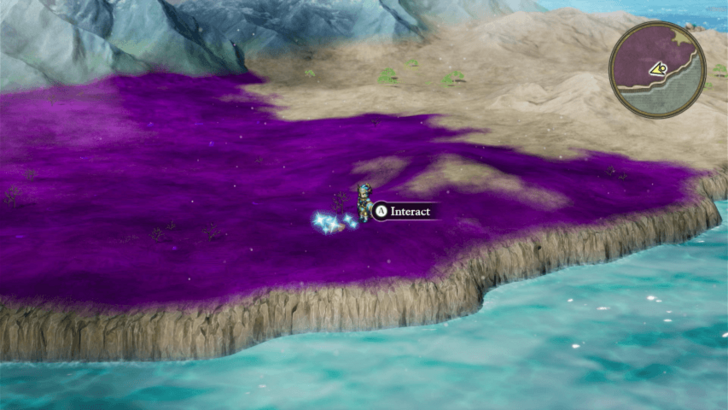 Found on the poisonous ground southeast of Cantlin. |
• Hextract x1 • Seed of Strength x1 • Dieamend x1 |
  Found northeast of Cantlin in a patch of trees near a mountain. |
• Prayer Ring x1 • Anti-freeze Earrings x1 |
  Found in a bunch of trees near the shore just southeast of Damdara. You need to fix the broken bridge first to access the area. |
• Antidotal Herb x3 • Jeeper Creeper x2 • Dieamend x1 |
  Found on the sandy area near the mountain just north of Cantlin. You need to fix the broken bridge first to access the area. |
• Magic Water x1 • Chimaera Wing x1 |
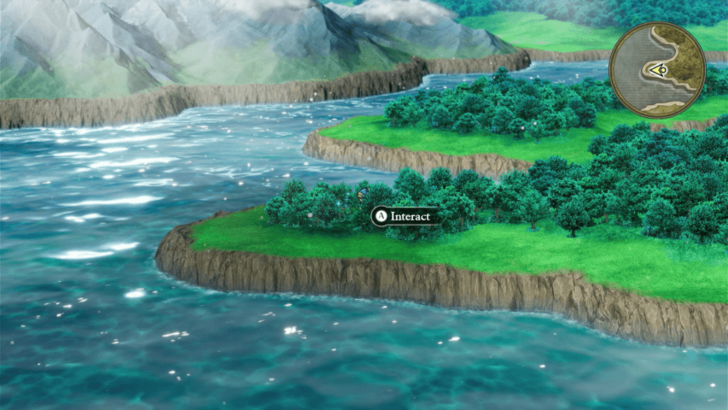
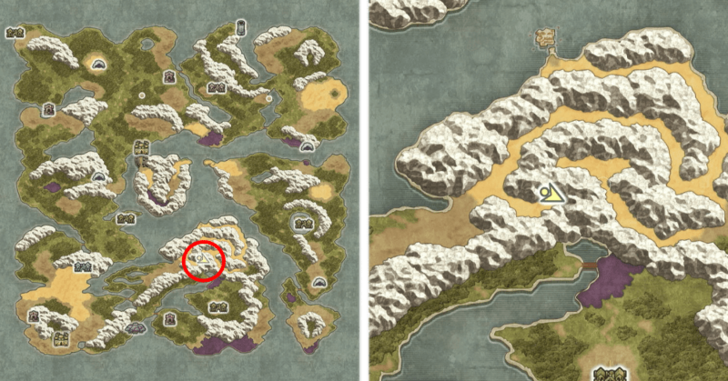
  Found in a bunch of trees in the mountainous area southeast of Weeping Isle. |
• Slippery Sap x2 • Two-leaf Clover x1 • Jeeper Creeper x1 |
  Found in the trees just east of Cantlin. |
• Gold x613 • Light Shield x1 • Edged Boomerang x1 |
Here is a list of all known Sparkly Spot locations you can find during this part of the walkthrough. We’re still looking for more, so check back soon for updates!
All Secret Spot Locations
| There are no Secret Spots available for this part of the walkthrough. |
All Mini Medal Locations
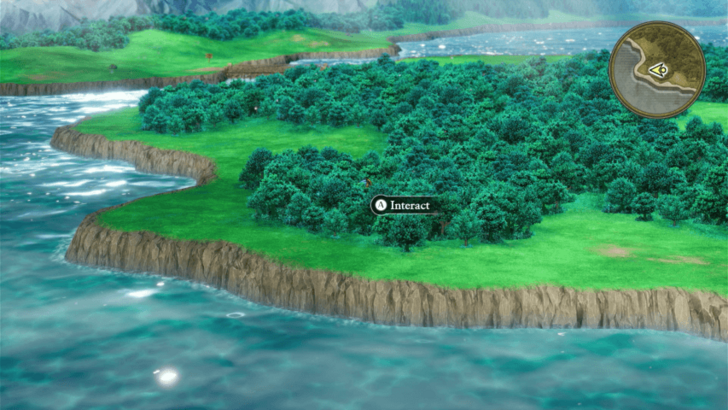
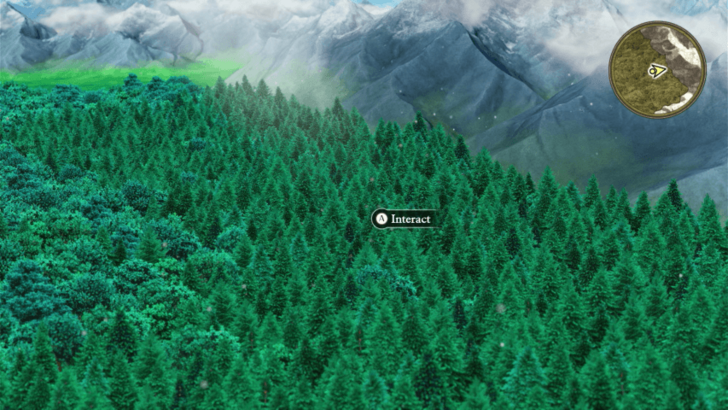
| Map Image | World Image |
|---|---|
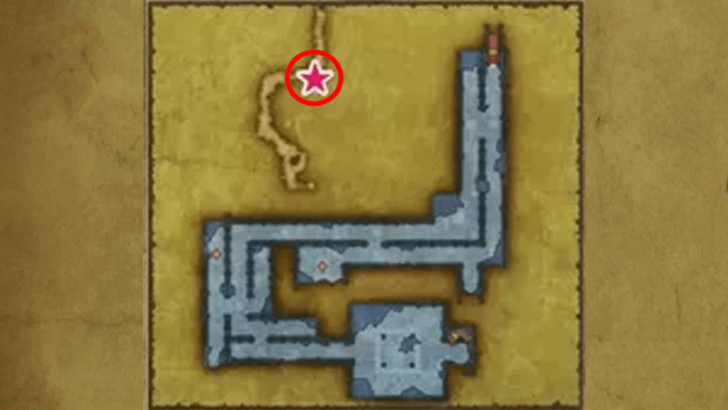 |
 |
Here is a list of all known Mini Medal locations you can find during this part of the walkthrough.
All Mini Medal Locations and Rewards
Dragon Quest I & II HD-2D Remake Related Guides
List of All Story Walkthroughs
| 1 | Tantegel Castle to Craggy Cave |
|---|---|
| 2 | Quagmire Cave to Green Dragon Boss Fight |
| 3 | Weirdwood to Weeping Isle |
| 4 | Preparations Before the Final Dungeon |
| 5 | Dragonlord's Castle and Final Boss |
| 6 | List of All Endings |
Comment
Author

Walkthrough Part 5: Dragonlord's Castle and Final Boss
Rankings
- We could not find the message board you were looking for.
Gaming News

![Death Stranding 2: On The Beach [PC] Review | A Port That Delivers](https://img.game8.co/4447392/15310a0c9aa1b6843bb713b2ea216930.jpeg/show)


Popular Games

Genshin Impact Walkthrough & Guides Wiki
Umamusume: Pretty Derby Walkthrough & Guides Wiki
Crimson Desert Walkthrough & Guides Wiki
Monster Hunter Stories 3: Twisted Reflection Walkthrough & Guides Wiki
Honkai: Star Rail Walkthrough & Guides Wiki
Pokemon Pokopia Walkthrough & Guides Wiki
The Seven Deadly Sins: Origin Walkthrough & Guides Wiki
Wuthering Waves Walkthrough & Guides Wiki
Zenless Zone Zero Walkthrough & Guides Wiki
Arknights: Endfield Walkthrough & Guides Wiki


Recommended Games
Fire Emblem Heroes (FEH) Walkthrough & Guides Wiki
Diablo 4: Vessel of Hatred Walkthrough & Guides Wiki
Cyberpunk 2077: Ultimate Edition Walkthrough & Guides Wiki
Yu-Gi-Oh! Master Duel Walkthrough & Guides Wiki
Super Smash Bros. Ultimate Walkthrough & Guides Wiki
Pokemon Brilliant Diamond and Shining Pearl (BDSP) Walkthrough & Guides Wiki
Elden Ring Shadow of the Erdtree Walkthrough & Guides Wiki
Monster Hunter World Walkthrough & Guides Wiki
The Legend of Zelda: Tears of the Kingdom Walkthrough & Guides Wiki
Persona 3 Reload Walkthrough & Guides Wiki


All rights reserved
© ARMOR PROJECT/BIRD STUDIO/SPIKE CHUNSOFT/SQUARE ENIX
© SUGIYAMA KOBO ℗ SUGIYAMA KOBO
The copyrights of videos of games used in our content and other intellectual property rights belong to the provider of the game.
The contents we provide on this site were created personally by members of the Game8 editorial department.
We refuse the right to reuse or repost content taken without our permission such as data or images to other sites.