Final Boss Guide: How to Beat the Dragonlord
Dragonlord is the final boss in Dragon Quest 1 HD-2D Remake (DQ1). Read on to learn how to beat the Dragonlord, and see an overview of its stats, skills, as well as the best equipment to wear during battle!
 Attention! Attention! |
This page contains major spoliers for Dragon Quest 1 HD-2D Remake! Continue reading on at your own risk. |
|---|
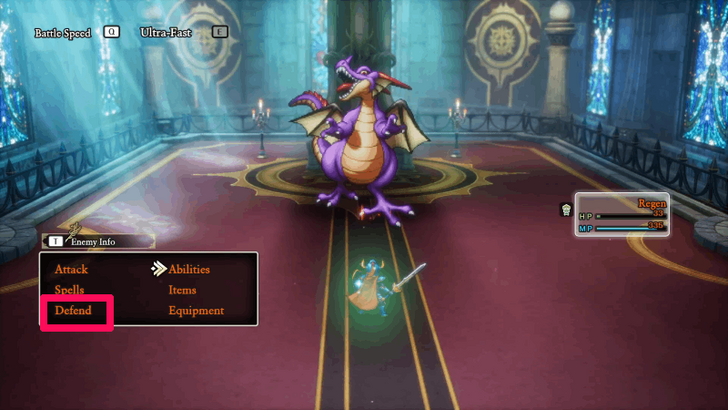
How to Beat Dragonlord
| Jump to A Section! | |
|---|---|
| First Form | Second Form |
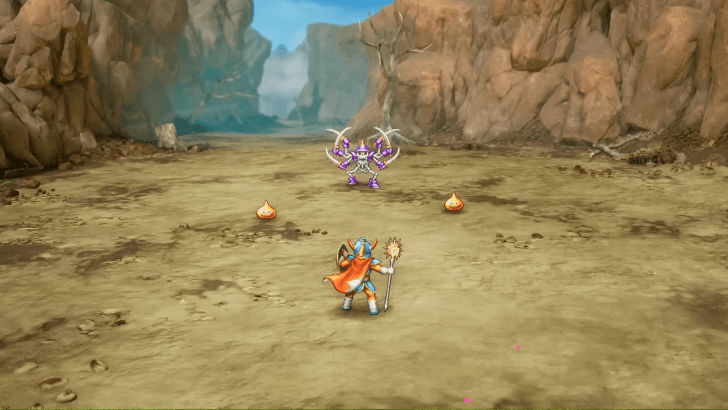
Dragonlord First Form Strategy
- Aim for Level 40 or Higher
- Mitigate Fire Damage
- Counter Status Ailments With Banishing Bell
- Dragonlord Can Attack Twice Per Turn
- Duplic Hat Lets You Cast Spells Twice
- Dragonlord's Attacks Increases at 50% HP
- Save MP for the Second Phase
Aim for Level 40 or Higher
It’s best to reach Level 40 before taking on the Dragonlord, since this is the game’s final showdown. You’ll unlock Kazap at Level 35, a key spell for this battle. Grinding to Level 40 also ensures your stats are at their peak before entering the fight.
EXP Farm: How to Level Up Fast
Mitigate Fire Damage
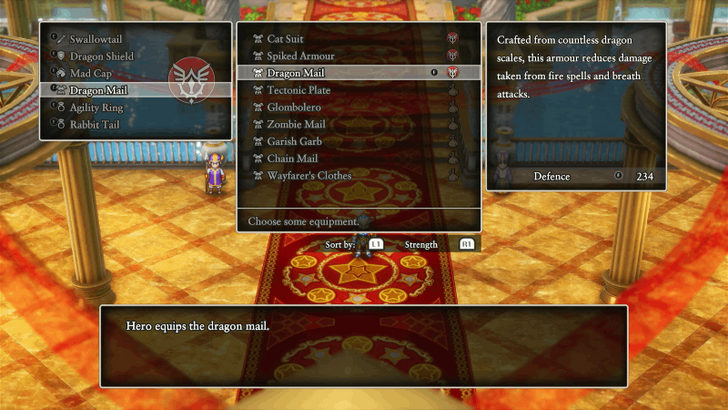
The Dragonlord’s go-to moves are Fire Breath attacks, so it’s crucial to gear up for fire resistance. Equip fire-resistant equipment to completely nullify the damage, the Dragon Mail and Asbestos Earrings. These will protect you in both phases of the fight.
Counter Status Ailments With Banishing Bell
The Dragonlord occasionally uses Fizzle or Snooze to silence or put you to sleep. Counter this by equipping the Banishing Bell, which completely negates status effects cast by enemies.
Erdrick's Helm can also nullify status effects but since the Duplic Hat is more suited for this battle, the Banishing Bell can do the negating for you.
You can obtain the Banishing Bell by trading 20 Mini Medals with the Monarch of Medals at the Citadel.
All 40 Mini Medal Locations and Rewards
Dragonlord Can Attack Twice Per Turn
The Dragonlord is capable of attacking twice per turn, so healing and timing are key. Use Wild Side to boost your speed and also attack twice each turn. Reapply it whenever the buff wears off.
If you’ve got the Duplic Hat, you can also cast spells twice per turn, though this only applies to spells, not abilities.
Duplic Hat Lets You Cast Spells Twice
The Duplic Hat doubles your spell casts, making it a game-changer here. Kazap is the most effective spell against Dragonlord's first form, so make full use of it while your MP lasts.
Dragonlord's Attacks Increases at 50% HP

Once the Dragonlord drops to 50% HP, he begins charging up his attacks, doubling his spell damage for two turns. Use this window to defend and recover MP rather than going on the offensive.
Save MP for the Second Phase
Keep in mind that this fight has two phases, and you won’t get a break to recover HP or MP in between. Make sure to conserve your MP early on. Use Focus Pocus or Defend to restore it as needed, so you’ll have enough fuel for the next round.
Dragonlord Second Form Strategy
- Analyze the Dragonlord's Attack Pattern
- Utilize the Defending Champion Ability
- Defend to Regain MP
- Use Wild Side + Dragon Slash Combo to Defeat Dragonlord
Analyze the Dragonlord Attack Patterns During the Second Battle
| 1 | Normal Attack Adds Shout if 50% and below HP |
|---|---|
| 2 | 2 Buff Spells (Accelerate, Kabuff, Oomph, or Multiheal) |
| 3 | Heavy Attack x2 |
| 4 | Normal Attack + Inferno Inferno becomes Scorch if 50% HP and below |
| 5 | Normal Attack + Kasizz Kasizz becomes Kafrizz if 50% HP and below |
| 6 | Asses the situation (won't do anything) Becomes Heavy Attack if 50% HP and below |
| 7 | Kasizz + Inferno Becomes Scorch + Kafrizz if 50% HP and below |
| 8 | Asses the situation (won't do anything) |
| 9 | Shout x2 (May inflict Fear) |
| 10 | Cycle back to the first move. |
In his second form, Dragonlord cycles through a predictable set of attacks. Watch his buffs and spell order carefully to anticipate damage spikes.
When his HP drops below half, his elemental attacks become far more punishing, so defense and recovery timing matter more than ever.
Utilize the Defending Champion Ability
| Ability | MP | Unlock | Effect |
|---|---|---|---|
| Defending Champion | 2 | Lv. 16 | Significantly reduces the damage taken from all attacks. |
When Dragonlord buffs himself twice in a row, it’s a perfect cue to use Defending Champion. This skill dramatically reduces incoming damage, especially during his buffed turns.
All Buffing Spells and Abilities
Defend to Regain MP
With the Star Sigil, defending also restores MP. When you notice Dragonlord stacking buffs, prepare to Defend so you’ll absorb less damage and regain valuable MP at the same time.
Use Wild Side + Dragon Slash Combo to Defeat Dragonlord
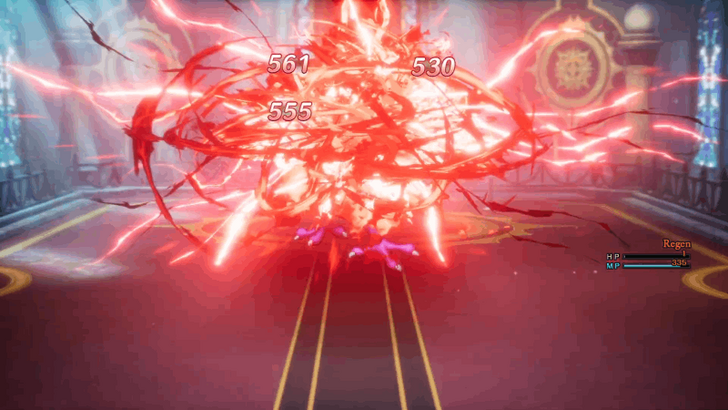
Once the second form appears, Dragonlord becomes resistant to Kazap, so magic’s off the table. Instead, use the Wild Side + Dragon Slash combo (or its soupe up version, Double Dragon Slash) for multiple attacks per turn, Dragonlord is especially weak to this combo since he is a dragon type enemy.
Dragonlord Skills and Abilities
All Dragonlord Abilities and Effects
| Abilities | Description |
|---|---|
| Attack | Physical Attack, may have a chance to Critical. |
| Heavy Attack | Heavy attack, used after buffing himself. |
| Kabuff | Buffs own Attack and Defence. |
| Accelerate | Temporarily raises its Speed, can attack twice per turn. |
| Multiheal | Heals a moderate amount of HP |
| Oomph | Temporarily raises its Attack. |
| Inferno | Fire Breath attack. |
| Kasizz | Fire elemental spell. |
| Scorch | Heavy Fire Breath attack. |
| Kafrizz | Heavy Fire elemental spell. |
| Shout | Can inflict Fear on the Hero. |
Dragonlord Overview
Dragonlord Stats and Information
 Dragonlord Dragonlord | |
| Recommended Level | Boss HP |
|---|---|
| Level 40 | ~3200 |
 Dragonlord's True Form Dragonlord's True Form | |
| Recommended Level | Boss HP |
|---|---|
| Level 40 | ~4800 |
The Game's Final Boss
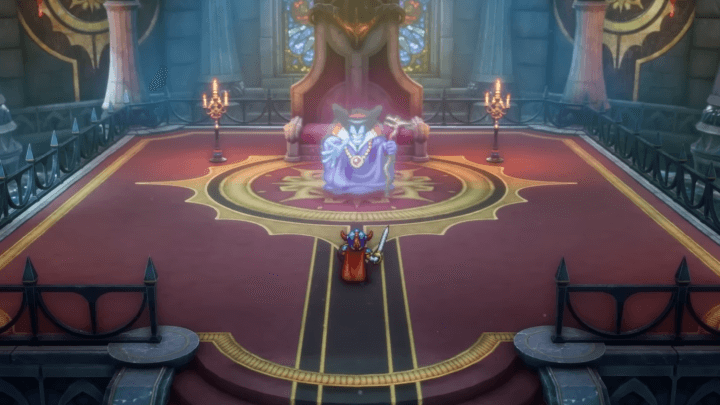
You can find Dragonlord inside the Dragonlord's Castle and is the final boss of the game. Make sure you’re prepared since this fight can drag you on if you aren't on a high enough level yet!
Dragonlord's Castle and Final Boss
Has Two Forms
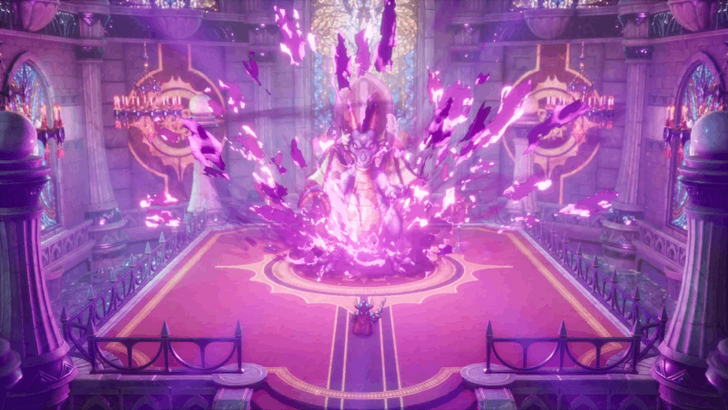
After the first phase, Dragonlord reveals his true dragon form and immediately launches into the second battle. You won’t get a chance to heal or change equipment in between, so make sure you’re ready before triggering the fight.
Best Build and Equipment
Recommended Equipment and How to Get
| Equipment | Description and How to Get |
|---|---|
| Erdrick's Sword | Strongest sword in the game. Found inside a treasure chest in B1 of the Dragonlord's Castle. |
| Erdrick's Shield | Reduces damage against all spells and breath attacks incurred from enemies. Get inside a treasure chest in Weeping Isle. |
| Dragon Mail | Reduces damage from fire and ice breath. Purchase in Cantlin. |
| Duplic Hat | Enables you to cast spells twice. Found in a Secret Spot that appears after the events in the Shrine of Rain. |
| Banishing Bell | Accessory that nullifies all status effects. Exchange 20 Mini Medals at the Citadel of the Monarch of Medals. |
| Asbestos Earrings | Reduces damage from fire attacks and spells. Found in a Sparkly Spot southwest of Damdara. |
Dragon Quest 1 HD-2D Remake Related Guides
List of All Bosses
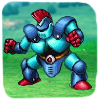
 Robbin 'Ood Robbin 'Ood
|
 Sorcerer Sorcerer
|
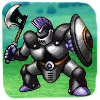
 Knight Errant Knight Errant
|
 Green Dragon Green Dragon
|
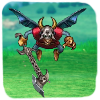
 Mirage Mirage
|
 Golem Golem
|
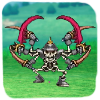
 Spiketail Spiketail
|
 Knight Aberrant Knight Aberrant
|
 Goregoyle Goregoyle
|
 Armageddon Armageddon
|
Dragonlord
|
Comment
Author

Final Boss Guide: How to Beat the Dragonlord
Rankings
- We could not find the message board you were looking for.
Gaming News

![Star Savior Review [First Impressions] | Engaging, Entertaining, and Expensive](https://img.game8.co/4447603/8f500e9bf666bdb8adb1af478e9dfdbd.png/show)


Popular Games

Genshin Impact Walkthrough & Guides Wiki
Umamusume: Pretty Derby Walkthrough & Guides Wiki
Crimson Desert Walkthrough & Guides Wiki
Monster Hunter Stories 3: Twisted Reflection Walkthrough & Guides Wiki
Honkai: Star Rail Walkthrough & Guides Wiki
Pokemon Pokopia Walkthrough & Guides Wiki
The Seven Deadly Sins: Origin Walkthrough & Guides Wiki
Wuthering Waves Walkthrough & Guides Wiki
Zenless Zone Zero Walkthrough & Guides Wiki
Arknights: Endfield Walkthrough & Guides Wiki


Recommended Games
Fire Emblem Heroes (FEH) Walkthrough & Guides Wiki
Diablo 4: Vessel of Hatred Walkthrough & Guides Wiki
Cyberpunk 2077: Ultimate Edition Walkthrough & Guides Wiki
Yu-Gi-Oh! Master Duel Walkthrough & Guides Wiki
Super Smash Bros. Ultimate Walkthrough & Guides Wiki
Pokemon Brilliant Diamond and Shining Pearl (BDSP) Walkthrough & Guides Wiki
Elden Ring Shadow of the Erdtree Walkthrough & Guides Wiki
Monster Hunter World Walkthrough & Guides Wiki
The Legend of Zelda: Tears of the Kingdom Walkthrough & Guides Wiki
Persona 3 Reload Walkthrough & Guides Wiki


All rights reserved
© ARMOR PROJECT/BIRD STUDIO/SPIKE CHUNSOFT/SQUARE ENIX
© SUGIYAMA KOBO ℗ SUGIYAMA KOBO
The copyrights of videos of games used in our content and other intellectual property rights belong to the provider of the game.
The contents we provide on this site were created personally by members of the Game8 editorial department.
We refuse the right to reuse or repost content taken without our permission such as data or images to other sites.