This survey will take about 1 minute.
Your answers will help us to improve our website.
Zelda: Breath of the Wild (BotW)
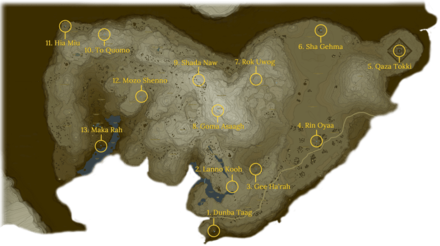
Hebra Tower Region: Korok Seed Map, Shrines, and Quests
★ Sequel: Tears of the Kingdom Guide here!
★ Get a head start with our Beginner's Guide
┗ The Best Recipes to Cook | Rupee Farming
★ Shrines Locations | Korok Seeds Locations
★ Explore after the story with our Post Game Guide
This page is a map of the Hebra Tower Region in The Legend of Zelda: Breath of the Wild (BotW). Here you can find all Korok Seed locations in the Hebra Tower Region, as well as quests, shrines, and other locations.
List of Contents
Hebra Tower Region Korok Seed Map
Map of All Woodland Tower Korok Seeds
| Hebra Korok Seeds Map |
|---|
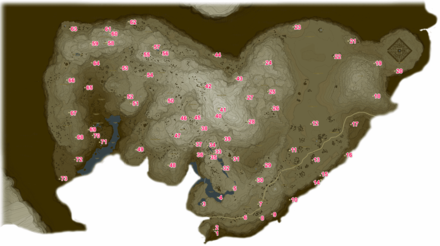 Enlarge EnlargeView Full Map Image |
How to Get All Hebra Koroks
| Total No. | Korok in Region | Solution & Video Link |
|---|---|---|
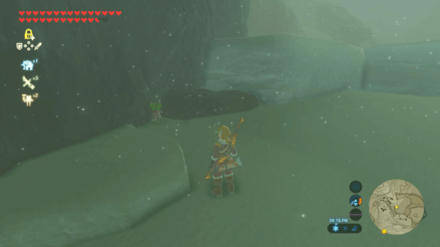
| 635 |
 Enlarge Enlarge |
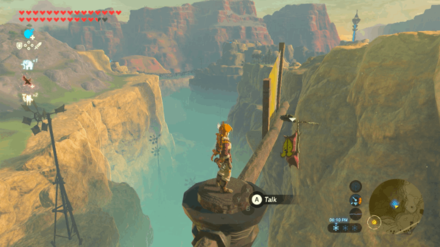
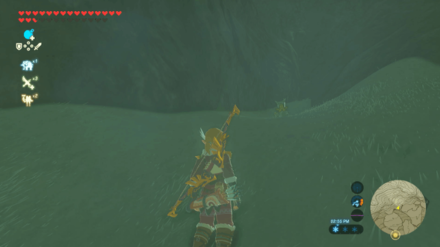
Timed Ring
Reach the ring by the base of the windmills. Use Revali's Gale to get there faster. |
| 636 |
 Enlarge Enlarge |
Peak Sparkles
Reach the very top of the windmill and examine the sparkles. |
| 637 |
 Enlarge Enlarge |
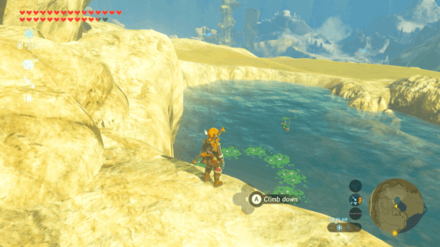
Water Ring
Dive into the middle of the water lily ring on the water. |
| 638 |
 Enlarge Enlarge |
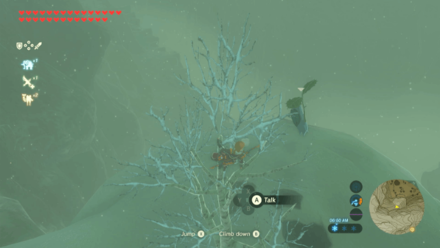
Peak Sparkles
Examine the sparkles at the top of the tree with no leaves. |
| 639 |
 Enlarge Enlarge |
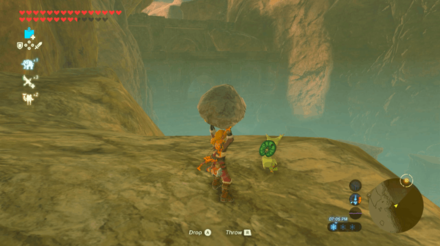
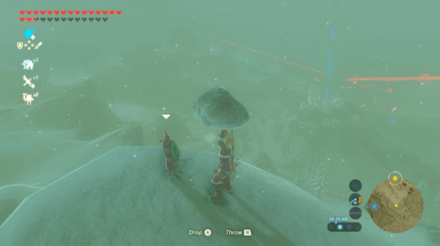
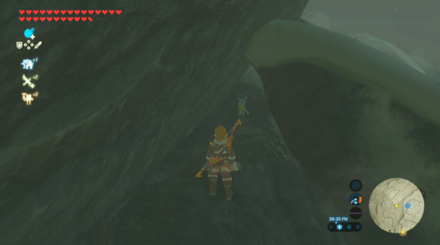
Rock
Pick up the rock behind Lanno Kooh Shrine. |
| 640 |
 Enlarge Enlarge |
One Acorn
Shoot the acorn hidden inside the tree's hollow. |
| 641 |
 Enlarge Enlarge |
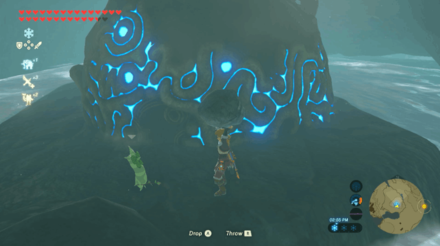
Chained Ball
Use Magnesis to place the magnetic ball into the well. |
| 642 |
 Enlarge Enlarge |
Follow the Flowers
Follow the flowers down to the edge of the cliff. |
| 643 |
 Enlarge Enlarge |
Hidden Rock
Destroy the wall of rocks and pick up the rock behind it. |
| 644 |
 Enlarge Enlarge |
Rock
Pick up the rock on the edge of the rocky cliff. |
| 645 |
 Enlarge Enlarge |
One Acorn
Shoot the acorn hidden inside the tree's hollow. |
| 646 |
 Enlarge Enlarge |
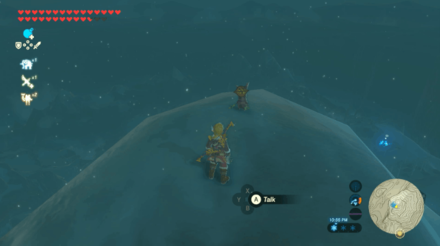
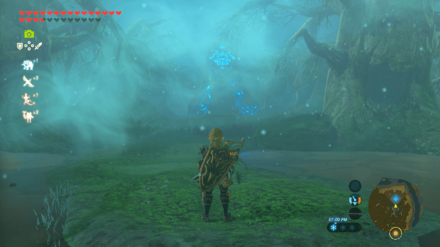
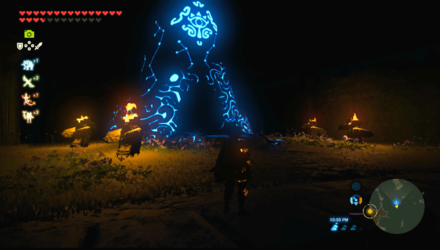
Moving Sparkles
Chase and examine the moving sparkles. |
| 647 |
 Enlarge Enlarge |
Hidden Rock
Destroy the pile of leaves and pick up the rock hidden beneath it. |
| 648 |
 Enlarge Enlarge |
Rock
Pick up the rock on the edge of the cliff. |
| 649 |
 Enlarge Enlarge |
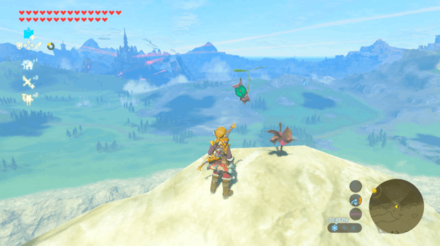
Pinwheel Balloon
Shoot the two balloons. |
| 650 |
 Enlarge Enlarge |
Rock Pit
Push the rock down into the hole. |
| 651 |
 Enlarge Enlarge |
Hidden Rock
Destroy the wall of rocks and pick up the rock behind it. |
| 652 |
 Enlarge Enlarge |
Rock Pit
Push the rock down into the hole. |
| 653 |
 Enlarge Enlarge |
Metal Block
Use Magnesis to place the cube in the inner corner of the other set of blocks. |
| 654 |
 Enlarge Enlarge |
One Balloon
Shoot the balloon hidden within the tree's branches. |
| 655 |
 Enlarge Enlarge |
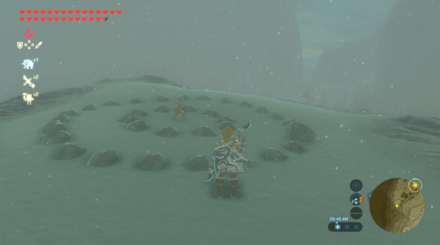
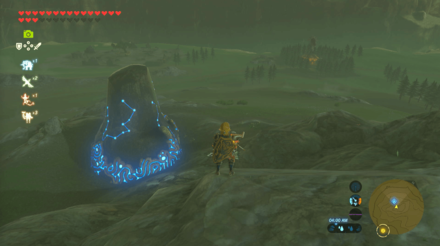
Rock Pattern
Get the rock found in the middle of the left most circle and place it in the gap of the right most circle. |
| 656 |
 Enlarge Enlarge |
One Acorn
Shoot the acorn hidden inside the tree's hollow. |
| 657 |
 Enlarge Enlarge |
Pinwheel Balloon
Shoot the three moving balloons. |
| 658 |
 Enlarge Enlarge |
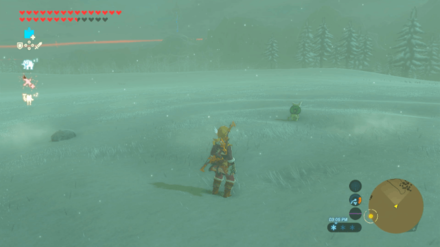
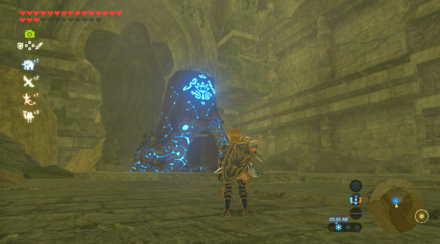
Ice Sparkles
Melt the ice using fire weapons or a torch, and examine the sparkles. |
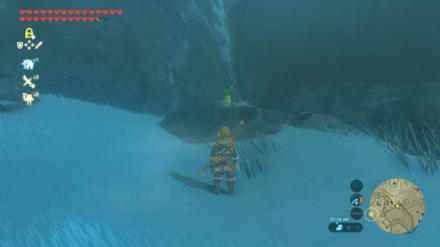
| 659 |
 Enlarge Enlarge |
Jumping Acorn
Shoot moving acorn. Use Stasis to make it easier to hit it. |
| 660 |
 Enlarge Enlarge |
Ice Sparkles
Melt the ice using fire weapons or a torch, and examine the sparkles. |
| 661 |
 Enlarge Enlarge |
Ice Sparkles
Melt the ice using fire weapons or a torch, and examine the sparkles. |
| 662 |
 Enlarge Enlarge |
Rock Pattern
Place the two rocks in the gaps of the rock circle. |
| 663 |
 Enlarge Enlarge |
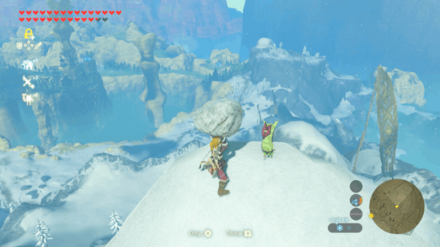
Rock Pit
Roll the snow ball into the hole. If it breaks, you can pick it up and place it in the hole directly. |
| 664 |
 Enlarge Enlarge |
Rock
Pick up the rock on the peak of the hill. |
| 665 |
 Enlarge Enlarge |
Rock
Pick up the rock on the small ledge. |
| 666 |
 Enlarge Enlarge |
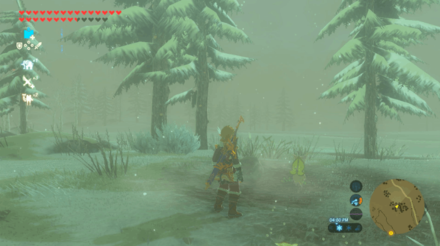
Follow the Flowers
Follow the flowers across the side of the land bridge and to the other side of the river. |
| 667 |
 Enlarge Enlarge |
One Balloon
Shoot the balloon in between the small valley in Hebra Headspring. |
| 668 |
 Enlarge Enlarge |
One Balloon
Shoot the balloon below Hebra falls. |
| 669 |
 Enlarge Enlarge |
Timed Ring
Glide down and reach the ring. |
| 670 |
 Enlarge Enlarge |
Rock
Pick up the rock on the edge of the cliff. |
| 671 |
 Enlarge Enlarge |
Ice Sparkles
Melt the ice using fire weapons or a torch, and examine the sparkles. |
| 672 |
 Enlarge Enlarge |
One Balloon
Shoot the balloon at the celing of the rock tunnel. |
| 673 |
 Enlarge Enlarge |
Ice Sparkles
Melt the ice using fire weapons or a torch, and examine the sparkles. |
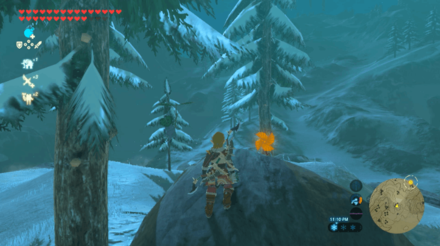
| 674 |
 Enlarge Enlarge |
Rock
Pick up the rock hidden between large rock formations. |
| 675 |
 Enlarge Enlarge |
Rock
Pick up the rock on top of Hebra Peak. |
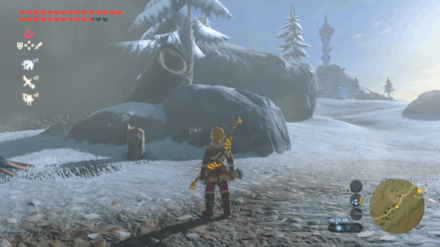
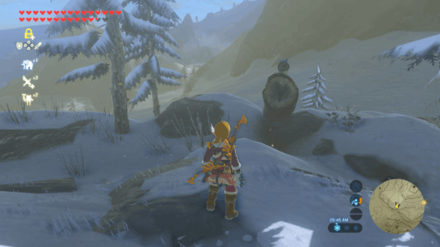
| 676 |
 Enlarge Enlarge |
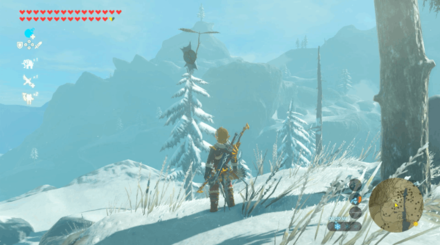
Peak Sparkles
Examine the sparkles on the chimney of Selmie's Spot. |
| 677 |
 Enlarge Enlarge |
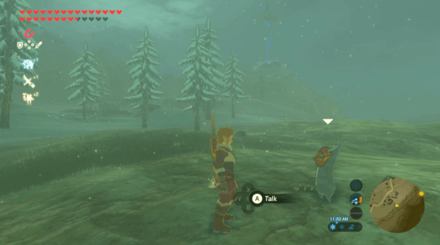
Peak Sparkles
Examine the sparkles on top of the lone tree with no leaves. |
| 678 |
 Enlarge Enlarge |
Rock Pattern
Get the rock on the left and place it on the first row of the third column. |
| 679 |
 Enlarge Enlarge |
Ice Sparkles
Melt the ice using fire weapons or a torch, and examine the sparkles. |
| 680 |
 Enlarge Enlarge |
Ice Sparkles
Melt the ice using fire weapons or a torch, and examine the sparkles. |
| 681 |
 Enlarge Enlarge |
One Acorn
Shoot the acorn hidden inside the tree's hollow. |
| 682 |
 Enlarge Enlarge |
Pinwheel Balloon
Shoot the three moving balloons. |
| 683 |
 Enlarge Enlarge |
Rock
Pick up the rock on the peak of the hill. |
| 684 |
 Enlarge Enlarge |
Pinwheel Balloon
Shoot the three disappearing balloons. |
| 685 |
 Enlarge Enlarge |
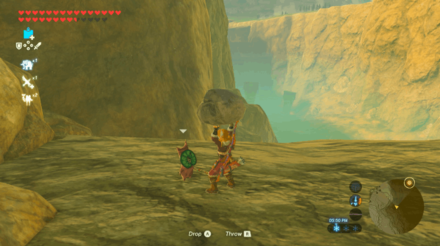
Rock
Pick up the rock on the larger rocks. |
| 686 |
 Enlarge Enlarge |
Rock
Pick up the rock surrounded by ore deposits. |
| 687 |
 Enlarge Enlarge |
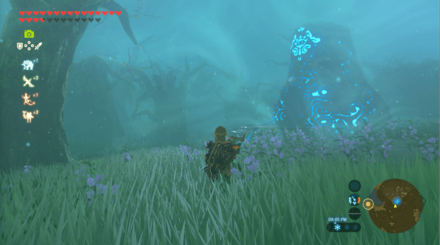
Peak Sparkles
Examine the sparkles at the top of the tree with no leaves. |
| 688 |
 Enlarge Enlarge |
Pinwheel Balloon
Shoot the three disappearing balloons. |
| 689 |
 Enlarge Enlarge |
One Acorn
Shoot the acorn hidden inside the tree's hollow. |
| 690 |
 Enlarge Enlarge |
Peak Sparkles
Examine the sparkles at the top of the tree with no leaves. |
| 691 |
 Enlarge Enlarge |
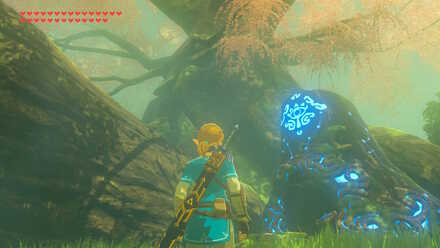
Hidden Rock
Destroy the pile of leaves and pick up the rock hidden beneath it. |
| 692 |
 Enlarge Enlarge |
Pinwheel Balloon
Shoot the fast moving balloon. |
| 693 |
 Enlarge Enlarge |
Timed Ring
Shield surf down the hill to reach the ring. |
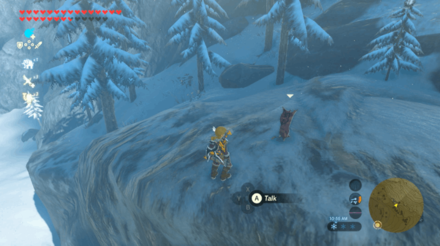
| 694 |
 Enlarge Enlarge |
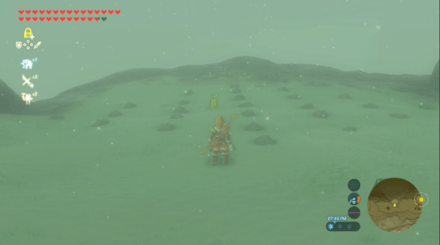
Follow the Flowers
Follow the flowers along the Hebra Great Skeleton above To Quomo Shrine. |
| 695 |
 Enlarge Enlarge |
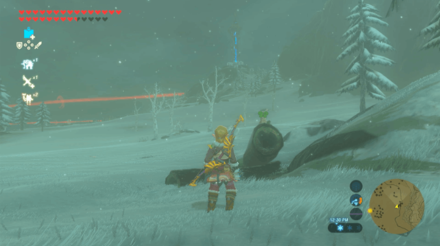
Ice Sparkles
Melt the ice on the left using fire weapons or a torch, and examine the sparkles. |
| 696 |
 Enlarge Enlarge |
Rock Pattern
Place the middle rock in the gap of the outer circle. |
| 697 |
 Enlarge Enlarge |
Metal Block
Use Magnesis to pick up the cube and match the two sets of blocks. |
| 698 |
 Enlarge Enlarge |
Rock Pattern
Get the rock by the edge of the cliff and place it on the gap of the pattern. |
| 699 |
 Enlarge Enlarge |
Follow the Flowers
Follow the flower up the cliff. |
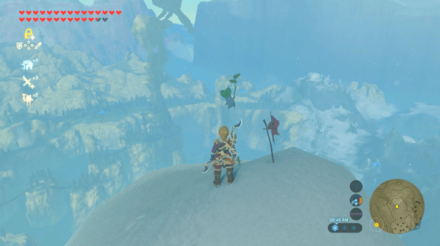
| 700 |
 Enlarge Enlarge |
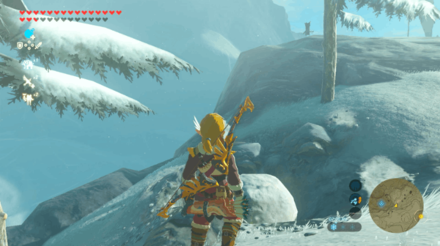
Rock
Pick up the rock on the peak of Hebra West Summit. |
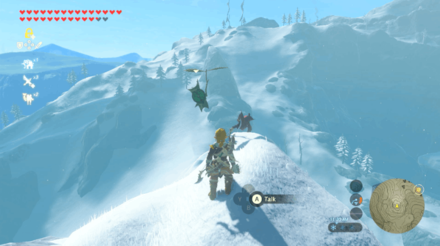
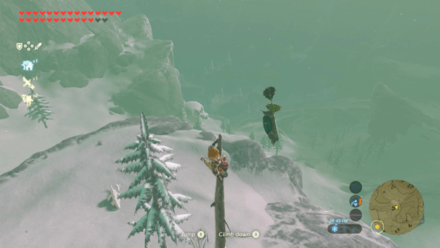
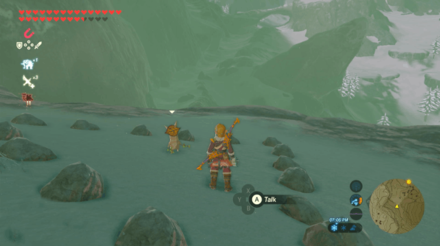
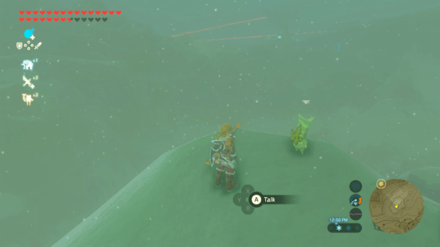
| 701 |
 Enlarge Enlarge |
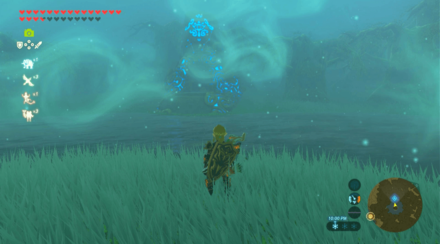
Moving Sparkles
Chase the sparkle and interact with it to reveal the Korok. |
| 702 |
 Enlarge Enlarge |
Rock
Pick up the rock on the peak of the hill. |
| 703 |
 Enlarge Enlarge |
Follow the Flowers
Follow the along the sides of the mountain. |
| 704 |
 Enlarge Enlarge |
Rock Pattern
Place the nearby rock on the gap of the spiral pattern. |
| 705 |
 Enlarge Enlarge |
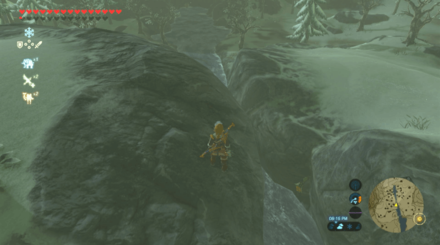
Hidden Rock
Destroy the wall of rocks and pick up the rock behind it. |
| 706 |
 Enlarge Enlarge |
Rock
Pick up the rock on the peak of the hill. |
| 707 |
 Enlarge Enlarge |
Pinwheel Balloon
Shoot the three moving balloons. |
Korok Seeds Map and All Korok Seed Locations
Shrines in Woodland Tower Region
Woodland Tower Region Shrines
| Woodland Region Shrine Map |
|---|
 Enlarge EnlargeView Full Map Image |
| Shrine Number | Shrine | Overview |
|---|---|---|
| 1 |
 Enlarge Enlarge |
Trial: Tempered Power Location: Woodland Stable, Woodland Region Rewards: ・Iron Sledgehammer ・ Iron Sledgehammer ・ Giant Ancient Core |
| 2 |
 Enlarge Enlarge |
Trial: Fateful Stars Location: Korok Forest, Woodland Region Rewards: ・Knight's Claymore |
| 3 |
 Enlarge Enlarge |
Trial: Kuhn Sidajj's Blessing Requirements: Start The Hero's Sword and The Korok Trials Shrine Quest: Trial of Second Sight Location: Lake Saria, Woodland Region Rewards: ・Giant Ancient Core |
| 4 |
 Enlarge Enlarge |
Trial: Daag Chokah's Blessing Requirements: Start The Hero's Sword and The Korok Trials Shrine Quest: The Lost Pilgrimage Location: Korok Forest, Woodland Region Rewards: ・Ancient Core |
| 5 |
 Enlarge Enlarge |
Trial: Maag Halan's Blessing Requirements: Start The Hero's Sword and The Korok Trials Shrine Quest: The Test of Wood Location: Mido Swamp, Woodland Region Rewards: ・Giant Ancient Core |
| 6 |
 Enlarge Enlarge |
Trial: Ketoh Wawai's Blessing Shrine Quest: Shrouded Shrine Location: Typhlo Ruins, Woodland Region Rewards: ・Ancient Core |
| 7 |
 Enlarge Enlarge |
Trial: Drawing Parabolas Location: Salari Hills, Woodland Region Rewards: ・Thunderblade |
| 8 |
 Enlarge Enlarge |
Trial: Rona Kachta's Blessing Location: Forgotten Temple, Woodland Region Rewards: ・Great Flameblade |
| ▲ Back to All Shrines by Tower Region ▲ | ||
Shrines Map and All Shrine Locations
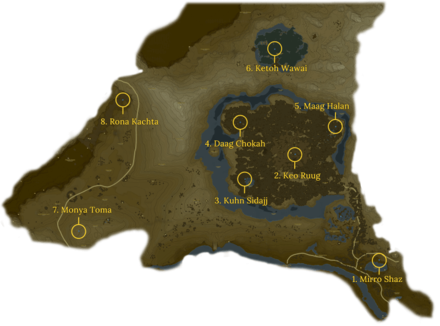
Shrines in Hebra Tower Region
Hebra Tower Region Shrines
| Hebra Region Shrine Map |
|---|
 Enlarge EnlargeView Full Map Image |
| Shrine Number | Shrine | Overview |
|---|---|---|
| 1 |
 Enlarge Enlarge |
Trial: Build and Release Location: Tanagar Canyon, Hebra Region Rewards: ・Falcon Bow ・ Great Thunderblade |
| 2 |
 Enlarge Enlarge |
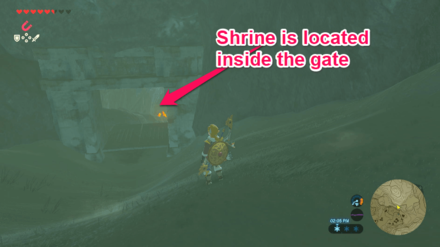
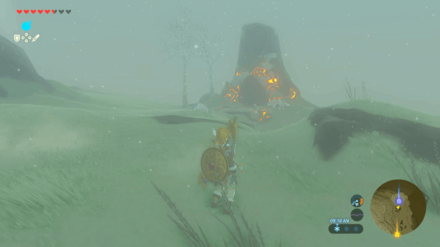
Trial: Lanno Kooh's Blessing Location: Hebra Falls, Hebra Region Rewards: ・Gold Rupee |
| 3 |
 Enlarge Enlarge |
Trial: Tandem Requirements: Cold Resistance Level 2 and bow and arrows Location: Kopeeki Drifts, Hebra Region Rewards: ・Diamond |
| 4 |
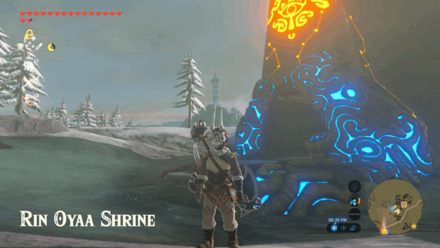 Enlarge Enlarge |
Trial: Directing the Wind Location: Snowfield Stable, Hebra Region Rewards: ・Ancient Core |
| 5 |
 Enlarge Enlarge |
Trial: Qaza Tokki's Blessing Shrine Quest: Trial on the Cliff Location: North Lomei Labyrinth, Hebra Region Rewards: ・Barbarian Leg Wraps |
| 6 |
 Enlarge Enlarge |
Trial: Shift and Lock Location: North Tabantha Snowfield, Hebra Region Rewards: ・Royal Broadsword |
| 7 |
 Enlarge Enlarge |
Trial: Power of Reach Requirements: Bow and arrows Location: Pikida Stonegrove, Hebra Region Rewards: ・Drillshaft |
| 8 |
 Enlarge Enlarge |
Trial: A Major Test of Strength Location: Hebra Peak, Hebra Region Rewards: ・Royal Claymore |
| 9 |
 Enlarge Enlarge |
Trial: Red Giveaway Location: Selmie's Spot, Hebra Region Rewards: ・Great Frostblade |
| 10 |
 Enlarge Enlarge |
Trial: To Quomo's Blessing Location: Hebra Great Skeleton, Hebra Region Rewards: ・Royal Claymore |
| 11 |
 Enlarge Enlarge |
Trial: A Major Test of Strength Location: Icefall Foothills, Hebra Region Rewards: ・Sapphire |
| 12 |
 Enlarge Enlarge |
Trial: A Major Test of Strength Shrine Quest: Location: Biron Snowshelf, Hebra Region Rewards: ・Diamond |
| 13 |
 Enlarge Enlarge |
Trial: Steady Thy Heart Location: Lake Kilsie, Hebra Region Rewards: ・Bomb Arrow x10 ・ Diamond ・ Ancient Core |
| ▲ Back to All Shrines by Tower Region ▲ | ||
Shrines Map and All Shrine Locations
Quests in Hebra Tower Region
Main Quests
| No quests to display in this region. |
Side Quests
| Quest | Type | Quest Giver & Location |
|---|---|---|
| Stalhorse: Pictured! | Side Quest | Juannelle Snowfield Stable |
Shrine Quests
| Quest | Type | Quest Giver & Location |
|---|---|---|
| Trial on the Cliff | Shrine Quest | ??? North Lomei Labyrinth |
| The Bird in the Mountains | Shrine Quest | Molli Rito Village |
DLC Quests
| No quests to display in this region. |
All Locations in Hebra Tower Region
| Tama Pond | Talonto Peak | Tabantha Village Ruins | Tabantha Hills |
| Sturnida Secret Hot Spring | Sturnida Basin | Snowfield Stable | Sherfin's Secret Hot Spring |
| Selmie's Spot | S. Tabantha Snowfield | Rondo's Lodge | Pikida Stonegrove |
| North Lomei Labyrinth | N. Tabantha Snowfield | Lake Kilsie | Kopeeki Drifts |
| Icefall Foothills | Hebra West Summit | Hebra Tundra | Hebra South Summit |
| Hebra Peak | Hebra North Summit | Hebra North Crest | Hebra Headspring |
| Hebra Great Skeleton | Hebra Falls | Hebra East Summit | Goflam's Secret Hot Spring |
| Coldsnap Hollow | Biron Snowshelf |
Zelda: BotW Related Guides

Points of Interest
| All Maps and Locations | |
|---|---|
| Shrines | Stables |
| Great Fairy Fountains | Korok Seeds |
Tower Regions
Author

The Legend of Zelda: Breath of the Wild Walkthrough & Guides Wiki
Hebra Tower Region: Korok Seed Map, Shrines, and Quests
Please participate in our site
improvement survey
03/2026
improvement survey
03/2026
Would you assist in
improving Game8's site?
improving Game8's site?

×
We are listening to our users' valuable opinions and discussing how to act on them.
The information collected through this survey will be used for the purpose of improving our services. In addition, the information will only be disclosed a part of a statistic in a format that will not allow identification of personal information.
Begin Survey
Not Now
×
Please rate each item regarding Game8.co's Advertisements.
Amount of Ads
Very Dissatisfied
Somewhat Dissatisfied
Fine
Somewhat Satisfied
Highly Satisfied
Placement of Ads
Timing of Ad Display
Ad Loading Speed
Safeness of Ads
Content of Ads
×
Please rate each item regarding Game8.co's Quality of Articles.
Amount of information
Very Dissatisfied
Somewhat Dissatisfied
Fine
Somewhat Satisfied
Highly Satisfied
Frequency of updates
Speed of new information
Accuracy of articles
Understandibility of articles
Readability of sentences
×
Please rate each item regarding Game8.co's Usability of the Site.
Ease of finding information
Very Dissatisfied
Somewhat Dissatisfied
Fine
Somewhat Satisfied
Highly Satisfied
Loading Speed
Use of Color
Font Size
Visibility of Images
Easy to Understand Layout
×
Please rate each item regarding Game8.co's Message Boards, Comments.
Ease of Writing
Very Dissatisfied
Somewhat Dissatisfied
Fine
Somewhat Satisfied
Highly Satisfied
Readability
Ease in Finding Information
Comment Quality
Comment Quantity
Admin Response
×
Please rate each item regarding Game8.co's Site's new design.
Please rate our site's new design
Very Dissatisfied
Somewhat Dissatisfied
Fine
Somewhat Satisfied
Highly Satisfied
Do you think that the website's design change makes the site easier to use?
Has the new design made it easier for you to find information on the site?
Has the new design improved the overall visual appeal of the site?
How would you rate your overall satisfaction with the new design of the site?
×
How likely are you to recommend Game8 to someone you know?
Very Unlikely
0
1
2
3
4
5
6
7
8
9
10
Very Likely
If you have other opinions regarding potential improvement to the website, please share them with us. We would appreciate your honest opinion.
Note: This is a free response section, so you can proceed without entering anything.
Note: Please be sure not to enter any kind of personal information into your response.
Note: Please be sure not to enter any kind of personal information into your response.
×
Thank You
×
Thank you for participating in our survey! Your answers will help us to improve the quality of our website and services.
We hope you continue to make use of Game8.
We hope you continue to make use of Game8.
Close
Rankings
- We could not find the message board you were looking for.
Gaming News


![Monster Hunter Stories 3 Review [First Impressions] | Simply Rejuvenating](https://img.game8.co/4438641/2a31b7702bd70e78ec8efd24661dacda.jpeg/thumb)
Popular Games

Genshin Impact Walkthrough & Guides Wiki
Honkai: Star Rail Walkthrough & Guides Wiki
Umamusume: Pretty Derby Walkthrough & Guides Wiki
Pokemon Pokopia Walkthrough & Guides Wiki
Resident Evil Requiem (RE9) Walkthrough & Guides Wiki
Monster Hunter Wilds Walkthrough & Guides Wiki
Wuthering Waves Walkthrough & Guides Wiki
Arknights: Endfield Walkthrough & Guides Wiki
Pokemon FireRed and LeafGreen (FRLG) Walkthrough & Guides Wiki
Pokemon TCG Pocket (PTCGP) Strategies & Guides Wiki


Recommended Games
Diablo 4: Vessel of Hatred Walkthrough & Guides Wiki
Cyberpunk 2077: Ultimate Edition Walkthrough & Guides Wiki
Fire Emblem Heroes (FEH) Walkthrough & Guides Wiki
Yu-Gi-Oh! Master Duel Walkthrough & Guides Wiki
Super Smash Bros. Ultimate Walkthrough & Guides Wiki
Pokemon Brilliant Diamond and Shining Pearl (BDSP) Walkthrough & Guides Wiki
Elden Ring Shadow of the Erdtree Walkthrough & Guides Wiki
Monster Hunter World Walkthrough & Guides Wiki
The Legend of Zelda: Tears of the Kingdom Walkthrough & Guides Wiki
Persona 3 Reload Walkthrough & Guides Wiki


All rights reserved
© 2020 Nintendo. The Legend of Zelda, Wii U, and Nintendo Switch are trademarks of Nintendo.
The copyrights of videos of games used in our content and other intellectual property rights belong to the provider of the game.
The contents we provide on this site were created personally by members of the Game8 editorial department.
We refuse the right to reuse or repost content taken without our permission such as data or images to other sites.