 Orbital Burst (Rosalina)
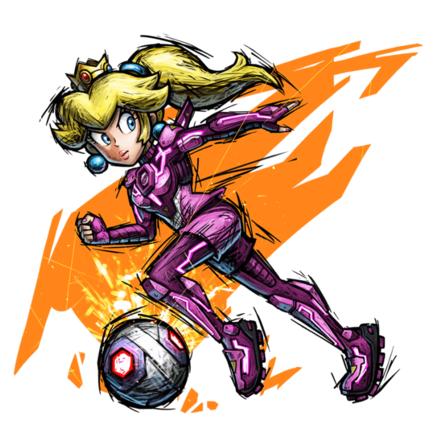 Dance of Hearts (Peach)
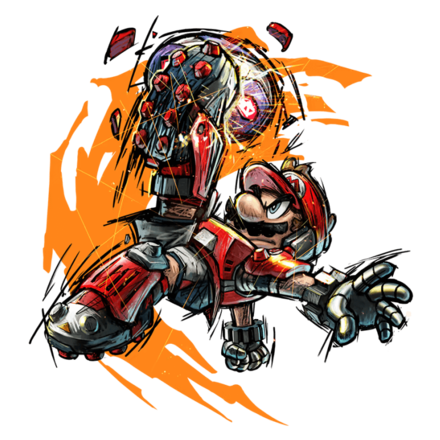 Fire Cyclone (Mario)
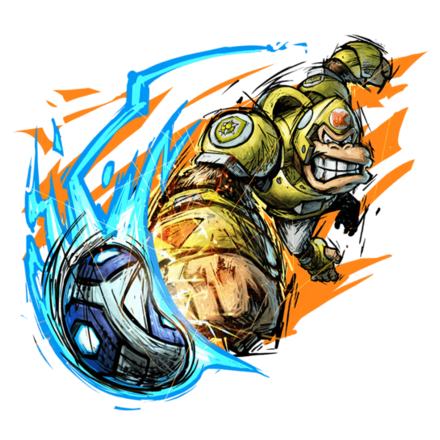 Banana Blast (Donkey Kong)
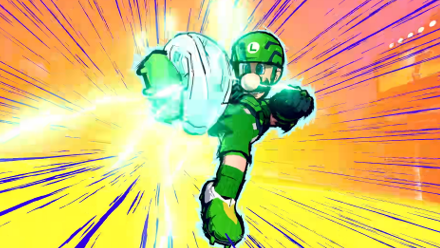
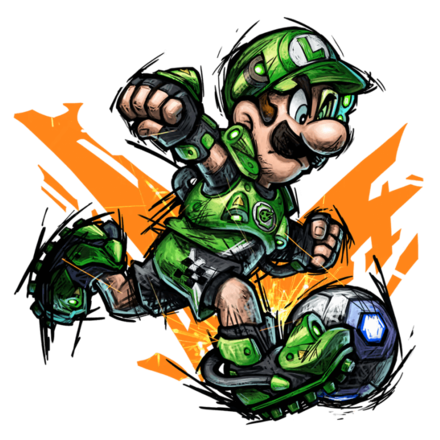 Spin Tornado (Luigi)
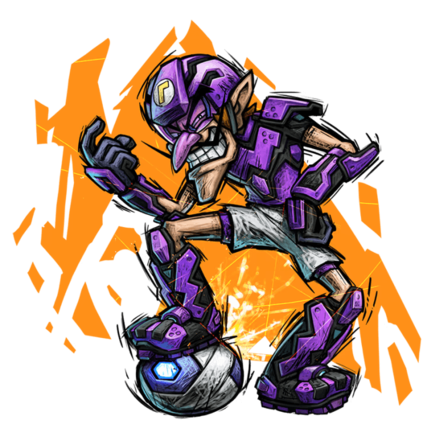 Thorn Barrier (Waluigi)
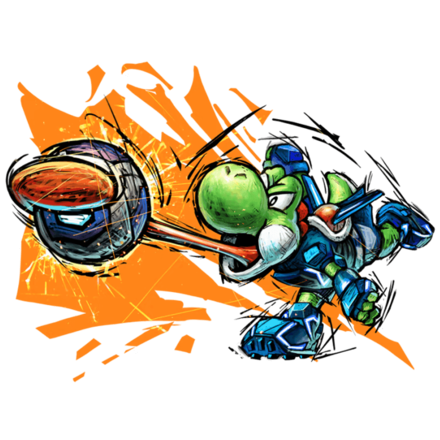 Egg Stomp (Yoshi)
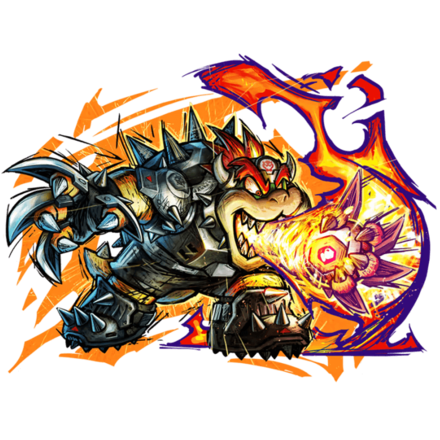 Flame Cannon (Bowser)
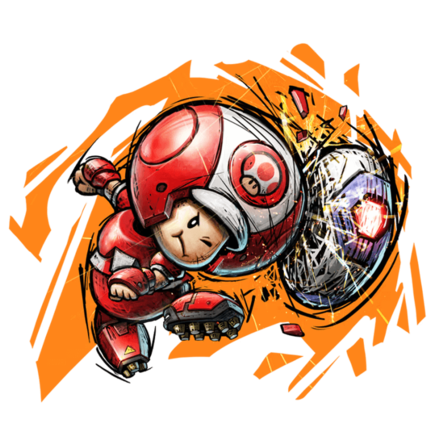 Drill Smash (Toad)
 Electric Ricochet (Wario)
This survey will take about 1 minute.
Your answers will help us to improve our website.
Mario Strikers: Battle League
List of Hyper Strikes | Best Hyper Strikes Ranked
★Character Tier List / Best Team Comp
☆Best Gear for Each Character
★Galactic Mode Guide
☆How to Unlock Everything
Just getting started? → Tips and Tricks
Looking for a team? → Strikers Club Board (11)
Hyper Strikes are special shots unique to characters in Mario Strikers: Battle League. Read on to see a list of all Hyper Strikes and the best Hyper Strikes ranked in a tier list, as well as the characters that use them and their effects!
List of Contents
Best Hyper Strikes Ranked
Tier List Criteria
| Utility and Ease of Use |
|---|
| For this list, we took into consideration how easy it would be to perform a Hyper Strike for each character as well as the utility it provides post-Hyper Strike. Each Hyper Strike has a different effect on opponents and Boom Boom so how it affects them is something worth considering. |
List of All Hyper Strikes
Mario - Fire Cyclone
 |
|
| Description | Mario jumps high into the air and bicycle kicks the ball towards the goal, forming a fiery cyclone that burns opponents caught in its path. |
|---|---|
| Tier List Explanation | S-Tier Mario's high Technique makes the Hyper Strike meter more manageable so allowing him to perform Fire Cyclone is a safe choice. Should the Hyper Strike miss, your opponents will still be running around so take the chance and get a quick goal in. |
Luigi - Spin Tornado
 |
|
| Description | Luigi spins around multiple times before kicking the ball, creating a giant green tornado. Any opponents near the tornado will be sucked in and become unable to move for a short time. |
|---|---|
| Tier List Explanation | A-Tier As the character with the highest base Technique, Luigi's Hyper Strike is easier to hit than the others. That being said, the tornado goes by fairly slow so opponents can easily get out of the way to avoid getting sucked in. |
Peach - Dance of Hearts
 |
|
| Description | The ball travels in a heart-shaped direction as it heads toward the goal, and can charm enemies caught on the path, preventing them from moving temporarily. If Boom Boom gets charmed, he will throw the ball to the goal. |
|---|---|
| Tier List Explanation | S-Tier Peach's high Technique gives players an easier time getting good timings on the Hyper Strike meter. While there's a chance opponents won't get him by the charm, the possibility of hitting everyone on the enemy team provides a great opportunity for an open goal if Dance of Hearts misses. There's also a chance Boom Boom will put the ball in the goal for you. |
Toad - Drill Smash
 |
|
| Description | Toad is launched upwards by other Toads and headbutts the ball with such a great force that it travels under the field, stunning nearby opponents as it heads towards the goal. |
|---|---|
| Tier List Explanation | C-Tier Toad is on the lower end of the spectrum in terms of Technique so getting a guaranteed Hyper Strike can be a bit harder. Drill Smash hitting in front of Toad makes its direction predictable and players can sidestep this to avoid getting stunned. |
Bowser - Flame Cannon
|
|
| Description | Bowser grabs the ball and sets it on fire with his Flame Breath. He then hurls it towards the goal, setting any opponents caught in path on fire. |
|---|---|
| Tier List Explanation | B-Tier Bowser's low Technique can make it harder to land a successful Flame Cannon but enemies caught in the path of fire will spread out. This allows players to follow up for a quick goal. |
Donkey Kong - Banana Blast
|
|
| Description | Donkey Kong jumps high in the air and spikes the ball, turning it into a banana. The ball knocks enemies back and travels in a 'banana-like' arc as it heads towards the goal. |
|---|---|
| Tier List Explanation | A-Tier The aftermath of Banana Blast opens up the field to your team by pushing back enemies. This gives players an opportunity to score a goal if Boom Boom blocks the Hyper Strike. |
Donkey Kong Profile and Play Style
Yoshi - Egg Stomp
|
|
| Description | Yoshi swallows the ball turning it into a giant egg, launches it in the air, and then slams down on it with its tail. The egg bounces multiple times and stuns nearby opponents as it heads towards the goal. |
|---|---|
| Tier List Explanation | B-Tier The combination of low Technique and Egg Stomp's predictable path makes Yoshi not one of the premier choices when shooting a Hyper Strike. Still, successfully hitting opponents will definitely make for an easier goal if the Hyper Strike misses. |
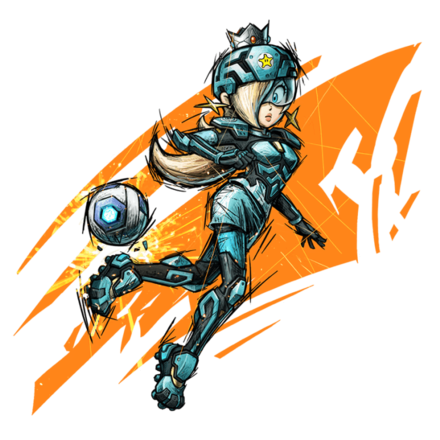
Rosalina - Orbital Burst
|
|
| Description | Rosalina kicks the ball to an icy planet and then kicks it towards the goal. The icy trail that it leaves can slow down the movement of opponents and even freeze Boom Boom. |
|---|---|
| Tier List Explanation | S-Tier Rosalina's Hyper Strike ends with a trail of ice that freezes opponents in place allowing for an unguarded goal should Orbital Burst miss. Rosalina's decent Technique and the utility Orbital Burst provides makes this one of the best Hyper Strikes you can perform. |
Rosalina Profile and Play Style
Wario - Electric Ricochet
|
|
| Description | Wario electrifies the ball as it bounces off walls before heading towards the goal, electrifying any opponent caught in its path. |
|---|---|
| Tier List Explanation | C-Tier Electric Richochet's trajectory is fairly random so players will most definitely have to always hit their timings on the Hyper Strike meter. Wario's low Technique is another aspect to consider as this will make it harder to get successful Hyper Strikes. |
Waluigi - Thorn Barrier
|
|
| Description | Waluigi shoots the ball and leaves a trail of thorns behind as it heads toward the goal, which can bind foes including Boom Boom and prevent him from blocking the ball. |
|---|---|
| Tier List Explanation | A-Tier Thorn Barrier ends with Boom Boom getting caught up in thorns so missing a Hyper Strike allows to get an uncontested goal in. Waluigi's base Technique is decent and can help with the Hyper Strike meter for a better success rate. |
Waluigi Profile and Play Style
Vote For Your Favorite Hyper Strike
What do you think is the best Hyper Strike in Mario Strikers: Battle League? Be sure to let us know in our poll and tell us why in the comments section!
What are Hyper Strikes?
Two-Point Special Shots
Hyper Strikes are special shots unique to each character. If you score by using a Hyper Strike, your team earns not one, but two goals!
It is highly recommended to take a Hyper Strike when given a chance in order to quickly score goals!
Mario Strikers: Battle League Related Guides

Beginner's Tips and Guides
Beginner's Guide: Tips and Tricks
Techniques
Author
List of Hyper Strikes | Best Hyper Strikes Ranked
Please participate in our site
improvement survey
03/2026
improvement survey
03/2026
Would you assist in
improving Game8's site?
improving Game8's site?

×
We are listening to our users' valuable opinions and discussing how to act on them.
The information collected through this survey will be used for the purpose of improving our services. In addition, the information will only be disclosed a part of a statistic in a format that will not allow identification of personal information.
Begin Survey
Not Now
×
Please rate each item regarding Game8.co's Advertisements.
Amount of Ads
Very Dissatisfied
Somewhat Dissatisfied
Fine
Somewhat Satisfied
Highly Satisfied
Placement of Ads
Timing of Ad Display
Ad Loading Speed
Safeness of Ads
Content of Ads
×
Please rate each item regarding Game8.co's Quality of Articles.
Amount of information
Very Dissatisfied
Somewhat Dissatisfied
Fine
Somewhat Satisfied
Highly Satisfied
Frequency of updates
Speed of new information
Accuracy of articles
Understandibility of articles
Readability of sentences
×
Please rate each item regarding Game8.co's Usability of the Site.
Ease of finding information
Very Dissatisfied
Somewhat Dissatisfied
Fine
Somewhat Satisfied
Highly Satisfied
Loading Speed
Use of Color
Font Size
Visibility of Images
Easy to Understand Layout
×
Please rate each item regarding Game8.co's Message Boards, Comments.
Ease of Writing
Very Dissatisfied
Somewhat Dissatisfied
Fine
Somewhat Satisfied
Highly Satisfied
Readability
Ease in Finding Information
Comment Quality
Comment Quantity
Admin Response
×
Please rate each item regarding Game8.co's Site's new design.
Please rate our site's new design
Very Dissatisfied
Somewhat Dissatisfied
Fine
Somewhat Satisfied
Highly Satisfied
Do you think that the website's design change makes the site easier to use?
Has the new design made it easier for you to find information on the site?
Has the new design improved the overall visual appeal of the site?
How would you rate your overall satisfaction with the new design of the site?
×
How likely are you to recommend Game8 to someone you know?
Very Unlikely
0
1
2
3
4
5
6
7
8
9
10
Very Likely
If you have other opinions regarding potential improvement to the website, please share them with us. We would appreciate your honest opinion.
Note: This is a free response section, so you can proceed without entering anything.
Note: Please be sure not to enter any kind of personal information into your response.
Note: Please be sure not to enter any kind of personal information into your response.
×
Thank You
×
Thank you for participating in our survey! Your answers will help us to improve the quality of our website and services.
We hope you continue to make use of Game8.
We hope you continue to make use of Game8.
Close
Rankings
- We could not find the message board you were looking for.
Gaming News


![Monster Hunter Stories 3 Review [First Impressions] | Simply Rejuvenating](https://img.game8.co/4438641/2a31b7702bd70e78ec8efd24661dacda.jpeg/thumb)
Popular Games

Genshin Impact Walkthrough & Guides Wiki
Honkai: Star Rail Walkthrough & Guides Wiki
Umamusume: Pretty Derby Walkthrough & Guides Wiki
Pokemon Pokopia Walkthrough & Guides Wiki
Resident Evil Requiem (RE9) Walkthrough & Guides Wiki
Monster Hunter Wilds Walkthrough & Guides Wiki
Wuthering Waves Walkthrough & Guides Wiki
Arknights: Endfield Walkthrough & Guides Wiki
Pokemon FireRed and LeafGreen (FRLG) Walkthrough & Guides Wiki
Pokemon TCG Pocket (PTCGP) Strategies & Guides Wiki


Recommended Games
Diablo 4: Vessel of Hatred Walkthrough & Guides Wiki
Cyberpunk 2077: Ultimate Edition Walkthrough & Guides Wiki
Fire Emblem Heroes (FEH) Walkthrough & Guides Wiki
Yu-Gi-Oh! Master Duel Walkthrough & Guides Wiki
Super Smash Bros. Ultimate Walkthrough & Guides Wiki
Pokemon Brilliant Diamond and Shining Pearl (BDSP) Walkthrough & Guides Wiki
Elden Ring Shadow of the Erdtree Walkthrough & Guides Wiki
Monster Hunter World Walkthrough & Guides Wiki
The Legend of Zelda: Tears of the Kingdom Walkthrough & Guides Wiki
Persona 3 Reload Walkthrough & Guides Wiki


All rights reserved
© Nintendo. Games are property of their respective owners. Nintendo of America Inc. Headquarters are in Redmond, Washington, USA
The copyrights of videos of games used in our content and other intellectual property rights belong to the provider of the game.
The contents we provide on this site were created personally by members of the Game8 editorial department.
We refuse the right to reuse or repost content taken without our permission such as data or images to other sites.