Eldin Tower Region: Korok Seed Map, Shrines, and Quests
★ Sequel: Tears of the Kingdom Guide here!
★ Get a head start with our Beginner's Guide
┗ The Best Recipes to Cook | Rupee Farming
★ Shrines Locations | Korok Seeds Locations
★ Explore after the story with our Post Game Guide
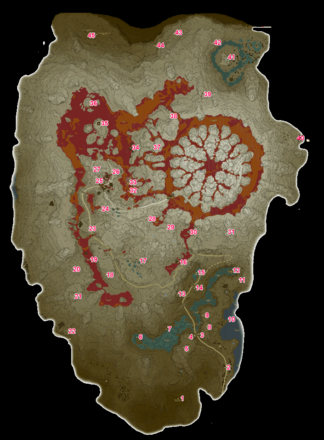
This page is a map of the Eldin Tower Region in The Legend of Zelda: Breath of the Wild (BotW). Here you can find all Korok Seed locations in the Eldin Tower Region, as well as quests, shrines, and other locations.
List of Contents
Eldin Tower Region Korok Seed Map
Map of All Eldin Tower Korok Seeds
| Eldin Korok Seed Map |
|---|
 Enlarge EnlargeView Full Map Image |
How to Get All Eldin Koroks
| Total No. | Korok in Region | Solution & Video Link |
|---|---|---|
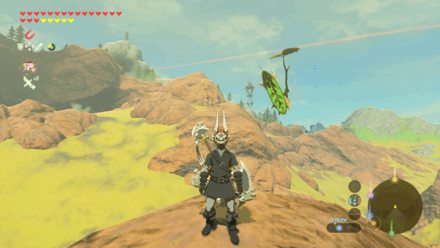
| 743 |
 Enlarge Enlarge |
Timed Ring
Stand on the Tree Stump with a Leaf and it will point to the direction of the ring where you must reach it before the timer runs out. |
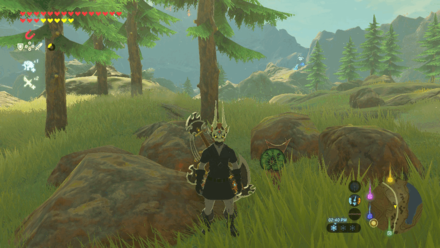
| 744 |
 Enlarge Enlarge |
Rock
Pick up the small rock surrounded by a couple of large rocks. |
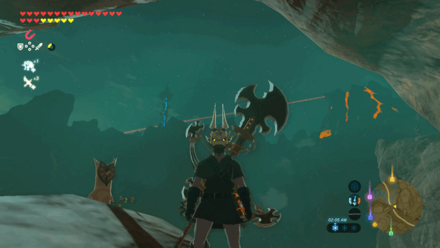
| 745 |
 Enlarge Enlarge |
Rock
Pick up the small rock at the rock formation. |
| 746 |
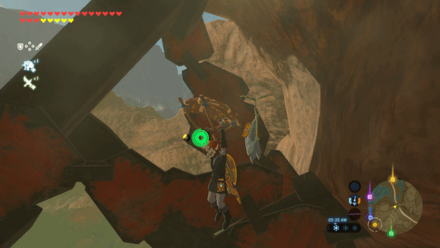 Enlarge Enlarge |
One Balloon
Hit the Floating Balloon with an arrow near some metal structures. |
| 747 |
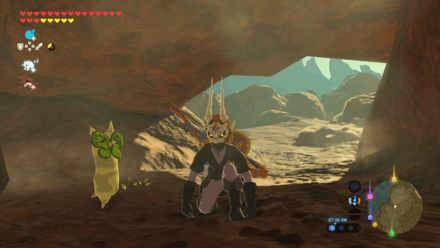 Enlarge Enlarge |
Hidden Rock
Blow up some stone rubble with a Rune Bomb and pick up the rock inside the cave. |
| 748 |
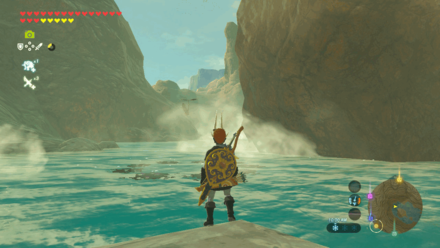 Enlarge Enlarge |
Water Ring
Dive from the nearest diving point into the ring. |
| 749 |
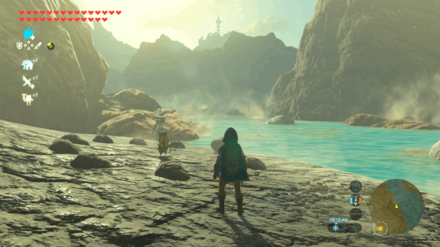 Enlarge Enlarge |
Rock Pattern
The missing rock can be found by a piece of land near the rock pattern. Bring the rock back to the pattern. |
| 750 |
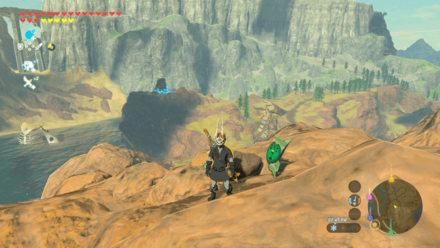 Enlarge Enlarge |
Hidden Rock
Blow up some stone rubble with a Rune Bomb and pick up the rock from inside the rubble. |
| 751 |
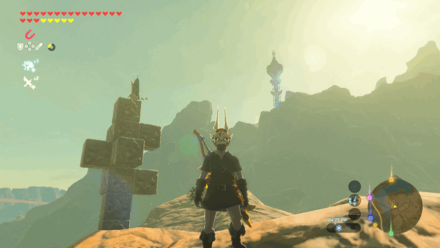 Enlarge Enlarge |
Metal Block
Use Magnesis to get the Metal Cube from the other structure and put it onto the other structure in the exact place you got it from. |
| 752 |
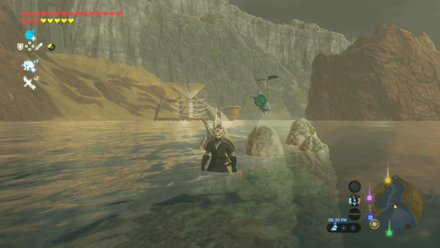 Enlarge Enlarge |
Rock Circle
Throw a rock into a circle of rocks in the water. You can get plenty of rocks nearby. |
| 753 |
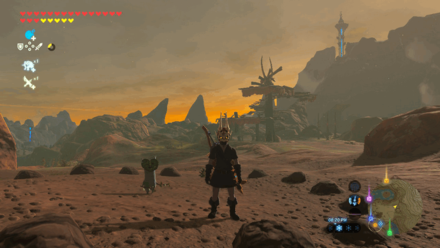 Enlarge Enlarge |
Rock Pattern
The missing rock can be found by an enemy outpost near the rock pattern. Bring the rock back to the pattern. |
| 754 |
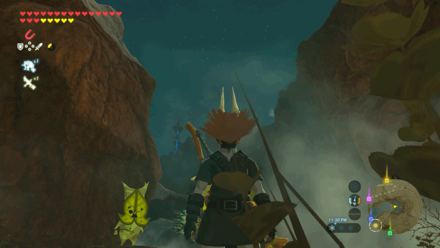 Enlarge Enlarge |
Metal Block
Use Magnesis to get the Metal Cube near the rocky wall and match put it on the other structure laying flat on the small land, with the exact pattern of the structure seen on the rocky wall. |
| 755 |
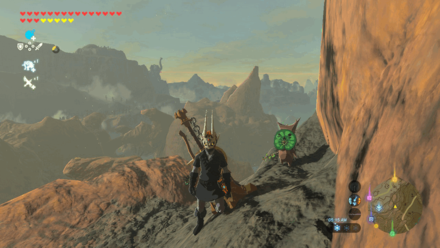 Enlarge Enlarge |
Hidden Rock
Blow up some stone rubble with a Rune Bomb and pick up the rock from inside the rubble. |
| 756 |
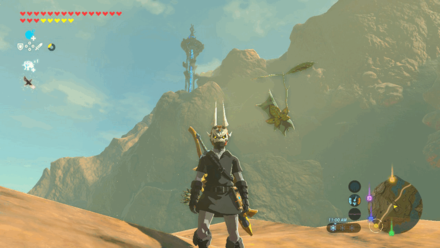 Enlarge Enlarge |
Timed Ring
Stand on the Tree Stump with a Leaf and it will point to the direction of the ring where you must reach it before the timer runs out. |
| 757 |
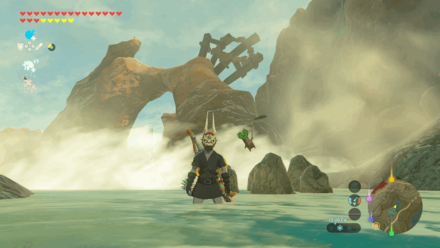 Enlarge Enlarge |
Rock Circle
Throw a rock into a circle of rocks in the water. You can get plenty of rocks nearby. |
| 758 |
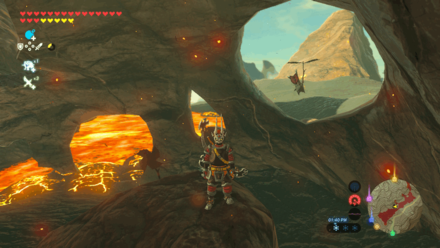 Enlarge Enlarge |
Pinwheel Balloon
Stand near the pinwheel inside a large skull cave to spawn a balloon for you to shoot. |
| 759 |
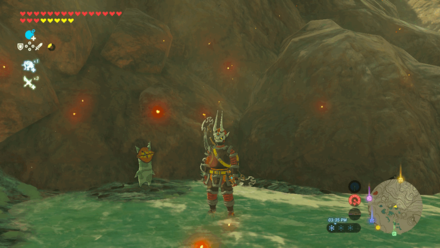 Enlarge Enlarge |
Hidden Rock
Blow up some stone rubble with a Rune Bomb and pick up the rock from inside the rubble. |
| 760 |
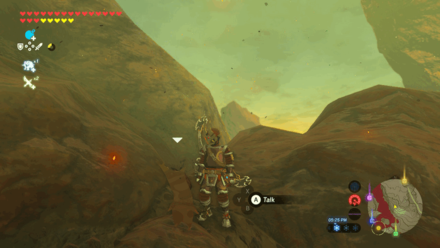 Enlarge Enlarge |
Rock Pit
Push a boulder until it shoots into the pool of lava. |
| 761 |
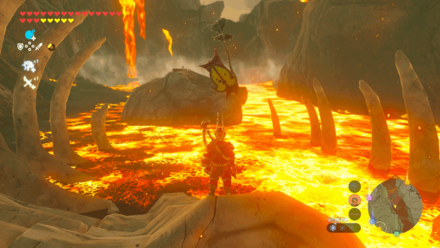 Enlarge Enlarge |
Timed Ring
Stand on the Tree Stump with a Leaf and it will point to the direction of the ring where you must reach it before the timer runs out. |
| 762 |
 Enlarge Enlarge |
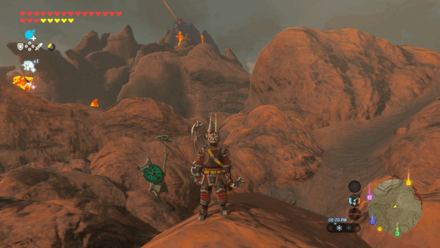
Rock Pit
Push a boulder until it shoots into the pool of water. |
| 763 |
 Enlarge Enlarge |
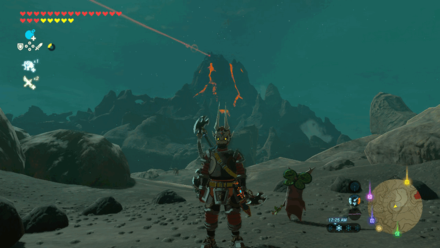
Rock Pattern
You can find the two rocks near to the spot where their missing from. |
| 764 |
 Enlarge Enlarge |
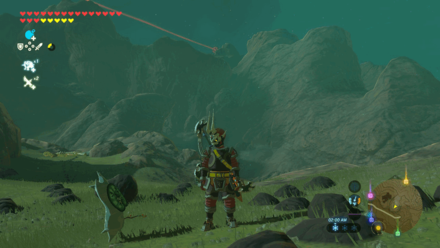
Rock Pattern
Pick the nearby rock and complete the rock pattern with it. |
| 765 |
 Enlarge Enlarge |
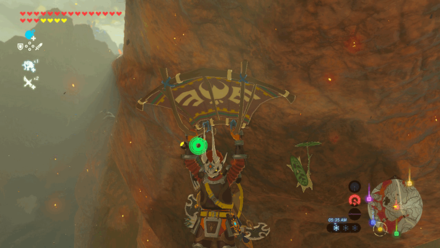
One Balloon
Shoot the balloon found under the cliff. |
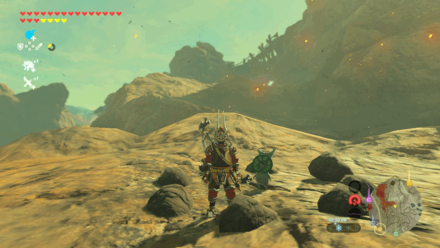
| 766 |
 Enlarge Enlarge |
Rock Pattern
The missing rock is just beside some lava. Pick it up and place it in the pattern to complete it. |
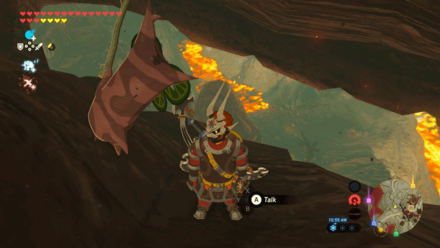
| 767 |
 Enlarge Enlarge |
Peak Sparkles
The sparkle can be found inside the giant Goron monument's mouth. |
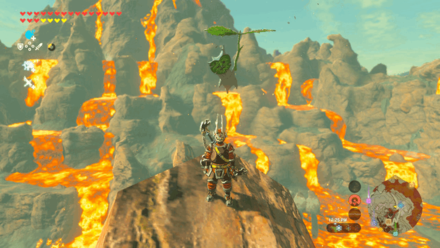
| 768 |
 Enlarge Enlarge |
Timed Ring
Stand on the Tree Stump with a Leaf and it will point to the direction of the ring where you must reach it before the timer runs out. |
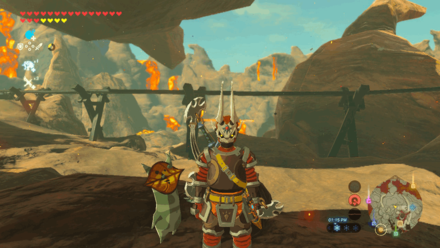
| 769 |
 Enlarge Enlarge |
Rock
Pick up the small rock that's near the tracks. |
| 770 |
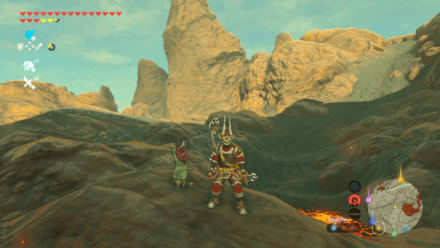 Enlarge Enlarge |
Rock Pit
Push a boulder until it shoots into the pool of lava. |
| 771 |
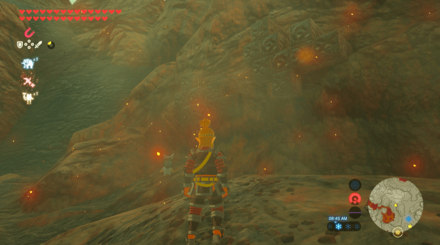 Enlarge Enlarge |
Metal Block
Use Magnesis to place the cube on the mid-left corner of the right set of blocks. |
| 772 |
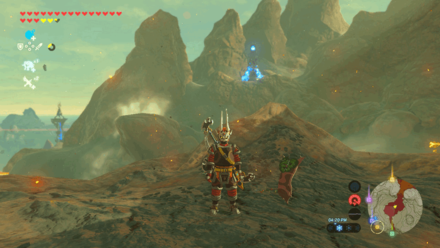 Enlarge Enlarge |
Rock
Pick up the small rock found at the top of the stone structure in the middle of the lava pond. |
| 773 |
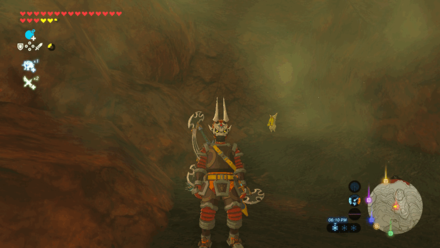 Enlarge Enlarge |
Hidden Rock
Blow up some stone rubble with a Rune Bomb and pick up the rock from inside the rubble. |
| 774 |
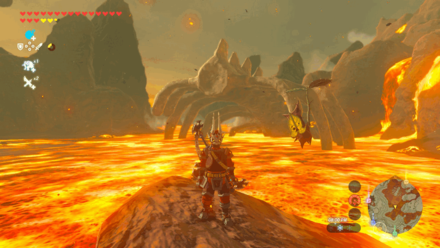 Enlarge Enlarge |
Timed Ring
Stand on the Tree Stump with a Leaf and it will point to the direction of the ring where you must reach it before the timer runs out. |
| 775 |
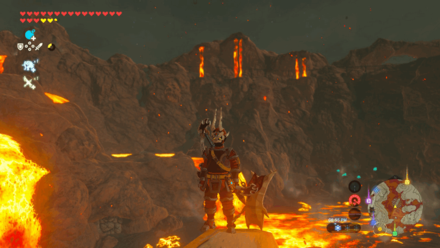 Enlarge Enlarge |
Peak Sparkles
Climb up the skeleton in the lava and activate the sparkle at the top of the skeleton. |
| 776 |
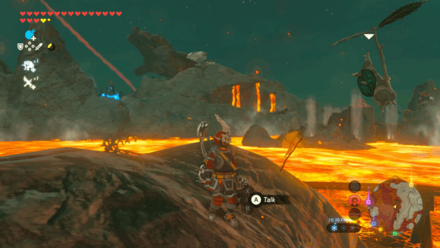 Enlarge Enlarge |
Pinwheel Balloon
Stand near the pinwheel on the top of a skull-like structure to spawn a balloon for you to shoot. |
| 777 |
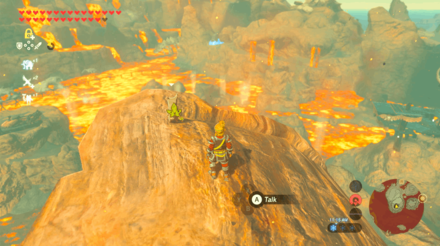 Enlarge Enlarge |
Rock
Pick up the rock on top of the small rock formation. |
| 778 |
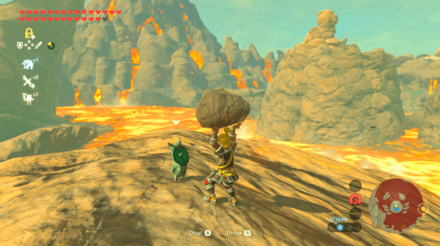 Enlarge Enlarge |
Rock
Pick up the rock on top of the Isle of Rabac. |
| 779 |
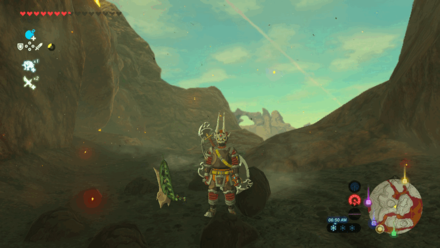 Enlarge Enlarge |
Rock Pattern
The missing rock is on top of the cliff just above the rock pattern. Pick it up and place to complete the pattern. |
| 780 |
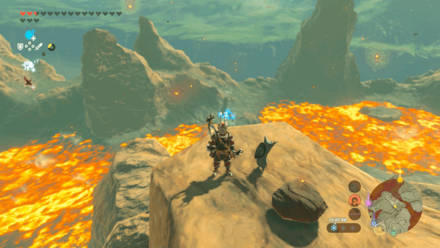 Enlarge Enlarge |
Rock
Pick up the rock at the top of a stone structure. |
| 781 |
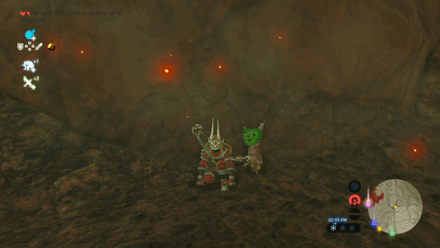 Enlarge Enlarge |
Hidden Rock
Blow up some stone rubble with a Rune Bomb and pick up the rock from inside the rubble. |
| 782 |
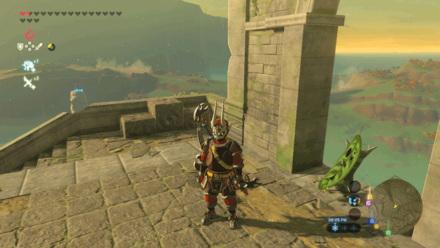 Enlarge Enlarge |
Metal Block
The metal cube can be found in the corner. Use Magnesis and put it in between the two cubes on the wall. |
| 783 |
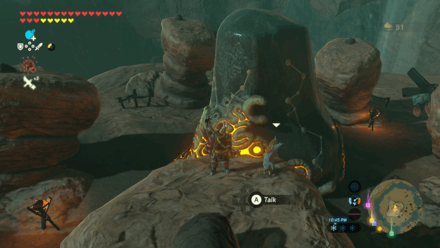 Enlarge Enlarge |
Rock Pattern
Put the rock that's on the front of the stone structure to the back to match it with the rest. |
| 784 |
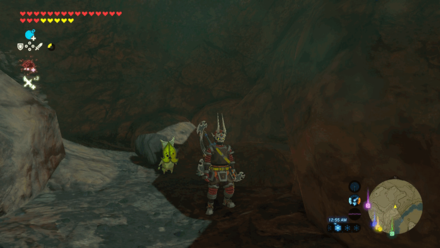 Enlarge Enlarge |
Hidden Rock
Blow up some stone rubble with a Rune Bomb and pick up the rock from inside the rubble. |
| 785 |
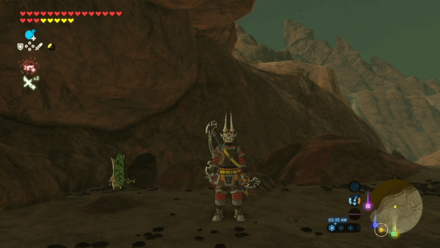 Enlarge Enlarge |
Hidden Rock
Blow up some stone rubble with a Rune Bomb and pick up the rock from inside the rubble. |
| 786 |
 Enlarge Enlarge |
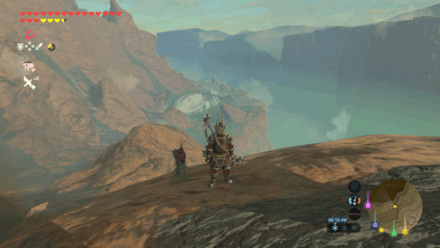
Metal Block
The metal cube can be found at the block pattern. Use Magnesis and match it with the other block pattern. |
| 787 |
 Enlarge Enlarge |
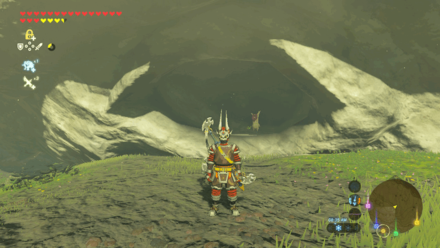
Hidden Rock
Remove the leaf pile by attacking it, revealing a rock. Pick it up and the Korok will reveal itself. |
Korok Seeds Map and All Korok Seed Locations
Shrines in Woodland Tower Region
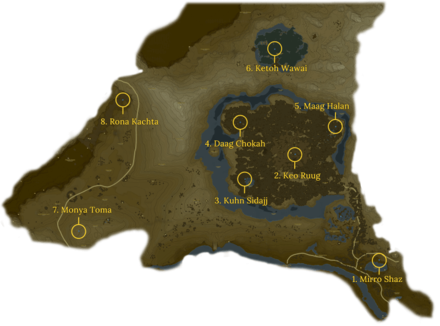
Woodland Tower Region Shrines
| Woodland Region Shrine Map |
|---|
 Enlarge EnlargeView Full Map Image |
| Shrine Number | Shrine | Overview |
|---|---|---|
| 1 |
 Enlarge Enlarge |
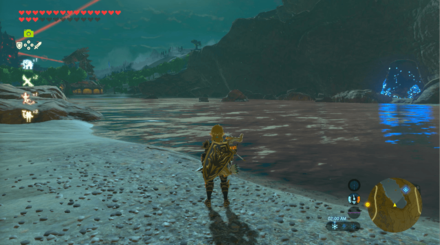
Trial: Tempered Power Location: Woodland Stable, Woodland Region Rewards: ・Iron Sledgehammer ・ Iron Sledgehammer ・ Giant Ancient Core |
| 2 |
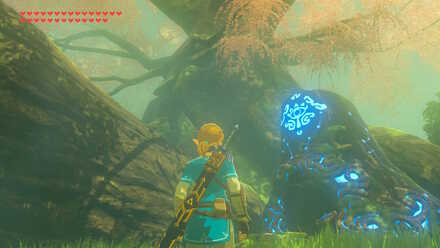 Enlarge Enlarge |
Trial: Fateful Stars Location: Korok Forest, Woodland Region Rewards: ・Knight's Claymore |
| 3 |
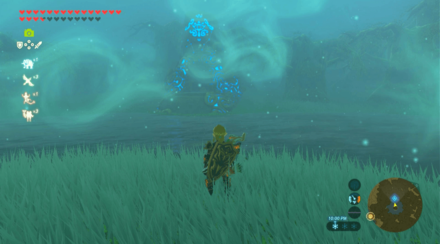 Enlarge Enlarge |
Trial: Kuhn Sidajj's Blessing Requirements: Start The Hero's Sword and The Korok Trials Shrine Quest: Trial of Second Sight Location: Lake Saria, Woodland Region Rewards: ・Giant Ancient Core |
| 4 |
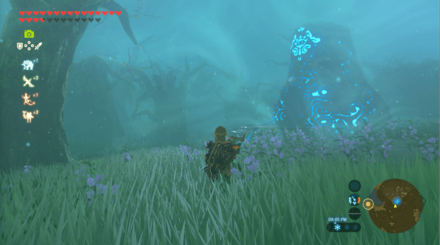 Enlarge Enlarge |
Trial: Daag Chokah's Blessing Requirements: Start The Hero's Sword and The Korok Trials Shrine Quest: The Lost Pilgrimage Location: Korok Forest, Woodland Region Rewards: ・Ancient Core |
| 5 |
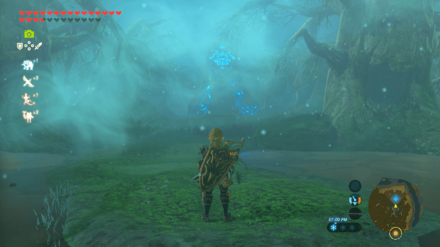 Enlarge Enlarge |
Trial: Maag Halan's Blessing Requirements: Start The Hero's Sword and The Korok Trials Shrine Quest: The Test of Wood Location: Mido Swamp, Woodland Region Rewards: ・Giant Ancient Core |
| 6 |
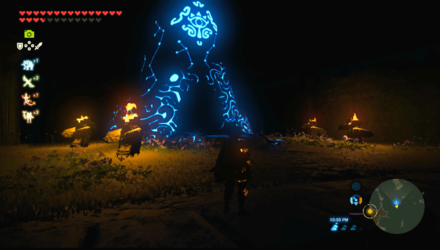 Enlarge Enlarge |
Trial: Ketoh Wawai's Blessing Shrine Quest: Shrouded Shrine Location: Typhlo Ruins, Woodland Region Rewards: ・Ancient Core |
| 7 |
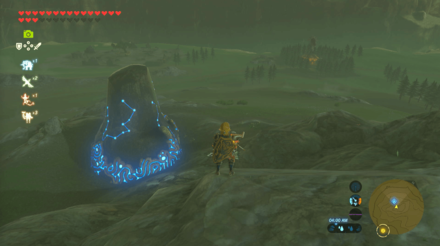 Enlarge Enlarge |
Trial: Drawing Parabolas Location: Salari Hills, Woodland Region Rewards: ・Thunderblade |
| 8 |
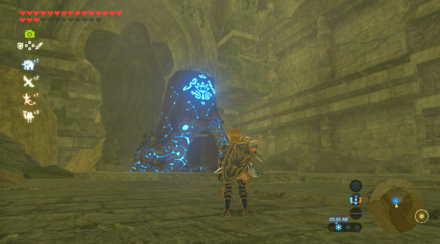 Enlarge Enlarge |
Trial: Rona Kachta's Blessing Location: Forgotten Temple, Woodland Region Rewards: ・Great Flameblade |
| ▲ Back to All Shrines by Tower Region ▲ | ||
Shrines Map and All Shrine Locations
Shrines in Eldin Tower Region
Eldin Tower Region Shrines
| Eldin Region Shrine Map |
|---|
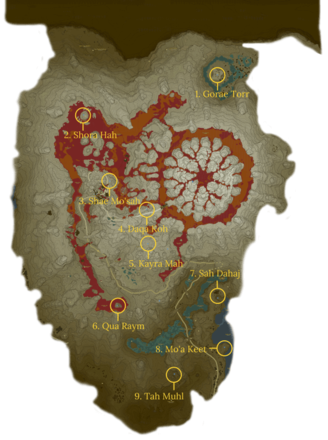 Enlarge EnlargeView Full Map Image |
| Shrine Number | Shrine | Overview |
|---|---|---|
| 1 |
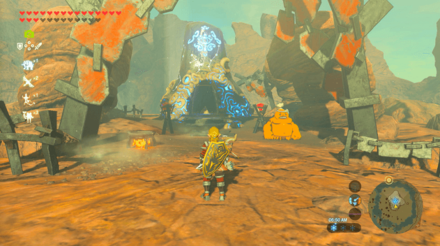 Enlarge Enlarge |
Trial: Gorae Torr's Blessing Shrine Quest: The Gut Check Challenge Location: Gut Check Rock, Eldin Region Rewards: ・Great Frostblade |
| 2 |
 Enlarge Enlarge |
Trial: Blue Flame Location: Isle of Rabac, Eldin Region Rewards: ・Royal Bow ・ Great Flameblade ・ Giant Ancient Core ・ Forest Dweller's Sword ・ Silver Rupee ・ Ice Arrow x10 |
| 3 |
 Enlarge Enlarge |
Trial: Swinging Flames Location: Goron City, Eldin Region Rewards: ・Stone Smasher ・ Ruby ・ Ice Arrow x10 |
| 4 |
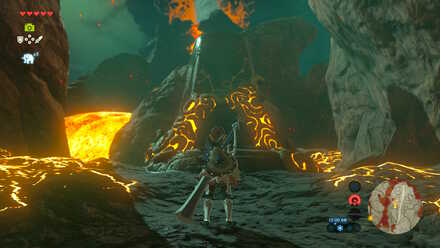 Enlarge Enlarge |
Trial: Stalled Flight Location: Bridge of Eldin, Eldin Region Rewards: ・Silver Rupee |
| 5 |
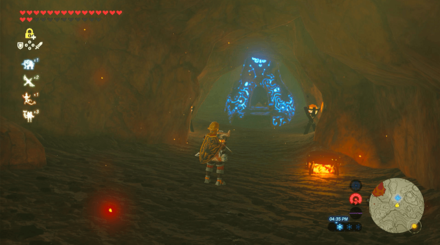 Enlarge Enlarge |
Trial: Greedy Hill Shrine Quest: A Brother's Roast Location: Gorko Tunnel, Eldin Region Rewards: ・Ruby ・ Bomb Arrow x5 |
| 6 |
 Enlarge Enlarge |
Trial: A Balanced Approach Requirements: Bow and arrows Location: Goronbi Lake, Eldin Region Rewards: ・Knight's Claymore |
| 7 |
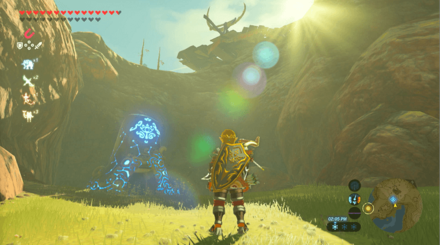 Enlarge Enlarge |
Trial: Power of Fire Location: Cephla Lake, Eldin Region Rewards: ・Knight's Bow |
| 8 |
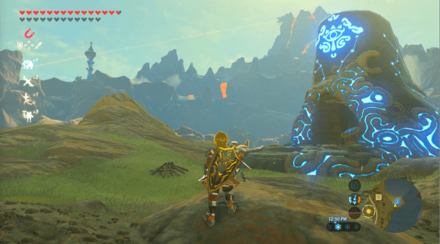 Enlarge Enlarge |
Trial: Metal Makes a Path Location: Foothill Stable, Eldin Region Rewards: ・Knight's Broadsword |
| 9 |
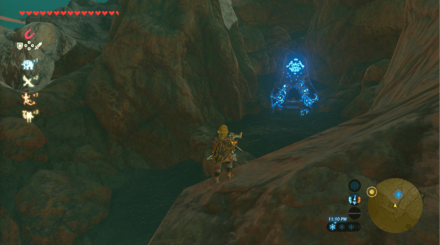 Enlarge Enlarge |
Trial: Passing the Flame Shrine Quest: A Landscape of a Stable Location: Trilby Valley, Eldin Region Rewards: ・Ruby ・ Opal ・ Cobble Crusher |
| ▲ Back to All Shrines by Tower Region ▲ | ||
Shrines Map and All Shrine Locations
Quests in Eldin Tower Region
Main Quests
| Quest | Type | Quest Giver & Location |
|---|---|---|
| Divine Beast Vah Rudania | Main Quest | Bludo Goron City |
Side Quests
| Quest | Type | Quest Giver & Location |
|---|---|---|
| Fireproof Lizard Roundup | Side Quest | Kima Southern Mine |
| The Road to Respect | Side Quest | Fugo Goron City |
| Death Mountain's Secret | Side Quest | Dugby Goron Hot Springs |
| The Jewel Trade | Side Quest | Ramella Goron City |
Shrine Quests
| Quest | Type | Quest Giver & Location |
|---|---|---|
| A Landscape of a Stable | Shrine Quest | Mayro Foothill Stable |
| A Brother's Roast | Shrine Quest | Bladon Goron City |
| The Gut Check Challenge | Shrine Quest | Bayge Gut Check Rock |
DLC Quests
| Quest | Type | Quest Giver & Location |
|---|---|---|
| EX Champion Daruk's Song | DLC Main Quest | ??? Eldin Mountains |
All Locations in Eldin Tower Region
| Trilby Valley | Southern Mine | Medingo Pool | Maw of Death Mountain |
| Lake Intenoch | Lake Ferona | Lake Darman | Isle of Rabac |
| Gut Check Rock | Gortram Cliff | Goronbi River | Goronbi Lake |
| Goro Cove | Gorko Tunnel | Gorko Lake | Golow River |
| Gero Pond | Foothill Stable | Eldin's Flank | Eldin Great Skeleton |
| Death Caldera | Darunia Lake | Darb Pond | Broca Island |
| Bridge of Eldin | Abandoned North Mine |
Zelda: BotW Related Guides

Points of Interest
| All Maps and Locations | |
|---|---|
| Shrines | Stables |
| Great Fairy Fountains | Korok Seeds |
Tower Regions
Author
The Legend of Zelda: Breath of the Wild Walkthrough & Guides Wiki
Eldin Tower Region: Korok Seed Map, Shrines, and Quests
improvement survey
04/2026
improving Game8's site?

Your answers will help us to improve our website.
Note: Please be sure not to enter any kind of personal information into your response.

We hope you continue to make use of Game8.
Rankings
- We could not find the message board you were looking for.
Gaming News
Popular Games

Genshin Impact Walkthrough & Guides Wiki

Crimson Desert Walkthrough & Guides Wiki

Umamusume: Pretty Derby Walkthrough & Guides Wiki

Honkai: Star Rail Walkthrough & Guides Wiki

Monster Hunter Stories 3: Twisted Reflection Walkthrough & Guides Wiki

Wuthering Waves Walkthrough & Guides Wiki

The Seven Deadly Sins: Origin Walkthrough & Guides Wiki

Pokemon TCG Pocket (PTCGP) Strategies & Guides Wiki

Pokemon Pokopia Walkthrough & Guides Wiki

Zenless Zone Zero Walkthrough & Guides Wiki
Recommended Games

Monster Hunter World Walkthrough & Guides Wiki

Fire Emblem Heroes (FEH) Walkthrough & Guides Wiki

Pokemon Brilliant Diamond and Shining Pearl (BDSP) Walkthrough & Guides Wiki

Super Smash Bros. Ultimate Walkthrough & Guides Wiki

Diablo 4: Vessel of Hatred Walkthrough & Guides Wiki

Cyberpunk 2077: Ultimate Edition Walkthrough & Guides Wiki

Yu-Gi-Oh! Master Duel Walkthrough & Guides Wiki

Elden Ring Shadow of the Erdtree Walkthrough & Guides Wiki

The Legend of Zelda: Tears of the Kingdom Walkthrough & Guides Wiki

Persona 3 Reload Walkthrough & Guides Wiki
All rights reserved
© 2020 Nintendo. The Legend of Zelda, Wii U, and Nintendo Switch are trademarks of Nintendo.
The copyrights of videos of games used in our content and other intellectual property rights belong to the provider of the game.
The contents we provide on this site were created personally by members of the Game8 editorial department.
We refuse the right to reuse or repost content taken without our permission such as data or images to other sites.


![Forza Horizon 6 Review [Preview] | Beautiful Roads With a Whole Lot of Oversteer](https://img.game8.co/4460981/a7254c24945c43fbdf6ad9bea52b5ce9.png/show)

![Forza Horizon 6 Review [Preview] | Beautiful Roads With a Whole Lot of Oversteer](https://img.game8.co/4460981/a7254c24945c43fbdf6ad9bea52b5ce9.png/thumb)
![Borderlands Mobile Review [Playtest] | The Same Borderlands Made Easy](https://img.game8.co/4465500/aac0c880a39ec5cd46073e49d18f3ed5.png/thumb)


