All Bosses and How to Beat Them

Bosses are powerful enemies that you fight at the end of battles in Hyrule Warriors: Age of Imprisonment. Read on for a list of bosses for each story battle for all chapters of the game.
List of Contents
List of All Bosses
All Main Story Bosses
Complete Walkthrough and Chapters List
How to Beat Bosses
Exploit Weaknesses
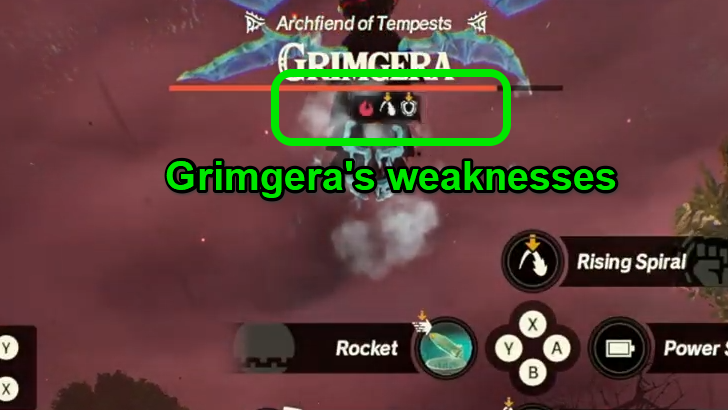
Since bosses usually have more HP than the average powerful enemy, it is very important to exploit any weaknesses they may have to deplete their Weak-Point Gauge.
Weak-Point Smash attacks deal a lot of damage and shave off a significant chunk of boss HP bars. You'll want to do a Weak-Point Smash multiple times in a battle if you want to beat the boss quickly.
Elements Explained: How to Exploit Enemy Weaknesses
Use Sync Strikes
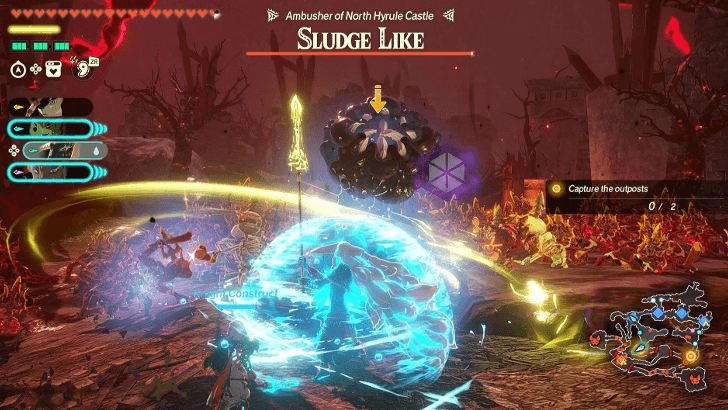
Sync Strikes are powerful moves that you can execute once two of your characters have full Sync-Gauges. It's best to save your Sync Strike attacks for bosses and other powerful enemies with Weak-Point Gauges rather than use them for regular enemies.
Use Special Attacks
Once a character's Special Attack Gauge is full, they can perform a Special Attack if you press A. This is an attack that's more powerful that the basic attacks and does not need another character in order to activate.
It does not do as much damage as a Sync Strike or a Weak-Point Smash, but it can still expose the Weak-Point Gauge of the enemy.
Hyrule Warriors: Age of Imprisonment Related Guides
Enemy Guides
- All Bosses and How to Beat Them
Comment
Author
Hyrule Warriors: Age of Imprisonment Walkthrough & Guides Wiki
All Bosses and How to Beat Them
improvement survey
04/2026
improving Game8's site?

Your answers will help us to improve our website.
Note: Please be sure not to enter any kind of personal information into your response.

We hope you continue to make use of Game8.
Rankings
- We could not find the message board you were looking for.
Gaming News
Popular Games

Genshin Impact Walkthrough & Guides Wiki

Crimson Desert Walkthrough & Guides Wiki

Umamusume: Pretty Derby Walkthrough & Guides Wiki

Honkai: Star Rail Walkthrough & Guides Wiki

Monster Hunter Stories 3: Twisted Reflection Walkthrough & Guides Wiki

Wuthering Waves Walkthrough & Guides Wiki

The Seven Deadly Sins: Origin Walkthrough & Guides Wiki

Pokemon TCG Pocket (PTCGP) Strategies & Guides Wiki

Pokemon Pokopia Walkthrough & Guides Wiki

Zenless Zone Zero Walkthrough & Guides Wiki
Recommended Games

Monster Hunter World Walkthrough & Guides Wiki

Fire Emblem Heroes (FEH) Walkthrough & Guides Wiki

Pokemon Brilliant Diamond and Shining Pearl (BDSP) Walkthrough & Guides Wiki

Super Smash Bros. Ultimate Walkthrough & Guides Wiki

Diablo 4: Vessel of Hatred Walkthrough & Guides Wiki

Cyberpunk 2077: Ultimate Edition Walkthrough & Guides Wiki

Yu-Gi-Oh! Master Duel Walkthrough & Guides Wiki

Elden Ring Shadow of the Erdtree Walkthrough & Guides Wiki

The Legend of Zelda: Tears of the Kingdom Walkthrough & Guides Wiki

Persona 3 Reload Walkthrough & Guides Wiki
All rights reserved
© Nintendo © KOEI TECMO GAMES All rights reserved.
The copyrights of videos of games used in our content and other intellectual property rights belong to the provider of the game.
The contents we provide on this site were created personally by members of the Game8 editorial department.
We refuse the right to reuse or repost content taken without our permission such as data or images to other sites.
 To the Great Plateau
 The Art of the Blade
 Where Ancient Wisdom Sleeps
 Raging Sands
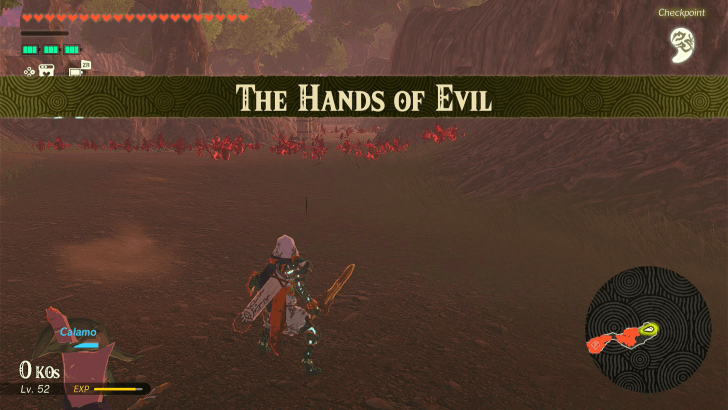 The Hands of Evil
 Growing Suspicion
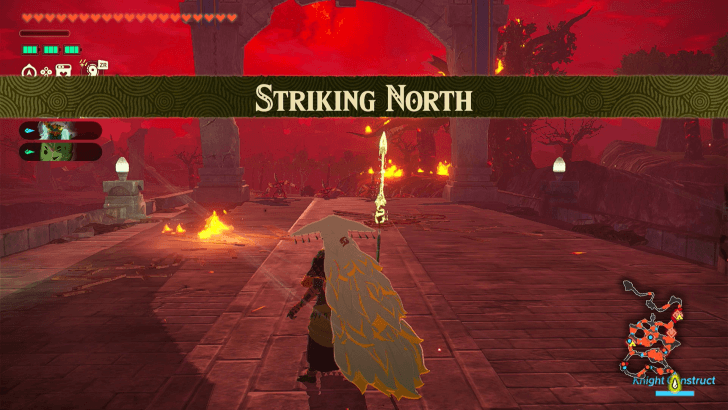 Striking North
 Beneath the Blood Moon
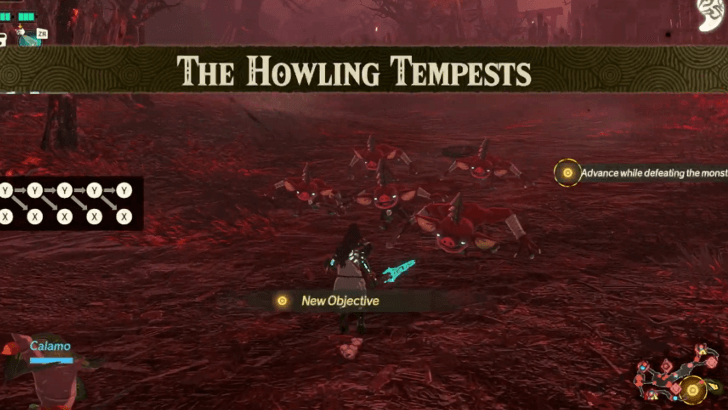 The Howling Tempests
 Shadows in the Snow
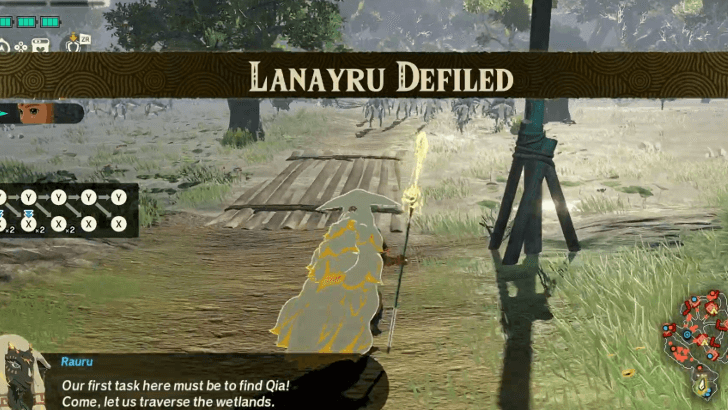 Lanayru Defiled
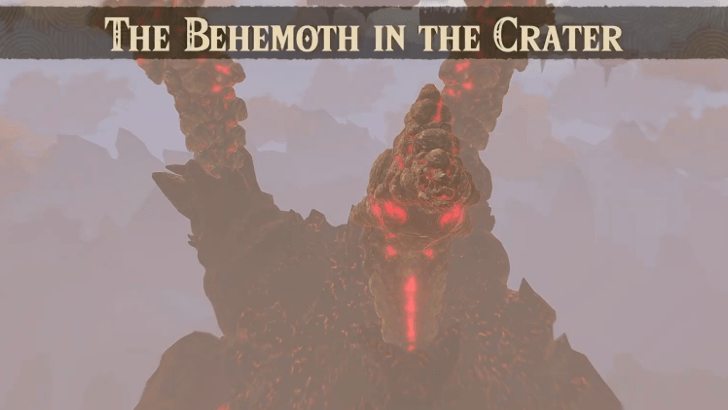 The Behemoth in the Crater
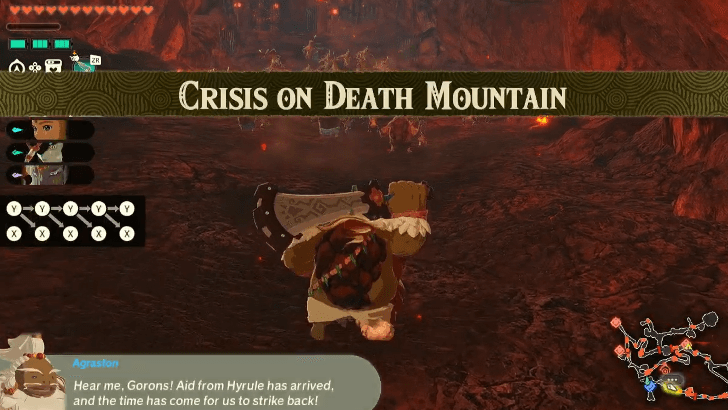 Crisis on Death Mountain
 Under Cover of Mist
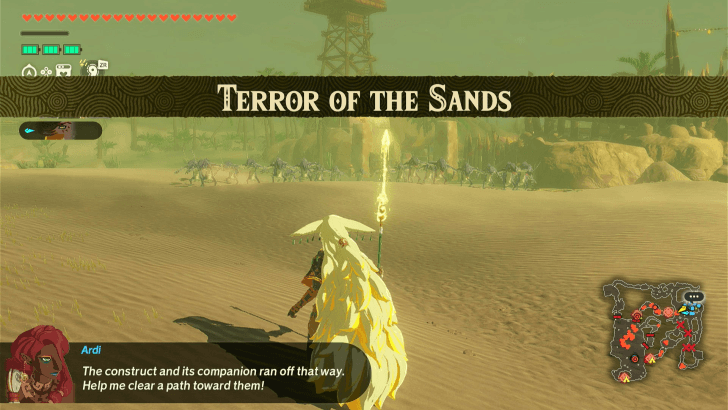 Terror of the Sands
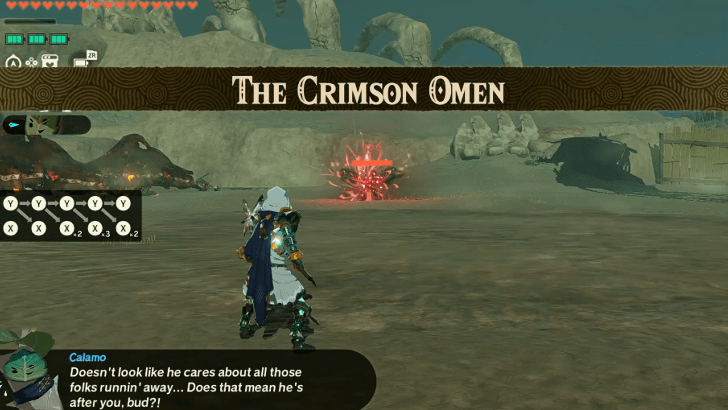 Crimson Omen
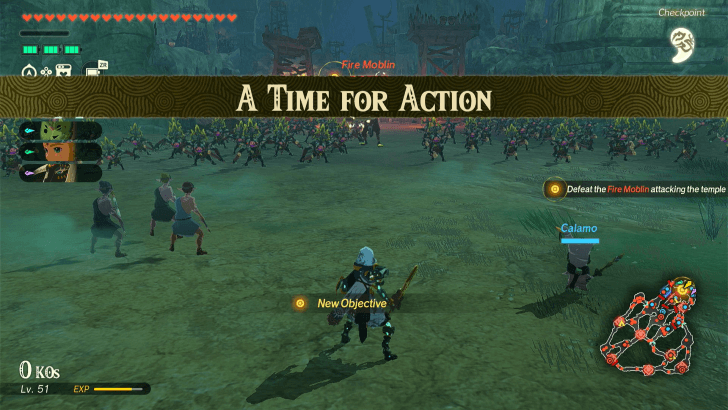 A Time for Action
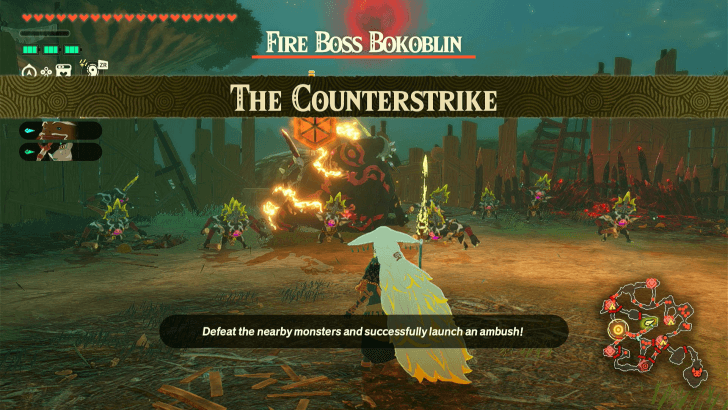 The Counterstrike
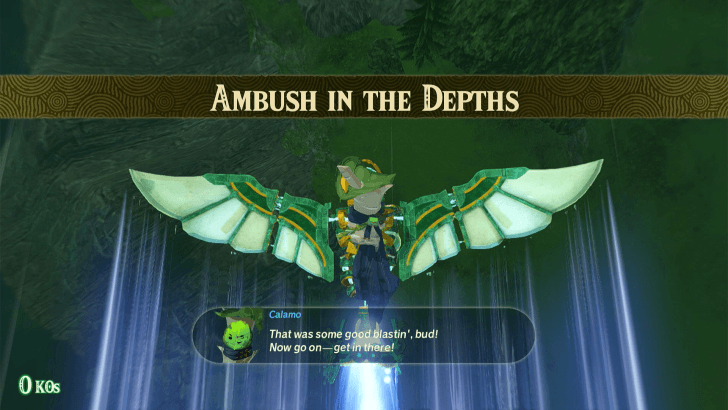 Ambush in the Depths
 Purging the Shadows
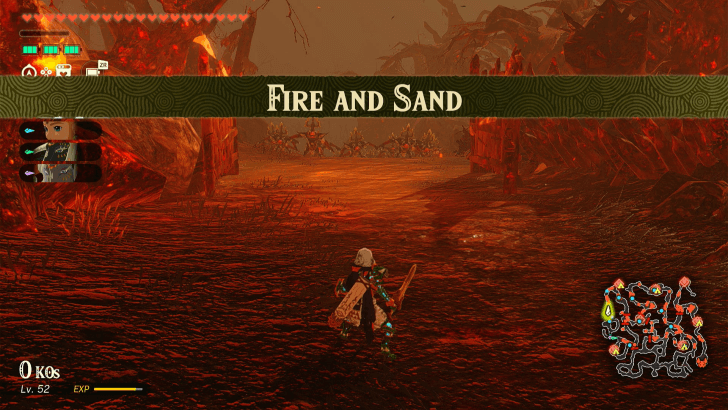 Fire and Sand
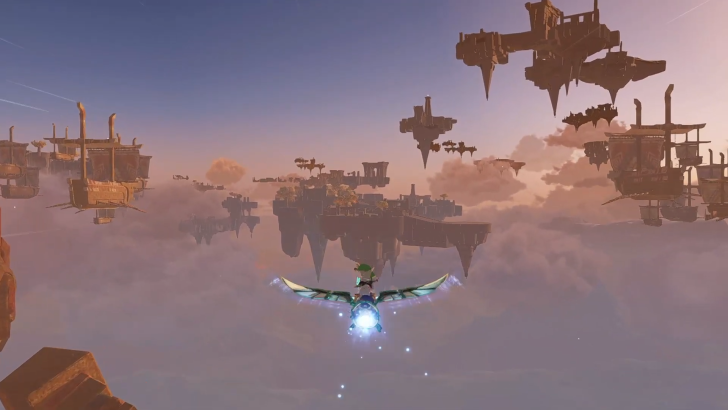 Into the Fray
 The Archfiend's Return
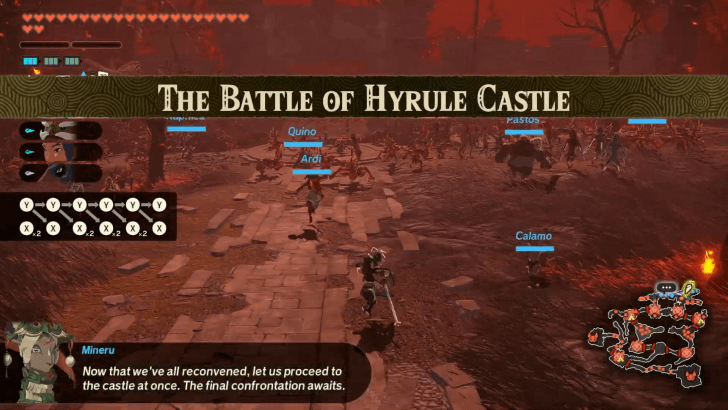 The Battle of Hyrule Castle
 The Demon King, Ensnared
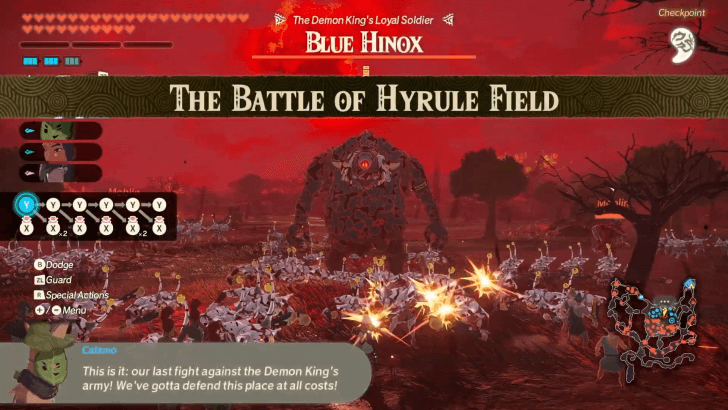 The Battle of Hyrule Field
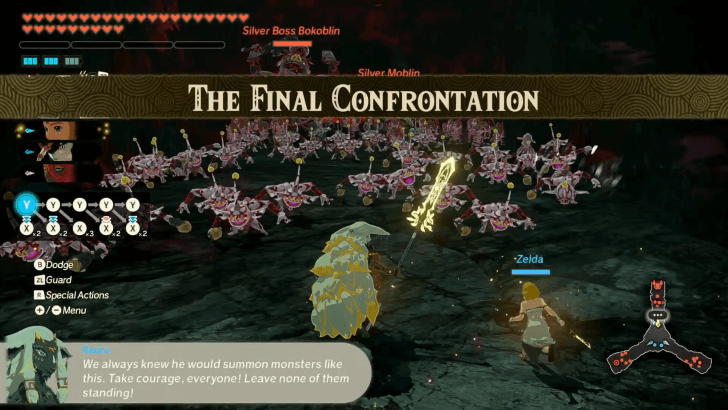 The Final Confrontation
 A Clash of Constructs




![Forza Horizon 6 Review [Preview] | Beautiful Roads With a Whole Lot of Oversteer](https://img.game8.co/4460981/a7254c24945c43fbdf6ad9bea52b5ce9.png/thumb)
![Borderlands Mobile Review [Playtest] | The Same Borderlands Made Easy](https://img.game8.co/4465500/aac0c880a39ec5cd46073e49d18f3ed5.png/thumb)


