Raging Sands Korok Seeds, Chests, and Walkthrough
Raging Sands is a Chapter 2 Battle in Hyrule Warriors: Age of Imprisonment. Here's a walkthrough for Raging Sands, including Korok Seed and Chest Locations, and tips on how to complete the Battle!
| ◀ Previous Mission | Next Mission ▶ |
|---|---|
| Where Ancient Wisdom Sleeps | The Hands of Evil |
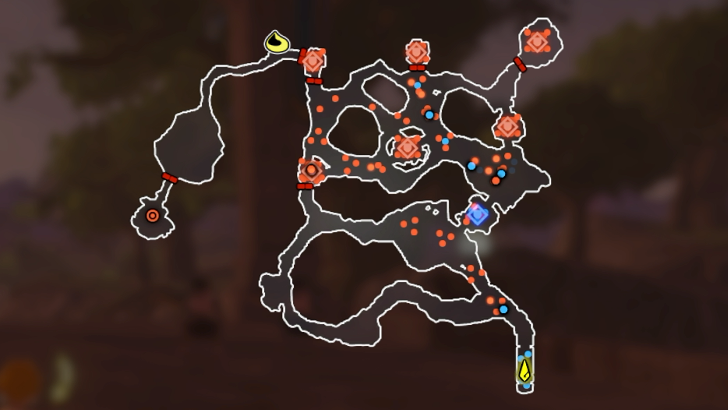
Raging Sands Korok Seed and Chest Locations
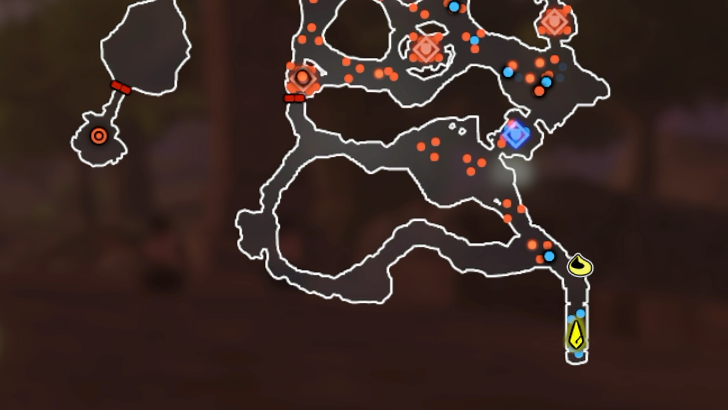
Raging Sands Full Map

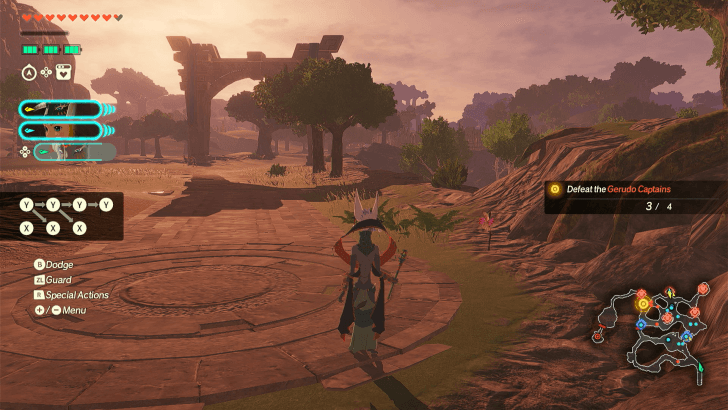
Raging Sands Korok Seeds
| Overworld View | Map Location | |
|---|---|---|
 |
 |
|
 |
 |
|
 |
 |
|
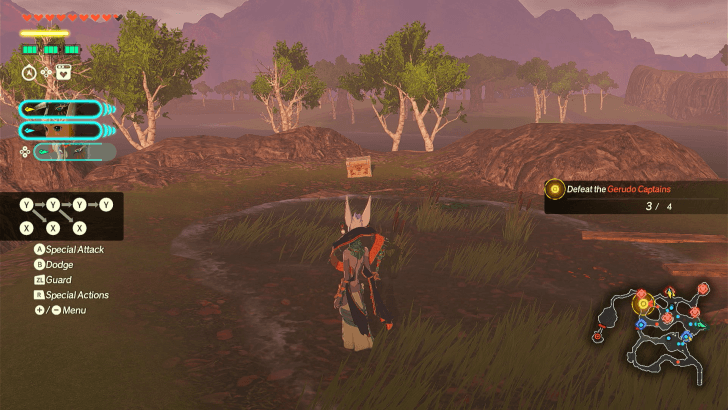
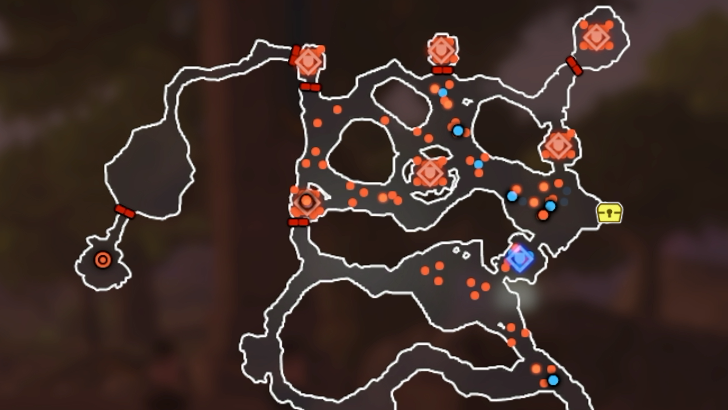
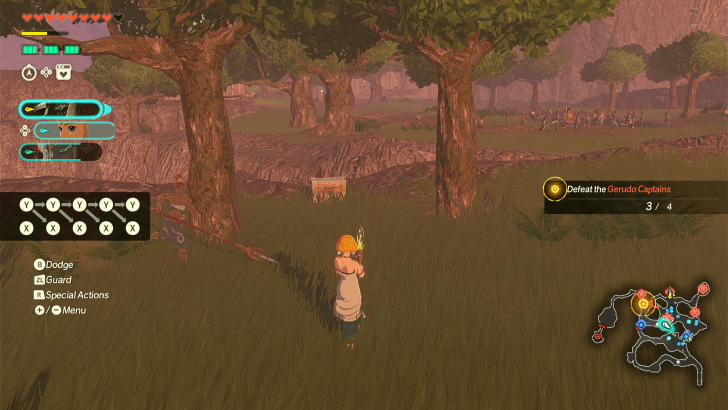
Raging Sands Treasure Chests
| Overworld View | Map Location | |
|---|---|---|
 |
 |
|
 |
 |
|
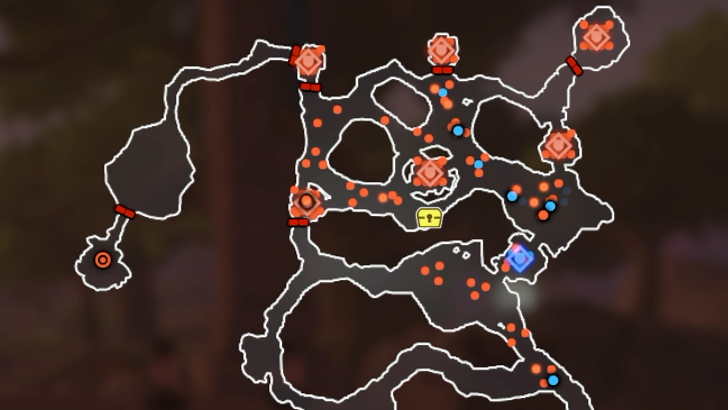
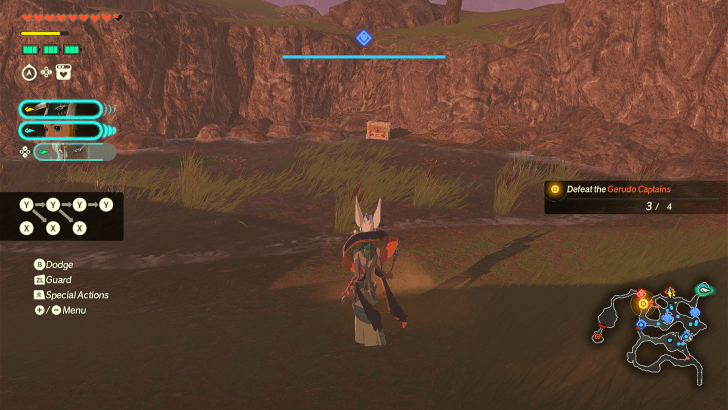
| Found between two trees south of the outpost at the center of the map. | ||
 |
 |
|
 |
 |
|
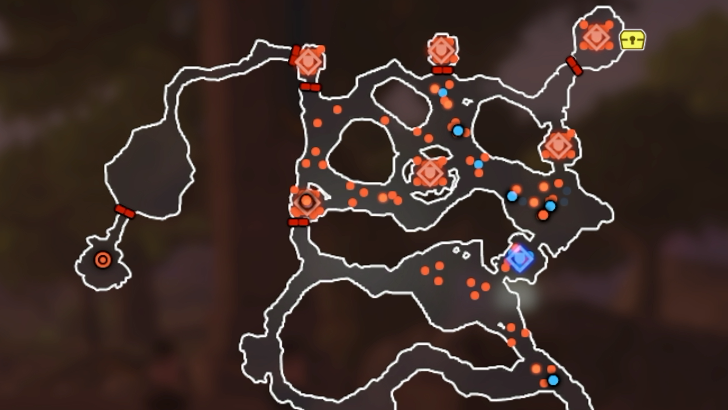
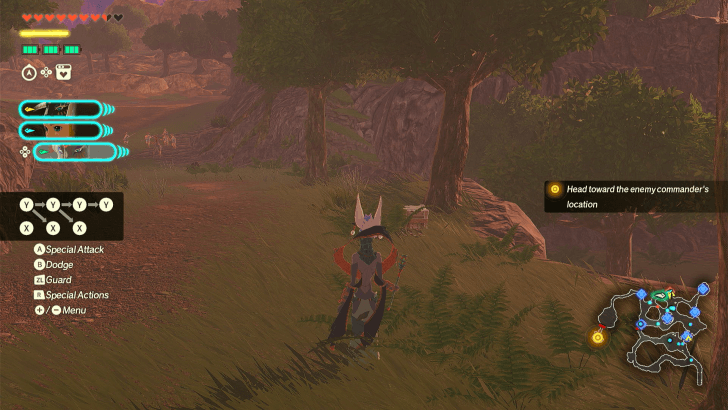
| Partially hidden behind foliage along the path between the northern outpost and northwestern outpost. | ||
Raging Sands Walkthrough
| Recommended Level | 5 |
|---|---|
| Fixed Characters | |
| Other Usable Characters |
・None |
| First Clear Rewards | Battlefield Materials |
Step-by-Step Guide
| 1 | 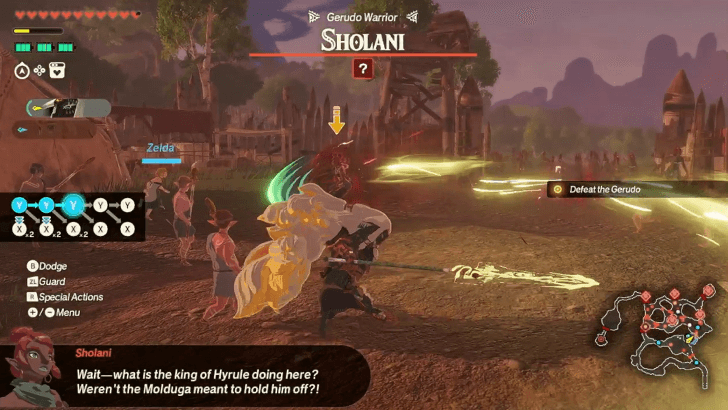 Press on until you reach the entrance of the first outpost on the east side of the map. As soon as you set foot in the outpost, a Gerudo named Sholani will rush from the other side. Exploit her Charge-type dangerous attacks to defeat her quickly and reclaim the outpost. |
|---|---|
| * | 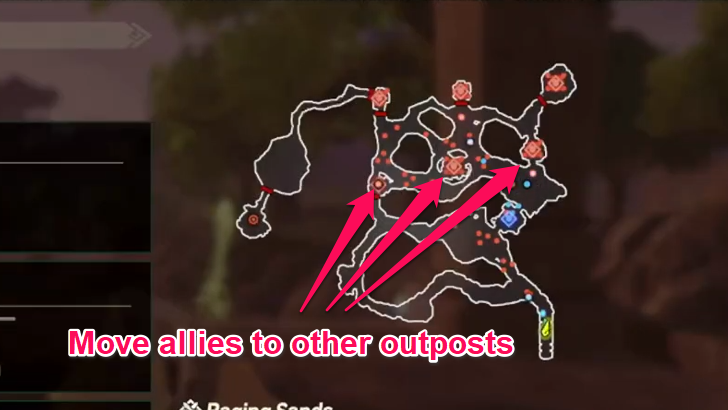 To speed up the Battle completion, you can execute a divide-and-conquer strategy by immediately ordering an ally to move to one of the outposts. You can then simply switch to your ally once they reach the outpost and reclaim it without moving them manually. |
| * | 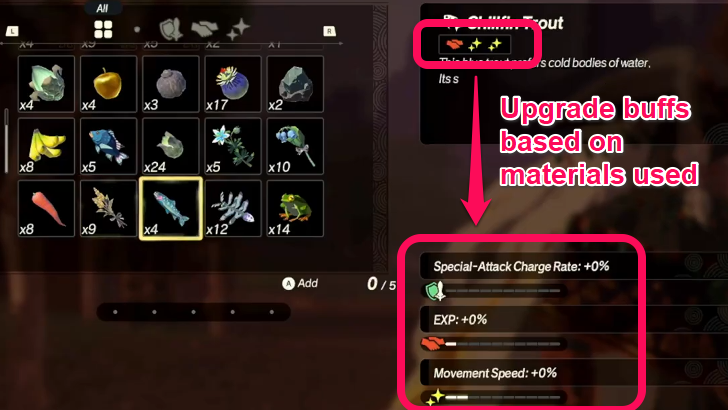 After defeating Sholani, you can set up a Camp on the outpost where you can replenish Rations, health, and batteries. You can also upgrade the buffs that you get from Camps by supplying specific materials. Be sure to check the effects of each material to know which parameters they can boost further! |
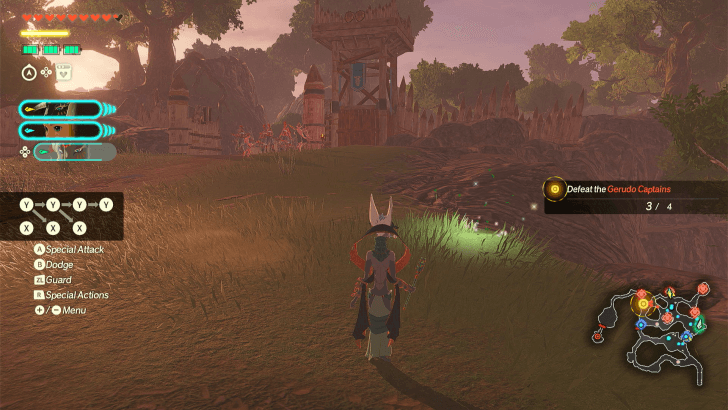
| 2 | 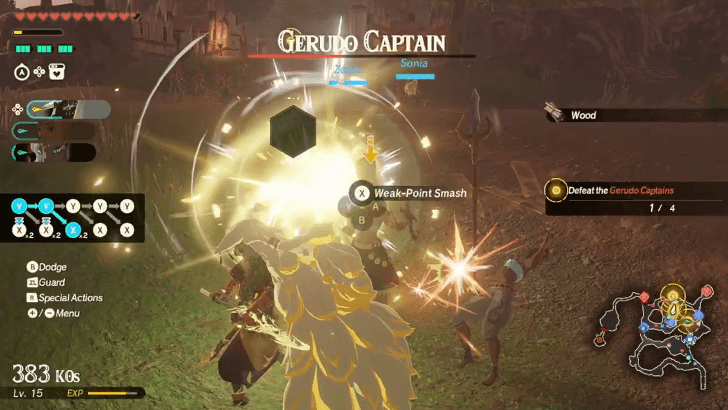 Defeat the four Gerudo Captains. Only two Gerudo Captains will be marked initially, but two more will appear after defeating one of them. Utilize the order function for this objective as they are scattered across the upper half of the map. |
| 3 | 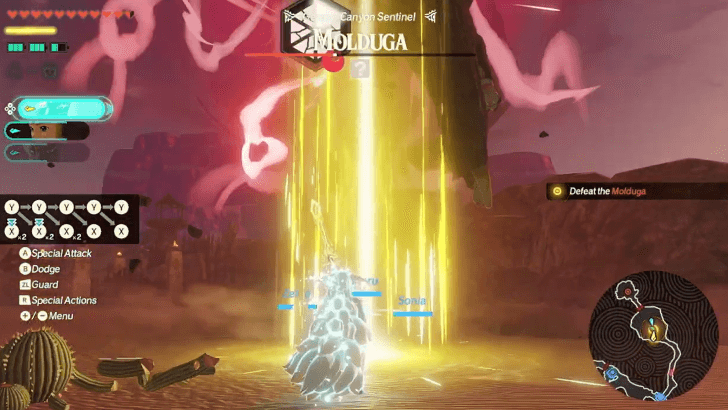 After defeating all the Gerudo Captains in the field, head to the open area past the northwest outpost to fight a Molduga. Unlike the Moldugas in the other games, this Molduga will not stay underground for the most part. However, if it does go underground to prepare a dangerous attack, ready an anti-air Unique Skill and use it while the Molduga is in midair. |
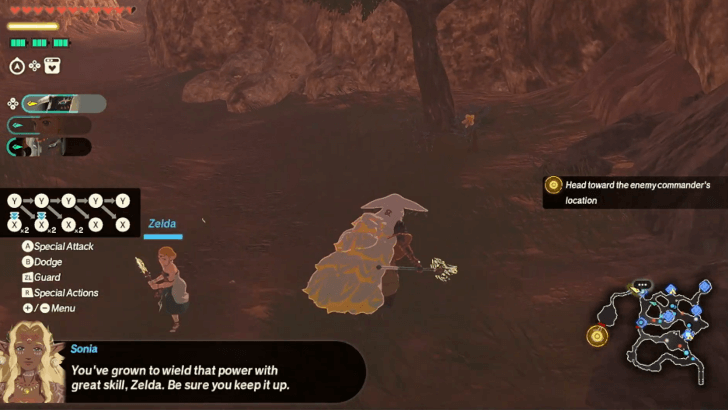
| 4 | 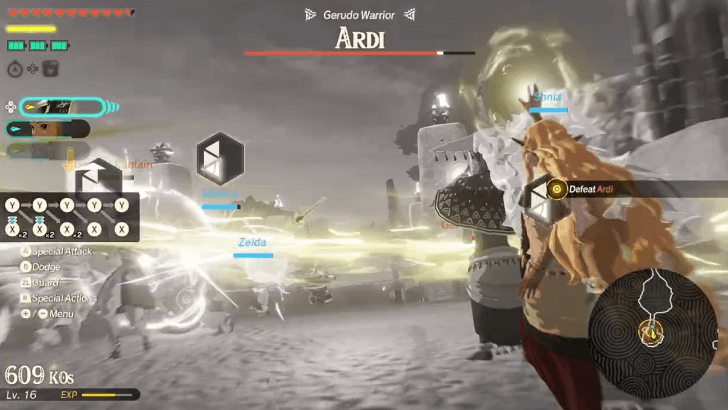 The Gerudo Commander, Ardi, will reveal herself after defeating the Molduga. Make use of wide-ranged attacks in this fight as Ardi is accompanied by two more Captains. Defeat all three Gerudo to complete the Battle. |
Previous and Next Battles
| ◀ Previous Mission | Next Mission ▶ |
|---|---|
| Where Ancient Wisdom Sleeps | The Hands of Evil |
Hyrule Warriors: Age of Imprisonment Related Guides

Complete Walkthrough and Chapters List
All Battles
| No. | Battle | No. | Battle |
|---|---|---|---|
| 1 | To the Great Plateau | 2 | The Art of the Blade |
| 3 | Where Ancient Wisdom Sleeps | 4 | Raging Sands |
| 5 | The Hands of Evil | 6 | Growing Suspicion |
| 7 | Striking North | 8 | Beneath the Blood Moon |
| 9 | The Howling Tempests | 10 | Shadows in the Snow |
| 11 | Lanayru Defiled | 12 | The Behemoth in the Crater |
| 13 | Crisis on Death Mountain | 14 | Under Cover of Mist |
| 15 | Terror of the Sands | 16 | Crimson Omen |
| 17 | A Time for Action | 18 | The Counterstrike |
| 19 | Ambush in the Depths | 20 | Purging the Shadows |
| 21 | Fire and Sand | 22 | Into the Fray |
| 23 | The Archfiend's Return | 24 | The Battle of Hyrule Castle |
| 25 | The Demon King, Ensnared | 26 | The Battle of Hyrule Field |
| 27 | The Final Confrontation | 28 | A Clash of Constructs |
Comment
Author
Hyrule Warriors: Age of Imprisonment Walkthrough & Guides Wiki
Raging Sands Korok Seeds, Chests, and Walkthrough
improvement survey
04/2026
improving Game8's site?

Your answers will help us to improve our website.
Note: Please be sure not to enter any kind of personal information into your response.

We hope you continue to make use of Game8.
Rankings
- We could not find the message board you were looking for.
Gaming News
Popular Games

Genshin Impact Walkthrough & Guides Wiki

Crimson Desert Walkthrough & Guides Wiki

Umamusume: Pretty Derby Walkthrough & Guides Wiki

Honkai: Star Rail Walkthrough & Guides Wiki

Monster Hunter Stories 3: Twisted Reflection Walkthrough & Guides Wiki

Wuthering Waves Walkthrough & Guides Wiki

The Seven Deadly Sins: Origin Walkthrough & Guides Wiki

Pokemon TCG Pocket (PTCGP) Strategies & Guides Wiki

Pokemon Pokopia Walkthrough & Guides Wiki

Zenless Zone Zero Walkthrough & Guides Wiki
Recommended Games

Monster Hunter World Walkthrough & Guides Wiki

Fire Emblem Heroes (FEH) Walkthrough & Guides Wiki

Pokemon Brilliant Diamond and Shining Pearl (BDSP) Walkthrough & Guides Wiki

Super Smash Bros. Ultimate Walkthrough & Guides Wiki

Diablo 4: Vessel of Hatred Walkthrough & Guides Wiki

Cyberpunk 2077: Ultimate Edition Walkthrough & Guides Wiki

Yu-Gi-Oh! Master Duel Walkthrough & Guides Wiki

Elden Ring Shadow of the Erdtree Walkthrough & Guides Wiki

The Legend of Zelda: Tears of the Kingdom Walkthrough & Guides Wiki

Persona 3 Reload Walkthrough & Guides Wiki
All rights reserved
© Nintendo © KOEI TECMO GAMES All rights reserved.
The copyrights of videos of games used in our content and other intellectual property rights belong to the provider of the game.
The contents we provide on this site were created personally by members of the Game8 editorial department.
We refuse the right to reuse or repost content taken without our permission such as data or images to other sites.




![Forza Horizon 6 Review [Preview] | Beautiful Roads With a Whole Lot of Oversteer](https://img.game8.co/4460981/a7254c24945c43fbdf6ad9bea52b5ce9.png/thumb)
![Borderlands Mobile Review [Playtest] | The Same Borderlands Made Easy](https://img.game8.co/4465500/aac0c880a39ec5cd46073e49d18f3ed5.png/thumb)


