The Art of the Blade Korok Seeds, Chests, and Walkthrough
The Art of the Blade is a Chapter 1 Battle in Hyrule Warriors: Age of Imprisonment. Here's a walkthrough for The Art of the Blade, including Korok Seed and Chest Locations, and tips on how to complete the Battle!
| ◀ Previous Mission | Next Mission ▶ |
|---|---|
| To the Great Plateau | Where Ancient Wisdom Sleeps |
The Art of the Blade Korok Seed and Chest Locations
The Art of the Blade Full Map
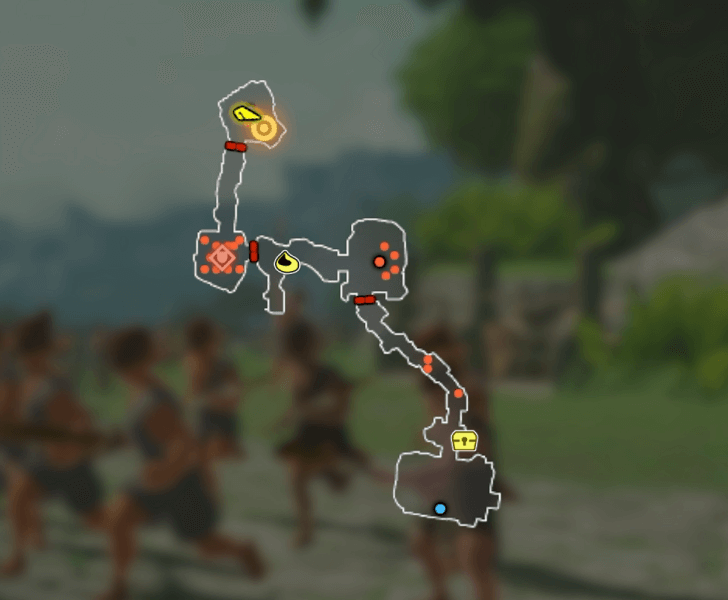
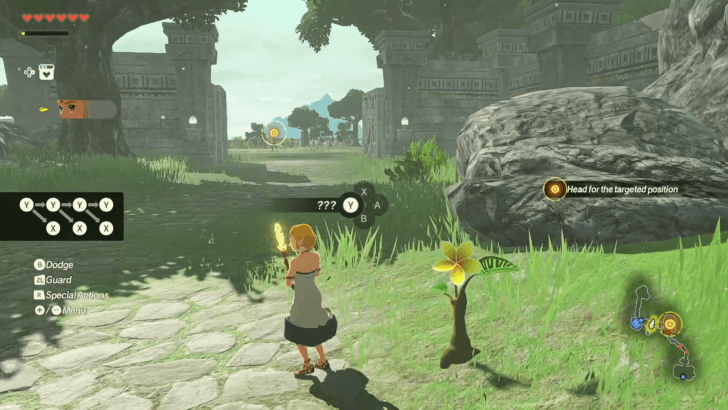
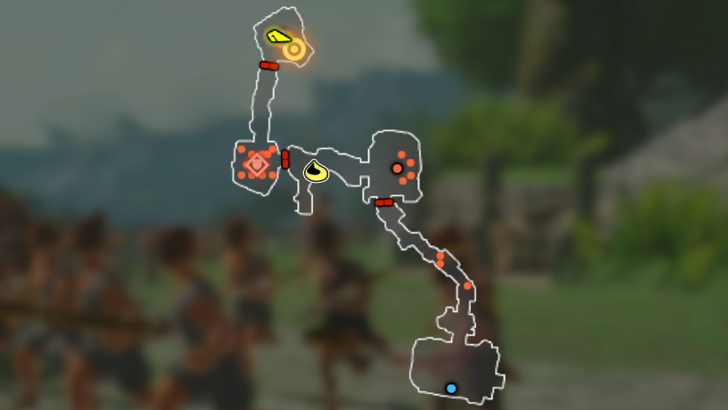
The Art of the Blade Korok Seeds
| Overworld View | Map Location | |
|---|---|---|
 |
 |
|
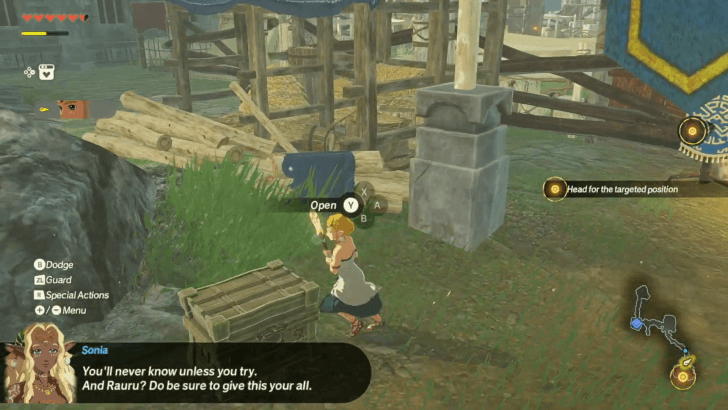
The Art of the Blade Treasure Chests
| Overworld View | Map Location | |
|---|---|---|
 |
 |
|
The Art of the Blade Walkthrough
| Recommended Level | 1 |
|---|---|
| Fixed Characters | |
| Other Usable Characters |
・None |
| First Clear Rewards | Battlefield Materials |
|
・
|
Step-by-Step Guide
| 1 | 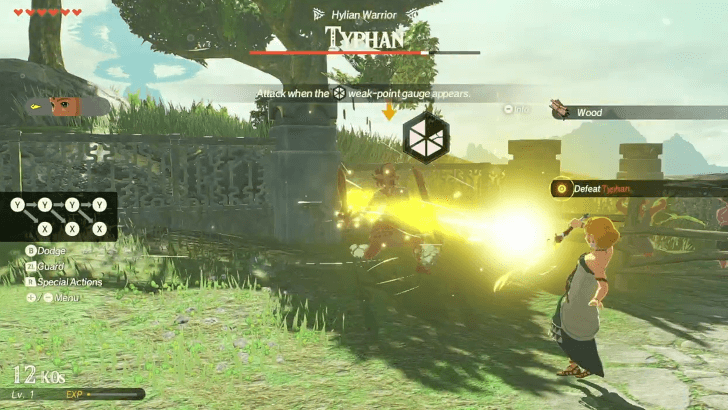 You'll be up against a powerful enemy this time, which is also indicated by the health bar at the top of your screen with their name and epithet. Defeat Typhan to complete the objective. Make sure to counter his Charge attacks with Piercing Light to expose his weak-point. |
|---|---|
| * |
Powerful enemies and bosses are stronger and tankier than the regular mobs that you see everywhere, but you can "expose" their weak-point gauges and deplete them to perform a Weak-Point Smash. Using Unique Skills, countering the red attacks called Dangerous Attacks, or performing Flurry Rushes expose a powerful enemy's weak-point gauge. |
| 2 | 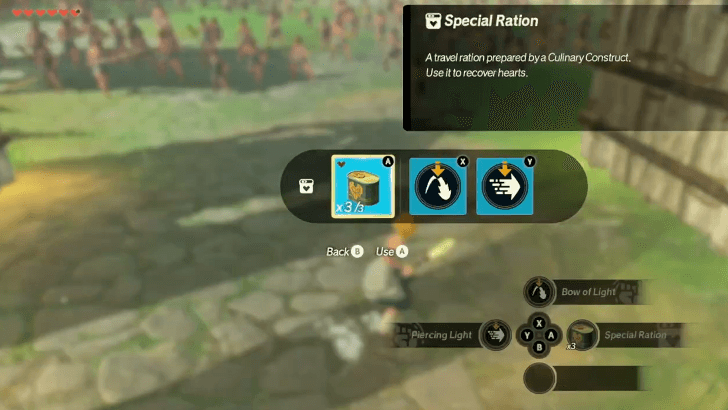 Move to the next area and try to capture the outpost by defeating enough enemies to make a powerful enemy reveal themselves and defeating them. You can also use the Special Rations given to you to recover health. |
| 3 | 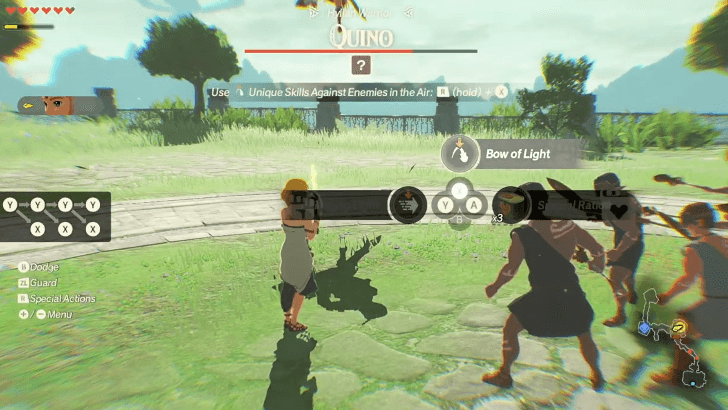 After capturing the outpost, move to the next one that has another named powerful enemy, Quino. Unlike Typhon who uses Charge attacks, Quino uses Jump attacks, which can be countered by Bow of Light. |
| 4 | 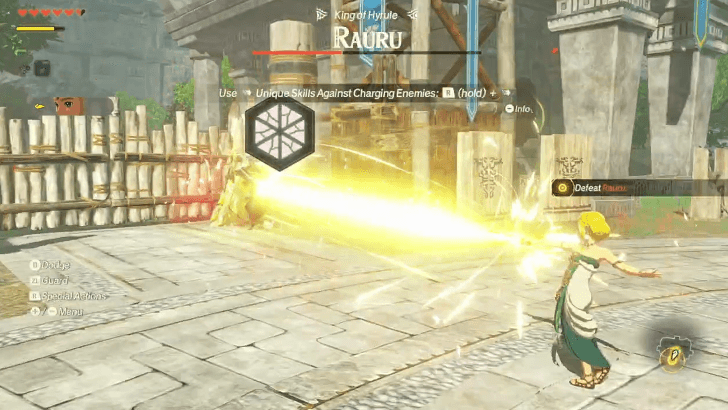 Defeat Quino and move to the final outpost, where you'll face King Rauru himself. He can use both Charge and Jump attacks, so be sure to use the correct Unique Skill to interrupt them and expose Rauru's weak-point. |
| * | You'll be able to use your first Sync Strike with Sonia once Rauru's HP drops to about 25%. These are extremely powerful attacks that can be performed by any two characters close to each other while both having full sync gauges by simply pressing the L button. |
| 5 | 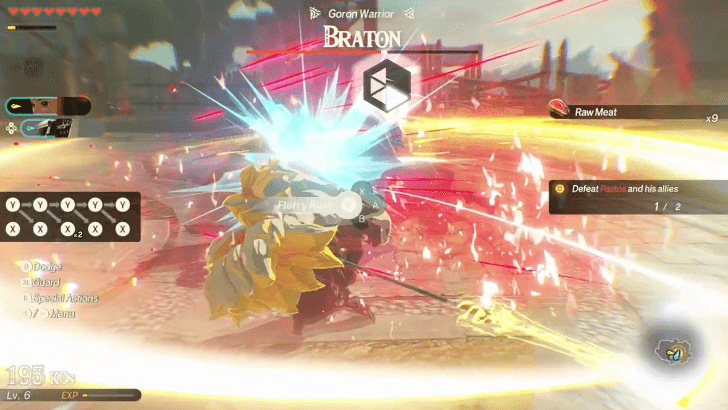 For the last part of your training, Rauru will join your side to spar with Pastos, Braton, and finally, Agraston. Now that you have another playable character, you can switch between them using the D-pad anytime during the fight and while exploring in later battles. When against more than one powerful enemy, use the Right Stick to change which target to lock-on to. Finish off Agraston by any means necessary to complete the battle. |
Previous and Next Battles
| ◀ Previous Mission | Next Mission ▶ |
|---|---|
| To the Great Plateau | Where Ancient Wisdom Sleeps |
Hyrule Warriors: Age of Imprisonment Related Guides

Complete Walkthrough and Chapters List
All Battles
| No. | Battle | No. | Battle |
|---|---|---|---|
| 1 | To the Great Plateau | 2 | The Art of the Blade |
| 3 | Where Ancient Wisdom Sleeps | 4 | Raging Sands |
| 5 | The Hands of Evil | 6 | Growing Suspicion |
| 7 | Striking North | 8 | Beneath the Blood Moon |
| 9 | The Howling Tempests | 10 | Shadows in the Snow |
| 11 | Lanayru Defiled | 12 | The Behemoth in the Crater |
| 13 | Crisis on Death Mountain | 14 | Under Cover of Mist |
| 15 | Terror of the Sands | 16 | Crimson Omen |
| 17 | A Time for Action | 18 | The Counterstrike |
| 19 | Ambush in the Depths | 20 | Purging the Shadows |
| 21 | Fire and Sand | 22 | Into the Fray |
| 23 | The Archfiend's Return | 24 | The Battle of Hyrule Castle |
| 25 | The Demon King, Ensnared | 26 | The Battle of Hyrule Field |
| 27 | The Final Confrontation | 28 | A Clash of Constructs |
Comment
Author
Hyrule Warriors: Age of Imprisonment Walkthrough & Guides Wiki
The Art of the Blade Korok Seeds, Chests, and Walkthrough
improvement survey
04/2026
improving Game8's site?

Your answers will help us to improve our website.
Note: Please be sure not to enter any kind of personal information into your response.

We hope you continue to make use of Game8.
Rankings
- We could not find the message board you were looking for.
Gaming News
Popular Games

Genshin Impact Walkthrough & Guides Wiki

Crimson Desert Walkthrough & Guides Wiki

Umamusume: Pretty Derby Walkthrough & Guides Wiki

Honkai: Star Rail Walkthrough & Guides Wiki

Monster Hunter Stories 3: Twisted Reflection Walkthrough & Guides Wiki

Wuthering Waves Walkthrough & Guides Wiki

The Seven Deadly Sins: Origin Walkthrough & Guides Wiki

Pokemon TCG Pocket (PTCGP) Strategies & Guides Wiki

Pokemon Pokopia Walkthrough & Guides Wiki

Zenless Zone Zero Walkthrough & Guides Wiki
Recommended Games

Monster Hunter World Walkthrough & Guides Wiki

Fire Emblem Heroes (FEH) Walkthrough & Guides Wiki

Pokemon Brilliant Diamond and Shining Pearl (BDSP) Walkthrough & Guides Wiki

Super Smash Bros. Ultimate Walkthrough & Guides Wiki

Diablo 4: Vessel of Hatred Walkthrough & Guides Wiki

Cyberpunk 2077: Ultimate Edition Walkthrough & Guides Wiki

Yu-Gi-Oh! Master Duel Walkthrough & Guides Wiki

Elden Ring Shadow of the Erdtree Walkthrough & Guides Wiki

The Legend of Zelda: Tears of the Kingdom Walkthrough & Guides Wiki

Persona 3 Reload Walkthrough & Guides Wiki
All rights reserved
© Nintendo © KOEI TECMO GAMES All rights reserved.
The copyrights of videos of games used in our content and other intellectual property rights belong to the provider of the game.
The contents we provide on this site were created personally by members of the Game8 editorial department.
We refuse the right to reuse or repost content taken without our permission such as data or images to other sites.




![Forza Horizon 6 Review [Preview] | Beautiful Roads With a Whole Lot of Oversteer](https://img.game8.co/4460981/a7254c24945c43fbdf6ad9bea52b5ce9.png/thumb)
![Borderlands Mobile Review [Playtest] | The Same Borderlands Made Easy](https://img.game8.co/4465500/aac0c880a39ec5cd46073e49d18f3ed5.png/thumb)


