Astra Malorum Boss Guide: How to Beat Caltheris
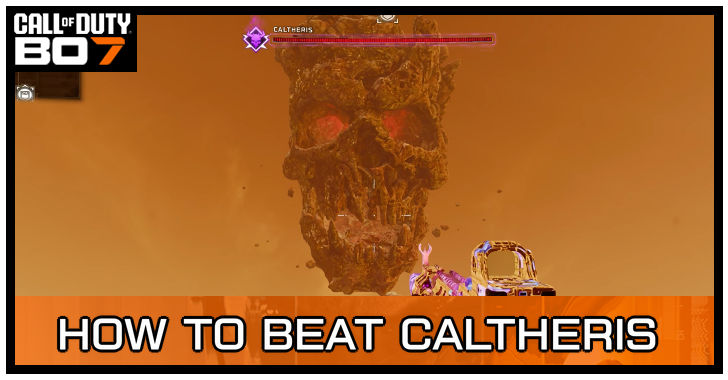
Caltheris is the Astra Malorum boss in Call of Duty Black Ops 7 (Bo7) Zombies. Learn how to beat Caltheris including the tips that will help you survive its 4 phases!
What to Prepare for Caltheris Boss Fight
| What to Bring | What to Avoid Bringing |
|---|---|
| ✓ LGM-1 Wonder-Weapon ✓ Kogot-7 (SMG) ✓ Frenzied Guard ✓ Stim Shots ✓ LT53 Kazimirs ✓ Decoys ✓ Cymbal Monkeys ✓ Self Revive GobbleGums: ✓ Shields Up ✓ Cache Back ✓ Power Keg ✓ After Taste |
✕ Aether Shroud ✕ Disciple Injection ✕ ARC-XD ✕ D.A.W.G. |
Best Weapons for Astra Malorum Boss
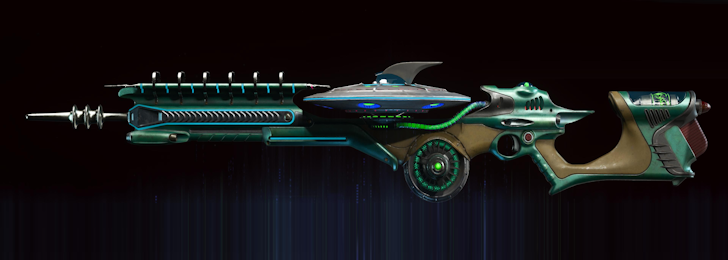 LGM-1 LGM-1 |
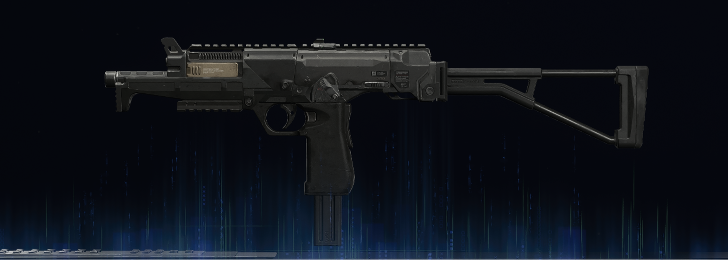 Kogot-7 Kogot-7 |
The Astra Malorum Wonder Weapon LGM-1 is the weapon that deals the most damage against Caltheris. It's also a weapon thato auto-locks onto a single target, making it very useful against this boss.
For a normal weapon, you can use the Season 1 Battle Pass weapon Kogot-7 SMG. Prestige the Kogot-7 to unlock its Akimbo attachment, which has an insane fire rate, which melts the boss when paired with PaP 3, legendary rarity, and augmented perks like Deadshot Daiquiri and Double Tap.
Best Zombies Weapons Tier List
Craft and Equip Stim Shots
Before starting the boss fight, make sure to craft and equip stim shots first. This equipment elevates your chances of survival as it can negate the burst type damage that Caltheris outputs.
Equip Equivalent Exchange Augment
 Equivalent Exchange Equivalent Exchange
|
Equivalent Exchange is a Quick Revive augment that lets you revive yourself if you deal enough damage while in the death circle. If you're successful in reviving yourself, you'll be able to keep all of your perks. This is especially important due to the length of the boss fight.
Take note that you'll need to upgrade your sidearm with Pack-a-punch if you want to deal enough damage to use this augment. Alternatively, having a ray gun makes this much easier as this is the weapon that you'll use if you get knocked down.
Warning: Ray Gun Should Not be 3rd Weapon (Mule Kick Users)
Note that if you have Mule Kick active (which grants you a 3rd primary weapon slot), your Ray Gun / Ray Gun Mark 2 (or whichever strong pistol you have) should not be in your third weapon slot, as it will be dropped when you're down. This will limit you to a unupgraded pistol when downed, which won't be enough to trigger Equivalent Exchange.
To avoid this, swap weapons around your slots buy purchasing from a Wall Buy and picking up the weapon that dropped.
Avoid Using Aether Shroud
While Aether Shroud is a good field upgrade, we recommend not using it for this boss fight. As of the time of writing, Aether Shroud cannot be used at the start of the boss fight's second phase, making it useless.
How to Beat Caltheris
| Caltheris Boss Tips |
|---|
|
|
1st Phase: Kill Zombies to Fill the Soul Box
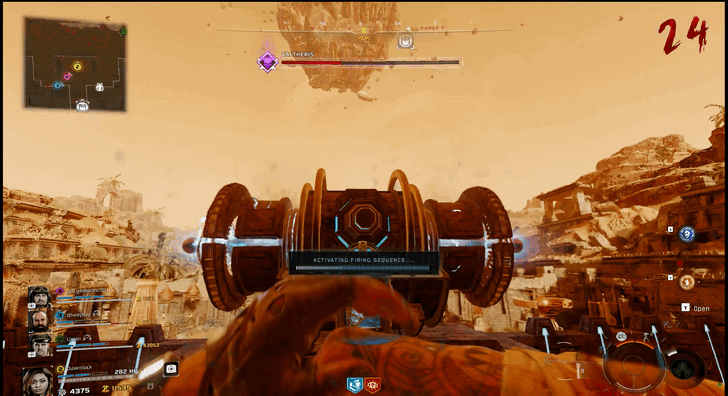
At the start of the fight, Caltheris is completely invulnerable to your guns. The only way to deal damage is to charge up the soul box by killing zombies, then interact with the brain on the top platform to trigger a firing sequence. Your screen will flash to indicate that the soul box is charged and is ready to be used.
You'll need to do this sequence thrice before advancing to Caltheris' 2nd phase.
Continue Moving to Avoid its Laser Beams
One of Caltheris' attacks is a homing laser beam that will follow and track your current position. To avoid this attack, you must keep moving away from it until it disappears.
Avoid the Poison by Heading to the Top
Caltheris spews out poison that will temporarily decrease your max health and blurs your vision. If you want to avoid this attack, you can head up to the altar as the poison cannot reach this area.
Consider Enduring the Poison if You're With a Squad
While the poison's effect can be troublesome, a problem can arise from avoiding it. If you're playing with a group, the safe area up top can be crammed within seconds if the entire squad decides to avoid the poison. Consider assigning some members to endure the poison while the others avoid it.
Use the Environment to Avoid Rock Throws
One of Caltheris' most damaging attack is his rock throw. This attack can one shot players who sit at 150 health with no armor plates. To completely avoid this attack, be mindful of Caltheris' actions and find cover whenever he poises to throw a rock. Alternatively, you can dodge it by jumping to the side albeit being more risky.
Jump to Avoid Slam Attacks
Another attack that deals heavy damage and blurs your vision is Caltheris' slam attack. This can be dodged by jumping in the air to avoid the shockwaves that its slam creates. Try not to jump too early whenever Caltheris telegraphs his slam to avoid taking damage.
Also note that the ground slam attacks don't affect the entire arena. If you're on the opposite side of the arena / far enough from Caltheris, you won't need to jump to avoid taking damage from the ground slam.
Kill Robed Zombies to Obtain Armor Plates
Make sure to kill robed and heavy zombies to gain armor plates. Additionally, you can opt to go with the Vulture Aid perk and equip the Armor-Matic augment so that your armor automatically refills with each armor plate that you pick up.
If you're able to, you can also purchase an armor wall buy for 10,000 Essence. This can be found at the top of the stairs near the area's entrance.
Communicate with your Squad
Make sure to call out Caltheris' actions when playing with a squad! With how long the boss fight is, surviving is very important as this allows you to keep your perks. Call out his attack patterns so that your whole squad can dodge!
Black Ops 7 Related Guides

Zombies Guide
Comment
Author

Astra Malorum Boss Guide: How to Beat Caltheris
Rankings
- We could not find the message board you were looking for.
Gaming News

![Death Stranding 2: On The Beach [PC] Review | A Port That Delivers](https://img.game8.co/4447392/15310a0c9aa1b6843bb713b2ea216930.jpeg/show)


Popular Games

Genshin Impact Walkthrough & Guides Wiki
Umamusume: Pretty Derby Walkthrough & Guides Wiki
Crimson Desert Walkthrough & Guides Wiki
Monster Hunter Stories 3: Twisted Reflection Walkthrough & Guides Wiki
Honkai: Star Rail Walkthrough & Guides Wiki
Pokemon Pokopia Walkthrough & Guides Wiki
The Seven Deadly Sins: Origin Walkthrough & Guides Wiki
Wuthering Waves Walkthrough & Guides Wiki
Zenless Zone Zero Walkthrough & Guides Wiki
Arknights: Endfield Walkthrough & Guides Wiki


Recommended Games
Fire Emblem Heroes (FEH) Walkthrough & Guides Wiki
Diablo 4: Vessel of Hatred Walkthrough & Guides Wiki
Cyberpunk 2077: Ultimate Edition Walkthrough & Guides Wiki
Yu-Gi-Oh! Master Duel Walkthrough & Guides Wiki
Super Smash Bros. Ultimate Walkthrough & Guides Wiki
Pokemon Brilliant Diamond and Shining Pearl (BDSP) Walkthrough & Guides Wiki
Elden Ring Shadow of the Erdtree Walkthrough & Guides Wiki
Monster Hunter World Walkthrough & Guides Wiki
The Legend of Zelda: Tears of the Kingdom Walkthrough & Guides Wiki
Persona 3 Reload Walkthrough & Guides Wiki


All rights reserved
©/TM/® 2025 Activision Publishing, Inc.
The copyrights of videos of games used in our content and other intellectual property rights belong to the provider of the game.
The contents we provide on this site were created personally by members of the Game8 editorial department.
We refuse the right to reuse or repost content taken without our permission such as data or images to other sites.