This survey will take about 1 minute.
Your answers will help us to improve our website.
Bravely Default Flying Fairy HD Remaster
Chapter 4 Walkthrough and Chests
This is a walkthrough for Chapter 4 of Bravely Default Flying Fairy HD Remaster. Read on for a complete walkthrough of Chapter 4 and the chests that you can find in this chapter.
List of Contents
Chapter 4 Walkthrough
Eternia
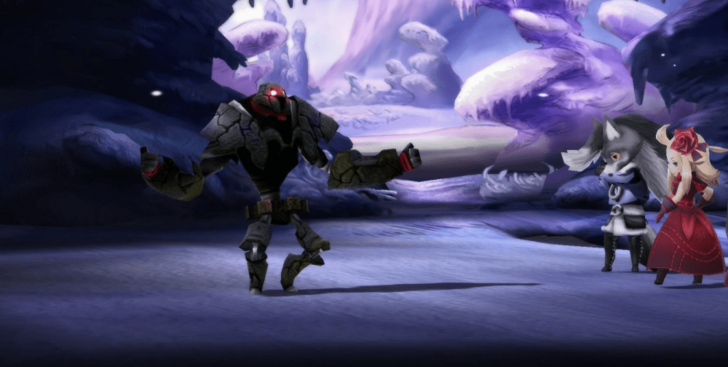
| 1 | Defeat the Ice Golem |
|---|---|
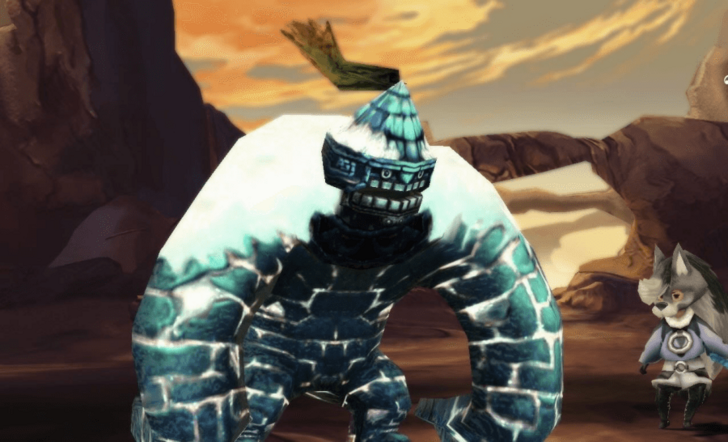 Finish watching the cutscenes and you will be dropped on the other side of a gate. You will notice that there is an Ice Golem blocking the way to your south. Move towards it and defeat it to proceed to your objective. Equip any ice resist items and use fire against the enemy. |
|
| 2 | Go Inside the Town |
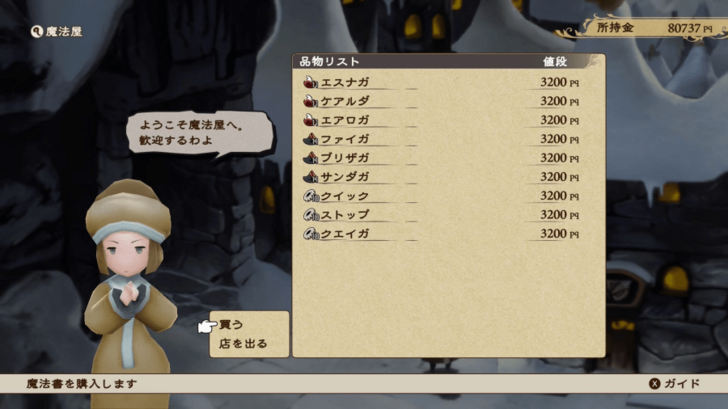 Proceed towards Eternia for an event. After the event, enter Eternia and stock up on items and equipment. It's best to purchase the Firaga and Thundaga spells to upgrade your firepower, and Curaga for more powerful healing. They are also good against enemies in this chapter. |
|
| 3 | Head to Central Healing Tower |
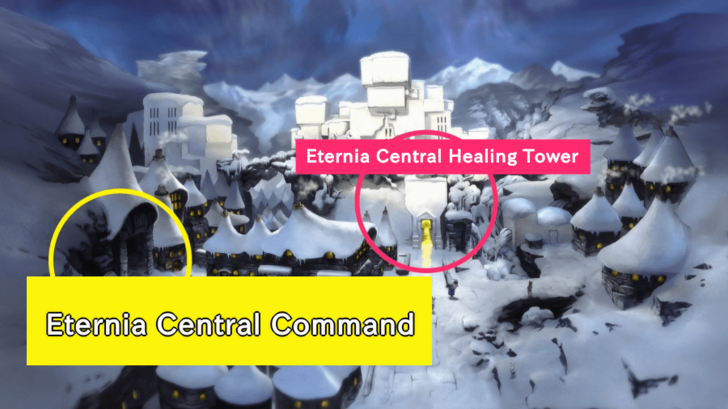 Head inside the Central Healing Tower and go up the stairs to the objective marker. You will meet Edea's mother and talk to her. After the series of conversation, head to the west exit of the town. |
|
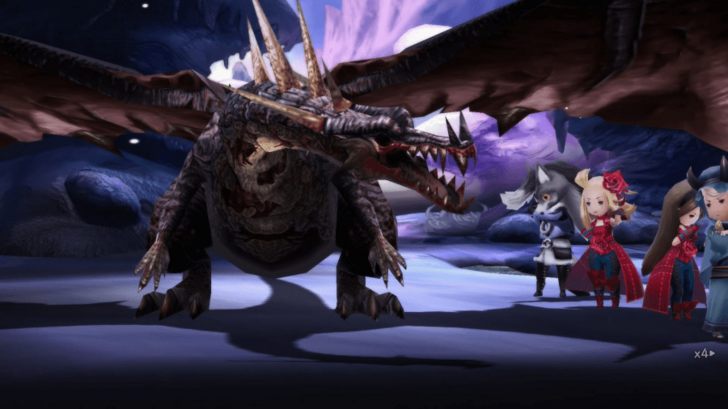
| 4 | Defeat the Dragon Zombie |
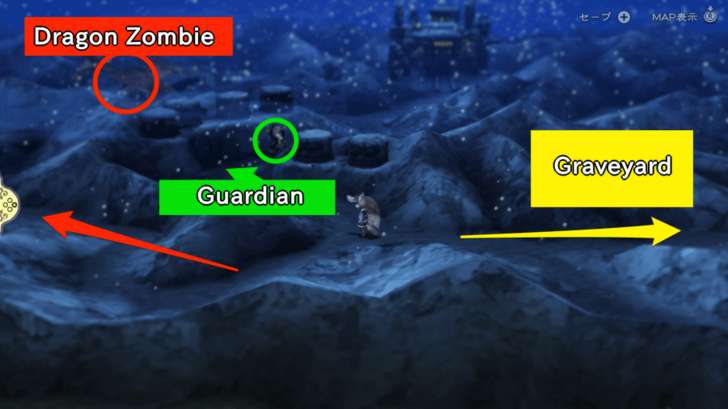 Defeat the Dragon Zombie located in the west path. Note that it can poison you with some of its attacks and can even take out a party member with its physical attacks. However, it can take damage from healing skills so you can also utilize that to defeat the dragon. Also note that once you kill the Dragon Zombie, it will revive itself so prepare for another phase against it. |
|
| 5 | Defeat the Guardian |
 Proceed forward to the north to fight the Guardian. The boss does a fair amount of damage with its Rocket Punch, as well as deal 1500 damage to your party with Eternian Bombardment every 3 turns. The way to win here is to outlast the guardian by constantly healing yourself and using Special Moves so you can deal many damage to defeat it quickly. |
|
| 6 | Take the East Path |
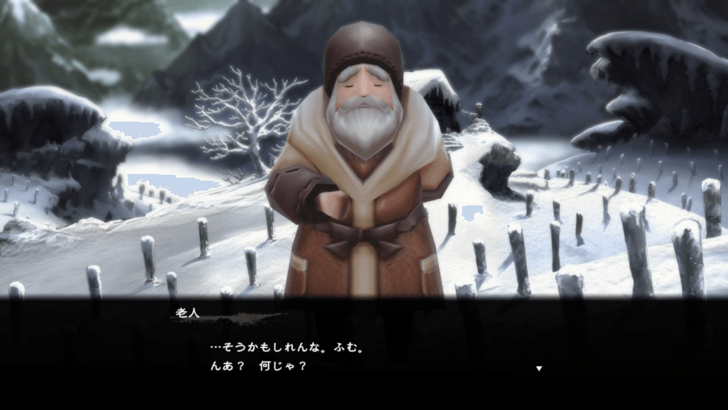 Proceed through this path until it takes you to Gravemark Village. Watch the events that unfold there. After the events, you can examine the bottom of the village for an Ice Charm and also get a Light Curtain near two graves to the right of the old man. Finally, head north towards your destination. |
Eternian Central Command
| 1 | Go to Eternian Command Center |
|---|---|
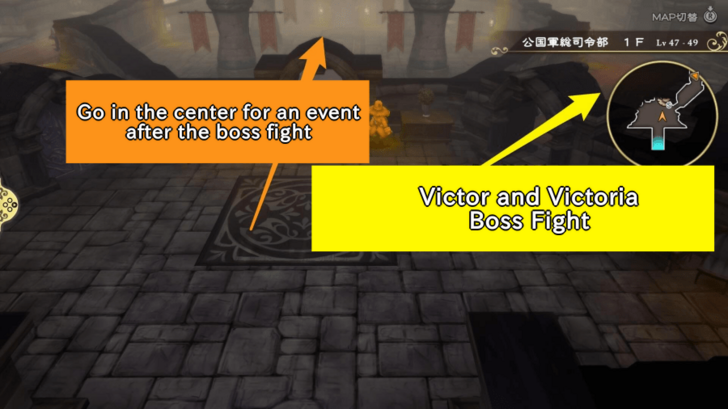 Before you enter the Eternian Central Command, we recommend equipping the Star Pendant on your party members. Proceed and you will be confronted by Victor and Victoria. After the event, go inside the building and save your game before proceeding to the quest marker. Go to the quest marker to see another scene which will lead you to a boss fight against Victor and Victoria. ▶︎ Eternia Central Command |
|
| 2 | Defeat Victor and Victoria |
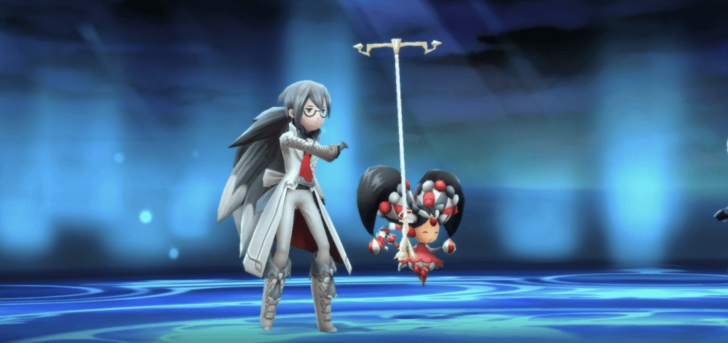 Victoria will try to poison you and will deal massive damage to the poisoned character but if you have the Star Pendant then you should be safe. Meanwhile, Victor acts more like a support, buffing his attack power and will deal massive single target damage. Deal with Victoria first as she is the most dangerous between the two. After defeating the duo, you will unlock the Arcanist and Spiritmaster jobs. |
Eternia Prison
| 1 | Free Your Friends |
|---|---|
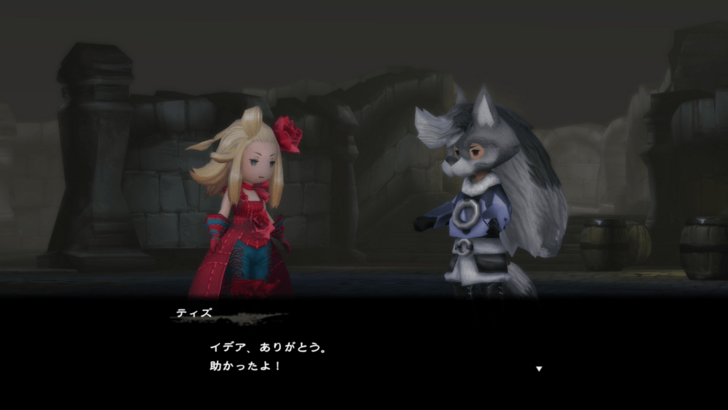
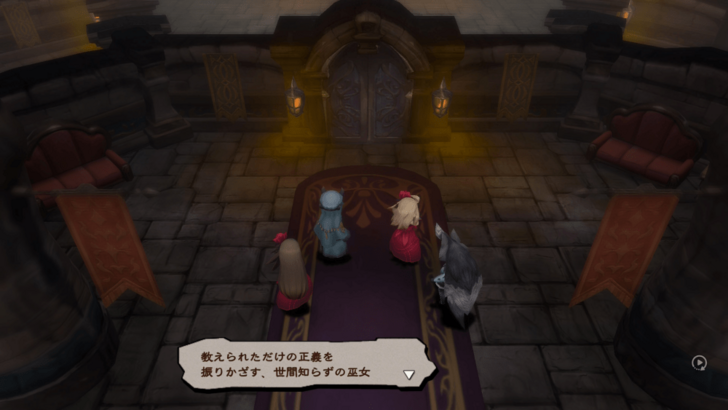 Go outside the room where you fought Victor and Victoria and go to the middle of the Central Command to see a series of events. Once you get to control Edea, head to the marker to see another set of events. You will control Edea again after a set of scenes and your goal is to free your friends from their captivity. Agnes: Southeast Ringabel: Top center Tiz: Bottom center |
|
| 2 | Escape the Prison |
 Go to where the objective marker is and interact with the gate for an event. Take the stairs to escape the prison and to get back to the Central Command. Save your game before proceeding to the next location. |
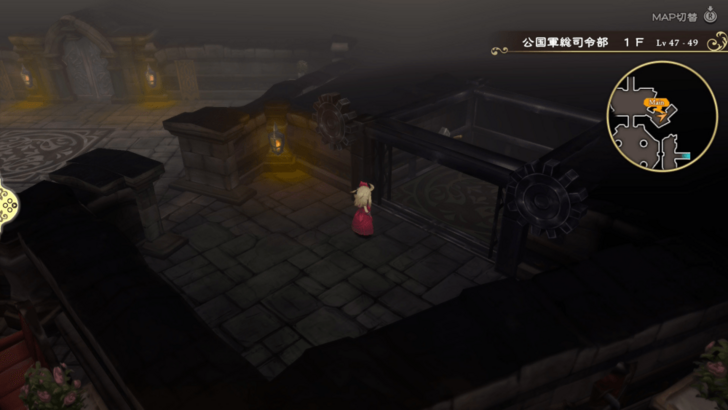
Eternian Central Command 2
| * | Get the Excalibur |
|---|---|
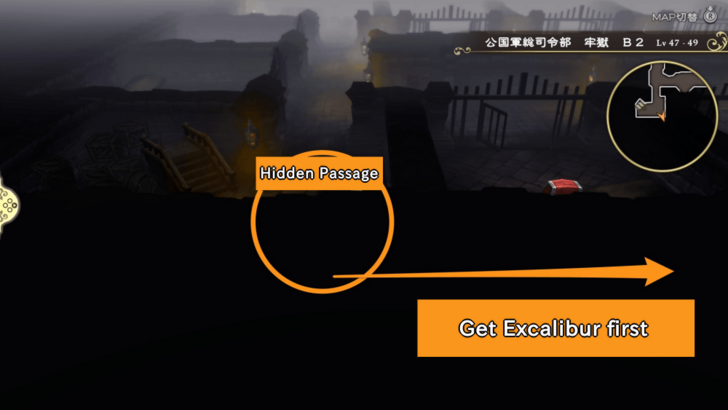 Get the Excalibur from a hidden passage under the stairs on B1. |
|
| 1 | Head to the 47th Floor |
 Head to the northeast room to get to an elevator that will lead you to Central Command - 47F. |
|
| 2 | Head to Edea's Room |
 Go to the southwest part of 47th floor to get to the stairs that will lead you upstairs. On the 48th floor, go to the northeast exit to reach Edea's room where you can heal up to prepare yourself in the upcoming boss fight within the dungeon. Exit the room and head to the next floor. |
|
| 3 | Go to the Center of 49th Floor |
| Go towards the center of the 49th floor and save your game before using the elevator that will lead you to the next room where Braev is located. | |
| 4 | Defeat Braev |
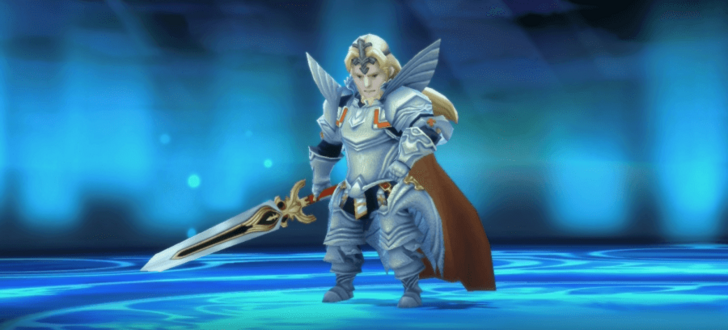 Watch the scenes which will lead you to fighting Braev. He likes to save his BP and unleash different attacks using it. His attacks can deal from 2000-3000 damage if you don't Default. Not only is he strong but you will have to defeat him 3 times as he revives himself everytime you deplete his HP to 0. Defeating Braev will grant you the Templar job. |
|
| 5 | Exit the Central Command |
 After defeating Braev, watch the event scenes and you will be transported back to the 1st floor of the Central Command. You can either start the Vampire job side quest in Vampire Castle(by taking the path where the Dragon Zombie is earlier) or head to the north door that will lead you to your next objective. |
Everlast Tower
| 1 | Explore Everlast Tower |
|---|---|
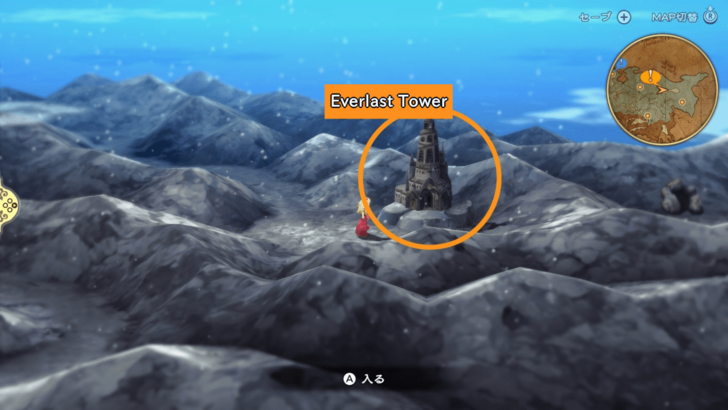 Once inside the Everlast Tower, take the middle stairs on the first floor to get to the second floor. The stairs in this room lead you to chests containing Rune Blade (Hidden) and Ancient Bow. If you want to proceed to the next area, take the midwest stairs. On the third floor, go to the middle and you will see stairs that will lead you to the 4th floor. ▶︎ Everlast Tower (Recommended Level: 50) |
|
| 2 | Head to the Temple of the Earth |
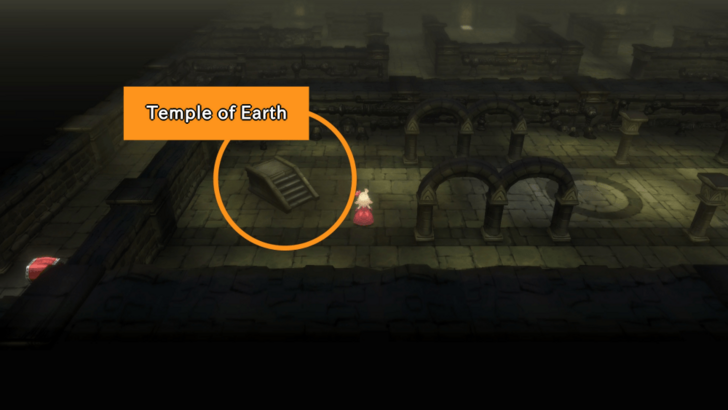 Once on the 4th floor, take the left then go down then right to see stairs. Take these stairs and follow the path to get to the Temple of the Earth. |
|
| * | Complete the Trial |
| You can take on the trial on the westmost stairs to get the Thunder Charm before moving to the Temple of Earth. |
Temple of Earth
| 1 | Explore the Temple of Earth |
|---|---|
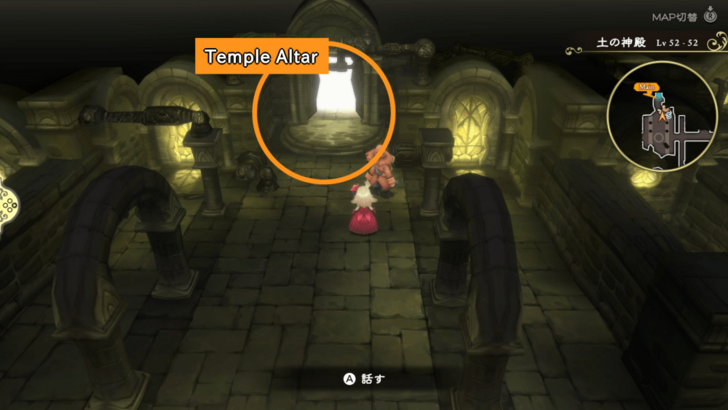 The Temple of Earth is fairly straightforward as you only need to go to the north. Follow the path and go to the open spaces to interact them to see events. Open the chests on your way until you reach the save point at the front of the Crystal Room entrance. ▶︎ Temple of Earth (Recommended Level: 52) |
|
| 2 | Defeat the Gigas Lich |
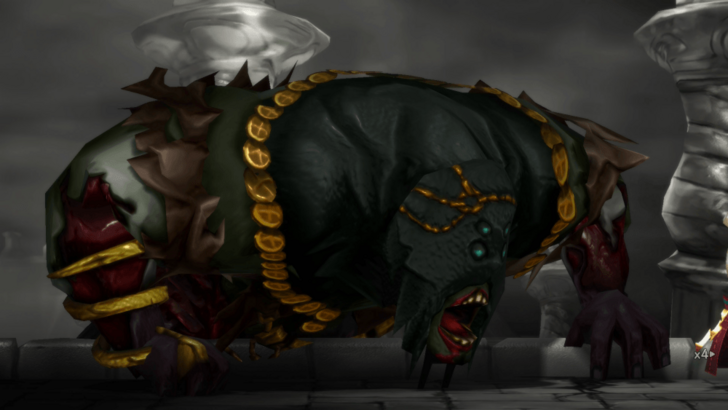 Enter the Crystal Room and watch the scenes. You will have to fight the Gigas Lich who buff itself with Negative Energy. It is recommended to use Dispel whenever the enemy buffs itself. Be careful as the Gigas Lich will also cast fear and death to your party members the longer the battle lasts. |
|
| 3 | Release the Crystal |
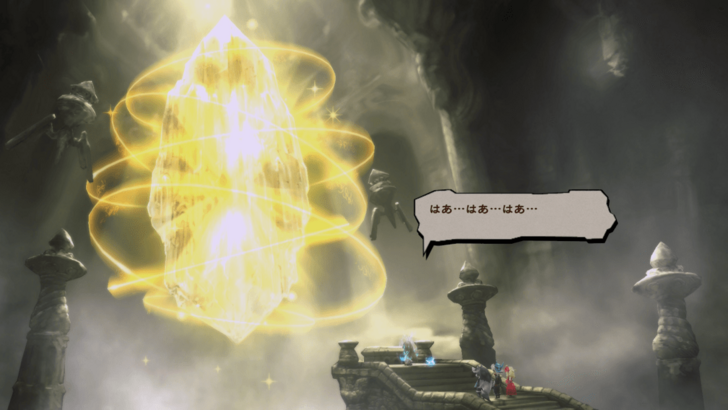 Release the crystal by pressing X. After releasing the crystal, watch the scenes and leave the dungeon. |
Ride the Grand Ship
| 1 | Go to the Exclamation Mark |
|---|---|
 You will need to go to one of the three areas marked with an exclamation mark. Once you reach one of the area, summon your Grand Ship to ride it and watch the events. |
|
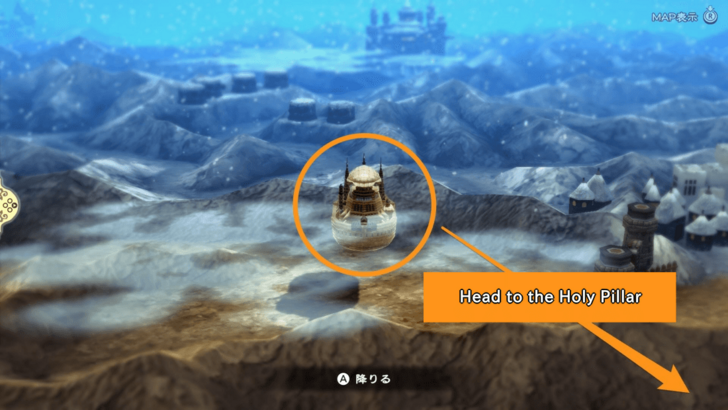
| 2 | Go to the Southeast of the Map |
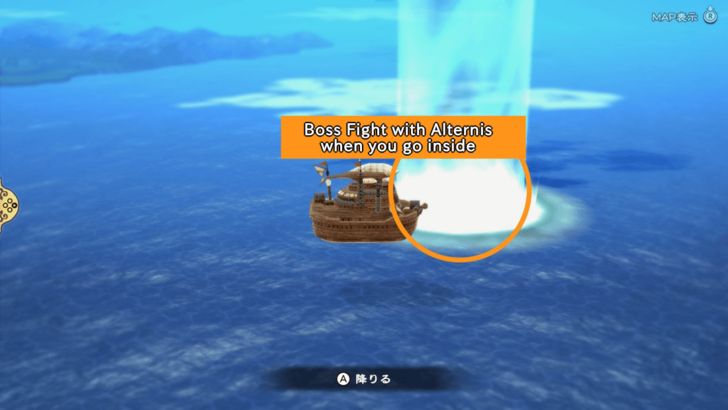 Go all the way to the southeast of the map where the next objective is located. Upon arriving, you will see a Holy Pillar that you need to enter. When Airy asks you if you are ready, tell her that you are to proceed inside the pillar. |
|
| 3 | Defeat Alternis |
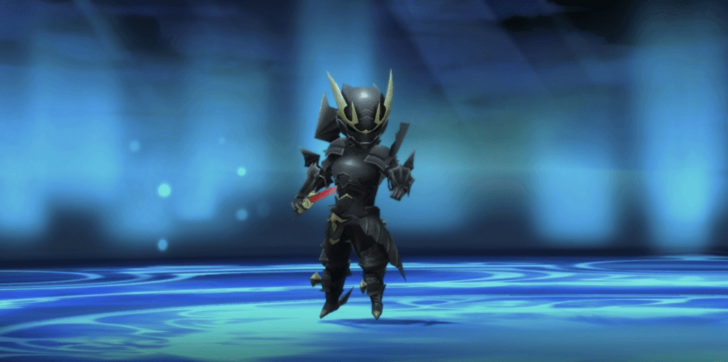 You will be facing Alternis Dim as the final boss of the chapter. It is recommended to take him out quickly as he will use Lifebreak that can deal 9999 damage once he is at half health. He can also use the Pure Darkness skill which reduces your HP by a certain percentage. Once you defeat Alternis, you will obtain the Dark Knight job asterisk, as well as conclude the current chapter. |
Chapter 4 Bosses
Ice Golem (Recommended Level: 46)
| Victor and Victoria Boss Fight Tips |
|---|
Dragon Zombie (Recommended Level: 47)
| Dragon Zombie Boss Fight Tips |
|---|
Guardian (Recommended Level: 47)
| Guardian Boss Fight Tips |
|---|
Victor and Victoria (Recommended Level: 48)
| Victor and Victoria Boss Fight Tips |
|---|
Braev the Templar (Recommended Level: 50)
| Braev the Templar Boss Fight Tips |
|---|
Gigas Lich (Recommended Level: 52)
| Gigas Lich Boss Fight Tips |
|---|
Alternis (Recommended Level: 52)
| Alternis Boss Fight Tips |
|---|
Bravely Default HD Remaster Related Guides

List of All Main Story Chapters
All Bravely Default Flying Fairy Chapters
| 0 | On the Precipice of Despair |
|---|---|
| 1 | Sit and Stay Are Tricks for Dogs |
| 2 | One Day, Beneath a Blue Sky |
| 3 | Beloved Bonds |
| 4 | Black and White |
| 5 | Yesterday's Scenery |
| 6 | A World of Echoes - Equal |
| 7 | A World of Echoes - Dash |
| 8 | A World of Echoes - Circle |
| 9 | Airy Lies (False Final Chapter) |
| 10 | Bravely Default (True Final Chapter) |
Comment
Author
Bravely Default Flying Fairy Remaster Walkthrough & Guides Wiki
Chapter 4 Walkthrough and Chests
Please participate in our site
improvement survey
03/2026
improvement survey
03/2026
Would you assist in
improving Game8's site?
improving Game8's site?

×
We are listening to our users' valuable opinions and discussing how to act on them.
The information collected through this survey will be used for the purpose of improving our services. In addition, the information will only be disclosed a part of a statistic in a format that will not allow identification of personal information.
Begin Survey
Not Now
×
Please rate each item regarding Game8.co's Advertisements.
Amount of Ads
Very Dissatisfied
Somewhat Dissatisfied
Fine
Somewhat Satisfied
Highly Satisfied
Placement of Ads
Timing of Ad Display
Ad Loading Speed
Safeness of Ads
Content of Ads
×
Please rate each item regarding Game8.co's Quality of Articles.
Amount of information
Very Dissatisfied
Somewhat Dissatisfied
Fine
Somewhat Satisfied
Highly Satisfied
Frequency of updates
Speed of new information
Accuracy of articles
Understandibility of articles
Readability of sentences
×
Please rate each item regarding Game8.co's Usability of the Site.
Ease of finding information
Very Dissatisfied
Somewhat Dissatisfied
Fine
Somewhat Satisfied
Highly Satisfied
Loading Speed
Use of Color
Font Size
Visibility of Images
Easy to Understand Layout
×
Please rate each item regarding Game8.co's Message Boards, Comments.
Ease of Writing
Very Dissatisfied
Somewhat Dissatisfied
Fine
Somewhat Satisfied
Highly Satisfied
Readability
Ease in Finding Information
Comment Quality
Comment Quantity
Admin Response
×
Please rate each item regarding Game8.co's Site's new design.
Please rate our site's new design
Very Dissatisfied
Somewhat Dissatisfied
Fine
Somewhat Satisfied
Highly Satisfied
Do you think that the website's design change makes the site easier to use?
Has the new design made it easier for you to find information on the site?
Has the new design improved the overall visual appeal of the site?
How would you rate your overall satisfaction with the new design of the site?
×
How likely are you to recommend Game8 to someone you know?
Very Unlikely
0
1
2
3
4
5
6
7
8
9
10
Very Likely
If you have other opinions regarding potential improvement to the website, please share them with us. We would appreciate your honest opinion.
Note: This is a free response section, so you can proceed without entering anything.
Note: Please be sure not to enter any kind of personal information into your response.
Note: Please be sure not to enter any kind of personal information into your response.
×
Thank You
×
Thank you for participating in our survey! Your answers will help us to improve the quality of our website and services.
We hope you continue to make use of Game8.
We hope you continue to make use of Game8.
Close
Rankings
- We could not find the message board you were looking for.
Gaming News


![Slay the Spire 2 Review [Early Access] | Still the Deckbuilder to Beat](https://img.game8.co/4433115/44e19e1fb0b4755466b9e516ec7ffb1e.png/thumb)

![Resident Evil Village Review [Switch 2] | Almost Flawless Port](https://img.game8.co/4432790/e1859f64830960ce4248d898f8cd38d9.jpeg/thumb)
Popular Games

Genshin Impact Walkthrough & Guides Wiki
Honkai: Star Rail Walkthrough & Guides Wiki
Umamusume: Pretty Derby Walkthrough & Guides Wiki
Pokemon Pokopia Walkthrough & Guides Wiki
Resident Evil Requiem (RE9) Walkthrough & Guides Wiki
Monster Hunter Wilds Walkthrough & Guides Wiki
Wuthering Waves Walkthrough & Guides Wiki
Arknights: Endfield Walkthrough & Guides Wiki
Pokemon FireRed and LeafGreen (FRLG) Walkthrough & Guides Wiki
Pokemon TCG Pocket (PTCGP) Strategies & Guides Wiki


Recommended Games
Fire Emblem Heroes (FEH) Walkthrough & Guides Wiki
Diablo 4: Vessel of Hatred Walkthrough & Guides Wiki
Yu-Gi-Oh! Master Duel Walkthrough & Guides Wiki
Super Smash Bros. Ultimate Walkthrough & Guides Wiki
Pokemon Brilliant Diamond and Shining Pearl (BDSP) Walkthrough & Guides Wiki
Elden Ring Shadow of the Erdtree Walkthrough & Guides Wiki
Monster Hunter World Walkthrough & Guides Wiki
The Legend of Zelda: Tears of the Kingdom Walkthrough & Guides Wiki
Persona 3 Reload Walkthrough & Guides Wiki
Cyberpunk 2077: Ultimate Edition Walkthrough & Guides Wiki


All rights reserved
© SQUARE ENIX
The copyrights of videos of games used in our content and other intellectual property rights belong to the provider of the game.
The contents we provide on this site were created personally by members of the Game8 editorial department.
We refuse the right to reuse or repost content taken without our permission such as data or images to other sites.