This survey will take about 1 minute.
Your answers will help us to improve our website.
Bravely Default Flying Fairy HD Remaster
Intro (Chapter 0) Walkthrough
This is a walkthrough for the Intro of Bravely Default Flying Fairy HD Remaster. Read on for a complete Intro walkthrough and boss strategies!
List of Contents
Intro Walkthrough
Caldisla Inn
| 1 | Leave the Inn |
|---|---|
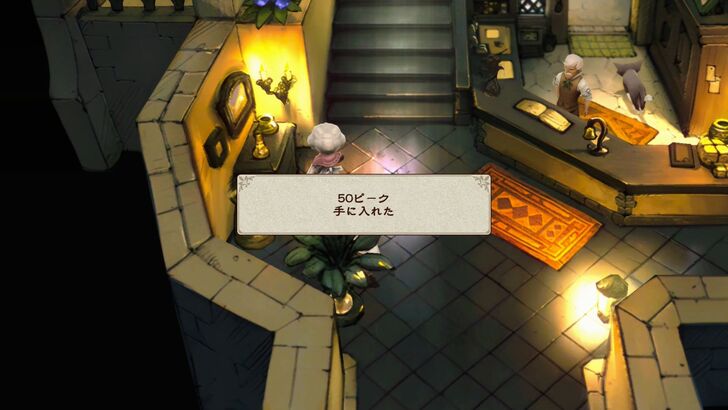 Watch through the introductory cutscene until you get control of your character. The game begins in Caldisla Inn. Check the plant in the bottom-left corner of the inn to find a hidden item: 50pg. Keep an eye out for many other hidden items. You can talk to the NPCs inside or head out to check out the town. ▶︎ All Hidden Item Locations |
Caldisla Town
| 1 | (Optional) Save Your Progress |
|---|---|
| Talk to the NPC with the red outfit (Adventurer) outside of the inn to save your progress. You will encounter the Adventurer later on in other locations as you progress in the game. | |
| 2 | Head to the Castle |
| Head north to get inside the castle. You can zoom out the map to navigate easier. You can explore the shops, traders, and other places before going to the castle. |
Caldisla Castle
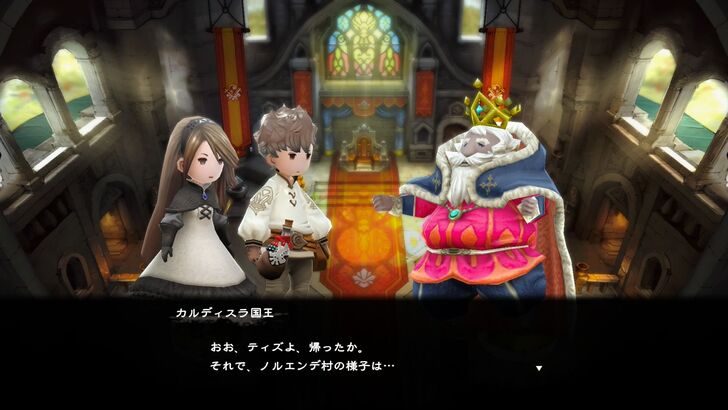
| 1 | Talk to the King |
|---|---|
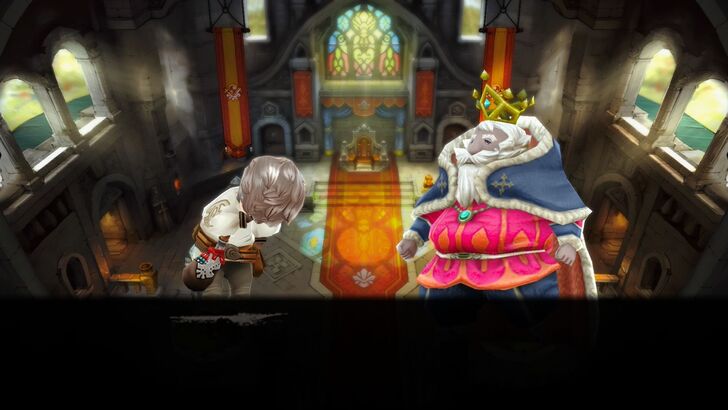 Walk to the throne and speak with the King. Exhaust the dialogue and leave the city. The exit is in the south, in front of the Inn where you woke up. |
World: Caldis Region
| 1 | Head to Norende Ravine |
|---|---|
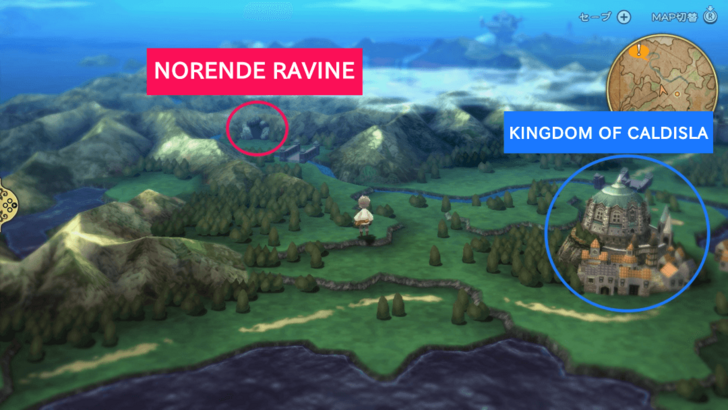 Upon leaving the city, head northwest and enter the Norende Ravine by interacting with the cave. You might encounter some Zombies and Bats as you traverse the area, so prepare for combat. When you go out into the field, tutorial quests and achievements will be unlocked. ┣ Complete the game while progressing through the tutorial quests. ┗ Complete achievements to receive various rewards. |
Norende Ravine
| 1 | Finish the Brave and Default Tutorial |
|---|---|
 Once you're inside, walk for a few steps and you will be in a scripted battle, introducing the Brave and Default mechanics. Finish the tutorial and continue exploring. ▶︎ Norende Ravine Map |
|
| 3 | Continue Exploring |
| Continue along the path, dealing with any enemies you encounter. This area also contains two chests with a Potion and 200 pg, so explore thoroughly. | |
| 4 | Speak with the NPC at the End |
| Once you reach the end, you will see an NPC wearing a green outfit at the exit. You can save your progress by talking to him and also receive the Strange Hourglass that will unlock your Bravely Second. | |
| 5 | Meet Agnès |
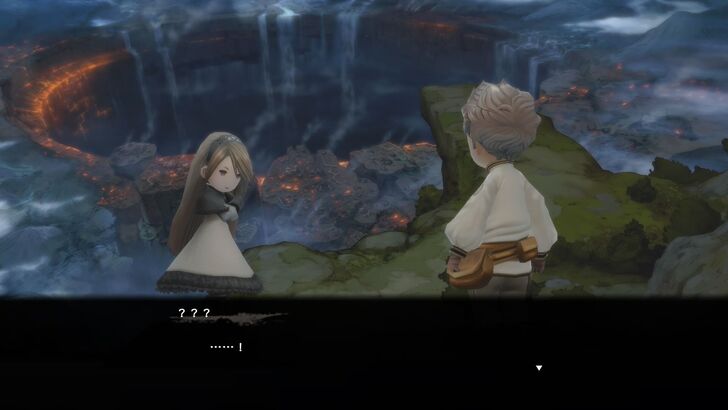 Upon entering the mountain summit, an event will trigger, you will meet Agnès, and she will join your party. Afterward, you will need to escape from Norende Ravine. |
|
| 6 | Escape the Pursuers |
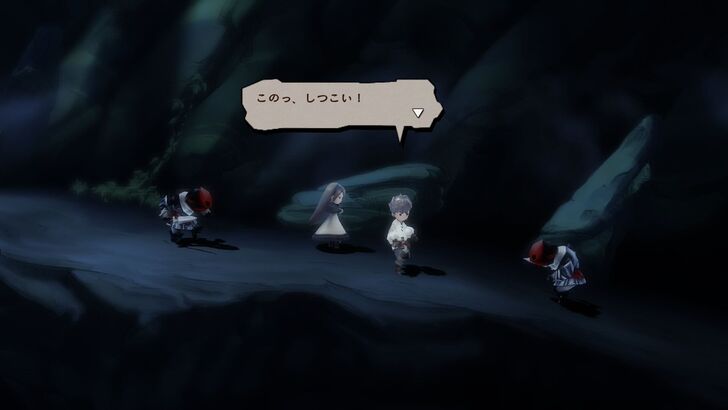 As you flee through the Norende Ravine, defeat the three waves of Sky Knights you encounter and head for the exit. You may also come across some Goblins along the way. Party Chats A Common Destination, The Miracle Man, and Rebuilding a Village will appear. |
World: Caldis Region
| 1 | Head to the Kingdom of Caldisla |
|---|---|
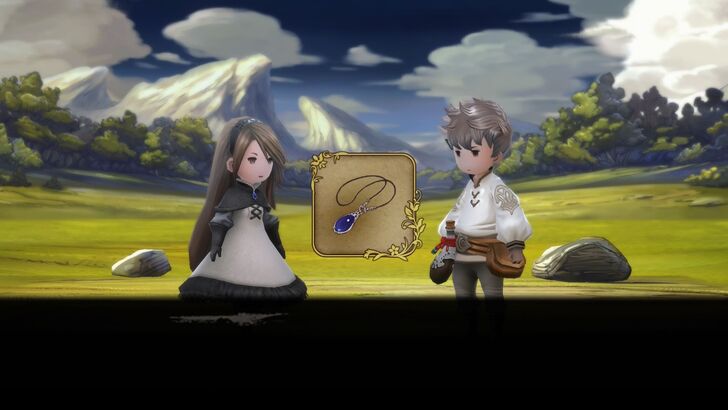 Once you're outside in the field, you will obtain Agnès's Pendant and unlock Friends and StreetPass. ┗ You will be able to use Summon Friend during battles. |
Caldisla
| 1 | Speak with the King |
|---|---|
 Head to the Royal Palace and speak with the King. He is only there during the day, so if it's night, stay at the inn. He will assign you as the Chairman of the Restoration Effort, allowing you to rebuild Norende Village. Party Chat: Agnès's Intentions, Tiz the Navigator |
|
| 2 | Head to the Southwest Lake |
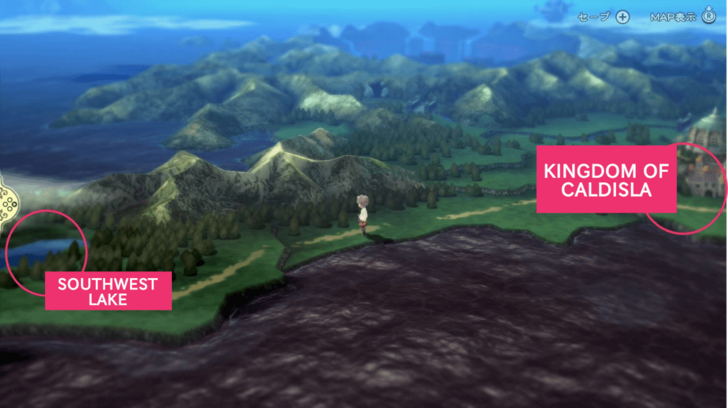 Leave the city and head to the Southwest Lake with Agnès as her guide. The next battle is a boss fight, so make sure to replenish potions or buy some new gear before leaving. |
Southwest Lake
| 1 | Defeat Holly Whyte and Barras Lehr |
|---|---|
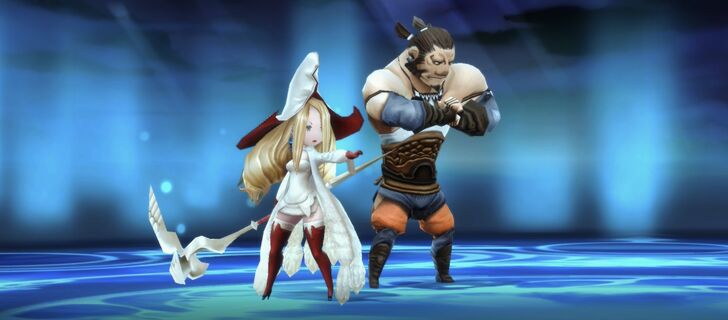 Upon entering Southwest Lake, a boss battle against Holly Whyte and Barras Lehr will occur. ┣ Use the Examine ability to check their HP. They don't have a weakness. ┣ Defeat Holly first, as she uses healing abilities. ┗ Accumulate BP by using Default, then attack all at once using Brave. |
|
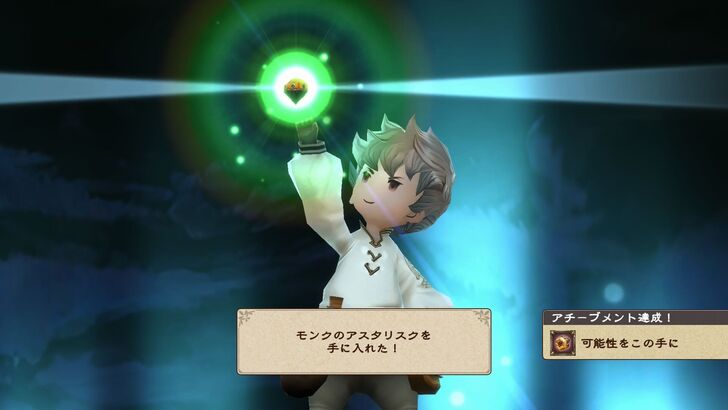
| 2 | Obtain White Mage and Monk Asterisks |
 |
Caldisla
| 1 | Report to the King |
|---|---|
 Head to the castle and report to the King. You will know your next destination during the dialogue. Party Chat: Two Bumpkins |
|
| 2 | Rest at the Inn |
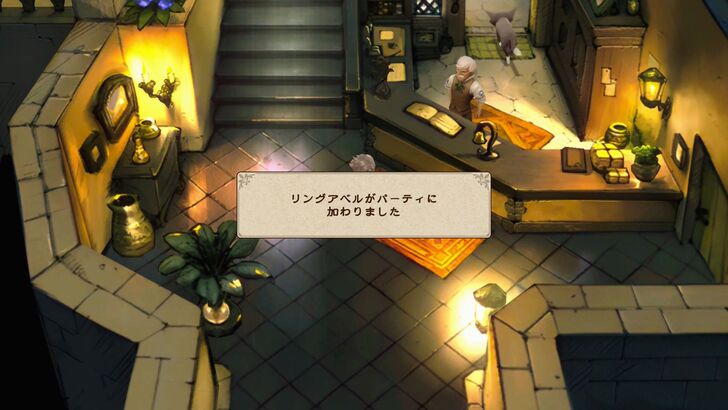 Rest at the Inn after talking to the King. A cutscene will play once you enter and a new character, Ringabel, will join your journey. You will also get the D's Journal, which can tell you what to do next. Party Chat: A Man of Mysteries |
|
| 3 | Head to the Ruins of Centro Keep |
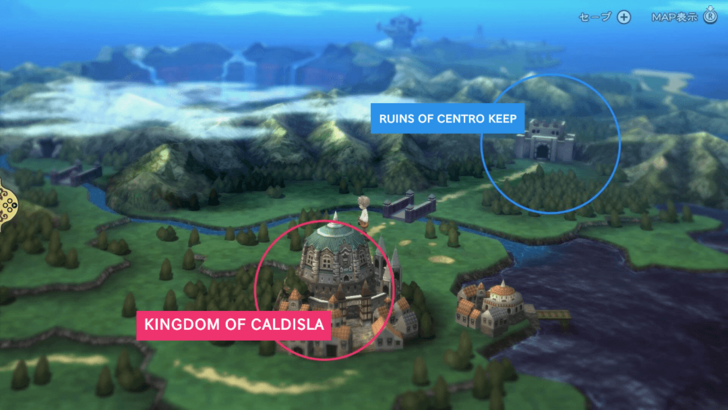 Leave the city again. Once you exit to the field, Abilink will be unlocked. Head northeast and enter the Ruins of Centro Keep. Recommended Level: 7 Tip: Before venturing out, it is advisable to purchase the White Magic spells Cure, Blindna, and Poisona. The Cait Sith can inflict Blind, and both the Orc Leader and the boss in the next area use Poison. It can get dangerous if you let the poison damage you each turn. Purchasing Eye Drops and Antidotes is also an option. |
Ruins of Centro Keep
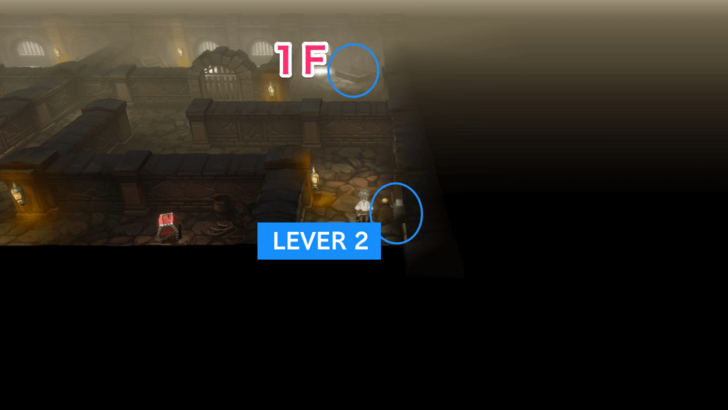
| 1 | (1F) Find the Stairs to the 2nd Floor |
|---|---|
Go to the room on the right and activate the lever. This will open a door that leads to the second floor. Proceed up the stairs in the northeastern part of the 1F. ▶︎ Ruins of Centro Keep Map |
|
| 2 | (2F) Find the Stars to the 3rd Floor |
 Go south and follow the path until you see the lever. Pull it to open up another door that will lead to the third floor. |
|
| 3 | (3F) Open the Door on the Left |
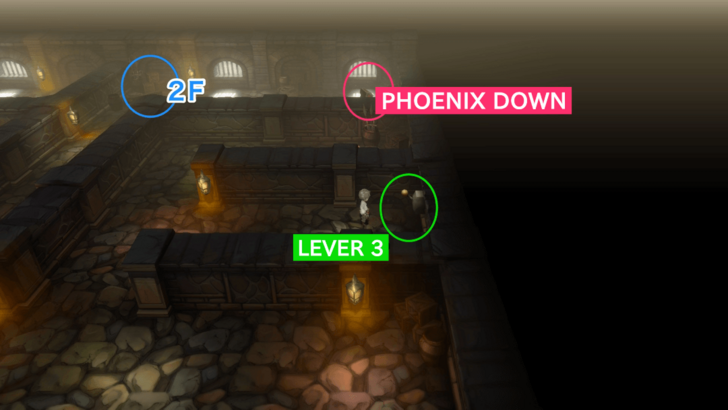 Upon arriving at the 3rd Floor, collect the Phoenix Down from the nearby treasure chest. Follow the path south and pull the lever that will open the door to the next room. |
|
| 4 | (3F) Head to the Second Floor |
 Activate the lever in the newly opened room. ┣ Go east to the end of the path. Then, at the southeasternmost part of the floor, enter the hidden passage through the south wall. This leads to a treasure chest containing Iron Knuckles. ┗ Proceed to the door that opened and take the stairs to get to the other area of the second floor. |
|
| 5 | (2F) Open the Door to the 1st Floor |
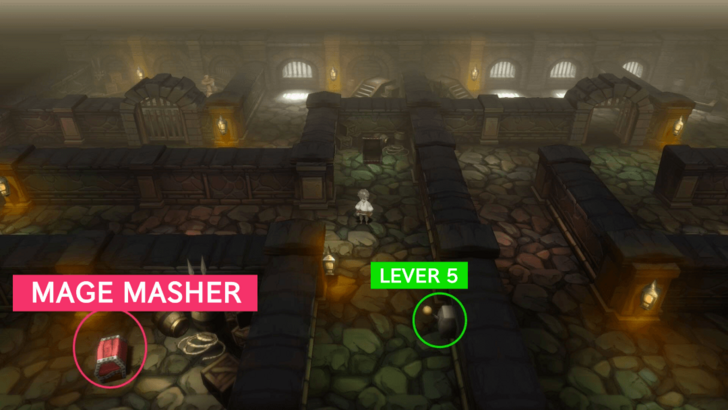 Pull the lever in the south area of the floor. It will open the door leading to the first floor. ┣ Get the Mage Masher from the treasure chest on the southwest part of the second floor. ┗ Heal and save your progress with the Adventurer before going down to the first floor. |
|
| 6 | (1F) Defeat Ominas Crowe |
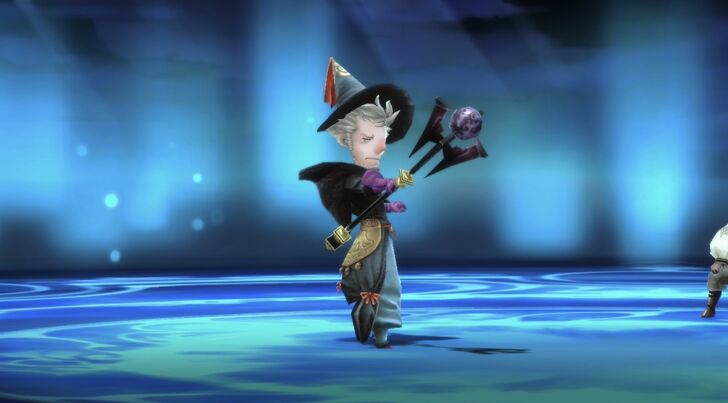 When you get to the first floor, you will enter a boss battle with Ominas Crowe. Edea will join you at the start of battle. ┣ Ominas has no weakness. ┣ When he uses an area-of-effect attack, have your White Mage use Cure to heal the entire party. ┗ Use Echo Herbs to remove Silence from any afflicted party member, especially your White Mage. |
|
| 7 | Obtain Black Mage Asterisk |
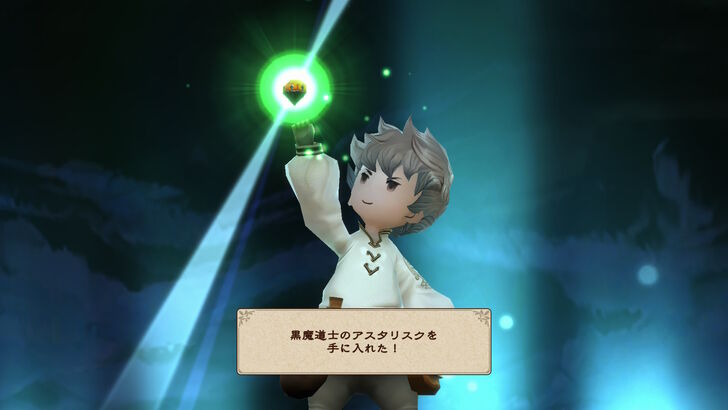 When you defeat Ominas, you will get the Black Mage Asterisk and an Ether. Party Chat: Talk of Titles |
Caldisla
| 1 | Return to Caldisla |
|---|---|
 After leaving the Ruins of Centro Keep, head back to Caldisla. A cutscene will trigger as soon as you enter the Royal Palace. Party Chat: Edea's Misunderstanding |
|
| 2 | Leave the Castle |
| Leave the Castle. A scene will play out that takes you to the Inn. Arguments will ensue, leading to Edea temporarily leaving the party | |
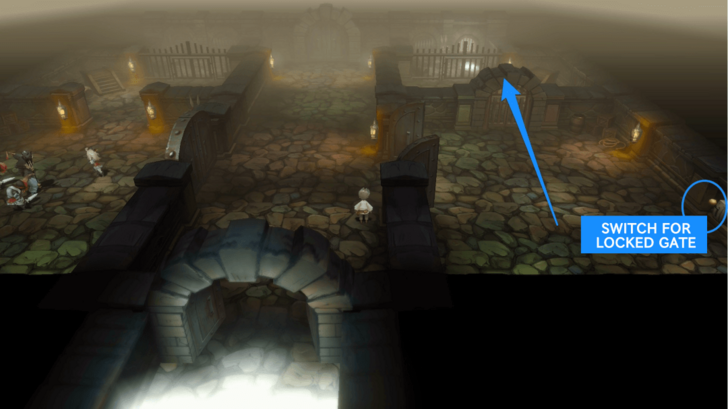
| 3 | Head to the Graveyard |
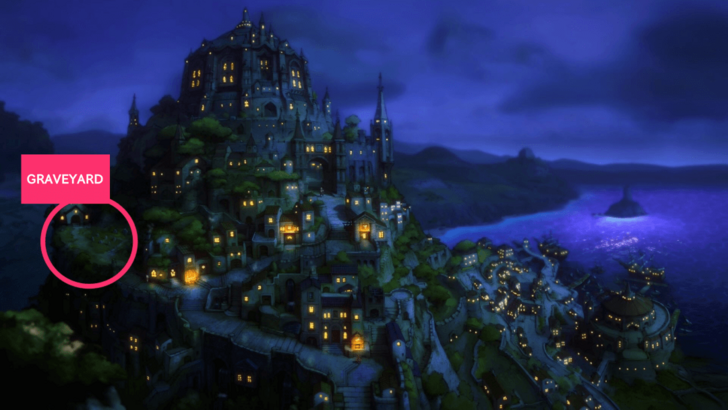 Now that it's just Edea in your party, go northwest towards the graveyard. You will encounter Karl the Innkeeper there and exchange a few dialogues. Afterward, Edea will reunite with the party, allowing you to continue as a group and begin rescuing the King. |
|
| 4 | Rescue the King |
| You will head to Lontano Villa beyond the Ruins of Centro Keep. Before you leave, replenish your recovery items and prepare your equipment to be ready for upcoming fights. Tip: It is highly recommended to switch one of your party members to a Black Mage and purchase the Black Magic spells Fire, Blizzard, and Lightning, as most enemies you encounter from now on will have elemental weaknesses. You will gain access to the Special Moves mechanic and its tutorial once you leave. ▶︎ List of Special Moves Party Chat: A Father's Care |
Ruins of Centro Keep 1F
| 1 | Pass through the Ruins of Centro Keep |
|---|---|
| Head north after leaving the city back to the Ruins of the Centro Keep. Once inside, go straight and interact with the door to pass through. If you missed some chests inside, this is the best time to get them so you won't have to go back again! Party Chat: But You're a Traitor |
|
| 2 | Go to Lontano Villa |
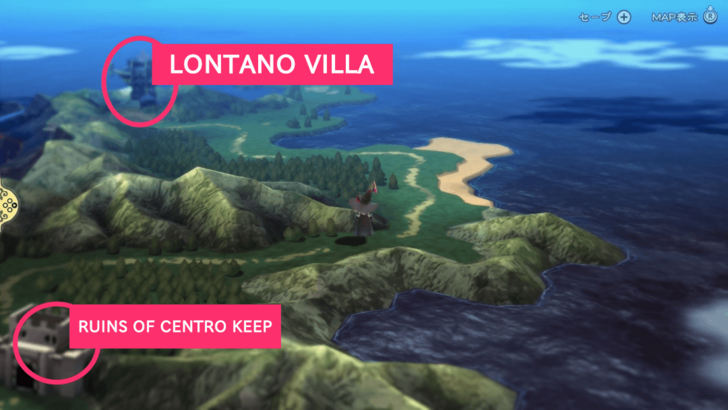 After leaving the Keep, you may encounter a Ratatoskr and two Wolves. Defeat them then head northwest to get to the Villa. |
Lontano Villa
| 1 | (1F) Defeat the Guards |
|---|---|
| Once you get inside, you will immediately go into battle with three knights. Defeat them to progress and start exploring the Lontano Villa. ▶︎ Lontano Villa Map ┗Recommended Level: 8-10 Party Chat: A Hard Discovery |
|
| 2 | (1F) Head to the 2nd Floor |
| Run north by passing through the inner area of the floor to get to the next floor. | |
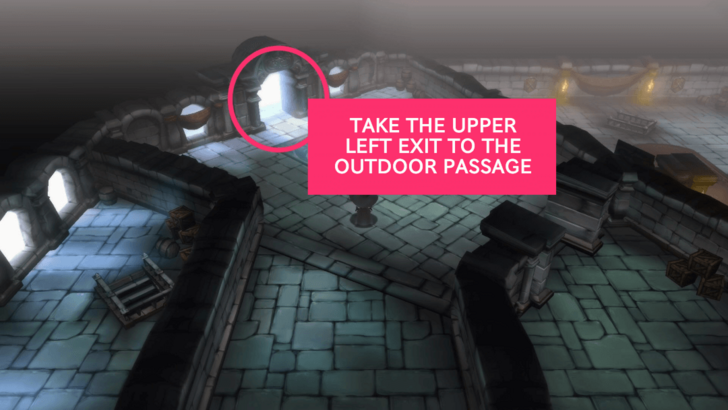
| 3 | (2F) Go to the Balcony |
 |
|
| 4 | (2F) Head to the 3rd Floor |
| Go right once outside and enter through the door at the end. Follow the hallway until you see the stairs. ┣ Collect the White Cape from the treasure chest at the back of the stairs. ┗ Use the stairs to get to the next floor. |
|
| 5 | (3F) Save Your Progress (Recommended) |
| Follow the path until you see the Adventurer. Save your progress as you will soon fight against the final boss of the Intro. When you proceed, a scene will play out, and then you will enter into a fight against some Sky Knights. Party Chat: Edea's Ire |
|
| 6 | (3F) Defeat Argent Heinkel |
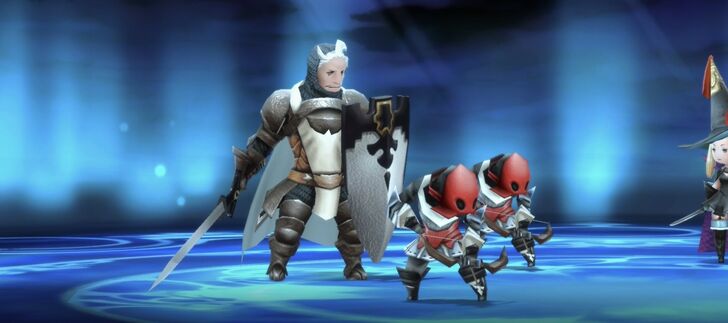 Follow Argent Heinkel outside on the balcony. You will then enter a cutscene that will lead to combat against him. ┣ Get rid of the Sky Knights first. They will keep firing poison arrows. ┗ They are all weak to Lightning, even Heinkel, so it's best to attack with the Black Mage's Lightning. |
|
| 7 | Obtain the Knight Asterisk |
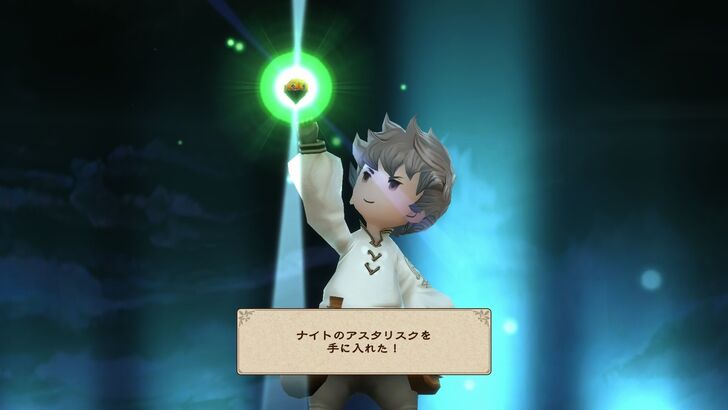 When you defeat Argent Heinkel, you will get the Knight Asterisk. |
Caldisla
| 1 | Return to Caldisla |
|---|---|
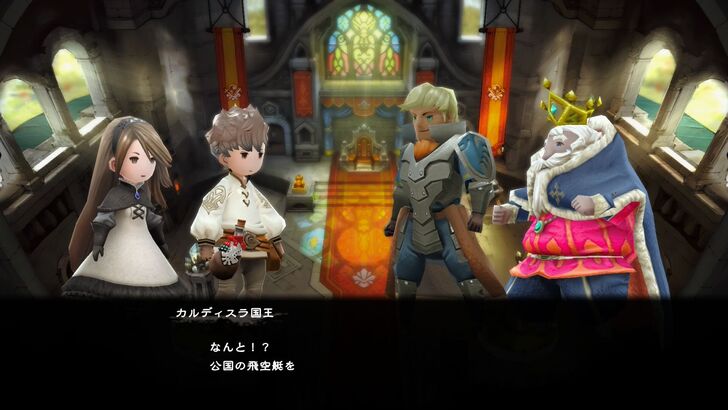
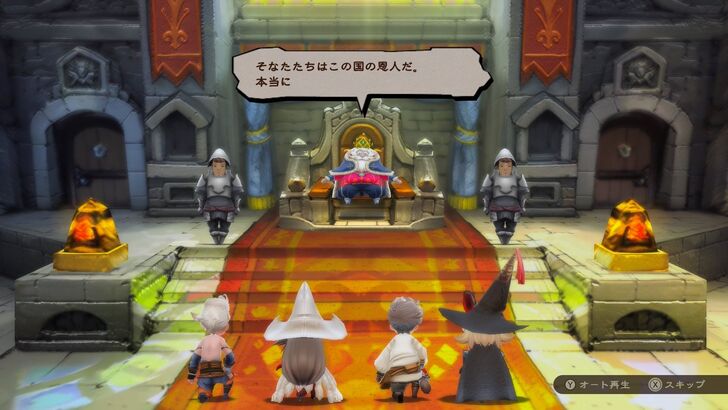 You will automatically be transported to the Southwest Lake, so return to Caldisla Kingdom and enter the Palace for an event. After talking to the King, you will officially own the airship Eschalot. |
World: Caldis Region
| 1 | Board the Eschalot |
|---|---|
| Exit Caldisla and head to the Southwest Lake to board the airship. ┗ You can switch between ship mode and flight mode. Party Chat: About Ancheim, Ancheim's Gourmand |
|
| 2 | Go to Ancheim |
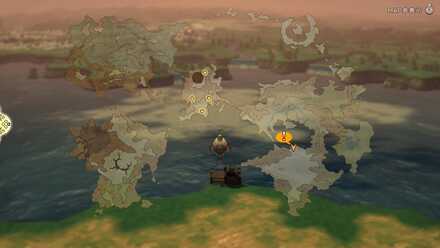 Head southeast in flight mode and dock at the port near Ancheim to proceed to Chapter 1. |
Intro Bosses
Holly and Barras (Recommended Level: 4)
| Holly and Barras Boss Fight Tips |
|---|
|
|
Ominas (Recommended Level: 7)
| Ominas Boss Fight Tips |
|---|
|
|
Heinkel (Recommended Level: 9)
| Heinkel Boss Fight Tips |
|---|
|
|
Bravely Default HD Remaster Related Guides

List of All Main Story Chapters
All Bravely Default Flying Fairy Chapters
| 0 | On the Precipice of Despair |
|---|---|
| 1 | Sit and Stay Are Tricks for Dogs |
| 2 | One Day, Beneath a Blue Sky |
| 3 | Beloved Bonds |
| 4 | Black and White |
| 5 | Yesterday's Scenery |
| 6 | A World of Echoes - Equal |
| 7 | A World of Echoes - Dash |
| 8 | A World of Echoes - Circle |
| 9 | Airy Lies (False Final Chapter) |
| 10 | Bravely Default (True Final Chapter) |
Comment
1  bru 9 months
Ruins of Centro; There's a hidden chest in the first floor with Iron Knuckles inside. Bottom right, walk south.
Author
Bravely Default Flying Fairy Remaster Walkthrough & Guides Wiki
Intro (Chapter 0) Walkthrough
Please participate in our site
improvement survey
03/2026
improvement survey
03/2026
Would you assist in
improving Game8's site?
improving Game8's site?

×
We are listening to our users' valuable opinions and discussing how to act on them.
The information collected through this survey will be used for the purpose of improving our services. In addition, the information will only be disclosed a part of a statistic in a format that will not allow identification of personal information.
Begin Survey
Not Now
×
Please rate each item regarding Game8.co's Advertisements.
Amount of Ads
Very Dissatisfied
Somewhat Dissatisfied
Fine
Somewhat Satisfied
Highly Satisfied
Placement of Ads
Timing of Ad Display
Ad Loading Speed
Safeness of Ads
Content of Ads
×
Please rate each item regarding Game8.co's Quality of Articles.
Amount of information
Very Dissatisfied
Somewhat Dissatisfied
Fine
Somewhat Satisfied
Highly Satisfied
Frequency of updates
Speed of new information
Accuracy of articles
Understandibility of articles
Readability of sentences
×
Please rate each item regarding Game8.co's Usability of the Site.
Ease of finding information
Very Dissatisfied
Somewhat Dissatisfied
Fine
Somewhat Satisfied
Highly Satisfied
Loading Speed
Use of Color
Font Size
Visibility of Images
Easy to Understand Layout
×
Please rate each item regarding Game8.co's Message Boards, Comments.
Ease of Writing
Very Dissatisfied
Somewhat Dissatisfied
Fine
Somewhat Satisfied
Highly Satisfied
Readability
Ease in Finding Information
Comment Quality
Comment Quantity
Admin Response
×
Please rate each item regarding Game8.co's Site's new design.
Please rate our site's new design
Very Dissatisfied
Somewhat Dissatisfied
Fine
Somewhat Satisfied
Highly Satisfied
Do you think that the website's design change makes the site easier to use?
Has the new design made it easier for you to find information on the site?
Has the new design improved the overall visual appeal of the site?
How would you rate your overall satisfaction with the new design of the site?
×
How likely are you to recommend Game8 to someone you know?
Very Unlikely
0
1
2
3
4
5
6
7
8
9
10
Very Likely
If you have other opinions regarding potential improvement to the website, please share them with us. We would appreciate your honest opinion.
Note: This is a free response section, so you can proceed without entering anything.
Note: Please be sure not to enter any kind of personal information into your response.
Note: Please be sure not to enter any kind of personal information into your response.
×
Thank You
×
Thank you for participating in our survey! Your answers will help us to improve the quality of our website and services.
We hope you continue to make use of Game8.
We hope you continue to make use of Game8.
Close
Rankings
- We could not find the message board you were looking for.
Gaming News


Popular Games

Genshin Impact Walkthrough & Guides Wiki
Honkai: Star Rail Walkthrough & Guides Wiki
Umamusume: Pretty Derby Walkthrough & Guides Wiki
Pokemon Pokopia Walkthrough & Guides Wiki
Resident Evil Requiem (RE9) Walkthrough & Guides Wiki
Monster Hunter Wilds Walkthrough & Guides Wiki
Wuthering Waves Walkthrough & Guides Wiki
Arknights: Endfield Walkthrough & Guides Wiki
Pokemon FireRed and LeafGreen (FRLG) Walkthrough & Guides Wiki
Pokemon TCG Pocket (PTCGP) Strategies & Guides Wiki


Recommended Games
Fire Emblem Heroes (FEH) Walkthrough & Guides Wiki
Diablo 4: Vessel of Hatred Walkthrough & Guides Wiki
Yu-Gi-Oh! Master Duel Walkthrough & Guides Wiki
Super Smash Bros. Ultimate Walkthrough & Guides Wiki
Pokemon Brilliant Diamond and Shining Pearl (BDSP) Walkthrough & Guides Wiki
Elden Ring Shadow of the Erdtree Walkthrough & Guides Wiki
Monster Hunter World Walkthrough & Guides Wiki
The Legend of Zelda: Tears of the Kingdom Walkthrough & Guides Wiki
Persona 3 Reload Walkthrough & Guides Wiki
Cyberpunk 2077: Ultimate Edition Walkthrough & Guides Wiki


All rights reserved
© SQUARE ENIX
The copyrights of videos of games used in our content and other intellectual property rights belong to the provider of the game.
The contents we provide on this site were created personally by members of the Game8 editorial department.
We refuse the right to reuse or repost content taken without our permission such as data or images to other sites.
Third floor, sorry. Was too fast there.