This survey will take about 1 minute.
Your answers will help us to improve our website.
Sand Land
Aquanium Recovery Walkthrough (Defense System Boss Guide)
★ Check out our complete Platinum Trophy Guide!
⧗ Use different Parts and Materials to enhance vehicles!
⧖ Learn the Best Vehicles and Best Skills!
⧗ Find Collectibles: Blueprints | Lost Property | Bottles
This is a walkthrough for the Aquanium Recovery Main Quest in Sand Land. See a detailed walkthrough of Aquanium Recovery, the items that can be found in it, how to beat the Defense System, as well as useful tips for completing Aquanium Recovery.
| ◄ Previous Quest | Next Quest ▶ |
|---|---|
| Rao's Suspicions | To Forest Land! |
List of Contents
Aquanium Recovery Walkthrough
Reaching Merrick Battleship
| No. | Step-By-Step Walkthrough |
|---|---|
| 1 | Leave Spino and head south towards the map marker. From there, follow the tire tracks. At the first clearing, the tire tracks will split and go in different directions, but they will connect at the end, so continue heading forward in the same direction. |
| 2 | 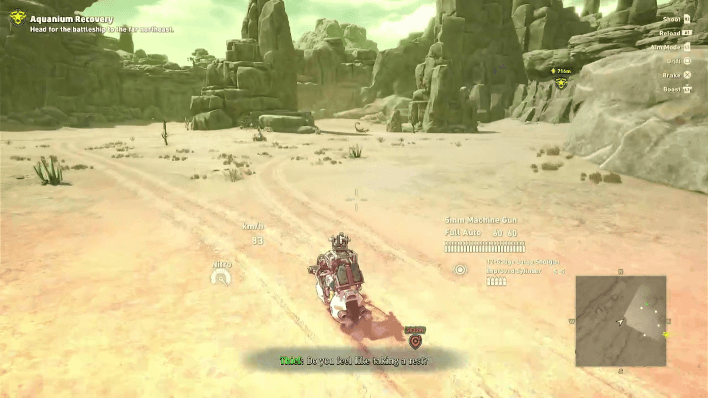 When the tire tracks fork into two directions, go to the right. Then, when they reconvene, turn right again and go through the West Marhan Checkpoint gate. You'll reach the city of Terigino. |
| 3 | Optional: Try to get materials from plants or creatures that you encounter along the way. These will be very helpful when you're trying to make your vehicles stronger. You can also take a break at Libr Camp just outside Terigino to recuperate. Don't forget to grab the material in the chests there too! |
| 4 | From the Terigino entrance, go northeast following the tire tracks again. When the tire tracks fork, go left towards the fortress, not towards the stone arch. From here, the tracks will occasionally fork off in different directions, but simply continue heading straight towards the quest marker. |
| 5 | 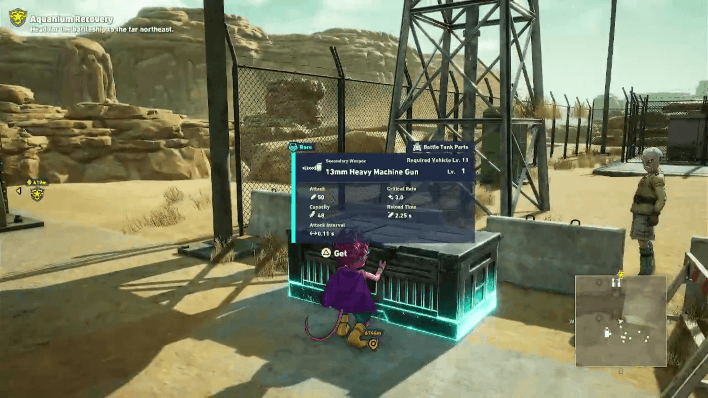 You'll reach the Royal Capital, but there's nothing to do here now. Continue following the tire tracks northeast through the North Marhan Checkpoint. Optional: You can loot the chests in North Marhan Checkpoint to get materials, a Rare 13mm Heavy Machine Gun, and a rare 7mm Machine Gun. |
| 6 | Continue north to enter Junker Market: Merrick. Take a peek inside, as you can find a chest with the Interceptor Drone Option for your Jump-Bot. The merchant outside also sells the Motorbike Blueprint 3, as well as an Antigrav Stone, a rare crafting material. |
Inside Merrick Battleship
| No. | Step-By-Step Walkthrough |
|---|---|
| 1 | 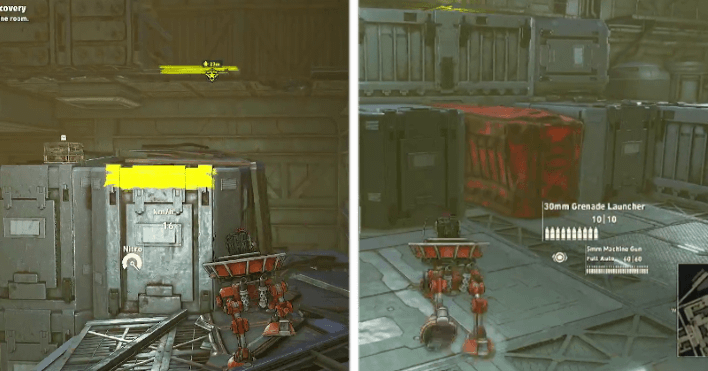 Continue up the ramp and enter Merrick Battleship. Just like in Lisab Battleship, crates here are color-coded in a way. Crates with yellow paint indicate that you should use a Jump-Bot on them and red crates are fragile ones that you can break with your Battle Tank. Use the Jump-Bot to progress ahead. In the room with the broken floor, jump down one floor at a time until you land on the sandy bottom on 2F. While progressing down, be sure to grab the chest on 3F which contains 3 Antigrav Stones. Continue to the next room and fight the robots. |
| 2 | 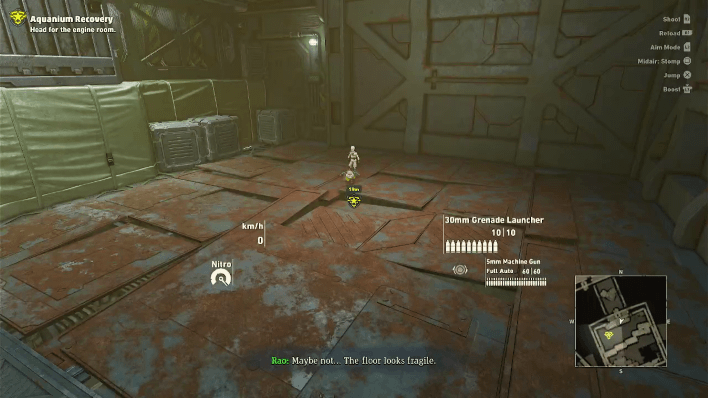 In the next room, use the Jump-Bot to crash through the fragile floor by pressing Square (on PS) after jumping. |
| 3 | 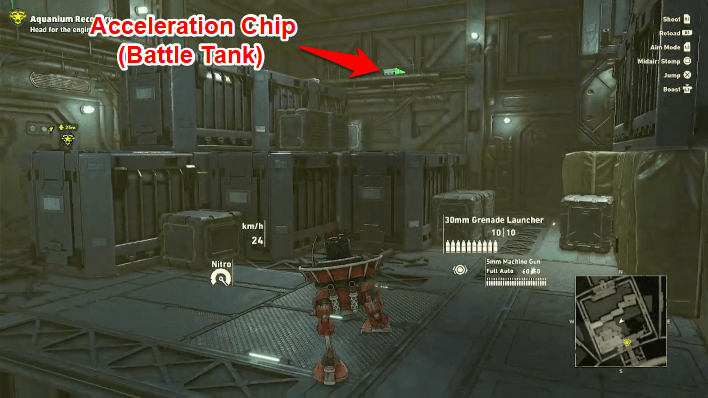 Continue following the marker up the crates in the next room. Grab a map of the battleship on one of the crates and an Acceleration Chip (Battle Tank) near the top where the marker is. |
| 4 | 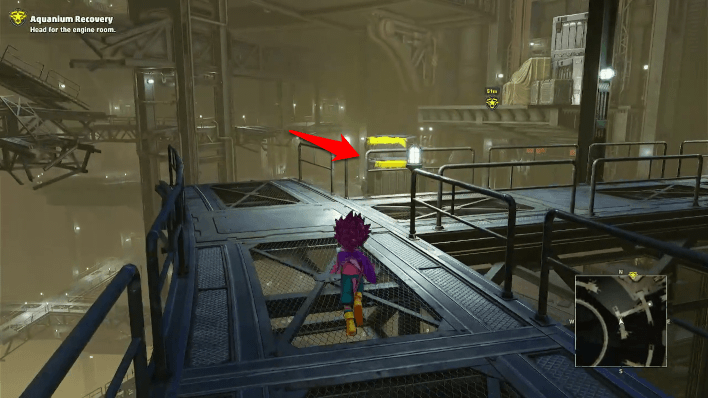 Continue ahead while taking out Wannabe Junkers. Take two slopes leading down, then at the bottom, jump up onto the containers marked with yellow paint using the Jump-Bot until you reach the next area. |
| 5 | 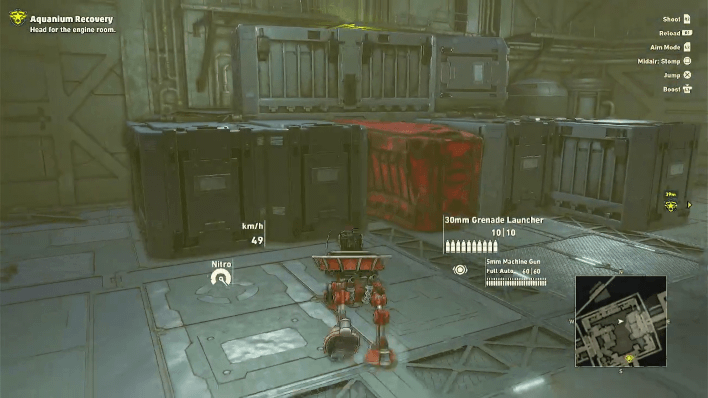 Optional: In this room, you can find a fragile container which you can break with the Tank. This will open a gap into a new room; defeat the robots there and proceed. You'll enter a room with containers hanging from the ceiling which you can shoot down, then platform across with the Jump-Bot. You'll receive a few decent items like Machine Gun Scraps at the other end, but nothing world-shattering here. |
| 6 | Go back to the previous room and continue ahead until you reach a fragile floor; smash it with a ground pound from your Jump-Bot. In the room below, jump up to the opposite side to find a 20mm Anti-Material Rifle+. |
| 7 | 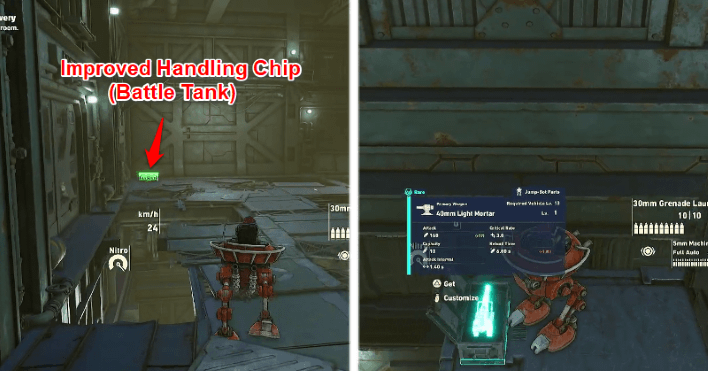 Ahead, climb up the containers and grab a 40mm Light Mortar and an Improved Handling Chip (Battle Tank) on the way up. |
| 8 | 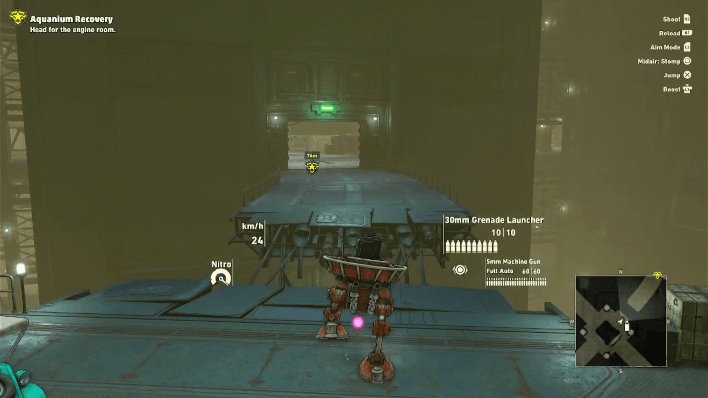 In the next room, defeat the jumping robots, then proceed towards the elevator in the huge central room. Jump on the crates to reach the next area and use the Jump-Bot to jump across the gap near the Water Supply Station. Defeat the jumping robots and wannabe junkers in the next two rooms. |
| 9 | 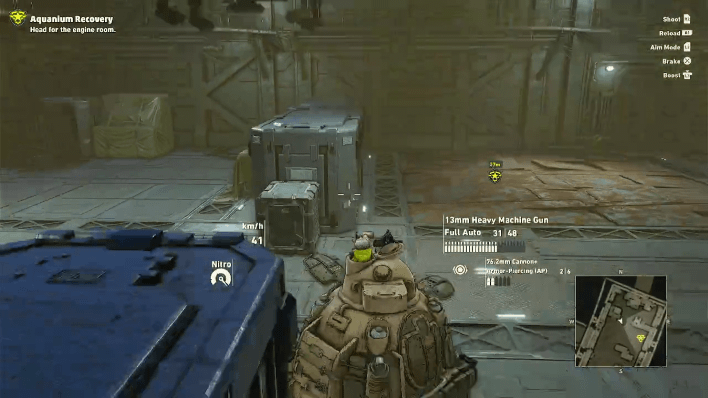 Break the fragile floor in one of the rooms using your Jump-Bot to fall through the lower floor. Follow the marker up a slope to a new room. |
| 10 | 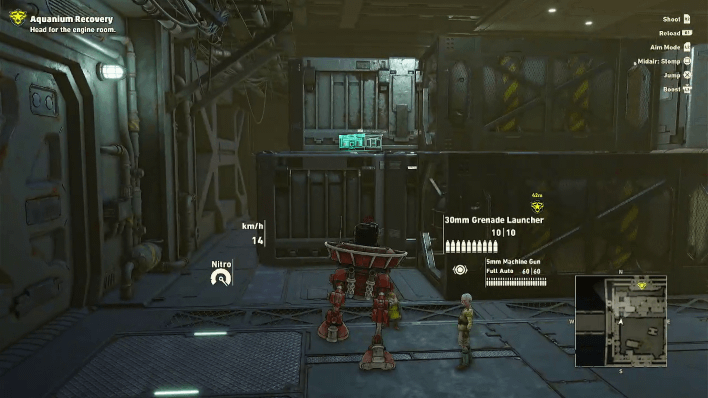 Continue platforming through subsequent rooms until you reach a couple of crates stacked on top of each other. Jump on top of these crates and climb up the slope. Defeat the jumping robot in the next room and grab the Parallel-Twin Turbo Engine II before exiting. |
| 11 |  Continue following the quest marker until you reach the elevator. In the next room, you'll fight the Defense System. Defeat it to receive 800 EXP and 1,500 Zeni. |
| 12 | Head back and take the elevator down. Continue ahead to reach the exit. |
Rosetta's Brigade
| No. | Step-By-Step Walkthrough |
|---|---|
| 1 | Fast travel back to Spino and talk to Mayor Tor. |
| 2 | 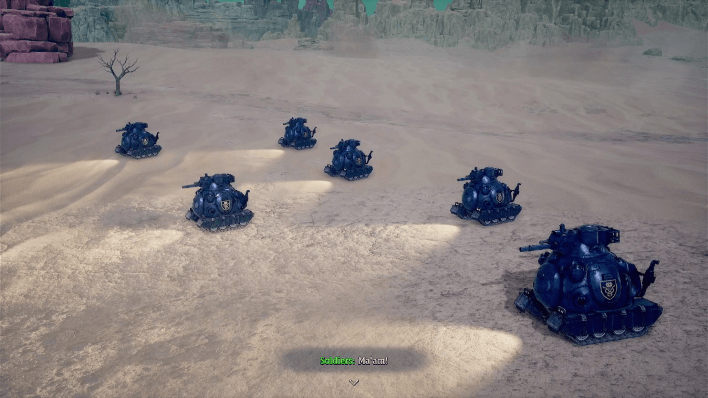 Leave Spino and advance to the map marker. Destroy all of the tanks. |
| 3 | 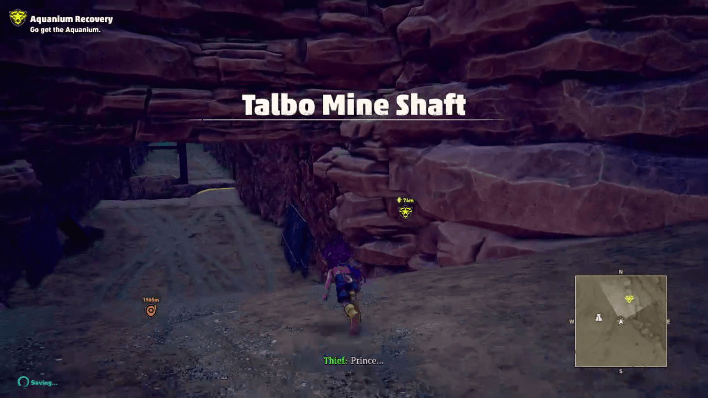 Walk into the tunnel and get the Aquanium, and bring it back. |
| 4 | Go back to Spino and talk to Are to finish the quest. |
Aquanium Recovery Boss Guide
Defense System

The Defense System is a tanky robot capable of controlling some aspects of the room it's in. It has limited movement though as it can only move back and forth along the perimeter of the battle area.
Here are some tips to defeat it.
Use Your Machine Gun on the Small Drones and Your Primary Weapon on the Defense System Itself
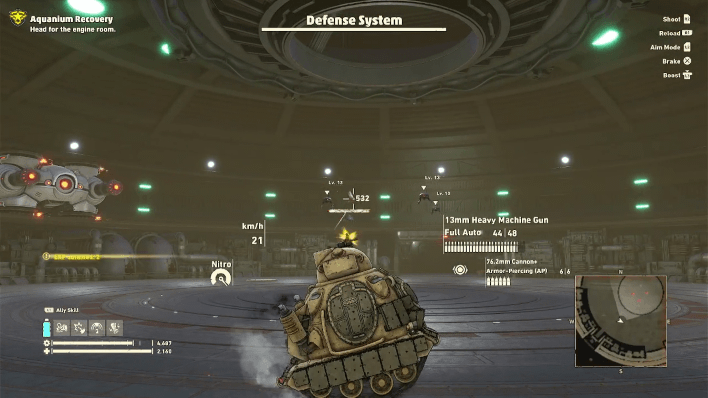
The Defense System sends drones your way every now and then. Take these out using your second fire, so you can reserve your Primary Weapon for the Defense System itself.
Don't Bother Taking Out the Small Turrets
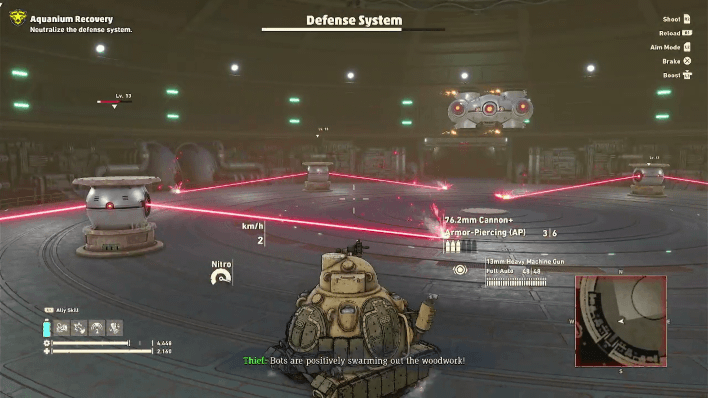
You should be able to move along with its lasers while also avoiding the lasers from the turrets; don't bother taking out the turrets as they will simply come back on the next round.
Predict Its Movements
Focus on predicting its movement and aiming armor-piercing bullets at it with the Battle Tank. Since it's just moving back and forth, it should be easy to hit it with your gun.
Move on Higher Platform To Avoid the Electricity on the Ground
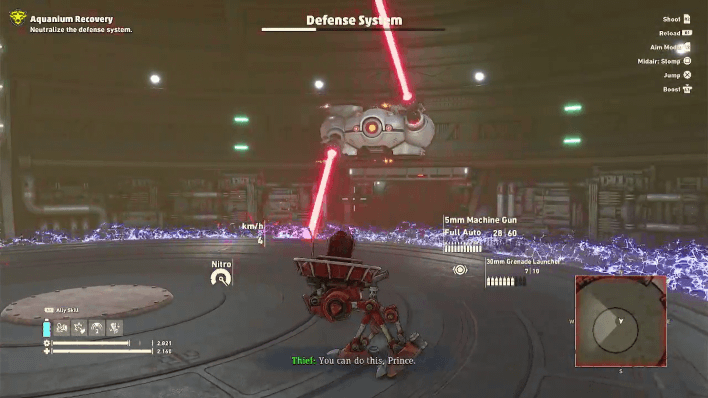
At one point, the floor you're on will be charged with electricity which can damage your tank. Avoid this by hopping on a higher platform using your Jump-Bot. Then, change your vehicle back to the tank and shoot the Defense System until it dies.
Sand Land Related Guides

| No. | Quest |
|---|---|
| 1 | Water Delivery! |
| 2 | Hitting the Road |
| 3 | Head to the Legendary Spring |
| 4 | Get Food and Water in Town |
| 5 | A Tank? Sign Me Up! |
| 6 | Need a Lift, Ann? |
| 7 | Tank Repairs |
| 8 | A Jump-bot?! Gimme! |
| 9 | The East Valley |
| 10 | Speaking the Truth |
| 11 | Headin' South! |
| 12 | The Legendary Spring |
| 13 | Royal Secrets No More |
| 14 | Water to the World! |
| 15 | Delivery for the Picchi |
| 16 | Surveying the Big Dam |
| 17 | Taking Ann Home |
| 18 | Rao's Suspicions |
| 19 | Aquanium Recovery |
| 20 | To Forest Land! |
| 21 | Rescue Mission! |
| 22 | Sunken Battleship |
| 23 | A Man of Chivalry |
| 24 | On the Brink |
| 25 | Taking Back the King |
| 26 | To Trikke, Pronto! |
| 27 | Joining Forces |
| 28 | Counteroffensive! |
| 29 | A Royal Rescue |
| 30 | The Two Kings |
| 31 | The Flying Fortress Garam |
Comment
Author

Aquanium Recovery Walkthrough (Defense System Boss Guide)
Please participate in our site
improvement survey
03/2026
improvement survey
03/2026
Would you assist in
improving Game8's site?
improving Game8's site?

×
We are listening to our users' valuable opinions and discussing how to act on them.
The information collected through this survey will be used for the purpose of improving our services. In addition, the information will only be disclosed a part of a statistic in a format that will not allow identification of personal information.
Begin Survey
Not Now
×
Please rate each item regarding Game8.co's Advertisements.
Amount of Ads
Very Dissatisfied
Somewhat Dissatisfied
Fine
Somewhat Satisfied
Highly Satisfied
Placement of Ads
Timing of Ad Display
Ad Loading Speed
Safeness of Ads
Content of Ads
×
Please rate each item regarding Game8.co's Quality of Articles.
Amount of information
Very Dissatisfied
Somewhat Dissatisfied
Fine
Somewhat Satisfied
Highly Satisfied
Frequency of updates
Speed of new information
Accuracy of articles
Understandibility of articles
Readability of sentences
×
Please rate each item regarding Game8.co's Usability of the Site.
Ease of finding information
Very Dissatisfied
Somewhat Dissatisfied
Fine
Somewhat Satisfied
Highly Satisfied
Loading Speed
Use of Color
Font Size
Visibility of Images
Easy to Understand Layout
×
Please rate each item regarding Game8.co's Message Boards, Comments.
Ease of Writing
Very Dissatisfied
Somewhat Dissatisfied
Fine
Somewhat Satisfied
Highly Satisfied
Readability
Ease in Finding Information
Comment Quality
Comment Quantity
Admin Response
×
Please rate each item regarding Game8.co's Site's new design.
Please rate our site's new design
Very Dissatisfied
Somewhat Dissatisfied
Fine
Somewhat Satisfied
Highly Satisfied
Do you think that the website's design change makes the site easier to use?
Has the new design made it easier for you to find information on the site?
Has the new design improved the overall visual appeal of the site?
How would you rate your overall satisfaction with the new design of the site?
×
How likely are you to recommend Game8 to someone you know?
Very Unlikely
0
1
2
3
4
5
6
7
8
9
10
Very Likely
If you have other opinions regarding potential improvement to the website, please share them with us. We would appreciate your honest opinion.
Note: This is a free response section, so you can proceed without entering anything.
Note: Please be sure not to enter any kind of personal information into your response.
Note: Please be sure not to enter any kind of personal information into your response.
×
Thank You
×
Thank you for participating in our survey! Your answers will help us to improve the quality of our website and services.
We hope you continue to make use of Game8.
We hope you continue to make use of Game8.
Close
Rankings
- We could not find the message board you were looking for.
Gaming News


![Monster Hunter Stories 3 Review [First Impressions] | Simply Rejuvenating](https://img.game8.co/4438641/2a31b7702bd70e78ec8efd24661dacda.jpeg/thumb)
Popular Games

Genshin Impact Walkthrough & Guides Wiki
Honkai: Star Rail Walkthrough & Guides Wiki
Umamusume: Pretty Derby Walkthrough & Guides Wiki
Pokemon Pokopia Walkthrough & Guides Wiki
Resident Evil Requiem (RE9) Walkthrough & Guides Wiki
Monster Hunter Wilds Walkthrough & Guides Wiki
Wuthering Waves Walkthrough & Guides Wiki
Arknights: Endfield Walkthrough & Guides Wiki
Pokemon FireRed and LeafGreen (FRLG) Walkthrough & Guides Wiki
Pokemon TCG Pocket (PTCGP) Strategies & Guides Wiki


Recommended Games
Diablo 4: Vessel of Hatred Walkthrough & Guides Wiki
Cyberpunk 2077: Ultimate Edition Walkthrough & Guides Wiki
Fire Emblem Heroes (FEH) Walkthrough & Guides Wiki
Yu-Gi-Oh! Master Duel Walkthrough & Guides Wiki
Super Smash Bros. Ultimate Walkthrough & Guides Wiki
Pokemon Brilliant Diamond and Shining Pearl (BDSP) Walkthrough & Guides Wiki
Elden Ring Shadow of the Erdtree Walkthrough & Guides Wiki
Monster Hunter World Walkthrough & Guides Wiki
The Legend of Zelda: Tears of the Kingdom Walkthrough & Guides Wiki
Persona 3 Reload Walkthrough & Guides Wiki


All rights reserved
© Bandai Namco Entertainment America Inc. All third party content, brands, names, and logos are used under license and remain property of their respective owners. All rights reserved.
The copyrights of videos of games used in our content and other intellectual property rights belong to the provider of the game.
The contents we provide on this site were created personally by members of the Game8 editorial department.
We refuse the right to reuse or repost content taken without our permission such as data or images to other sites.