This survey will take about 1 minute.
Your answers will help us to improve our website.
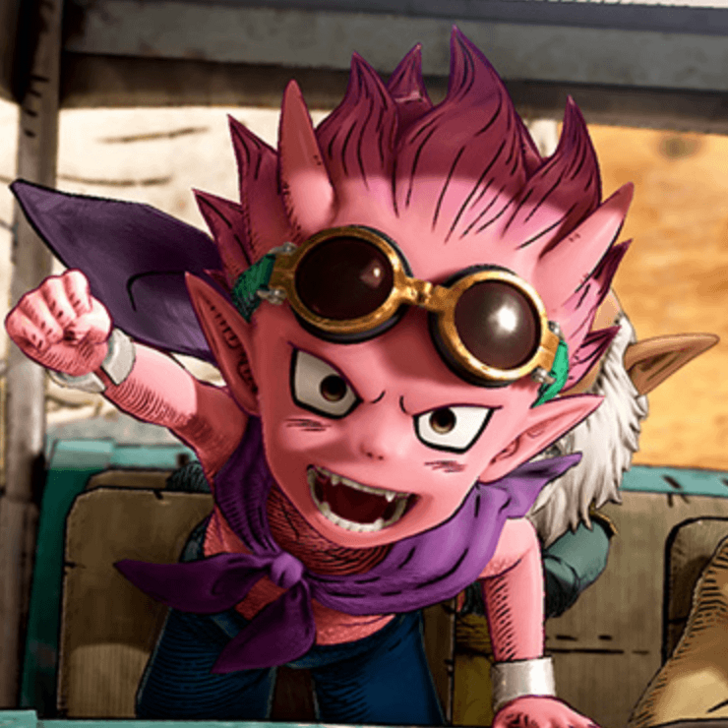
Sand Land
A Jump-bot?! Gimme! Walkthrough
★ Check out our complete Platinum Trophy Guide!
⧗ Use different Parts and Materials to enhance vehicles!
⧖ Learn the Best Vehicles and Best Skills!
⧗ Find Collectibles: Blueprints | Lost Property | Bottles
This is a walkthrough for the A Jump-bot?! Gimme! Main Quest in Sand Land. See a detailed walkthrough of A Jump-bot?! Gimme!, how to get through Lisab Battleship, all treasure chest locations in Lisab Battleship, how to beat the Outlaw's Jump-Bot, as well as useful tips for completing A Jump-bot?! Gimme!
| ◄ Previous Quest | Next Quest ▶ |
|---|---|
| Tank Repairs | The East Valley |
List of Contents
A Jump-bot?! Gimme! Walkthrough
| No. | Step-By-Step Walkthrough |
|---|---|
| 1 |  Speak with Mayor Tor and talk to him again after your initial conversation has ended to unlock the side quest “Task From Mayor Tor”. Afterwards, leave the town through the main gate and follow the quest marker. |
| 2 | 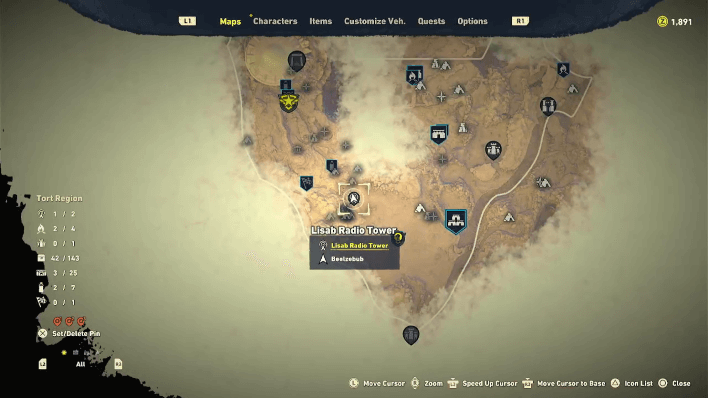 Optional: We suggest repairing the Lisab Radio Tower nearby to reveal different points of interest in the area. Furthermore, there are plenty of chests to loot at the Radio Tower including one that has an Incendiary Chip (Missile/Rocket) inside. The tower will be surrounded by a couple of Lv. 5 enemies though, so be prepared to fight. |
| 3 | 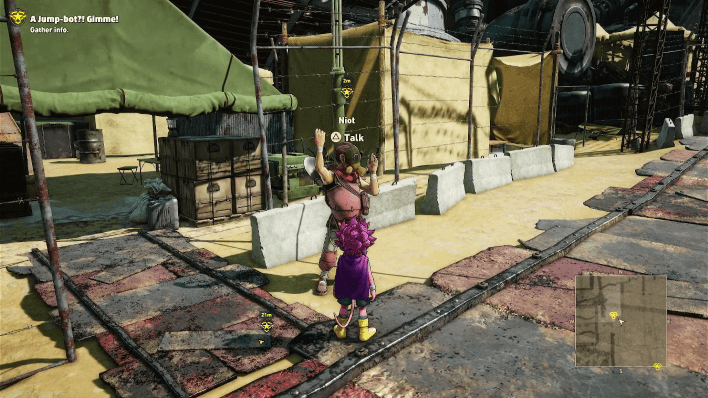 Follow the quest marker until you reach Junker's Market. Then, talk to the NPCs indicated with the quest marker in sequence. |
| 4 | 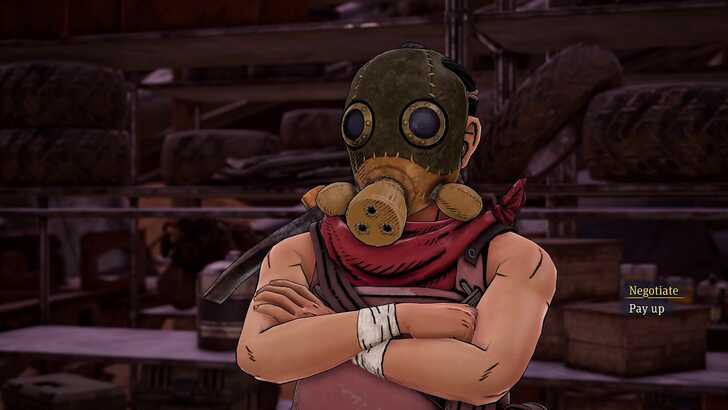 When talking to Junker For, you'll be asked to Negotiate or Pay Up. Choose “Negotiate” and you can progress without having to pay anything! Note: Although you can buy a Machine Gun Scrap for the side quest “Task From Mayor Tor”, it's not recommended to do so as it costs 500 Zeni for the part, and you'll only get 250 Zeni as a reward for the side quest. Instead, shoot tanks in the desert as you progress the game to get Machine Gun Scraps for free. |
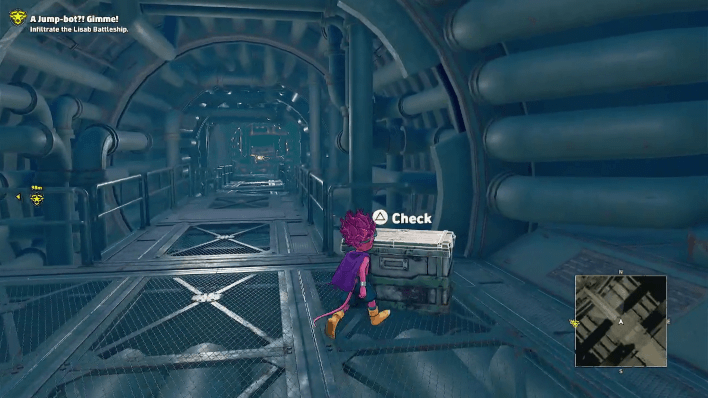
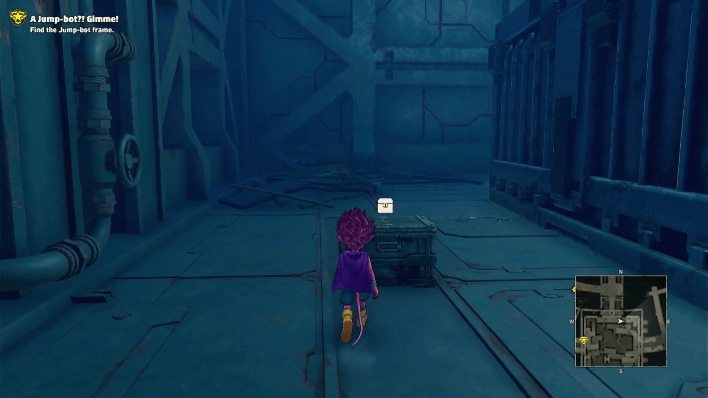
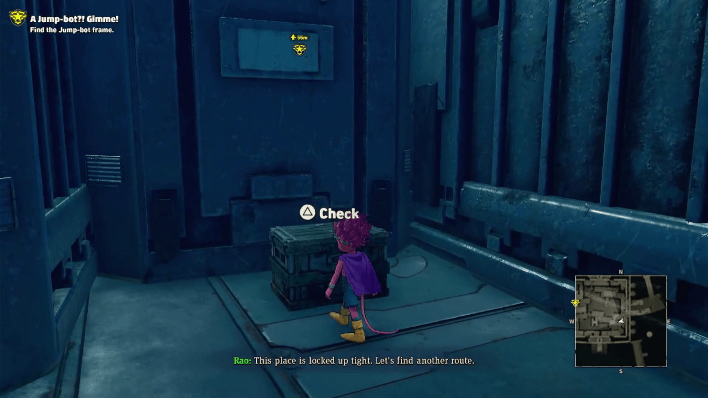
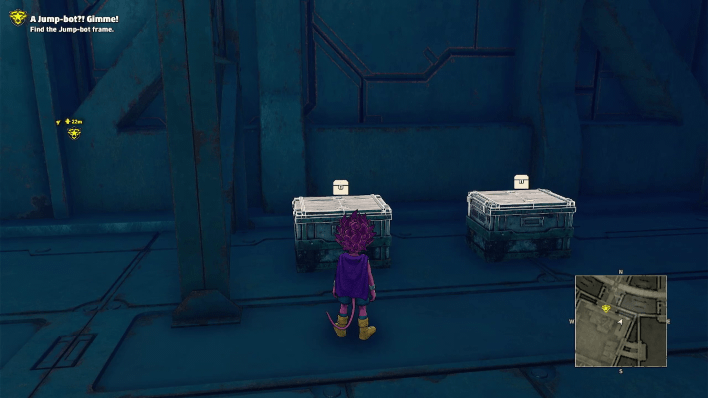
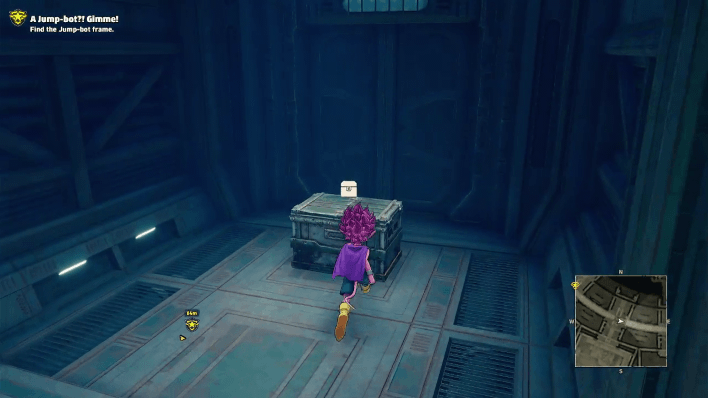
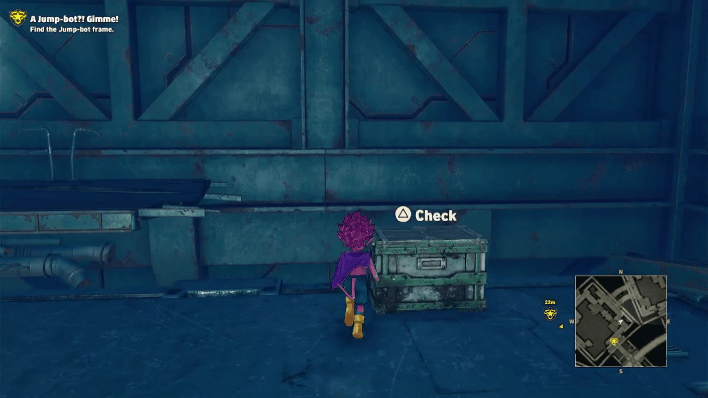
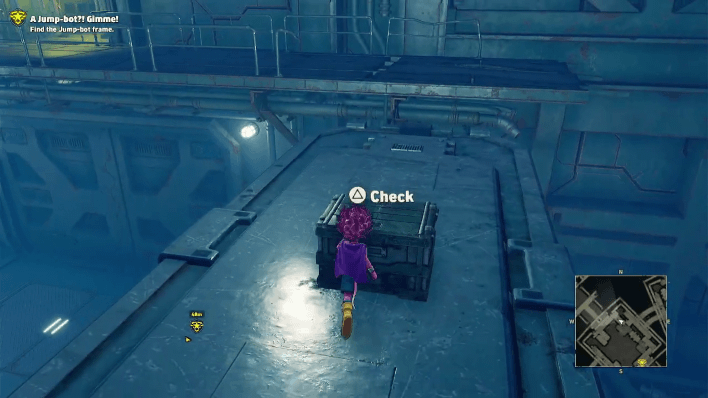
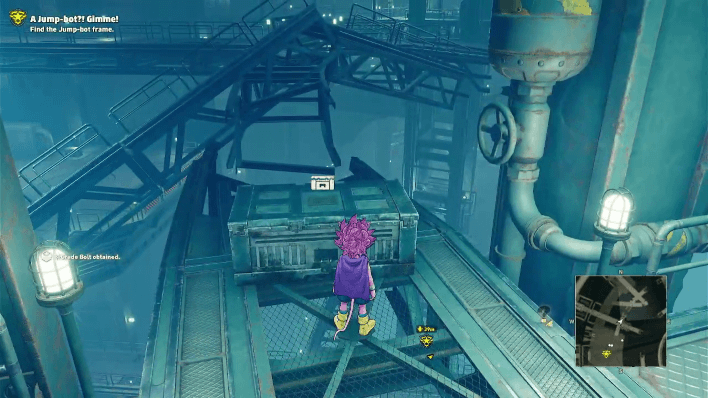
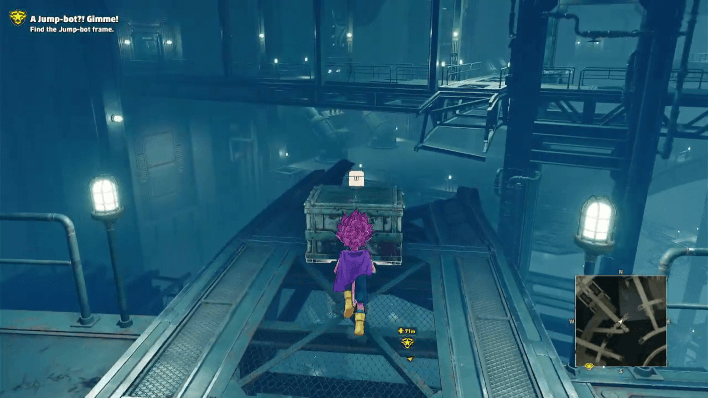
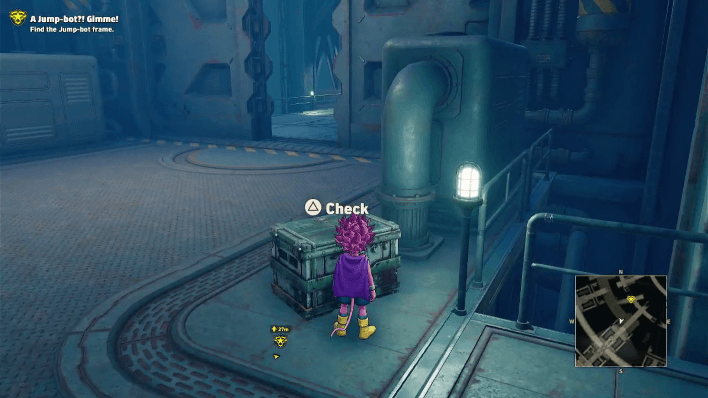
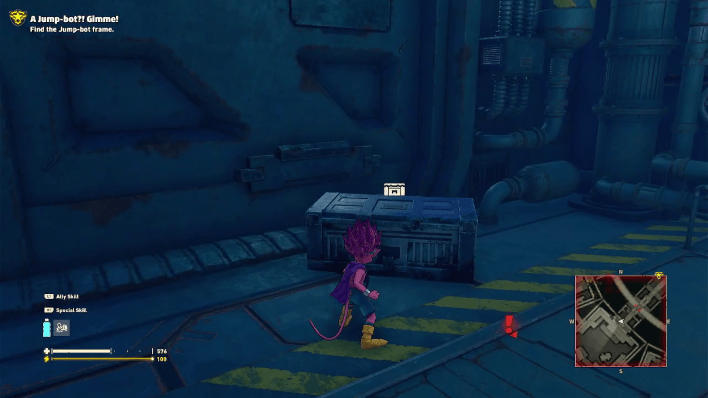
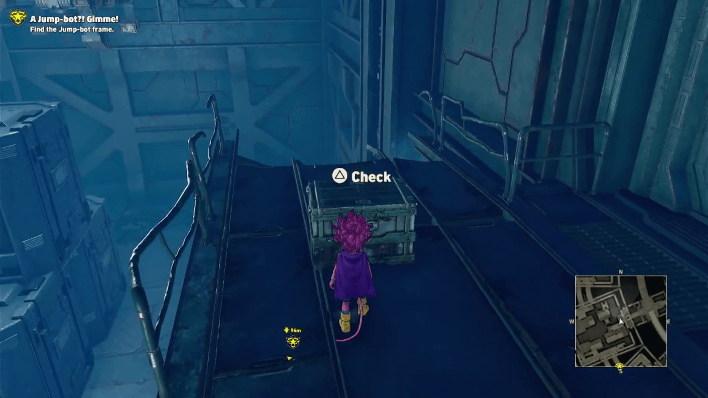
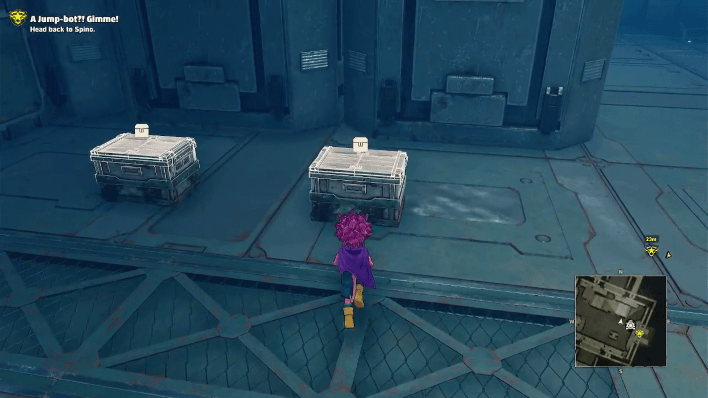
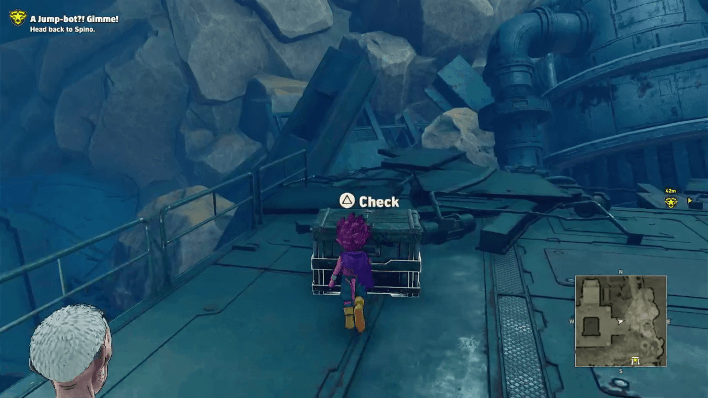
| 5 | 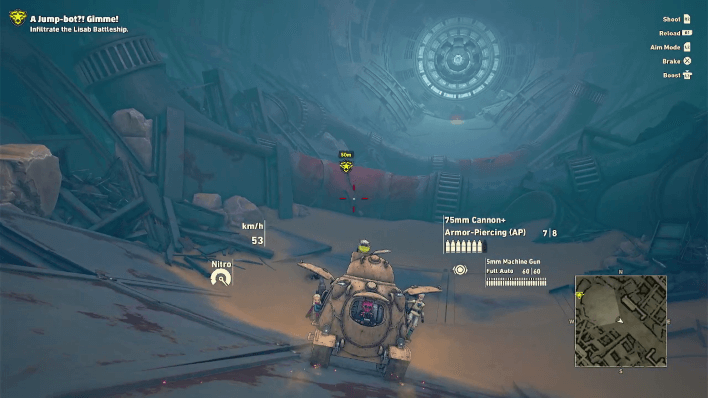 Continue ahead and enter the Lisab Battleship by following the quest marker. Use the Tank's armor-piercing bullets to blast through the breakable walls. From here on out, feel free to loot chests you'll come across as you explore the battleship. Chests with common materials are easily noticeable but those with valuable items are either hidden or hard to get to. No worries though because we'll cover those in this walkthrough! You can skip to this page's Treasure Chests section to see all the chests in Lisab Battleship. |
| 6 | Enter the main area of the battleship and keep venturing deeper by following the quest marker. You can do this either on foot or in your Battle Tank. |
| 7 | At one point, you and your team will fall to the first floor of the battleship. There you'll be met by a few drone bots which you need to defeat. Take the bots down, then proceed to the next room indicated by the yellow marker. |
| 8 | 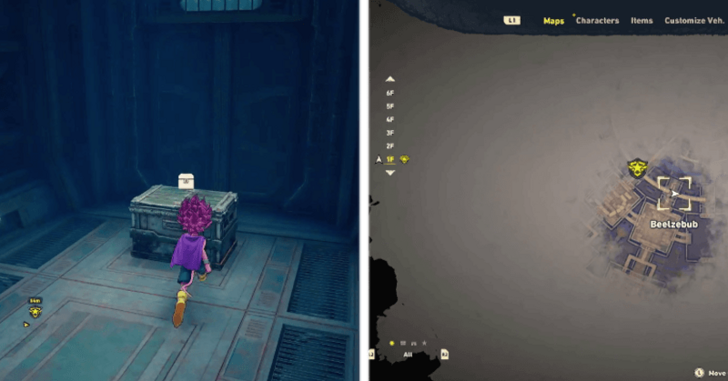 Enter the hallway that's lit with a green glow, then turn right at the first intersection to find a chest with a map of the Lisab Battleship. |
| 9 | 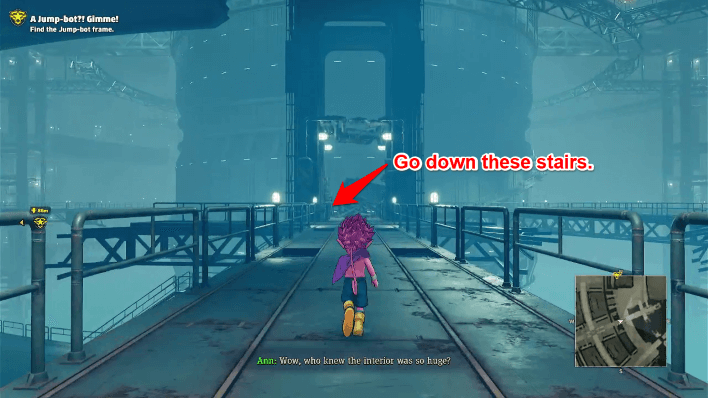 Follow the quest marker once more until you've reached the huge central area of the battleship. Go straight, then go down the stairs to your left. From there, follow the quest marker again and destroy the huge rusty crate that's blocking your way using your tank's Armor-Piercing guns. Then, defeat the enemies in the next two rooms using your Tank. |
| 10 |  After defeating the enemies. exit through the southern door to reach the huge room again. Go to where the quest marker is and use the elevator to go up one floor. Before entering the next room, make sure to refill your water bottle at the water station supply nearby if needed. |
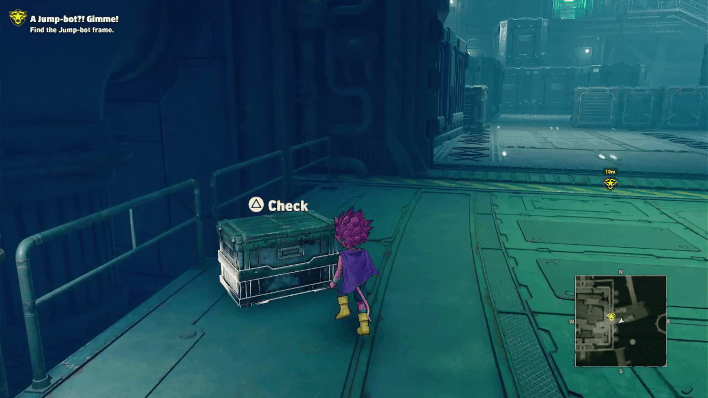
| 11 |  Follow the quest marker yet again while destroying the big crates blocking your way. Keep going until you've reached a room where a huge yellow crate is held up in the air. Shoot the yellow crate to bring it down. You can then jump on the crates to reach the next area. |
| 12 | 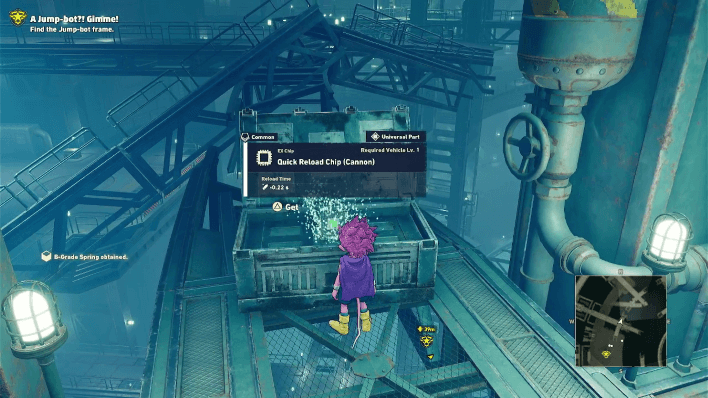 Enter the hallway and go right instead of following the quest marker. Turn left at the first intersection to see a Lv. 5 enemy Junker. Defeat them, then open the chest nearby to get a Quick Reload Chip (Cannon). Afterwards, follow the quest marker again and defeat the enemies lying in wait. |
| 13 | From where you defeated the Lv. 5 enemies, go south until you reach a chest. Enter the room on your right and open the chest inside to get a Heavy Gatling Gun. |
| 14 | 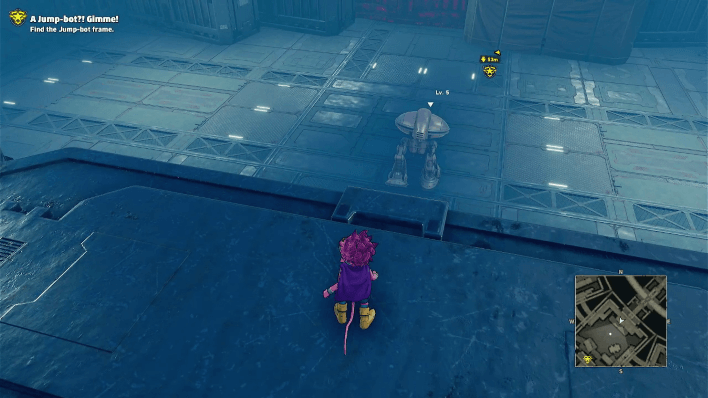 Follow the quest marker until you reach a room with a Lv. 5 Jump-bot enemy. Defeat the enemy using your Battle Tank, then go up the flight of stairs in the room instead of exiting it. This will lead you to a new room. |
| 15 | There are two chests in next room; one has basic vehicle materials while the other one will give you a Power+ Chip (Cannon) . Use the crates as platforms to jump on in order to get the chests. Afterwards, go back to the room where you fought the Jump-bot. |
| 16 | 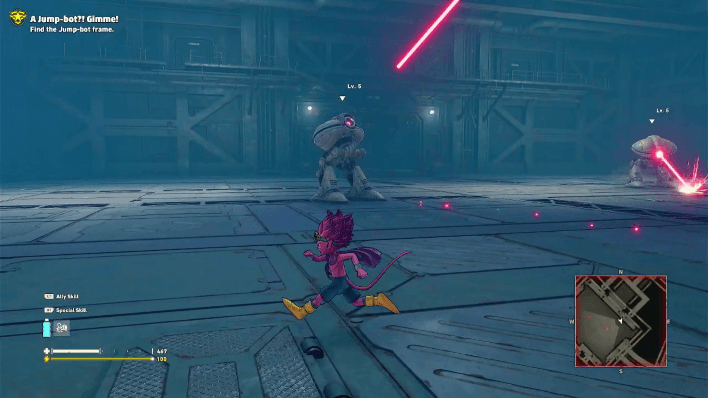 Follow the quest marker yet again and fight the two Jump-bots waiting for you in the next room. Exit the room after defeating the two Jump-bots and follow the quest marker once more. |
| 17 | 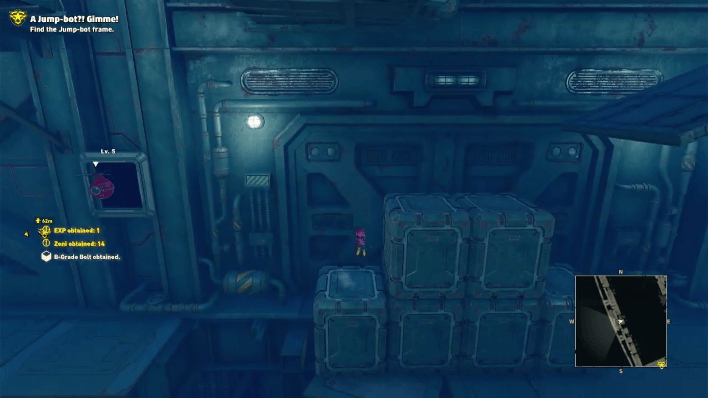 Be on your guard as you explore the next room as bomb drones sometimes come out of the holes on the walls. They will then chase after you and explode. When you stumble upon them, kill them quickly before they explode. |
| 18 | 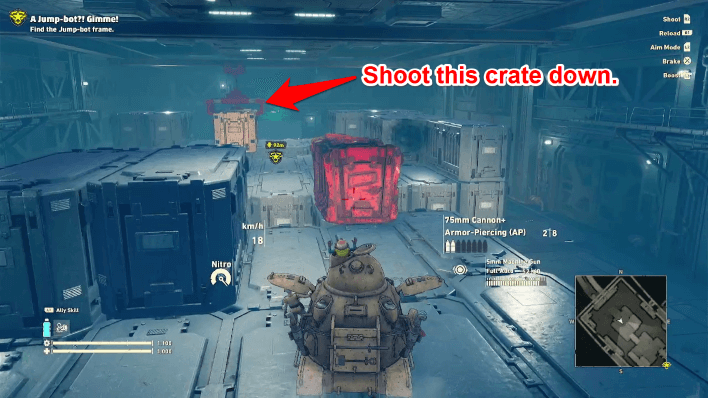 Continue following the quest marker, destroying any crates blocking your way with your Battle Tank. When you get to the room with plenty of crates, shoot the crate held up in the air so it comes down and can act as a bridge for you to go across. Before you go to the next room, get some water from the water supply station nearby. |
| 19 | 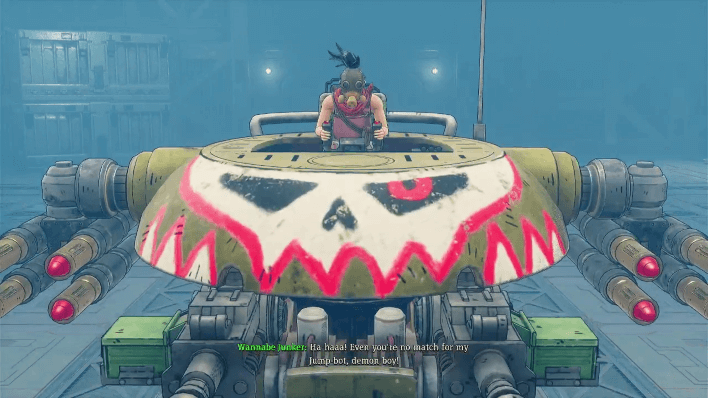 Go to the next room and defeat the Outlaw's Jump-bot. |
| 20 | 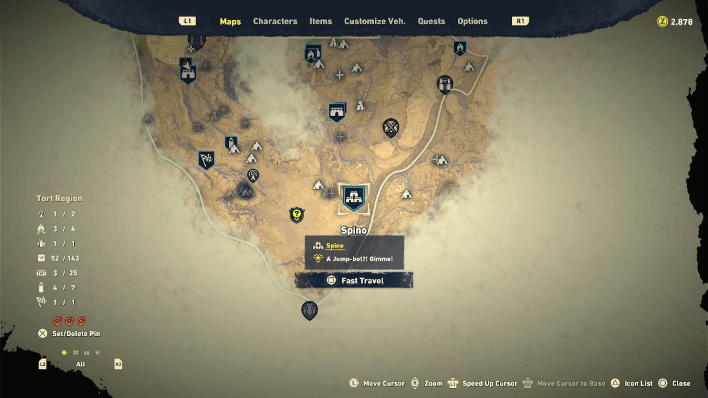 Exit the battleship by following the quest marker, then fast travel back to Spino. |
| 21 | 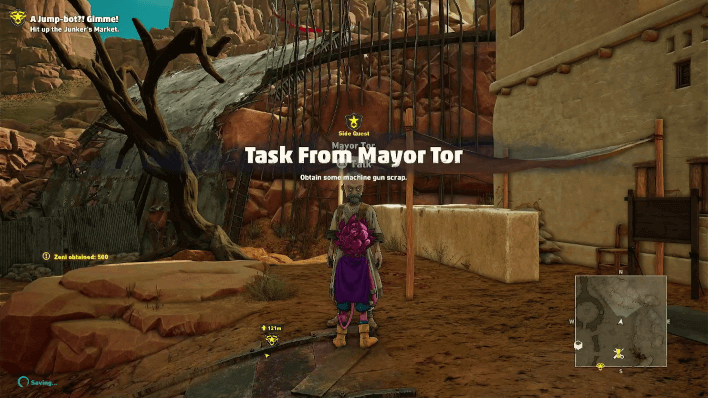 Watch the cutscene, then talk to Mayor Tor to complete the side quest “Task From Mayor Tor”. |
| 22 | 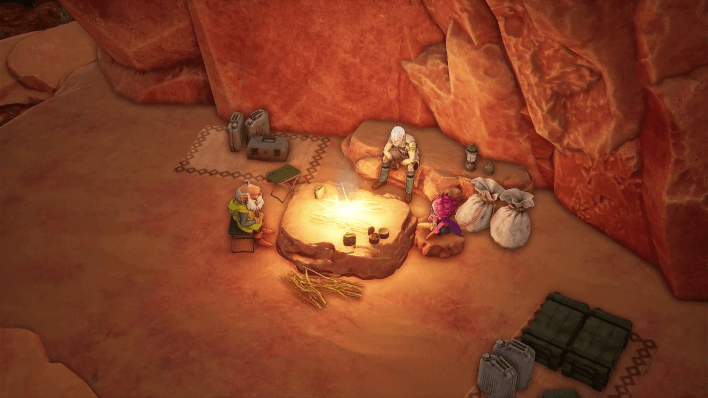 Next, go to the garage and talk to Ann. If you pre-ordered the game and played its demo, you'll get a pop-up notification that shows the bonuses you got from them! Afterwards, watch the cutscene between the trio. |
| 23 | 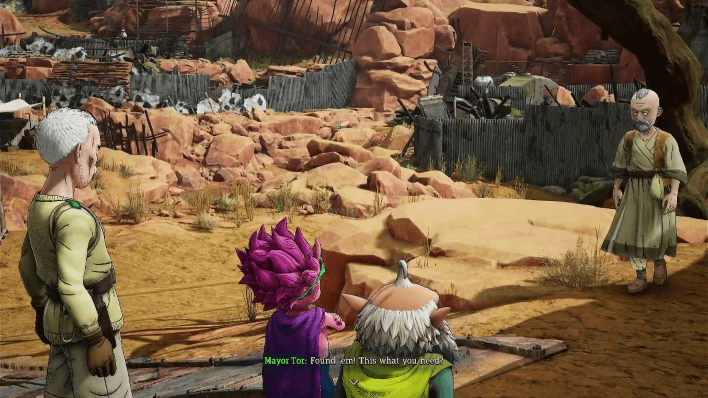 After the cutscene, go back to the garage and talk to Ann. Then, talk to Mayor Tor to get the blueprints for the Jump-bot. |
| 24 | 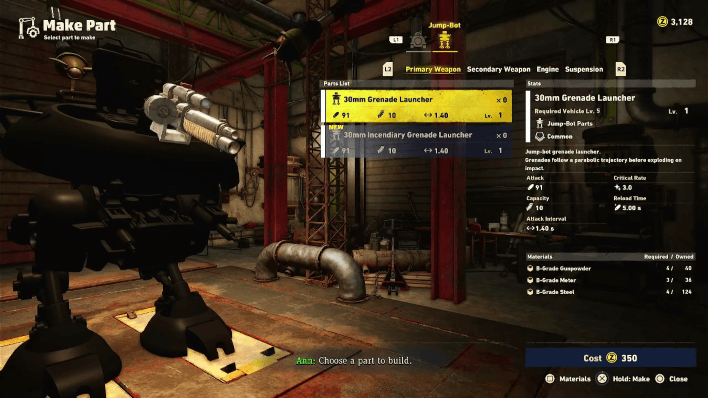 Talk to Ann again and assemble a Jump-bot by selecting “Parts”, then “Make Part”. Construct a part of each type under the Jump-Bot tab. |
| 25 | 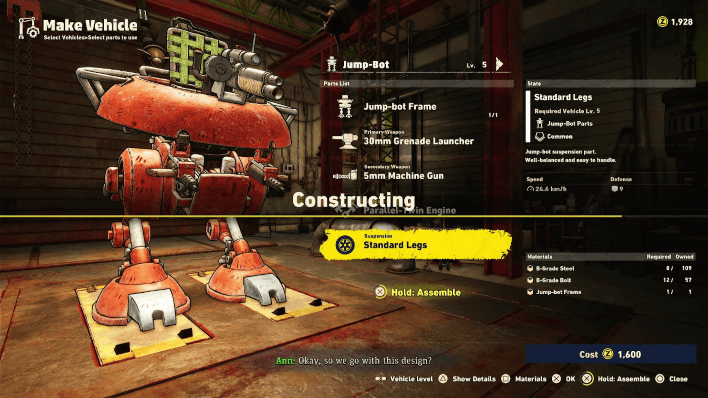 Finally, go to the “Make Vehicle” menu to create the Jump-Bot. Your Jump-Bot will have a minimum level of 5, so you'll need at least 1,600 Zeni as well as all of the required parts. The quest is complete now that you have a Jump-Bot! |
How to Get the Jump-Bot Required Parts
- B-Grade Gunpowder: Craft at the Workshop in Junker Market with 2 Niter, which are mined from Ore Veins.
- B-Grade Meter: Defeat mechs and tanks in the desert to obtain as a random drop.
- B-Grade Steel: Buy at the shop in Spino Town.
- B-Grade Sensor: Defeat mechs and tanks in the desert to obtain as a random drop.
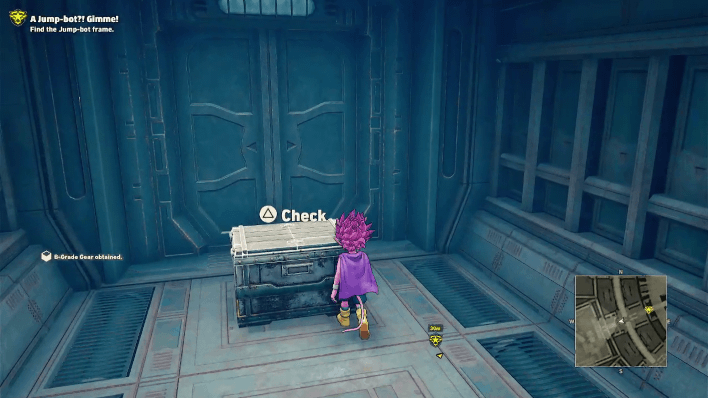
- B-Grade Gear: Buy at the shop in Spino Town.
- Vegetable Oil: Craft at the Workshop in Junker Market with 2 Plant Matter and 2 Cactus, which you get from running over Cacti in the desert with the Tank.
- B-Grade Spring: Buy at the shop in Spino Town.
- Shock-Absorbing Rubber: Buy at the shop in Spino Town.
You can also find a Parallel-Twin Engine in the desert at the Virg Camp just west of Talbo, saving the need to craft the part.
A Jump-bot?! Gimme! Boss Guide
Outlaw's Jump-bot
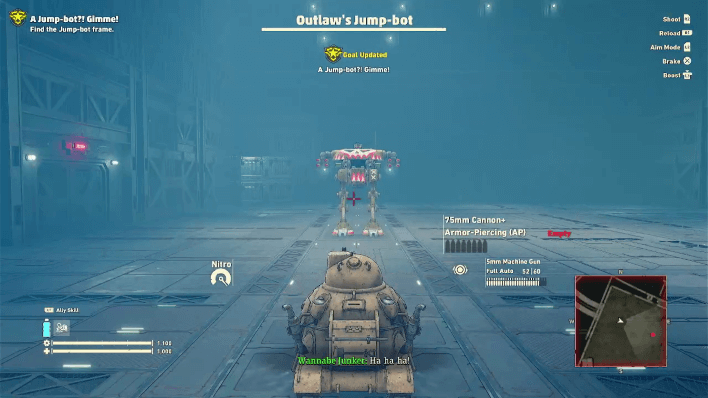
The boss fight for this quest is the Outlaw's Jump-Bot. It's armed with homing missiles and a machine gun. It can also jump high, allowing it to get to a good vantage point where it can shoot you from.
Here are our tips to defeat it.
Circle It To Avoid Its Machine Gun Attack
Most of the time, the Outlaw's Jump-Bot will attack you with its machine gun. You can avoid this by simply circling around the Jump-Bot. While doing so, you can sneak in a shot or two with your Armor-Piercing gun.
Shoot Its Homing Missiles or Just Avoid It
The Outlaw's Jump-bot's most destructive attack is its homing missiles.
You can avoid it by continuously moving around until it inevitably explodes. Alternatively, you can shoot the missiles to destroy it so it won't chase after you.
Do your best to avoid these missiles to keep your Battle Tank healthy.
Avoid Its Jump
True to its name, the Outlaw's Jump-Bot jumps high up in the air in an attempt to crush you from above. Do your best to avoid this by staying away from it when you see it jump high up in the air.
Shoot It With the Armor-Piercing Gun
We suggest using the Armor-Piercing Gun when shooting the Jump-Bot to deal more damage to it.
The only downside to this is the slow reload time of the gun. When you're reloading, make sure that you're moving to avoid getting damaged by the Outlaw's Jump-Bot.
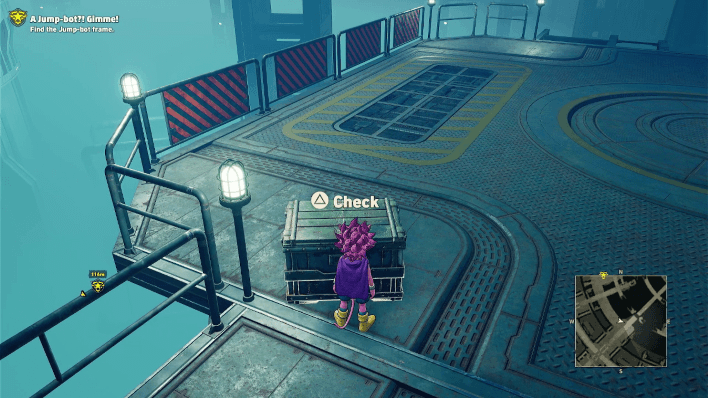
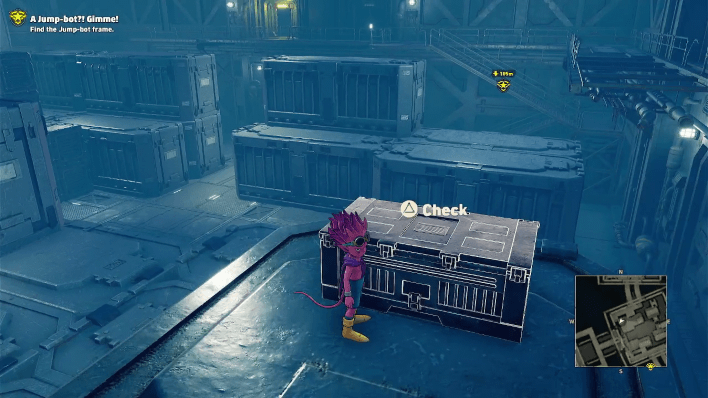
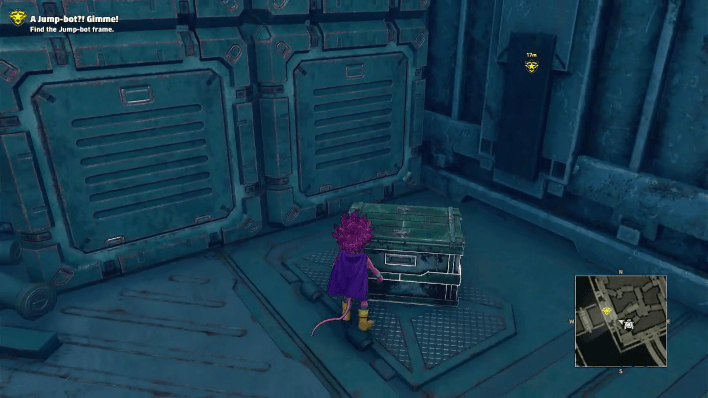
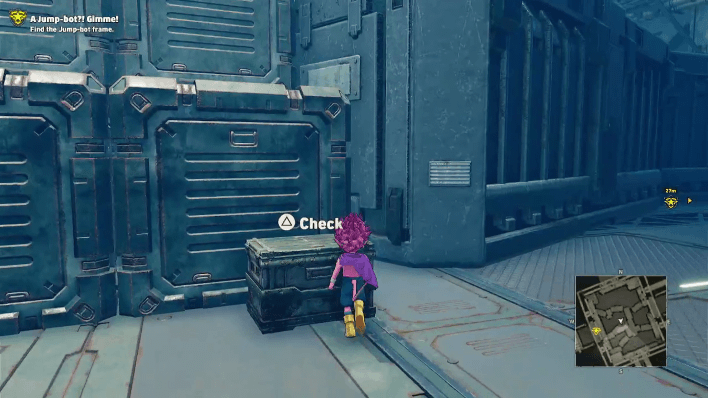
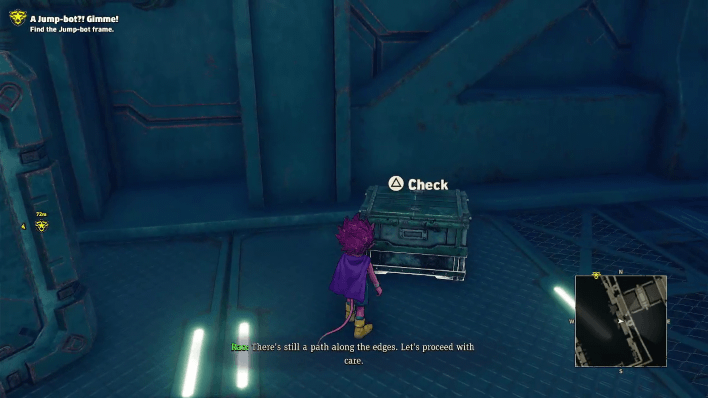
A Jump-bot?! Gimme! All Treasure Chest Locations
All Treasure Chest Locations
The treasure chests listed below can be obtained in the order you find them as you move through the map.
| No. | Map Location | Overworld Location | Items |
|---|---|---|---|
| 1 | 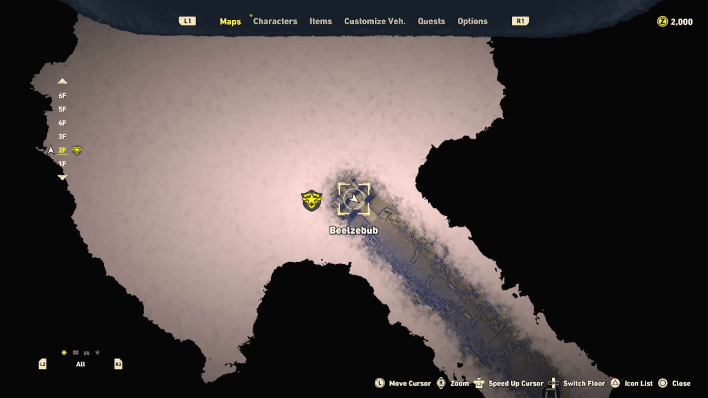 |
 |
・B-Grade Spring x2 ・B-Grade Gear x2 |
| 2 | 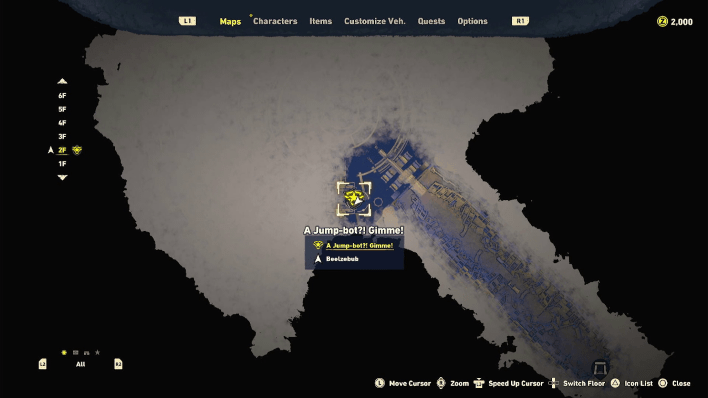 |
 |
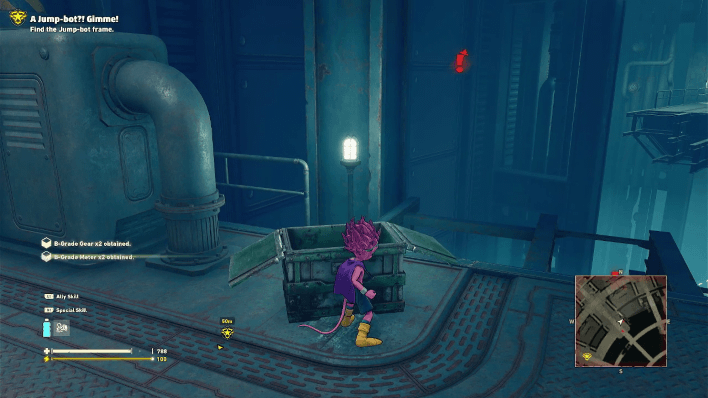
・B-Grade Gunpowder x4 ・B-Grade Meter x2 |
| 3 | 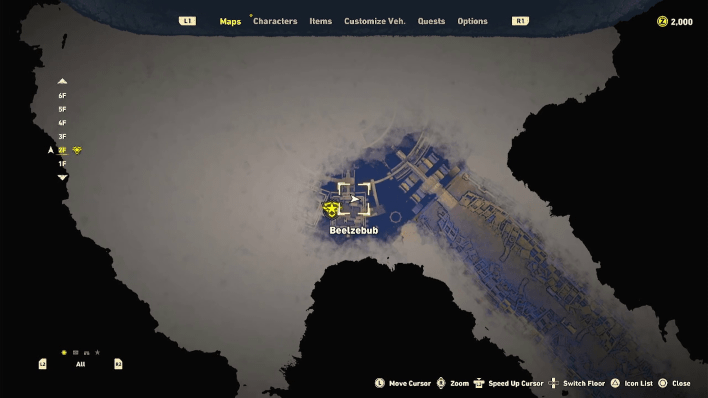 |
 |
・B-Grade Spring x3 ・B-Grade Gear x2 |
| 4 | 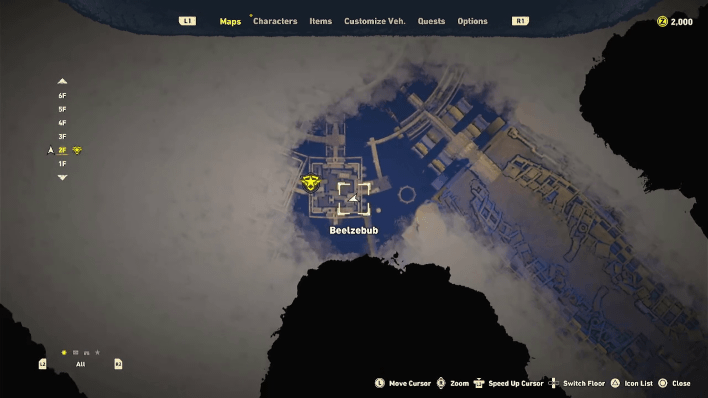 |
 |
・Strength Serum ・Defense Dose |
| 5 | 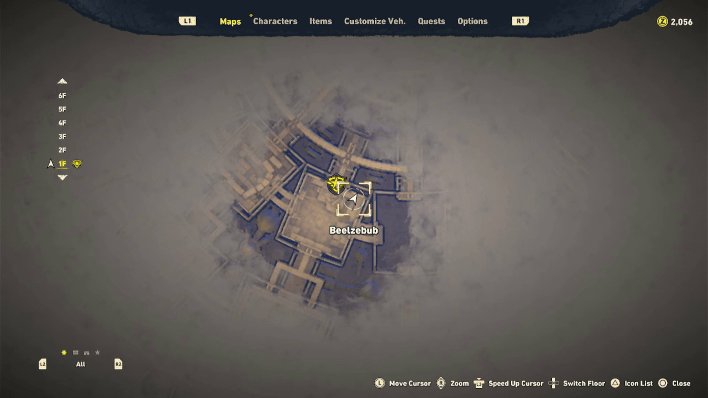 |
 |
・B-Grade Spring x3 ・B-Grade Gear x3 ・Firepower Up Kit ・Armor Up Kit |
| 6 | 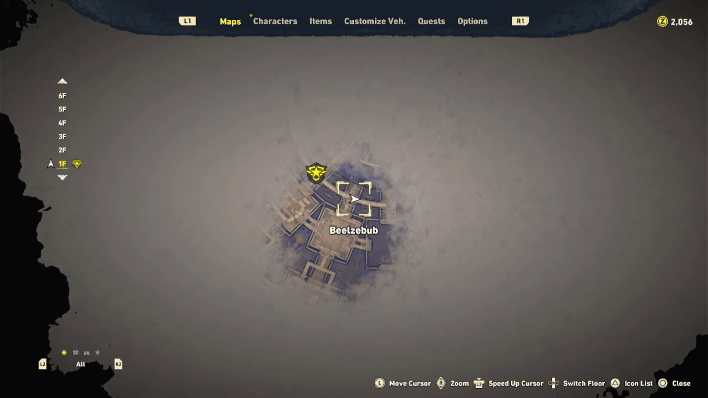 |
 |
・Map: Lisab Battleship 1 |
| 7 | 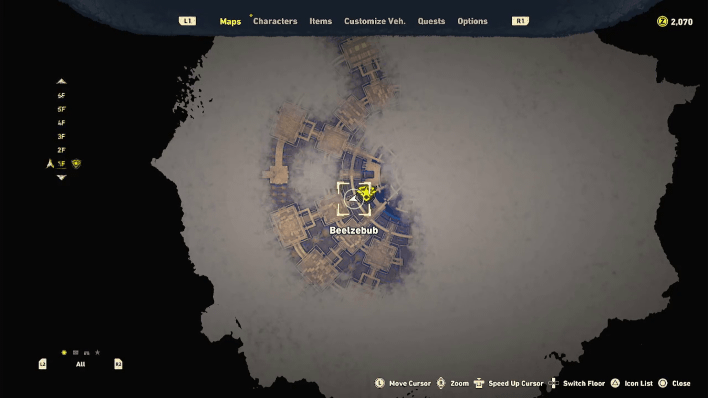 |
 |
・B-Grade Spring x3 ・B-Grade Gear x3 |
| 8 |  |
 |
・B-Grade Gear x2 ・B-Grade Steel x2 |
| 9 |  |
 |
・B-Grade Gear x2 ・B-Grade Meter x2 |
| 10 | 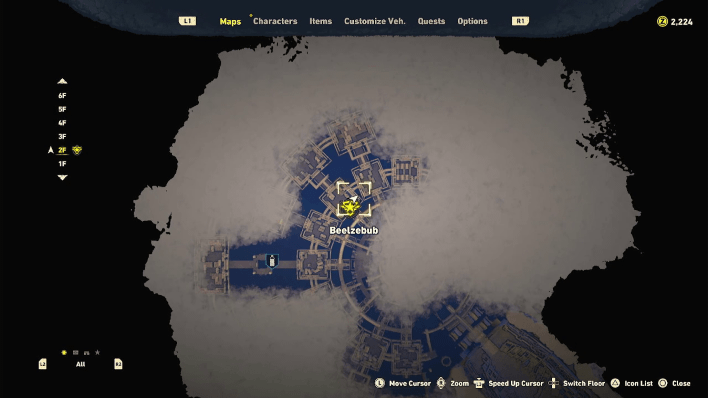 |
 |
・B-Grade Gunpowder x4 ・B-Grade Spring x3 |
| 11 | 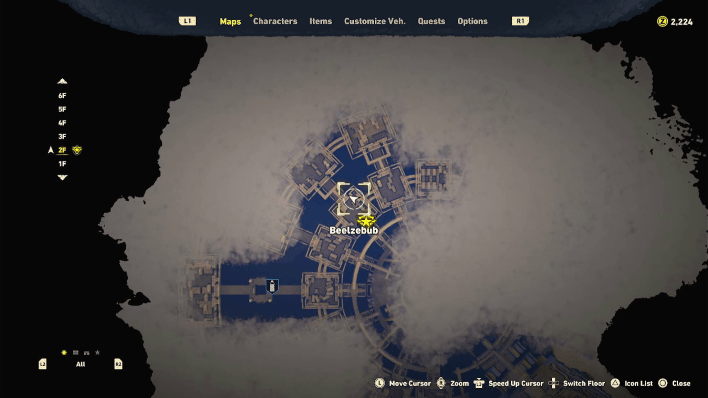 |
 |
・Health Drink ・Machine Gun Scrap |
| 12 | 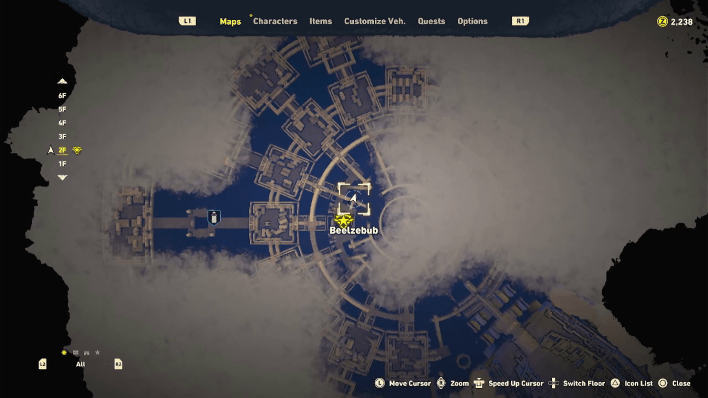 |
 |
・Quick Reload Chip (Cannon) |
| 13 | 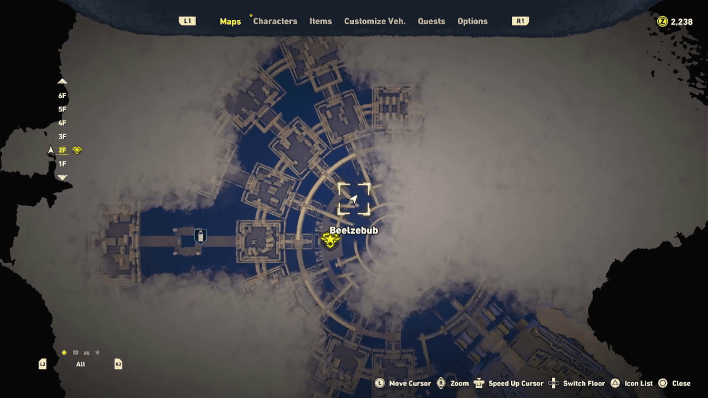 |
 |
・B-Grade Spring x3 ・B-Grade Gear x3 |
| 14 |  |
 |
・B-Grade Sensor x3 ・Shock-Absorbing Rubber x2 |
| 15 |  |
 |
・Heavy Gatling Gun |
| 16 | 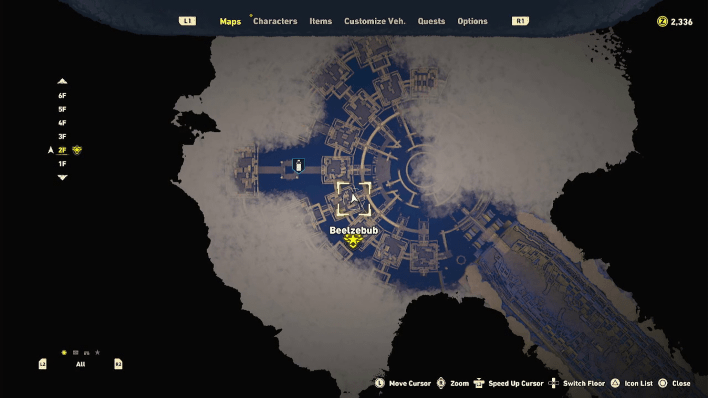 |
 |
・B-Grade Meter x2 ・Vegetable Oil |
| 17 | 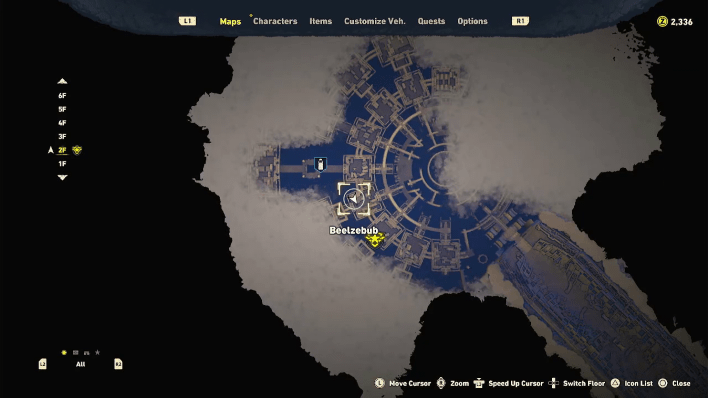 |
 |
・Power+ Chip (Cannon) |
| 18 | 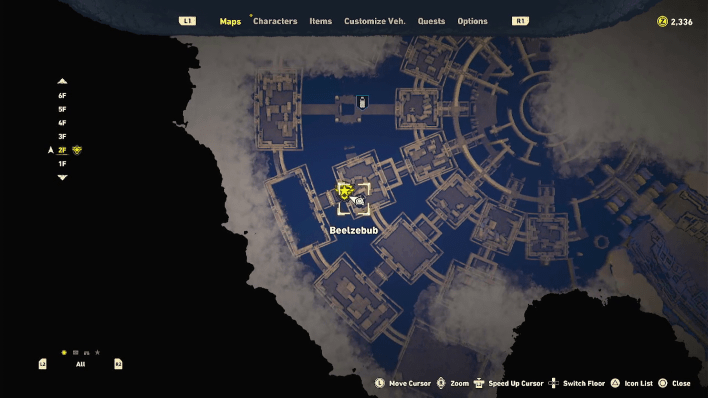 |
 |
・Map: Lisab Battleship 2 |
| 19 | 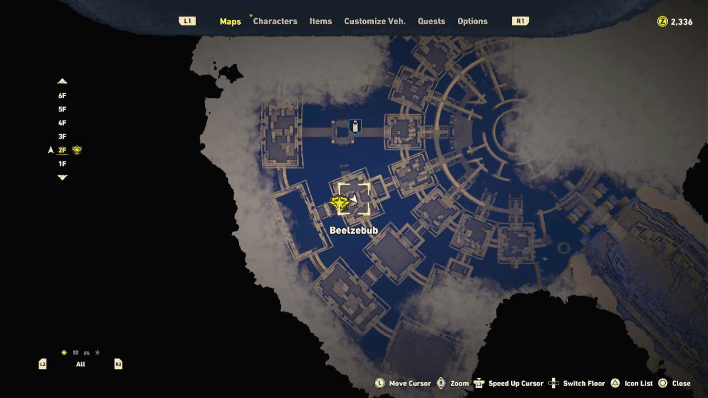 |
 |
・B-Grade Steel x3 ・B-Grade Gunpowder x2 |
| 20 | 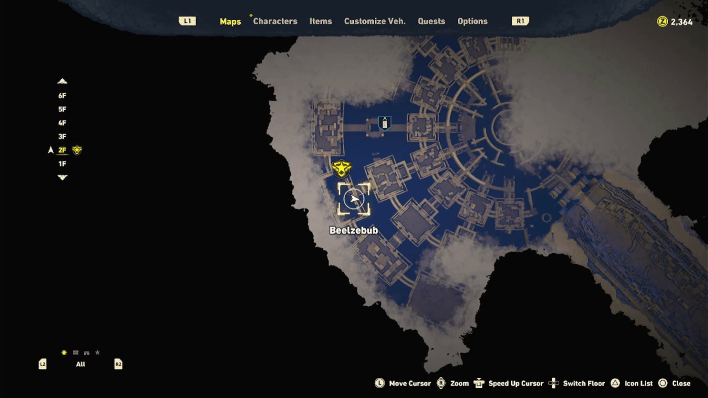 |
 |
・Repair Kit x2 ・Dark Energy |
| 21 | 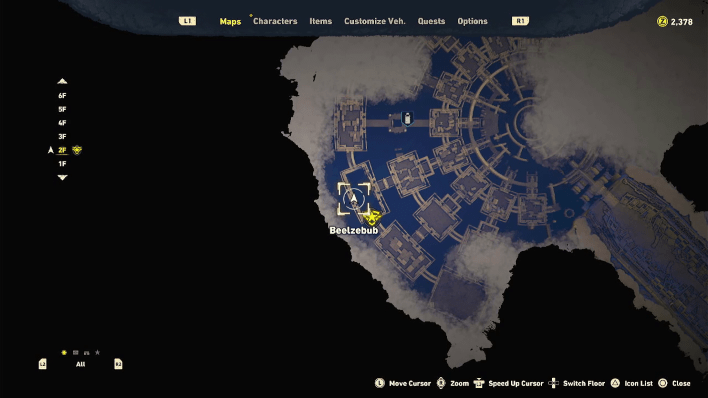 |
 |
・B-Grade Meter x3 ・Shock-Absorbing Rubber x2 |
| 22 | 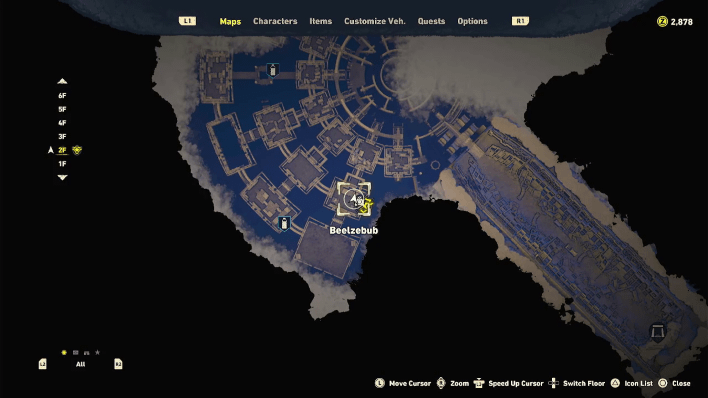 |
 |
・B-Grade Spring x3 ・Vegetable Oil x2 ・Map: Lisab Battleship 3 |
| 23 | 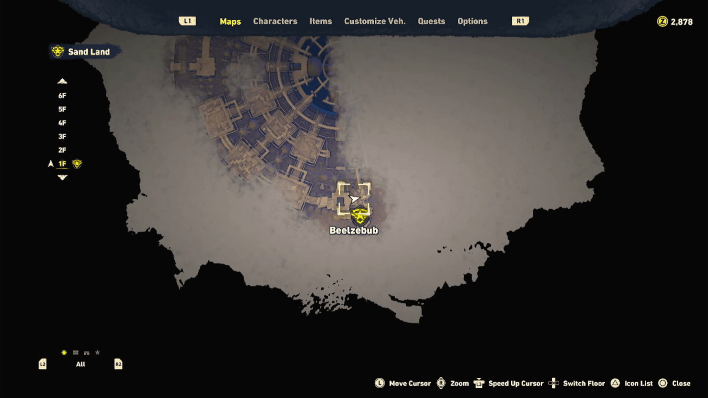 |
 |
・B-Grade Steel x2 ・Silver Ore |
Sand Land Related Guides

| No. | Quest |
|---|---|
| 1 | Water Delivery! |
| 2 | Hitting the Road |
| 3 | Head to the Legendary Spring |
| 4 | Get Food and Water in Town |
| 5 | A Tank? Sign Me Up! |
| 6 | Need a Lift, Ann? |
| 7 | Tank Repairs |
| 8 | A Jump-bot?! Gimme! |
| 9 | The East Valley |
| 10 | Speaking the Truth |
| 11 | Headin' South! |
| 12 | The Legendary Spring |
| 13 | Royal Secrets No More |
| 14 | Water to the World! |
| 15 | Delivery for the Picchi |
| 16 | Surveying the Big Dam |
| 17 | Taking Ann Home |
| 18 | Rao's Suspicions |
| 19 | Aquanium Recovery |
| 20 | To Forest Land! |
| 21 | Rescue Mission! |
| 22 | Sunken Battleship |
| 23 | A Man of Chivalry |
| 24 | On the Brink |
| 25 | Taking Back the King |
| 26 | To Trikke, Pronto! |
| 27 | Joining Forces |
| 28 | Counteroffensive! |
| 29 | A Royal Rescue |
| 30 | The Two Kings |
| 31 | The Flying Fortress Garam |
Comment
Author
A Jump-bot?! Gimme! Walkthrough
Please participate in our site
improvement survey
03/2026
improvement survey
03/2026
Would you assist in
improving Game8's site?
improving Game8's site?

×
We are listening to our users' valuable opinions and discussing how to act on them.
The information collected through this survey will be used for the purpose of improving our services. In addition, the information will only be disclosed a part of a statistic in a format that will not allow identification of personal information.
Begin Survey
Not Now
×
Please rate each item regarding Game8.co's Advertisements.
Amount of Ads
Very Dissatisfied
Somewhat Dissatisfied
Fine
Somewhat Satisfied
Highly Satisfied
Placement of Ads
Timing of Ad Display
Ad Loading Speed
Safeness of Ads
Content of Ads
×
Please rate each item regarding Game8.co's Quality of Articles.
Amount of information
Very Dissatisfied
Somewhat Dissatisfied
Fine
Somewhat Satisfied
Highly Satisfied
Frequency of updates
Speed of new information
Accuracy of articles
Understandibility of articles
Readability of sentences
×
Please rate each item regarding Game8.co's Usability of the Site.
Ease of finding information
Very Dissatisfied
Somewhat Dissatisfied
Fine
Somewhat Satisfied
Highly Satisfied
Loading Speed
Use of Color
Font Size
Visibility of Images
Easy to Understand Layout
×
Please rate each item regarding Game8.co's Message Boards, Comments.
Ease of Writing
Very Dissatisfied
Somewhat Dissatisfied
Fine
Somewhat Satisfied
Highly Satisfied
Readability
Ease in Finding Information
Comment Quality
Comment Quantity
Admin Response
×
Please rate each item regarding Game8.co's Site's new design.
Please rate our site's new design
Very Dissatisfied
Somewhat Dissatisfied
Fine
Somewhat Satisfied
Highly Satisfied
Do you think that the website's design change makes the site easier to use?
Has the new design made it easier for you to find information on the site?
Has the new design improved the overall visual appeal of the site?
How would you rate your overall satisfaction with the new design of the site?
×
How likely are you to recommend Game8 to someone you know?
Very Unlikely
0
1
2
3
4
5
6
7
8
9
10
Very Likely
If you have other opinions regarding potential improvement to the website, please share them with us. We would appreciate your honest opinion.
Note: This is a free response section, so you can proceed without entering anything.
Note: Please be sure not to enter any kind of personal information into your response.
Note: Please be sure not to enter any kind of personal information into your response.
×
Thank You
×
Thank you for participating in our survey! Your answers will help us to improve the quality of our website and services.
We hope you continue to make use of Game8.
We hope you continue to make use of Game8.
Close
Rankings
- We could not find the message board you were looking for.
Gaming News


![Monster Hunter Stories 3 Review [First Impressions] | Simply Rejuvenating](https://img.game8.co/4438641/2a31b7702bd70e78ec8efd24661dacda.jpeg/thumb)
Popular Games

Genshin Impact Walkthrough & Guides Wiki
Honkai: Star Rail Walkthrough & Guides Wiki
Umamusume: Pretty Derby Walkthrough & Guides Wiki
Pokemon Pokopia Walkthrough & Guides Wiki
Resident Evil Requiem (RE9) Walkthrough & Guides Wiki
Monster Hunter Wilds Walkthrough & Guides Wiki
Wuthering Waves Walkthrough & Guides Wiki
Arknights: Endfield Walkthrough & Guides Wiki
Pokemon FireRed and LeafGreen (FRLG) Walkthrough & Guides Wiki
Pokemon TCG Pocket (PTCGP) Strategies & Guides Wiki


Recommended Games
Diablo 4: Vessel of Hatred Walkthrough & Guides Wiki
Cyberpunk 2077: Ultimate Edition Walkthrough & Guides Wiki
Fire Emblem Heroes (FEH) Walkthrough & Guides Wiki
Yu-Gi-Oh! Master Duel Walkthrough & Guides Wiki
Super Smash Bros. Ultimate Walkthrough & Guides Wiki
Pokemon Brilliant Diamond and Shining Pearl (BDSP) Walkthrough & Guides Wiki
Elden Ring Shadow of the Erdtree Walkthrough & Guides Wiki
Monster Hunter World Walkthrough & Guides Wiki
The Legend of Zelda: Tears of the Kingdom Walkthrough & Guides Wiki
Persona 3 Reload Walkthrough & Guides Wiki


All rights reserved
© Bandai Namco Entertainment America Inc. All third party content, brands, names, and logos are used under license and remain property of their respective owners. All rights reserved.
The copyrights of videos of games used in our content and other intellectual property rights belong to the provider of the game.
The contents we provide on this site were created personally by members of the Game8 editorial department.
We refuse the right to reuse or repost content taken without our permission such as data or images to other sites.