This survey will take about 1 minute.
Your answers will help us to improve our website.
Warhammer 40K: Space Marine 2
The Best Tactical Builds
★ Best PvE Classes | Best PvP Classes | Best Weapons
☆ Classes and Builds: Tactical | Assault | Vanguard
┗Bulwark | Sniper | Heavy
★ All Weapons | Armor Customization | Chapters
☆ Mission Lists: Campaign and Operations
★ Locations: Dataslates | Armory Data | Gene-Seeds
Tactical is one of the six classes available in Warhammer 40K: Space Marine 2. See the best Tactical builds and loadout, the best weapons and perks, how to pass all Tactical Trials, as well as how to play this class!
List of Contents
Tactical Class Overview
Tactical Class Abilities
| Tactical Class Information | |
|---|---|
 Tactical |
|
| Class Perk | Armour Class |
| Auspex Scan | 3 |
| Auspex Scan Description | |
| Scanning reveals and marks enemies in the selected area for 8 seconds, making them more vulnerable. | |
| PvE Rating | PvP Rating |
|
|
|
Tactical Class Builds and Loadout
| Tactical Builds | ||
|---|---|---|
| Early Game | Mid-Game | Endgame |
Endgame Tactical Class Build
Class Perk Build
| Tactical Class Perk Build | |||
|---|---|---|---|
| Core | Balanced Distribution | Relentless Pursuit | Emperor's Vengeance |
| Team | Aligned Aim | ||
| Gear | Priority Targeting | Precise Calibration | Expert Timing |
| Signature | Marked for Death | ||
The Perks in this build focuses on defeating Extremis-tier and Boss enemies as quick as possible. Priority Targeting, Precise Calibration, and Expert Timing are the three perks that improves the Auspex Scan causing all scanned enemies to take much more damage when scanned, enabling the team to melt boss HPs.
The Emperor's Vengeance is also a notable perk to get as after switching to the Melta Rifle, a common issue you may run into is running out of ammo and the slow reload of the weapon. This perk refreshes the Melta Rifle's current magazine to full when killing a Majoris-level or higher enemy. Not only does this effectively reload your weapon instantly, but it also gives you free ammo.
Endgame Weapon Build
| Tactical Class Weapon Build | |||
|---|---|---|---|
| Primary Weapon |
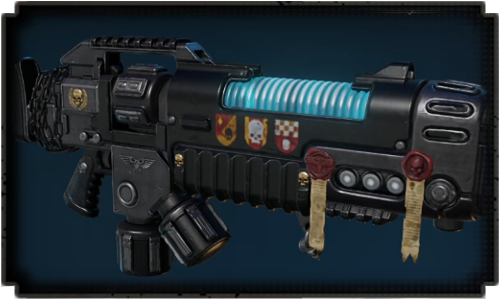
 Melta Rifle Melta Rifle (Ophelian Liberation - Alpha) (Magazine and Ammo Capacity) |
||
| Primary Weapon Perks |
Standard: Master-Crafted: Artificer: Relic: |
||
| Secondary Weapon |
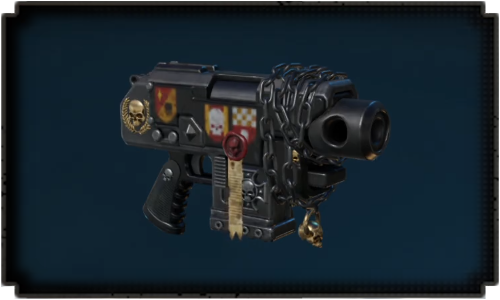
 Bolt Pistol Bolt Pistol (Gathalamor Crusade) |
||
| Secondary Weapon Perks |
Standard: Master-Crafted: Artificer: Relic: |
||
| Melee Weapon |
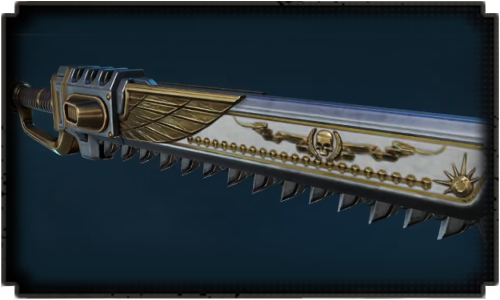 Chainsword Chainsword (Aquilan Dedication) |
||
| Melee Weapon Perks |
Standard: Master-Crafted: Artificer: Relic: |
||
As the difficulty increases, the threat of being overwhelmed by Minoris enemies also rises. This build adapts by switching to the Melta Rifle for its powerful area-of-effect damage, allowing you to melt through waves of enemies. The Ammo Reserve upgrade synergizes well with the Emperor's Vengeance Class Perk, enabling you to regain ammo and automatically reload the Melta Rifle's magazine when eliminating Majoris-level or higher enemies.
Once the Minoris enemies are dealt with, Majoris, Extremis, and boss enemies become easier to manage. At this point, the Auspex Scan and Fencing Defense from the Chainsword are crucial. The Auspex Scan helps you burn through a boss's HP, while the Fencing Defense allows you to reliably parry their attacks, setting up Gun Strikes for additional damage.
Mid-Game Tactical Class Build
Class Perk Build
| Tactical Class Perk Build | |||
|---|---|---|---|
| Core | Plasma Boost | Relentless Pursuit | Final Shot |
| Team | Aligned Aim | ||
| Gear | Vital Data | Battle Focus | Close Targeting |
| Signature | Radiating Impact | ||
At levels 10 and 11, equip the Plasma Boost and Relentless Pursuit perks for increased damage, allowing you to eliminate Majoris-type and stronger enemies more quickly.
The new Team Perk, Aligned Aim, boosts the entire team's damage output. For your Signature Perk, switch to Radiating Impact, which offers solid area-of-effect damage to help clear out enemies that are surrounding you.
Without the Signal Jammer perk, you can rely instead on fully charged Plasma Incinerator shots to stun enemies attempting to call for reinforcements.
Mid-Game Weapon Build
| Tactical Class Weapon Build | |||
|---|---|---|---|
| Primary Weapon |
 Plasma Incinerator Plasma Incinerator (Drogos Reclamation - Beta) |
||
| Primary Weapon Perks |
Standard: Master-Crafted:
• Rampage
Artificer: |
||
| Secondary Weapon |
 Bolt Pistol Bolt Pistol (Drogos Reclamation) |
||
| Secondary Weapon Perks |
Standard: Master-Crafted: Artificer: |
||
| Melee Weapon |
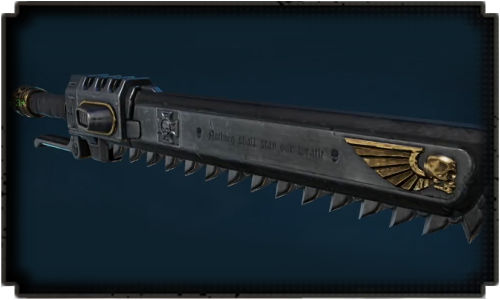 Chainsword Chainsword (Salvation of Bakka) |
||
| Melee Weapon Perks |
Standard: Master-Crafted: Artificer: |
||
Like the Early Game Build, this setup focuses on charged Plasma Incinerator shots to deal massive damage to Majoris-type or stronger enemies. Equip the Drogos Reclamation - Beta upgrade, the hardest-hitting Artificer-tier Plasma Incinerator. While you lose some ammo capacity, the Plasma Restoration and Adamant Restoration Weapon Perks help sustain your plasma ammo.
For large waves of enemies, the Bolt Pistol and Chainsword remain your primary weapons for thinning out hordes. The Reverberating Impact Weapon Perk and Radiating Impact Signature Perk synergize well, boosting your damage and effectiveness against enemy waves that could easily surround and overwhelm you.
Early Tactical Class Build
Class Perk Build
| Tactical Class Perk Build | |||
|---|---|---|---|
| Core | Balanced Distribution | Heightened Vigour | Final Shot |
| Team | Communion of Fire | ||
| Gear | Vital Data | Battle Focus | Close Targeting |
| Signature | Signal Jammer | ||
In the early game, you can freely equip all the perks you unlock up to Level 9. A key perk, Vital Data, is unlocked at Level 6. It restores 50% of the Auspex Scan's charge when used on elite and boss enemies, significantly boosting the Tactical Class's effectiveness against frequent tough encounters and boss fights.
Early Weapon Build
| Tactical Class Weapon Build | |||
|---|---|---|---|
| Primary Weapon |
 Plasma Incinerator Plasma Incinerator (Master-Crafted - Beta) |
||
| Primary Weapon Perks |
Standard: Master-Crafted:
• Rampage
|
||
| Secondary Weapon |
 Bolt Pistol Bolt Pistol (Master-Crafted - Beta) |
||
| Secondary Weapon Perks |
Standard: Master-Crafted: |
||
| Melee Weapon |
 Chainsword Chainsword (Master-Crafted - Alpha) |
||
| Melee Weapon Perks |
Standard: Master-Crafted: |
||
This build focuses on maximizing damage against elites and bosses, primarily using charged Plasma Incinerator shots boosted by the Auspex Scan buff. A fully charged shot, followed by a few Chainsword melee hits, will push most elites into the Execute threshold, helping you survive tough encounters with the Armor gained from executions.
However, this build may lack effective area-of-effect damage, despite the Plasma Incinerator's charged shots and the Chainsword's wide swings. For better cleave, you can opt for the Master-Crafter - Beta Chainsword, but you might struggle more against elites. Use your Bolt Pistol and rely on allies to handle minor enemies.
Best Tactical Weapons
Best Weapons for Tactical
| Weapon | Explanation |
|---|---|
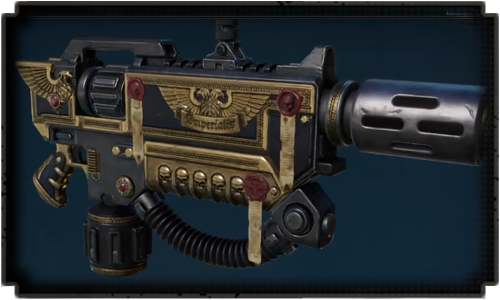
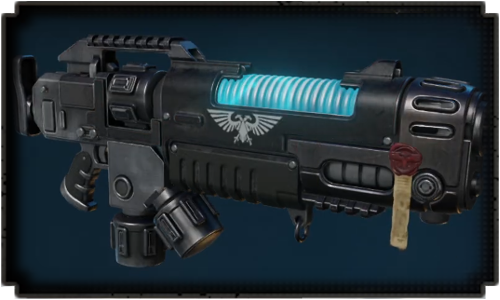
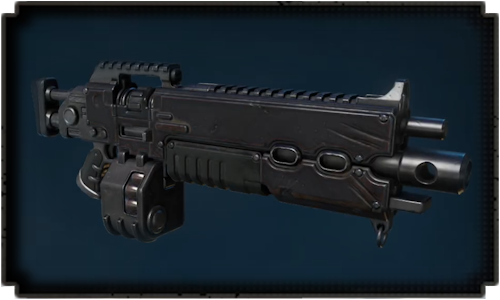
 Melta Rifle Melta Rifle
|
The ever-powerful Melta Rifle remains to be the king of all Primary Weapons in Space Marine 2 and what better class to equip it than the primary weapon specialist themselves. The Melta Rifle deals significant damage against both single and multiple target, making it an easy top pick for any class who are able to use it. |
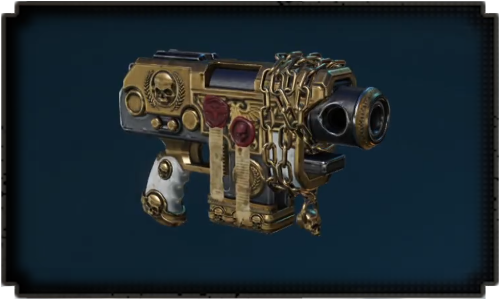
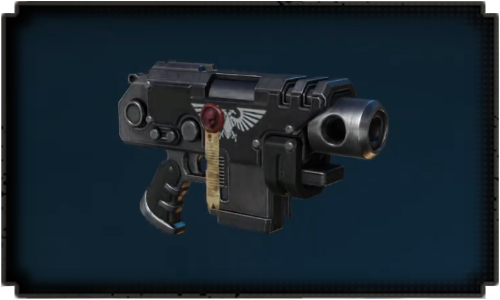
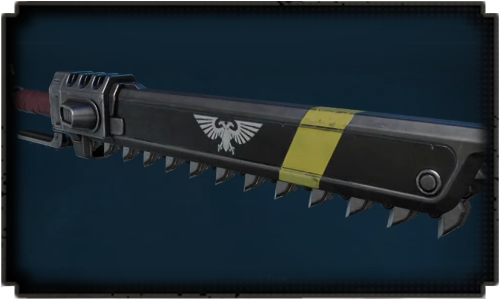
 Bolt Pistol Bolt Pistol
 Chainsword Chainsword
|
The Tactical has no choice but to use the Bolt Pistol and the Chainsword as their secondary and melee weapons, respectively. The Bolt Pistol is a great secondary option if you are saving your Melta Rifle's ammo on single, Minoris enemies while the Chainsword is a good melee option from close-range. You will be using your Primary Weapon more often than not, so these two are just options at most. |
The best primary weapon for the Tactical class is the ever-trusty Melta Rifle. It can decimate hordes of enemies in front of you while also capable of dealing with single, powerful enemies when needed. Even if th Tactical has access to a lot of primaries, the Melta Rifle is just the cream of the crop.
All Tactical Primary Weapons
 Auto Bolt Rifle Auto Bolt Rifle
|
 Bolt Rifle Bolt Rifle
|
 Heavy Bolt Rifle Heavy Bolt Rifle
|
 Stalker Bolt Rifle Stalker Bolt Rifle
|
 Bolt Carbine Bolt Carbine
|
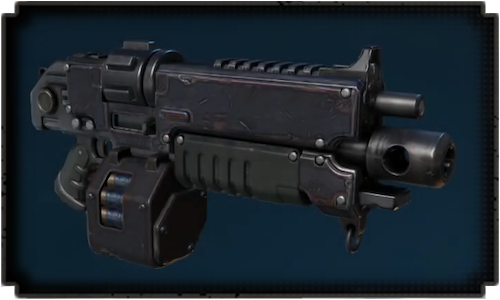
 Plasma Incinerator Plasma Incinerator
|
|
Melta Rifle
|
All Tactical Secondary Weapons
|
Bolt Pistol
|
All Tactical Melee Weapons
|
Chainsword
|
Best Tactical Perks
Best Perks for Tactical
| Perk | Explanation |
|---|---|
| Balanced Distribution | Unconditional increase to your primary weapon's damage with a small sacrifice on the secondary's. You will be using primary most often than not so the trade-off is worth it. |
| Priority Targeting | Minoris enemies are very easy to deal with especially if you're using a Melta Rifle so the trade off for additional duration of the scan is well worth it. |
| Expert Timing | Works hand-in-hand with Priority Targeting, reducing the additional duration from 8s to 4s for a +100% damage boost. |
| Marked for Death | Works really well when dealing with mini-bosses in missions. Has a cooldown of 2 minutes, but considering you will only rarely deal with Majoris and Extremis level enemies in missions, the cooldown won't matter much. Just make sure to land a headshot! |
| Emperor's Vengeance | Reloads by 1 magazine - not an ammo, magazine. Works hand in hand with Marked for Death as it can be a way to replenish your ammo in dire situations. |
| Precise Calibration | An additional 75% damage but your scans have reduced radius - perfect when dealing with hoards of enemy near you. |
All Tactical Class Skills
| Level | Class Perk | Effect |
|---|---|---|
| 1 | Auspex Scan | Type: Starting Any unequipped Ranged Weapon reloads automatically after 10 seconds. |
| 2 | Balanced Distribution | Type: Core Your Primary Weapon deals 10% more Damage, but your Secondary Weapon deals 10% less Damage |
| 3 | Heightened Vigour | Type: Core After a perfectly timed Dodge, you do not lose control upon taking Heavy Hits and you cannot be knocked back for 5 seconds |
| 4 | Final Shot | Type: Core After a Finisher, the equipped Ranged Weapon reloads automatically |
| 5 | Communion of Fire | Type: Team Recoil is reduced by 20% for all Squad Members |
| 6 | Vital Data | Type: Gear Scanning an Extremis- or Terminus-level enemy restores Auspex Scan's Charge by 50% |
| 7 | Battle Focus | Type: Gear A perfectly timed Parry gives the parried enemy a mark from Auspex Scan |
| 8 | Close Targeting | Type: Gear When Auspex Scan is in cooldown, Melee Damage increases by 50% against Minoris enemies |
| 9 | Signal Jammer | Type: Signature Enemies marked by Auspex Scan cannot call for reinforcements |
| 10 | Plasma Boost | Type: Core When the Plasma Incinerator is 50% Overheated, its Damage increases by 30% |
| 11 | Relentless Pursuit | Type: Core After a Gun Strike, Ranged Damage increases by 25% for 5 seconds |
| 12 | Steady Aim | Type: Core Recoil is reduced by 10% |
| 13 | Aligned Aim | Type: Team Ranged Damage increases by 5% for all Squad Members |
| 14 | Priority Targeting | Type: Gear The mark from Auspex Scan lasts 8 seconds longer (base: 8), but Auspex Scan ignores Minoris enemies |
| 15 | Improved Efficiency | Type: Gear Scanning 20 enemies with one Auspex Scan restores Equipment Charge by 1 |
| 16 | Expert Timing | Type: Gear Enemies marked by Auspex Scan take an additional 100% Damage, but the mark's Duration is reduced by 4 seconds (base: 8) |
| 17 | Radiating Impact | Type: Signature A Melee Finisher additionally deals significant area-of-effect Damage. Cooldown is 90 seconds. |
| 18 | Kraken Penetrator Rounds | Type: Core Bolt Weapons penetrate 1 more enemies |
| 19 | Versatility | Type: Core After switching Weapons, your Secondary Weapon does 20% more Damage. The effect lasts until reloading or switching back to your Primary Weapon. |
| 20 | Emperor's Vengeance | Type: Core Killing a Majoris-level or higher enemy restores your Primary Weapon's Ammo by 1 magazines |
| 21 | Transhuman Physiology | Type: Team All Squad Members restore 30% more Contested Health |
| 22 | Target Lock | Type: Gear Enemies marked by Auspex Scan take 25% more Equipment Damage |
| 23 | Precise Calibration | Type: Gear Enemies marked by Auspex Scan take an additional 75% Damage, but Auspex Scan's radius is reduced by 25% |
| 24 | Concentrated Fire | Type: Gear Enemies marked by Auspex Scan take an additional 100% Damage, but they lose the mark when they leave the scanned area |
| 25 | Marked for Death | Type: Signature A Headshot will instantly kill a Majoris- or Extremis-level enemy marked by Auspex Scan. Cooldown is 120 seconds. |
Tactical Trials Guide
| Jump to a Trial! | ||
|---|---|---|
| Trial 1 | Trial 2 | Trial 3 |
Tactical Trial 1: Auspex Scan
| Directives |
|---|
| Complete in: 60 seconds |
| Complete in: 50 seconds |
| Complete in: 40 seconds |
Complete all three (3) to get the full rewards.
Get Ready to Parry at the Start
The Tyranid Warrior at the start often opens with a lunging attack, so be prepared to parry for a free Gun Strike. If it starts with a two-hit swing instead, parry both strikes to trigger a Gun Strike.
Ammo and Cooldown Resets for Each Stage
Your ammo and Auspex Scan cooldown reset after completing the first two stages of this trial, so feel free to use your ammo generously without worrying about reloading, and make use of the Auspex Scan in each stage for extra damage.
Switch Weapons to Kill the Minoris Enemies
During the second stage of the trial, you might run out of ammo while dealing with the Tyranid Warrior on the left platform. If that happens, switch to your Bolt Pistol to quickly take down the Tyranids on the right platform and move on to the third stage faster.
Tactical Trial 2: Battlefield Awareness
| Directives |
|---|
| Complete in: 60 seconds |
| Complete in: 50 seconds |
| Complete in: 40 seconds |
Complete all three (3) to get the full rewards.
Destroy the Top Barrels at the Start
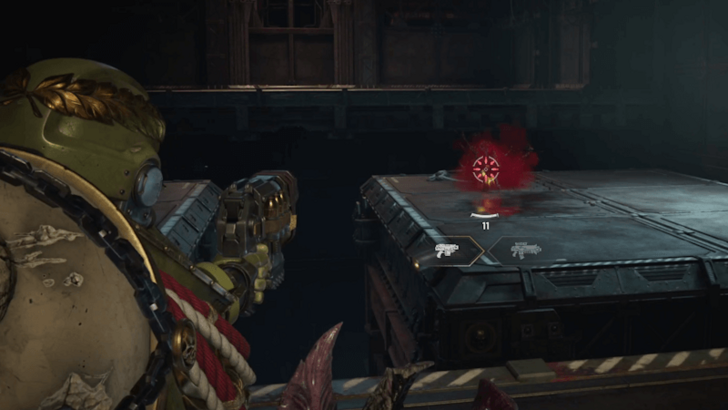
Right when the Tyranids on top of the platforms finish spawning, you can shoot the red barrels near them with the Bolt Pistol to defeat them. You can then use the Malta Rifle to defeat the melee Tyranids near you.
Theres another set of barrels you can shoot at the end of the hallway, shoot this once the Tyranid Warrior spawns in the middle.
Use the Auspex Scan for Each Enemy Squad
Killing the melee Tyranid Warriors from each of the squads resets your Auspex Scan cooldown and you weapon's ammo. Feel free to use the scan for each squad and generously use your Malta Rifle.
Tactical Trial 3: Hidden Hunter
| Directives |
|---|
| Complete in: 60 Seconds |
| Kill 5 Enemies with Headshots |
| Scan a Lictor with the Auspex |
Complete all three (3) to get the full rewards.
Focus the Melee Tyranids to the Left First
At the start, we recommend focusing on eliminating the melee Tyranids that rush toward you. Though it's harder to land headshots on them, clearing them out early gives you a better view of the Lictor spawn timing as you transition to dealing with the ranged Tyranids.
If you're struggling to hit the five headshots directive, prioritize taking out the ranged Tyranids first since they are easier targets for headshots.
Scan the Lictor After Dodging or Parrying its Attack
The Lictor is a fast enemy and often won't get scanned once it turns invisible. Therefore, it's best to use the Auspex Scan against it immediately after dodging an attack or following a successful parry. This prevents it from turning invisible and escaping, giving you the chance to deal more damage.
Prepare for a Parry After Escaping the Pounce
After it spawns, it will often lunge and grab you first. This attack can only be dodged, but if you do fail to dodge it and manage to free yourself from its grasp, stay alert as the Lictor will immediately follow up with an attack that you can parry.
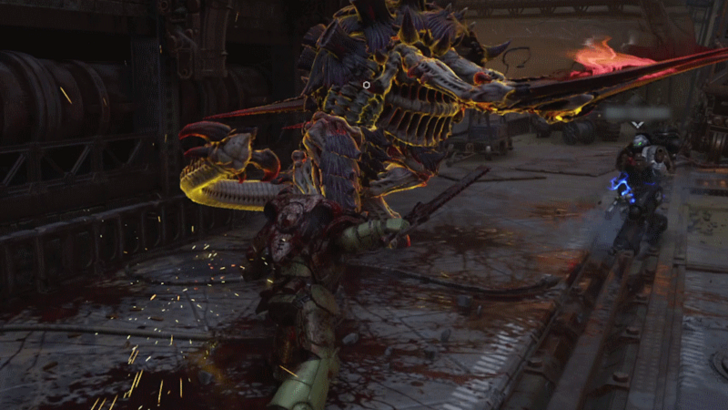
How to Play Tactical Class
- Auspex Scan Elites and Bosses
- Plasma Incinerator for Bosses
- Melta Rifle for Clearing Hordes
- Reveal Hidden Enemies
- Utilize the Bolt Pistol's Versatility
- Use a Fencing Melee Weapon
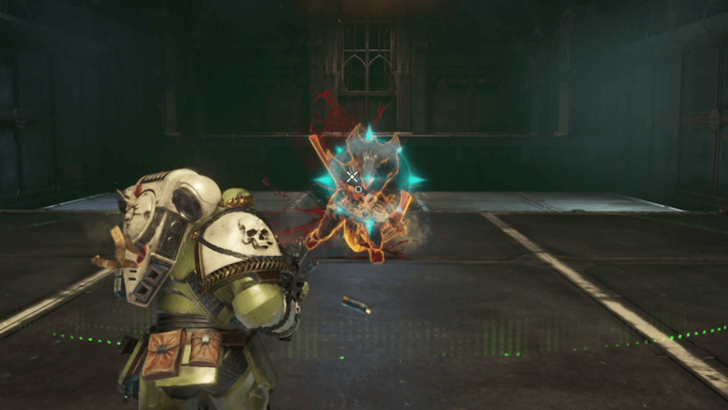
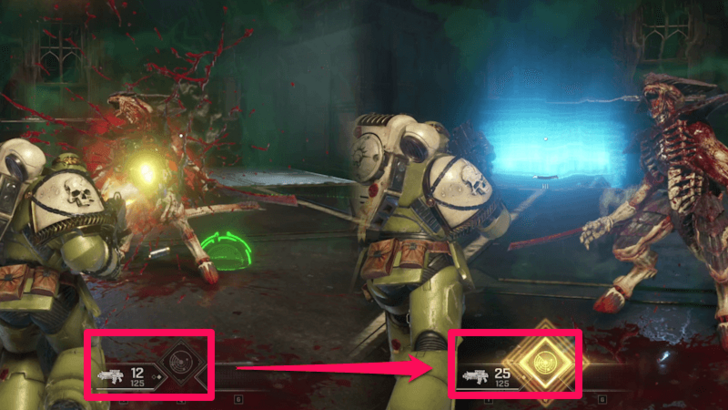
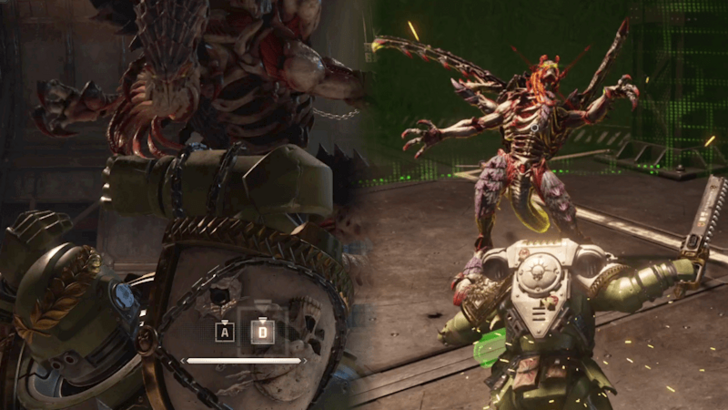
Use the Auspex Scan Against Extremis and Terminus Enemies
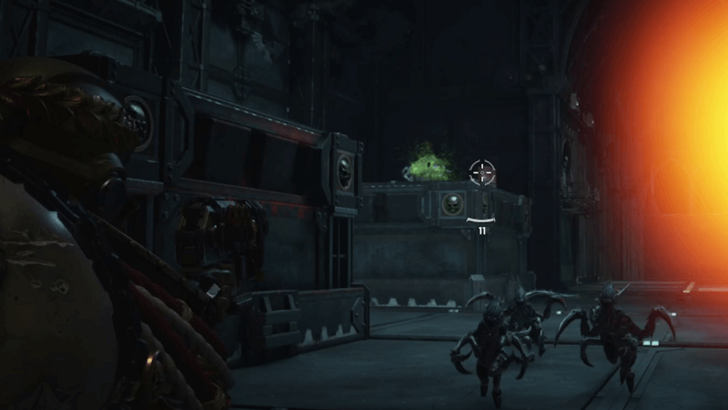
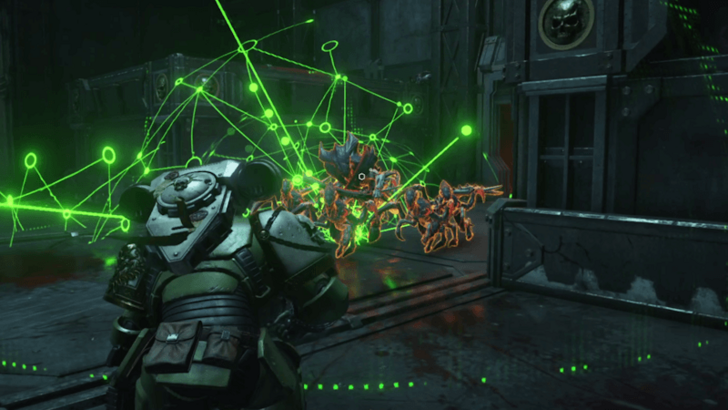
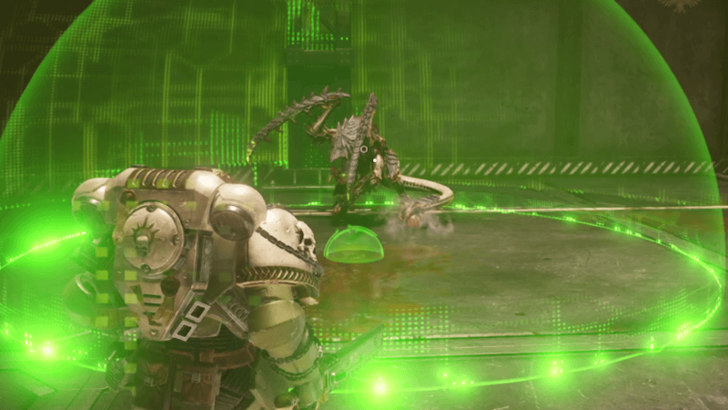
The Tactical Class’s Auspex Scan highlights enemies within a selected area and increases the damage they take for eight seconds, making it a powerful tool for engaging groups of elites or bosses.
Equip the Precise Calibration and Expert Timing perks to boost the damage bonus by 175%, making scanned enemies take nearly three times the damage.
Have a Plasma Incinerator Loadout for Boss Damage
The Tactical has access to the Plasma Incinerator which is an excellent weapon for dealing damage to high-threat targets such as Extremis and Terminus enemies. Always have a Plasma Incinerator weapon loadout ready in case your team is in need for more single-target damage.
The Plasma Incinerator is ideal for dealing massive damage to Extremis and Terminus enemies. Always keep a Plasma Incinerator in one of your loadouts for times when your team requires high single-target damage such as against the Hive Tyrant, Heldrake, or other random bosses.
Have a Melta Rifle Loadout for Clearing Hordes of Enemies
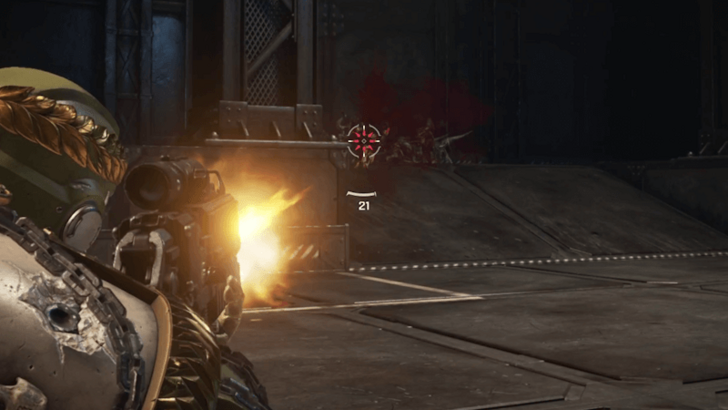
For clearing swarms of Minoris enemies, the Melta Rifle is the best option the Tactical has and excels at taking out large groups in just a few shots. Be sure to also have a Melta Rifle weapon loadout to help out the team with clearing waves of enemies if needed.
To sustain its ammo, use the Emperor's Vengeance perk, which replenishes your magazine when you defeat Majoris enemies. Make sure to leave at least one bullet in your magazine before executing a Majoris enemy to maximize this perk's effectiveness.
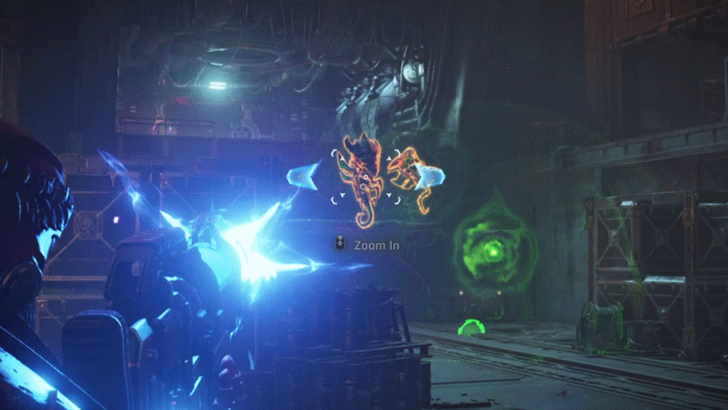
Reveal Hidden Enemies

The Auspex Scan reveals the location of all scanned enemies, including invisible or underground foes. Use it against Lictor and Raveners to expose them and more easily anticipate their moves.
Utilize the Bolt Pistol's Versatility
The Bolt Pistol is a versatile sidearm that compensates for your primary weapon’s weaknesses. If you’re using the Melta Rifle, prioritize Accuracy and Headshot upgrades to deal with distant enemies. Alternatively, the Magazine and Ammo Reserve upgrades will help clear waves when using the Plasma Incinerator.
Use a Fencing Melee Weapon
Melee weapons usually trade off worse Defence types for better offensive stats such as Speed, Cleaving Potential, or Strength. However, since the Tactical has such an excellent choices of Primary Weapons for most offensive purposes, it's best to use the best Defence type, Fencing, on your melee weapon instead for easier parries to help you manage tougher enemy encounters.
Fencing and Defence Type Explained
Warhammer 40K: Space Marine 2 Related Guides

All Space Marine 2 Classes
| All Space Marines 2 Classes | ||
|---|---|---|
| Tactical |
 Assault Assault |
 Vanguard Vanguard |
 Bulwark Bulwark |
 Sniper Sniper |
 Heavy Heavy |
Comment
3  Anonymous over 1 year
Not making any mention of the Bolt Rifle with Grenade launcher variant primary is insane. That is the real best weapon in the game. It has the horde clearing ability of the Melta but also does insane damage to both bosses and extremis enemies also. Not to mention you can bring a majoris to execution range in 1 - 2 shots. It excels against all enemy types and if you play right you never need to use your secondary weapon. You just have a bottomless clip of grenades that decimates all enemies
Author

The Best Tactical Builds
Please participate in our site
improvement survey
03/2026
improvement survey
03/2026
Would you assist in
improving Game8's site?
improving Game8's site?

×
We are listening to our users' valuable opinions and discussing how to act on them.
The information collected through this survey will be used for the purpose of improving our services. In addition, the information will only be disclosed a part of a statistic in a format that will not allow identification of personal information.
Begin Survey
Not Now
×
Please rate each item regarding Game8.co's Advertisements.
Amount of Ads
Very Dissatisfied
Somewhat Dissatisfied
Fine
Somewhat Satisfied
Highly Satisfied
Placement of Ads
Timing of Ad Display
Ad Loading Speed
Safeness of Ads
Content of Ads
×
Please rate each item regarding Game8.co's Quality of Articles.
Amount of information
Very Dissatisfied
Somewhat Dissatisfied
Fine
Somewhat Satisfied
Highly Satisfied
Frequency of updates
Speed of new information
Accuracy of articles
Understandibility of articles
Readability of sentences
×
Please rate each item regarding Game8.co's Usability of the Site.
Ease of finding information
Very Dissatisfied
Somewhat Dissatisfied
Fine
Somewhat Satisfied
Highly Satisfied
Loading Speed
Use of Color
Font Size
Visibility of Images
Easy to Understand Layout
×
Please rate each item regarding Game8.co's Message Boards, Comments.
Ease of Writing
Very Dissatisfied
Somewhat Dissatisfied
Fine
Somewhat Satisfied
Highly Satisfied
Readability
Ease in Finding Information
Comment Quality
Comment Quantity
Admin Response
×
Please rate each item regarding Game8.co's Site's new design.
Please rate our site's new design
Very Dissatisfied
Somewhat Dissatisfied
Fine
Somewhat Satisfied
Highly Satisfied
Do you think that the website's design change makes the site easier to use?
Has the new design made it easier for you to find information on the site?
Has the new design improved the overall visual appeal of the site?
How would you rate your overall satisfaction with the new design of the site?
×
How likely are you to recommend Game8 to someone you know?
Very Unlikely
0
1
2
3
4
5
6
7
8
9
10
Very Likely
If you have other opinions regarding potential improvement to the website, please share them with us. We would appreciate your honest opinion.
Note: This is a free response section, so you can proceed without entering anything.
Note: Please be sure not to enter any kind of personal information into your response.
Note: Please be sure not to enter any kind of personal information into your response.
×
Thank You
×
Thank you for participating in our survey! Your answers will help us to improve the quality of our website and services.
We hope you continue to make use of Game8.
We hope you continue to make use of Game8.
Close
Rankings
- We could not find the message board you were looking for.
Gaming News


![Monster Hunter Stories 3 Review [First Impressions] | Simply Rejuvenating](https://img.game8.co/4438641/2a31b7702bd70e78ec8efd24661dacda.jpeg/thumb)
Popular Games

Genshin Impact Walkthrough & Guides Wiki
Honkai: Star Rail Walkthrough & Guides Wiki
Umamusume: Pretty Derby Walkthrough & Guides Wiki
Pokemon Pokopia Walkthrough & Guides Wiki
Resident Evil Requiem (RE9) Walkthrough & Guides Wiki
Monster Hunter Wilds Walkthrough & Guides Wiki
Wuthering Waves Walkthrough & Guides Wiki
Arknights: Endfield Walkthrough & Guides Wiki
Pokemon FireRed and LeafGreen (FRLG) Walkthrough & Guides Wiki
Pokemon TCG Pocket (PTCGP) Strategies & Guides Wiki


Recommended Games
Diablo 4: Vessel of Hatred Walkthrough & Guides Wiki
Cyberpunk 2077: Ultimate Edition Walkthrough & Guides Wiki
Fire Emblem Heroes (FEH) Walkthrough & Guides Wiki
Yu-Gi-Oh! Master Duel Walkthrough & Guides Wiki
Super Smash Bros. Ultimate Walkthrough & Guides Wiki
Pokemon Brilliant Diamond and Shining Pearl (BDSP) Walkthrough & Guides Wiki
Elden Ring Shadow of the Erdtree Walkthrough & Guides Wiki
Monster Hunter World Walkthrough & Guides Wiki
The Legend of Zelda: Tears of the Kingdom Walkthrough & Guides Wiki
Persona 3 Reload Walkthrough & Guides Wiki


All rights reserved
© Saber Interactive and Focus Entertainment. Games are the property of their respective owners.
The copyrights of videos of games used in our content and other intellectual property rights belong to the provider of the game.
The contents we provide on this site were created personally by members of the Game8 editorial department.
We refuse the right to reuse or repost content taken without our permission such as data or images to other sites.
There is no update for builds...