This survey will take about 1 minute.
Your answers will help us to improve our website.
Warhammer 40K: Space Marine 2
The Best Assault Builds
★ Best PvE Classes | Best PvP Classes | Best Weapons
☆ Classes and Builds: Tactical | Assault | Vanguard
┗Bulwark | Sniper | Heavy
★ All Weapons | Armor Customization | Chapters
☆ Mission Lists: Campaign and Operations
★ Locations: Dataslates | Armory Data | Gene-Seeds
Assault is one of the six classes available in Warhammer 40K: Space Marine 2. See the best Assault build and loadout for the early game, midgame, & max level, the best weapons and perks, how to pass all Assault Trials, as well as how to play this class!
List of Contents
Assault Class Overview
Assault Class Abilities
| Assault Class Information | |
|---|---|
 Assault |
|
| Class Perk | Armour Class |
| Jump Pack | 3 |
| Jump Pack Description | |
| Jump Pack enables enhanced dashes and powerful jumps, resulting in new combat moves. | |
| PvE Rating | PvP Rating |
|
|
|
Assault Class Builds and Loadout
| Assault Builds | ||
|---|---|---|
| Endgame (Chainsword) |
Endgame (Thunder Hammer) |
|
| Mid-Game | Early Game | |
Endgame Assault Chainsword Class Build
Endgame Class Perks
| Assault Class Perk Build | |||||||||||||||||||||||
|---|---|---|---|---|---|---|---|---|---|---|---|---|---|---|---|---|---|---|---|---|---|---|---|
| Core | Armour Reinforcement | Consecutive Execution | |||||||||||||||||||||
| Act of Attrition | |||||||||||||||||||||||
| Team | Proven Efficiency | ||||||||||||||||||||||
| Gear | Precision Strike | Zealous Blow | |||||||||||||||||||||
| Aerial Grace | |||||||||||||||||||||||
| Signature | Commitment | ||||||||||||||||||||||
The Assault Class excels the most once the Level 23 class perk Zealous Blow has been equipped. This makes the class a massive swarm nuker due to its fast Jump Pack recharge, and an effective reactive gun striker with Proven Efficiency, Aerial Grace, and Commitment.
One of the more important perks to have in the endgame is Armour Reinforcement which allows the Assault Class to regain much needed armour from gun strikes. Players will still have to play patiently and be strategic with their Jump Packs uses, as striking deep into hordes with it does not always guarantee an easy way to get out and recover.
Endgame Weapons and Perks
| Assault Class Weapon Build | |||
|---|---|---|---|
| Primary Weapon | NOT AVAILABLE FOR THIS CLASS | ||
| Secondary Weapon |
 Heavy Bolt Pistol Heavy Bolt Pistol (Ophelian Liberation - Alpha) |
||
| Secondary Weapon Perks |
Standard: Master-Crafted: Artificer: Relic: |
||
| Melee Weapon |
 Chainsword Chainsword (Aquilan Dedication) |
||
| Melee Weapon Perks |
Standard: Master-Crafted: Artificer: Relic: |
||
At the endgame, the Assault Class shines the most at Level 23 and above with fully-upgraded Relic weapons. The Aquilan Dedication Relic version of the Chainsword with the Fencing defence is a great all-around melee option for having a strong offense and defense, especially in cases where dodging is limited. For a Balance defence alternative, go for Choler's Teeth.
The Ophelian Liberation Alpha version of the Heavy Bolt Pistol is a good choice for its high magazine capacity. For those looking for more accuracy to double down on headshots, choose the Gathalamor Crusade.
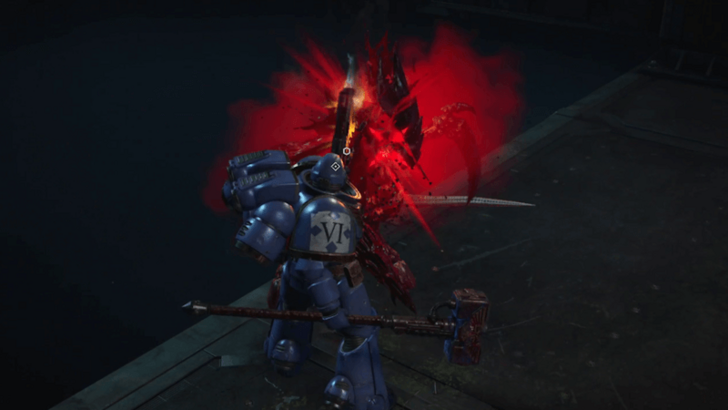
Endgame Assault Thunder Hammer Class Build
Endgame Class Perks
| Assault Class Perk Build | |||||||||||||||||||||||
|---|---|---|---|---|---|---|---|---|---|---|---|---|---|---|---|---|---|---|---|---|---|---|---|
| Core | Armour Reinforcement | Consecutive Execution | |||||||||||||||||||||
| Act of Attrition | |||||||||||||||||||||||
| Team | Proven Efficiency | ||||||||||||||||||||||
| Gear | Precision Strike | Zealous Blow | |||||||||||||||||||||
| Aerial Grace | |||||||||||||||||||||||
| Signature | Commitment | ||||||||||||||||||||||
The Thunder Hammer build makes use of the same class perk set with the Chainsword Build, gaining the most benefit to its ability with Zealous Blow. The Assault's swarm clear potential is maintained, the difference being that you are capable of strong single target damage with the Thunder Hammer's AoE light-heavy combo and the charged double-swing Aftershock heavy attack.
Armour Reinforcement remains as the Assault Class's strong armor recovery option through gun strikes. Players will still have to play patiently, even more so that the Thunder Hammer has a slower swing speed compared to the Chainsword in exchange for more burst damage potential.
Endgame Weapons and Perks
| Assault Class Weapon Build | |||
|---|---|---|---|
| Primary Weapon | NOT AVAILABLE FOR THIS CLASS | ||
| Secondary Weapon |
Heavy Bolt Pistol (Ophelian Liberation - Alpha) |
||
| Secondary Weapon Perks |
Standard: Master-Crafted: Artificer: Relic: |
||
| Melee Weapon |
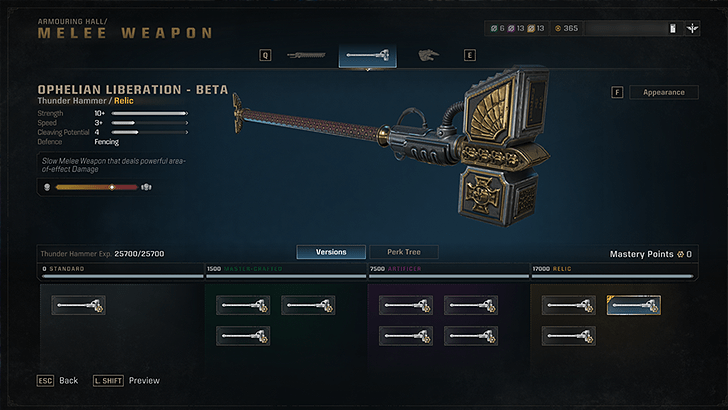
 Thunder Hammer Thunder Hammer (Ophelian Liberation - Beta) |
||
| Melee Weapon Perks |
Standard: Master-Crafted: Artificer: Relic:
• Dead End
|
||
The Relic Ophelian Liberation Beta version of the Thunder Hammer with the Fencing defence is a comfortable pick for giving the class strong parry defense in cases where a dodge will not save you.
The Ophelian Liberation Alpha version of the Heavy Bolt Pistol remains at the choice secondary for high magazine capacity and Gathalamor Crusade as the high-accuracy alternative.
Mid-Game Assault Class Build
Mid-Game Class Perks
| Assault Class Perk Build | |||||||||||||||||||||||
|---|---|---|---|---|---|---|---|---|---|---|---|---|---|---|---|---|---|---|---|---|---|---|---|
| Core | Overcharge | Retribution | |||||||||||||||||||||
| Perseverance | |||||||||||||||||||||||
| Team | Squad Cohesion | ||||||||||||||||||||||
| Gear | Smiting Angel | Manoeuvrability | |||||||||||||||||||||
| Diligence | |||||||||||||||||||||||
| Signature | Ample Ammunition | ||||||||||||||||||||||
At levels 10 and 11, the Overcharge and Retribution perks provide a significant boost to your melee damage throughout an Operation.
The Diligence perk enhances Ground Pound's damage in exchange for slightly more charge time. Thankfully, the Perseverance perk prevents stun or knock back effects while charging any melee attacks, including Ground Pound.
Additionally, Squad Cohesion and Manoeuvrability increase the Jump Pack's recharge rate by 30%, offering greater mobility and more frequent Ground Pound opportunities.
Mid-Game Weapons and Perks
| Assault Class Weapon Build | |||
|---|---|---|---|
| Primary Weapon | NOT AVAILABLE FOR THIS CLASS | ||
| Secondary Weapon |
 Heavy Bolt Pistol Heavy Bolt Pistol (Salvation of Bakka) |
||
| Secondary Weapon Perks |
Standard: Master-Crafted: Artificer: |
||
| Melee Weapon |
 Thunder Hammer Thunder Hammer (Salvation of Bakka - Alpha) |
||
| Melee Weapon Perks |
Standard: Master-Crafted: Artificer: |
||
The Assault class, despite limited weapon choices, can easily adapt its loadout to fulfill specific team roles. The Power Fist with the Rally perk boosts survivability, the Drogos Reclamation Chainsword is ideal for dueling bosses, and the Thunder Hammer shines in area-of-effect damage and cleaving through groups of enemies.
We recommend a Ground Slam Thunder Hammer build for its fun and satisfying playstyle. This build excels at wiping out dense enemy mobs with the Heavy Bolt Pistol as back up to provide reliable support fire when your Jump Pack is on cooldown.
Early Game Assault Class Build
Early Game Class Perks
| Assault Class Perk Build | |||
|---|---|---|---|
| Core | Winged Fury | Auxiliary Arsenal | Perseverance |
| Team | Squad Cohesion | ||
| Gear | Smiting Angel | Wings of Flame | Pride in Duty |
| Signature | Ample Ammunition | ||
You can freely equip all the perks that you unlock up to the Signature Perk at Level 9. Notable perks you'll get include the Perseverance perk which cancels out stunning or knockback effects when charging a melee hit and the Pride in Duty perk which drastically increases the damage of Ground Pound for 10 seconds after executing a Finisher.
Early Game Weapons and Perks
| Assault Class Weapon Build | |||
|---|---|---|---|
| Primary Weapon | NOT AVAILABLE FOR THIS CLASS | ||
| Secondary Weapon |
 Heavy Bolt Pistol Heavy Bolt Pistol (Master-Crafted - Alpha) |
||
| Secondary Weapon Perks |
Standard: Master-Crafted: |
||
| Melee Weapon |
 Thunder Hammer Thunder Hammer (Master-Crafted - Alpha) |
||
| Melee Weapon Perks |
Standard: Master-Crafted: |
||
The Assault is the best class to annihilate dense groups of enemies with its Ground Pound ability from the Jump Pack. Your primary contribution to the team is to thin out waves of enemies as fast as possible while still defending yourself from attacks, which is why the Master-Crafted - Alpha Thunder Hammer is crucial for keeping the Balanced Defense stat.
When the Jump Pack is on cooldown, the Heavy Bolt Pistol serves as your go-to for eliminating distant, high-threat targets. Prioritize damage output and accuracy upgrades to reduce the need for aiming down sights, which can slow you down and limit your field of view.
Best Assault Weapons
Best Weapons for Assault
| Weapon | Explanation |
|---|---|
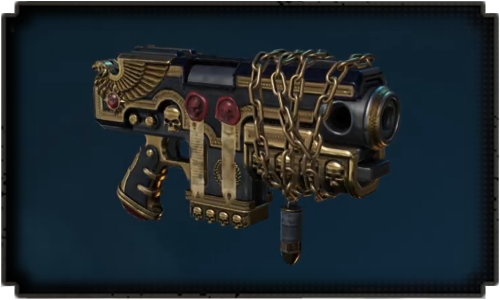
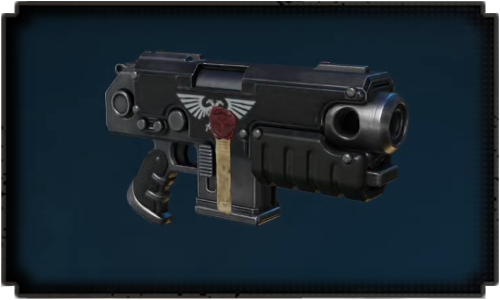
 Heavy Bolt Pistol Heavy Bolt Pistol
|
Heavy Bolt Pistol was chosen because of its good balance of power and accuracy. Assaults do not have Primary Weapons so this will be your alternative when you need to rely on ranged firepower. |
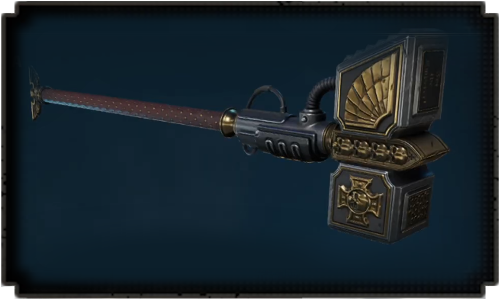
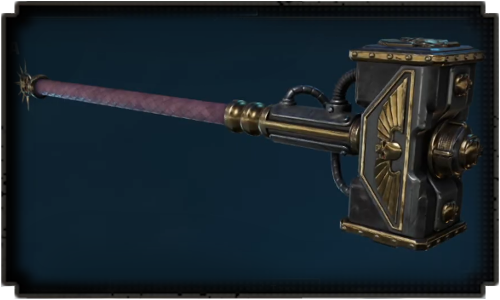
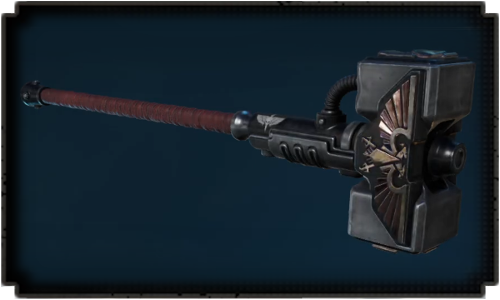
 Thunder Hammer Thunder Hammer
|
The Thunder Hammer is the unique weapon only available for the Assault class. It can deal great AoE damage when pounded from above and with the Zealous Blow perk, can recharge a portion of the jump pack for every kill. |
The Heavy Bolt Pistol and the Thunder Hammer are by far the best performing weapons for the Assault. The Thunder Hammer in particular works really well with the Ground Pound mechanic of the Assault, capable of defeating hordes of enemies in an instant!
All Assault Primary Weapons
| This class cannot use any weapons of this type. |
All Assault Secondary Weapons
 Bolt Pistol Bolt Pistol
|
Heavy Bolt Pistol
|
All Assault Melee Weapons
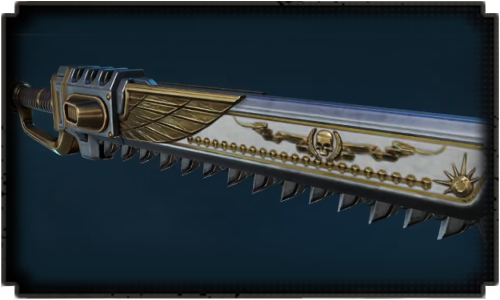
 Chainsword Chainsword
|
Thunder Hammer
|
 Power Fist Power Fist
|
Best Assault Perks
Best Perks for Assault
| Perk | Explanation |
|---|---|
| Knowledge of the Enemy | General increase in Melee damage against Majoris and Extremis enemies. Useful in missions where you have to kill a lot of these. |
| Manoeuvrability | Unconditional increase in the Jump Pack's charge rate for shorter downtime. |
| Armour Reinforcement | Gun Strikes usually only recover armor if done as a finisher, but with this perk you can recover armor even if it is not. Useful for survivability! |
| Proven Efficiency | This works in conjunction with Armour Reinforcement. This makes sure you are dealing maximum damage from Gun Strikes. |
| Precision Strike | Increases the damage of your ground pound but you have to aim more carefully to make sure Zealous Blow is maximized. |
| Zealous Blow | Recovers the Jump Pack's charge by 10% for every Ground Pound kill. Extremely reliable way to regain jump pack charges so you can spam it more! |
All Assault Class Skills
| Level | Class Perk | Effect |
|---|---|---|
| 1 | Jump Pack | Type: Starting Perfect Dodge timing increases by 50%. |
| 2 | Winged Fury | Type: Core Damage from Melee Attacks executed while sprinting or dashing increases by 25% |
| 3 | Auxiliary Arsenal | Type: Core Secondary Weapon's Damage increases by 15% |
| 4 | Perseverance | Type: Core While performing Charged Attacks, you do not lose control upon taking Heavy Hits and you cannot be knocked back |
| 5 | Squad Cohesion | Type: Team All Squad Members' Abilities recharge 10% faster |
| 6 | Smiting Angel | Type: Gear Ground Pound's Damage increases by 10% |
| 7 | Wings of Flame | Type: Gear Jump Pack Dash damages enemies along its trajectory |
| 8 | Pride in Duty | Type: Gear After a Finisher, Ground Pound deals 25% more Damage for 10 seconds |
| 9 | Ample Ammunition | Type: Signature Any use of Jump Pack reloads the equipped Ranged Weapon |
| 10 | Overcharge | Type: Core Damage of Charged Attacks increases by 15% |
| 11 | Retribution | Type: Core After you are grabbed or knocked back, you deal 15% more Melee Damage for 10 seconds |
| 12 | Knowledge of the Enemy | Type: Core Melee Damage increases by 15% against Majoris- or Extremis-level enemies |
| 13 | Strategic Strikes | Type: Team All Squad Members deal 20% more Melee Damage against Terminus-level enemies |
| 14 | Hammer of Wrath | Type: Gear After a Ground Pound, you do not lose control upon taking Heavy Hits and you cannot be knocked back for 10 seconds |
| 15 | Manoeuvrability | Type: Gear Jump Pack recharges 20% faster |
| 16 | Diligence | Type: Gear A fully prepared Ground Pound deals 20% more Damage, but preparation time increases by 25% |
| 17 | Ascension | Type: Signature Jump Pack Leap deals Damage to all enemies in the takeoff area |
| 18 | Armour Reinforcement | Type: Core Non-Finisher Gun Strikes also restore Armour |
| 19 | Consecutive Execution | Type: Core Killing 15 enemies in rapid succession restores Equipment Charge by 1. Cooldown is 180 seconds. |
| 20 | Act of Attrition | Type: Core Enemies hit by Melee Attacks take 10% more Damage for 3 seconds |
| 21 | Proven Efficiency | Type: Team All Squad Members deal 50% more Gun Strike Damage |
| 22 | Precision Strike | Type: Gear Ground Pound deals 100% more Damage, but its radius is reduced by 50% |
| 23 | Zealous Blow | Type: Gear A Ground Pound kill restores Jump Pack's Charge by 10% |
| 24 | Aerial Grace | Type: Gear After a perfectly timed Dodge using a Jump Pack Dash, you deal 25% more Damage for 5 seconds |
| 25 | Commitment | Type: Signature A perfectly timed Dodge using a Jump Pack Dash restores Jump Pack's Ability Charge |
Assault Trials Guide
| Jump to a Trial! | ||
|---|---|---|
| Trial 1 | Trial 2 | Trial 3 |
Assault Trial 1: Jump Pack
| Directives |
|---|
| Complete in: 60 Seconds |
| Complete in: 50 Seconds |
| Complete in: 40 Seconds |
Complete all three (3) to get the full rewards.
No Need to Charge the Ground Pound
The fastest way to eliminate each Tyranid Warrior is to perform a quick Ground Pound without charging it, followed by a Light Melee attack, and then a charged Heavy Attack. Charging the Ground Pound, in this specific case, does not make you complete the trial faster.
Use the Pistol to Execute Instead
To save time, once each Tyranid Warrior reaches the Execute threshold, use your pistol to finish them off with headshots. This method is much quicker than performing an Execute or following up with melee attacks.
Jump Pack Cooldown Resets After Each Elimination
Each time you eliminate a Tyranid Warrior, it resets the cooldown for the Jump Pack, allowing you to quickly Ground Pound to the next platform. It also replenishes your pistol's ammo, making it a more efficient finisher compared to performing Executes.
Assault Trial 2: Cover Ground
| Directives |
|---|
| Complete in: 60 Seconds |
| Complete in: 50 Seconds |
| Complete in: 40 Seconds |
Complete all three (3) to get the full rewards.
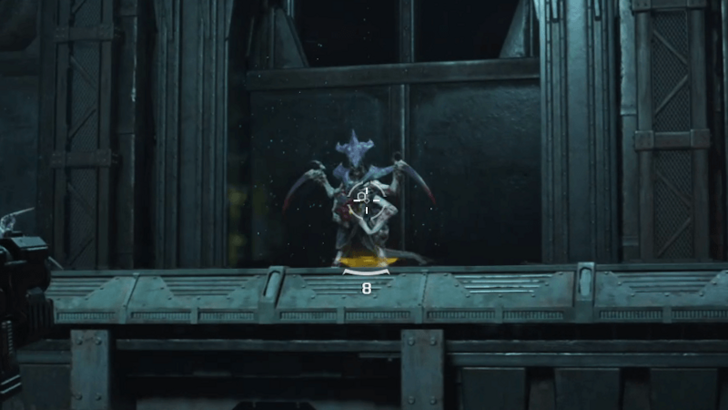
Only Focus on the Sniper Tyranid Warriors

The only goal of this trial is to eliminate the sniper Tyranid Warriors. You can ignore the smaller ranged Tyranids on the platforms above.
Dodge the Sniper Shots Early
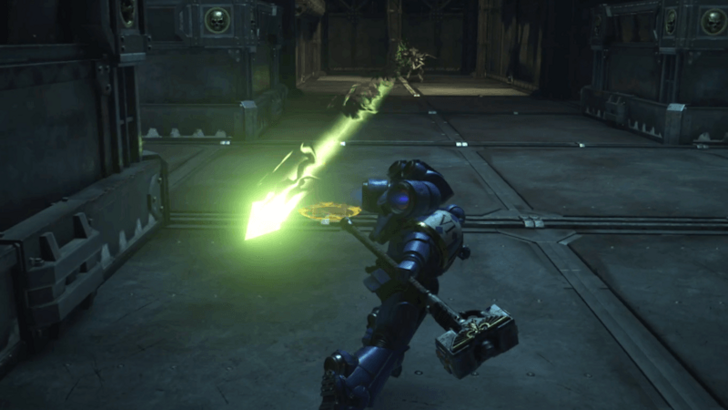
The sniper Tyranid Warriors will quickly aim at you, signaled by a green laser tracking your position. As long as you dodge while the laser is pointing at you, the shot will always miss. Opting for a Ground Pound early instead risks getting hit while in mid-air.
Get Ready to Parry

After successfully performing a Ground Pound on a Tyranid Warrior, follow up with a Light Attack and then a charged Heavy Attack. Be ready for the enemy to surprise you with a counterattack during this combo. If this happens, parry the attack, perform a Gun Strike, and then do a Gun Strike Execute.
Assault Trial 3: Death From Above
| Directives |
|---|
| Complete in: 80 Seconds |
| Hit 5 Enemies with Ground Pound |
| Kill 5 Enemies with Melee Attacks |
Complete all three (3) to get the full rewards.
Use Two Ground Pounds on the Melee Tyranids
You can quickly complete two of the directives by using your two Jump Pack charges to perform Ground Pounds on the two groups of melee Tyranids at the start of the trial.
Elimate the Tyranid Warrior Next
After eliminating the group of melee Tyranids, focus on defeating the Tyranid Warrior with melee hits. Once that's done, use your pistol to take out the remaining ranged Tyranids.
Get Close and Aim High to Jump Pack to the Next Platform
After clearing the area of Tyranids, a new group will spawn on the opposite side of a pit. To reach that area with your Jump Pack, get close enough and aim high until the Jump Pack destination indicator appears. Once it's visible, you can successfully use the Jump Pack to cross the pit and wreak havoc on the other side.
How to Play Assault Class
- Annihilate Enemies with Ground Pound
- Use Thunder Hammer's Aftershock Sparingly
- Focus on Executions and Gun Strikes
- Choose a Melee Weapon for Your Playstyle
- Use the Jump Pack for Dodges and Gun Strikes
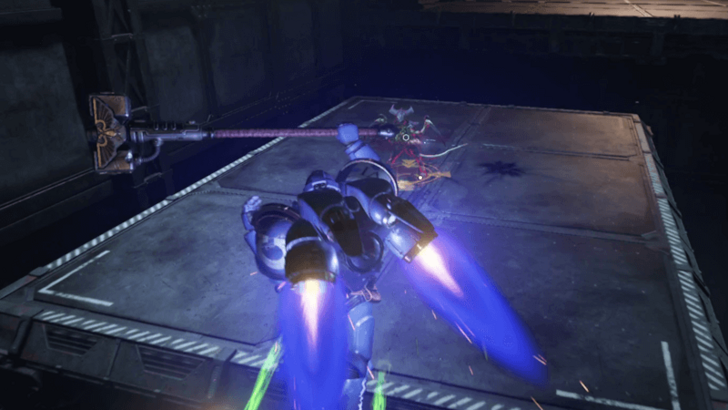
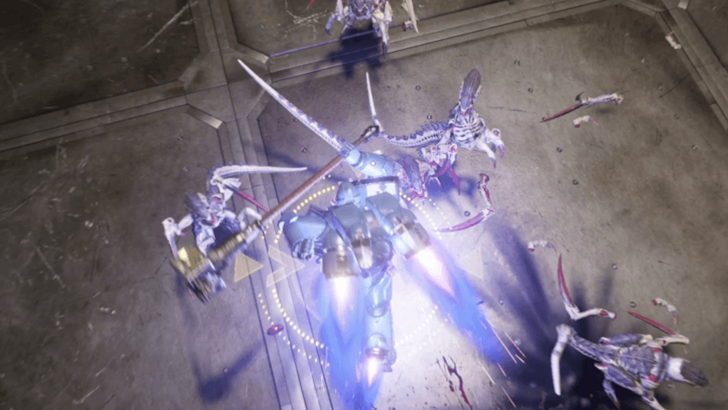
Annihilate Enemies with Ground Pound
Ground Pound is triggered by holding down the Melee Attack button after using the high jump ability from the Jump Pack. This move lets you slam into a target area, dealing massive damage to enemies around you.
Use Ground Pound to maneuver and surgically destroy distant foes or clear densely packed groups. This will help thin out hordes quickly and take out dangerous enemies at the enemies' rear that can make it harder for your team to advance.
Excels at Level 23 with Zealous Blow
Having the Zealous Blow class perk allows you to become more aggressive with the Jump Pack since its Ground Pound will restore 10% of the Jump Pack recharge with each Ground Pound kill. This makes it highly effective for killing swarms of Minoris enemies.
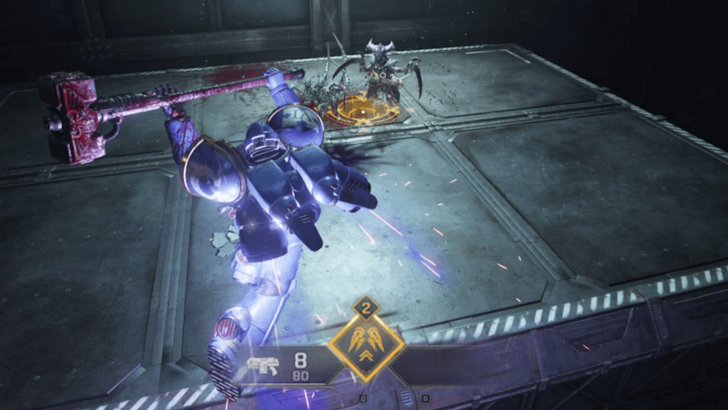
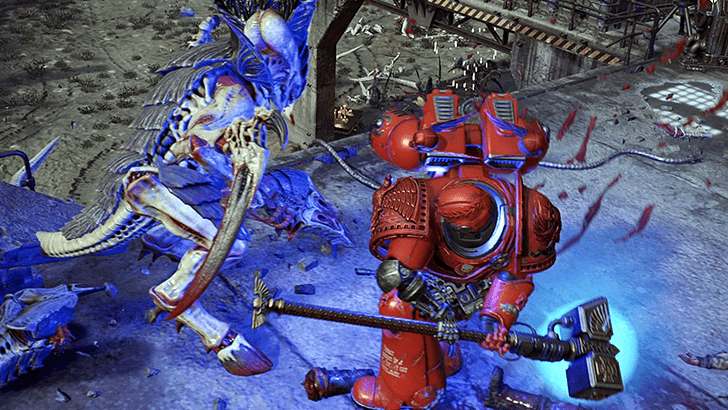
Use the Thunder Hammer's Aftershock Sparingly
The Helbrute's large AoE hammer attack has a long windup animation you can take advantage of.
The Thunder Hammer's neutral charge attack Aftershock, which is done by holding the Melee Attack button, takes a few seconds to charge but delivers a powerful hit. The charge-up time will leave you vulnerable to damage.
In most cases, it's better to use a Light Melee Attack followed by a charged Heavy Melee Attack in quick combat. It is best used in safe situations such as during long attack windups, when a target is paying attention to something else, or within the vicinity of a Bulwark's Chapter Banner.
Focus on Executions and Gun Strikes
With the Assault class's melee-focused gameplay, you'll take more hits than other classes. To regain lost armor, prioritize Executions and Gun Strikes whenever possible.
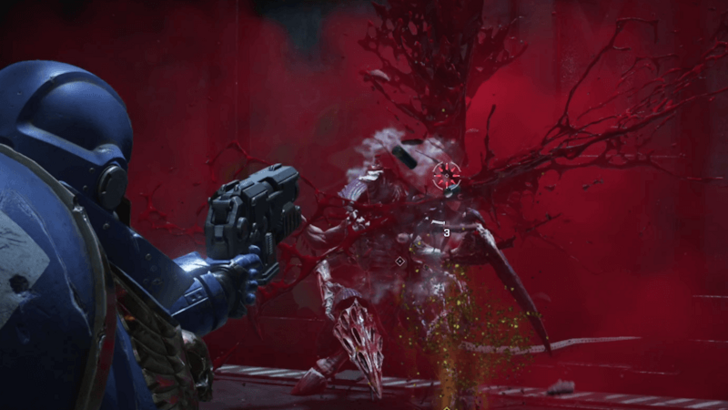
Executions can be performed on low-health enemies, while Gun Strikes are follow-up attacks after a successful Perfect Parry, Dodge, or a charged Heavy Attack.
Choose a Melee Weapon for Your Playstyle
Although the Assault class only has a secondary weapon, it shines in melee combat. You can choose from Chainswords, Thunder Hammers, or Power Fists depending on your preferred playstyle.
Stay aggressive with your fly-pounce movements and tear through enemies with devastating melee attacks.
Use the Jump Pack for Dodges and Gun Strikes
Even as a powerful melee class, you can still be overwhelmed when surrounded. Use the Jump Pack to get away from danger. Jump Pack Dashes are counted as dodges, allowing you to perform a gun strike after a Perfect Dodge with the Jump Pack Dash.
The Wings of Flame perk lets your Jump Pack Dash burns enemies as you pass through them, making it an ideal escape tactic when surrounded. Commitment gives you back a charge of your Jump Pack after a Perfect Dodge with a Jump Pack Dash.
Warhammer 40K: Space Marine 2 Related Guides

All Space Marine 2 Classes
| All Space Marines 2 Classes | ||
|---|---|---|
 Tactical Tactical |
Assault |
 Vanguard Vanguard |
 Bulwark Bulwark |
 Sniper Sniper |
 Heavy Heavy |
Comment
Author

The Best Assault Builds
Please participate in our site
improvement survey
03/2026
improvement survey
03/2026
Would you assist in
improving Game8's site?
improving Game8's site?

×
We are listening to our users' valuable opinions and discussing how to act on them.
The information collected through this survey will be used for the purpose of improving our services. In addition, the information will only be disclosed a part of a statistic in a format that will not allow identification of personal information.
Begin Survey
Not Now
×
Please rate each item regarding Game8.co's Advertisements.
Amount of Ads
Very Dissatisfied
Somewhat Dissatisfied
Fine
Somewhat Satisfied
Highly Satisfied
Placement of Ads
Timing of Ad Display
Ad Loading Speed
Safeness of Ads
Content of Ads
×
Please rate each item regarding Game8.co's Quality of Articles.
Amount of information
Very Dissatisfied
Somewhat Dissatisfied
Fine
Somewhat Satisfied
Highly Satisfied
Frequency of updates
Speed of new information
Accuracy of articles
Understandibility of articles
Readability of sentences
×
Please rate each item regarding Game8.co's Usability of the Site.
Ease of finding information
Very Dissatisfied
Somewhat Dissatisfied
Fine
Somewhat Satisfied
Highly Satisfied
Loading Speed
Use of Color
Font Size
Visibility of Images
Easy to Understand Layout
×
Please rate each item regarding Game8.co's Message Boards, Comments.
Ease of Writing
Very Dissatisfied
Somewhat Dissatisfied
Fine
Somewhat Satisfied
Highly Satisfied
Readability
Ease in Finding Information
Comment Quality
Comment Quantity
Admin Response
×
Please rate each item regarding Game8.co's Site's new design.
Please rate our site's new design
Very Dissatisfied
Somewhat Dissatisfied
Fine
Somewhat Satisfied
Highly Satisfied
Do you think that the website's design change makes the site easier to use?
Has the new design made it easier for you to find information on the site?
Has the new design improved the overall visual appeal of the site?
How would you rate your overall satisfaction with the new design of the site?
×
How likely are you to recommend Game8 to someone you know?
Very Unlikely
0
1
2
3
4
5
6
7
8
9
10
Very Likely
If you have other opinions regarding potential improvement to the website, please share them with us. We would appreciate your honest opinion.
Note: This is a free response section, so you can proceed without entering anything.
Note: Please be sure not to enter any kind of personal information into your response.
Note: Please be sure not to enter any kind of personal information into your response.
×
Thank You
×
Thank you for participating in our survey! Your answers will help us to improve the quality of our website and services.
We hope you continue to make use of Game8.
We hope you continue to make use of Game8.
Close
Rankings
- We could not find the message board you were looking for.
Gaming News


![Monster Hunter Stories 3 Review [First Impressions] | Simply Rejuvenating](https://img.game8.co/4438641/2a31b7702bd70e78ec8efd24661dacda.jpeg/thumb)
Popular Games

Genshin Impact Walkthrough & Guides Wiki
Honkai: Star Rail Walkthrough & Guides Wiki
Umamusume: Pretty Derby Walkthrough & Guides Wiki
Pokemon Pokopia Walkthrough & Guides Wiki
Resident Evil Requiem (RE9) Walkthrough & Guides Wiki
Monster Hunter Wilds Walkthrough & Guides Wiki
Wuthering Waves Walkthrough & Guides Wiki
Arknights: Endfield Walkthrough & Guides Wiki
Pokemon FireRed and LeafGreen (FRLG) Walkthrough & Guides Wiki
Pokemon TCG Pocket (PTCGP) Strategies & Guides Wiki


Recommended Games
Diablo 4: Vessel of Hatred Walkthrough & Guides Wiki
Cyberpunk 2077: Ultimate Edition Walkthrough & Guides Wiki
Fire Emblem Heroes (FEH) Walkthrough & Guides Wiki
Yu-Gi-Oh! Master Duel Walkthrough & Guides Wiki
Super Smash Bros. Ultimate Walkthrough & Guides Wiki
Pokemon Brilliant Diamond and Shining Pearl (BDSP) Walkthrough & Guides Wiki
Elden Ring Shadow of the Erdtree Walkthrough & Guides Wiki
Monster Hunter World Walkthrough & Guides Wiki
The Legend of Zelda: Tears of the Kingdom Walkthrough & Guides Wiki
Persona 3 Reload Walkthrough & Guides Wiki


All rights reserved
© Saber Interactive and Focus Entertainment. Games are the property of their respective owners.
The copyrights of videos of games used in our content and other intellectual property rights belong to the provider of the game.
The contents we provide on this site were created personally by members of the Game8 editorial department.
We refuse the right to reuse or repost content taken without our permission such as data or images to other sites.